
Fluffy 3-Ingredient Buttermilk Biscuits Recipe Ready in a Flash
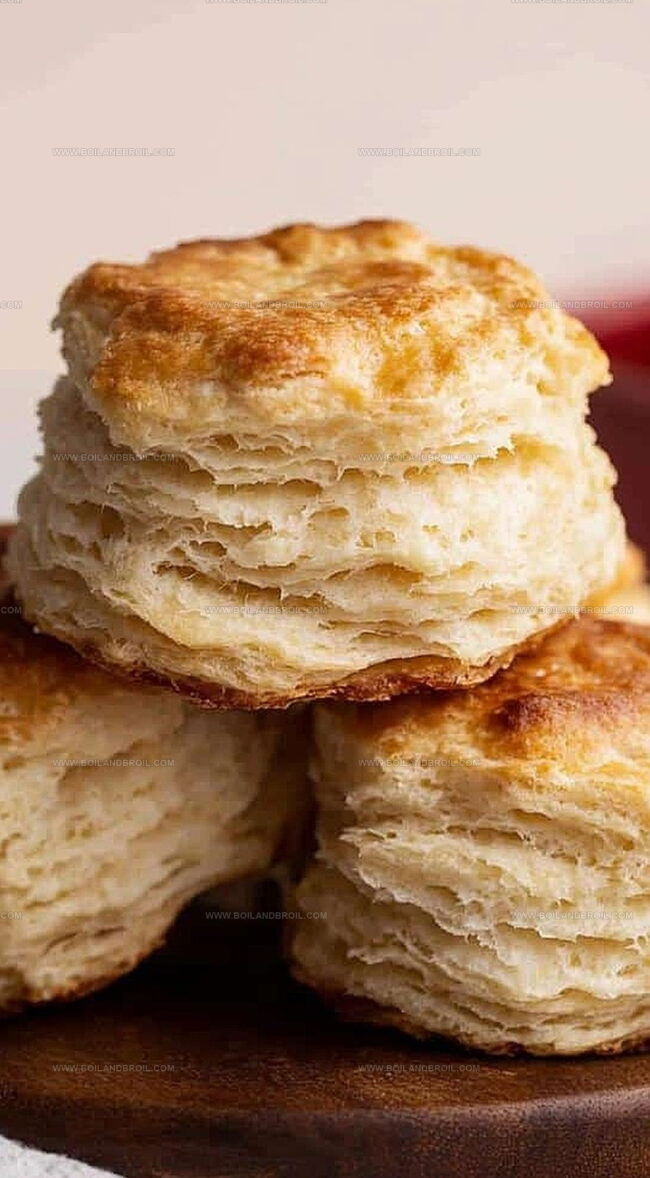
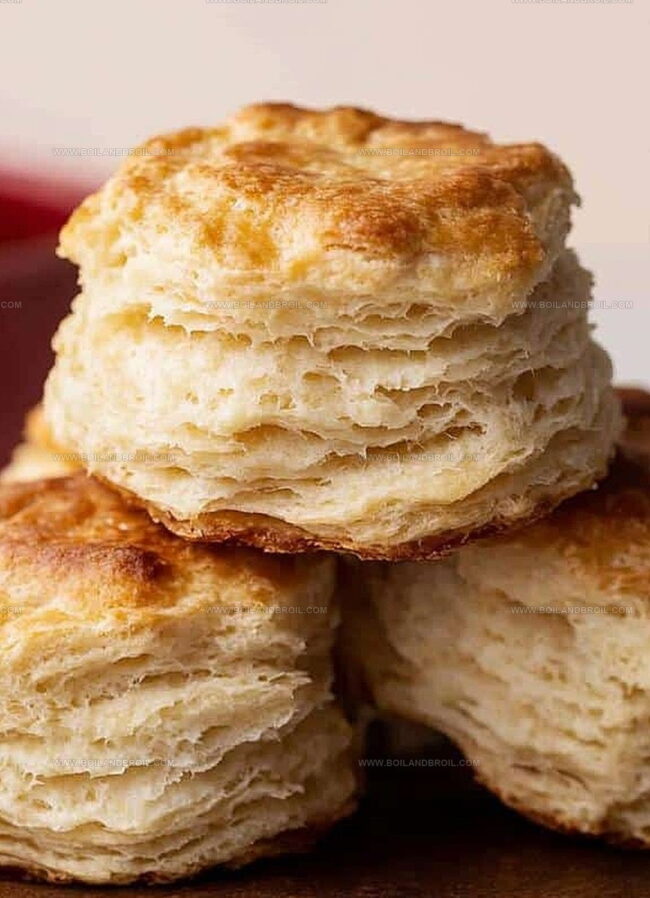
Southern kitchens have long cherished these simple 3-ingredient buttermilk biscuits that rise with golden perfection.
Soft, flaky layers melt in your mouth with every tender bite.
Generations of home cooks have passed down this treasured recipe through warm family gatherings.
These biscuits require minimal effort but deliver maximum comfort and satisfaction.
Mixing flour, butter, and buttermilk creates a magic that transforms ordinary ingredients into extraordinary breakfast magic.
Each biscuit promises a warm, buttery embrace that connects you to traditional Southern cooking.
Serve these heavenly biscuits straight from the oven and watch everyone’s eyes light up with pure delight.
Perks of 3-Ingredient Buttermilk Biscuits
What’s in Buttermilk Biscuits
Flour Base:Fat Component:Liquid Ingredient:Finishing Touch:Optional Dusting:Making Buttermilk Biscuits
Step 1: Fire Up the Oven
Crank your oven to a scorching 450F (232C).
This high heat is the secret weapon for creating those dreamy, cloud-like biscuits that will make everyone’s mouth water.
Step 2: Prepare the Flour Base
Grab a spacious mixing bowl and dump in self-rising flour.
This magical ingredient will be the foundation of your biscuit masterpiece, promising a light and airy texture that melts in your mouth.
Step 3: Transform Butter into Snowflakes
Take a frozen butter stick and transform it into delicate snowflakes by grating directly into the flour.
Use a pastry cutter or two forks to blend until the mixture looks like coarse, crumbly sand.
The colder the butter, the flakier the biscuits.
Step 4: Bring the Dough to Life
Pour cold buttermilk into the flour-butter mixture.
Gently stir with a rubber spatula until a shaggy, slightly sticky dough forms.
Don’t stress about perfection – rustic is beautiful!
Step 5: Create Your Baking Playground
Dust a clean surface with flour to prevent sticking.
Transfer the dough and lightly flour your hands to make handling easier.
Step 6: Gentle Dough Massage
Softly knead the dough just a few times.
Think of it as a gentle touch – too much handling will make your biscuits tough and dense.
Keep it light and lovingly brief.
Step 7: Build Magnificent Layers
Fold the dough over itself multiple times.
This technique is your ticket to those Instagram-worthy, picture-perfect layers that will have everyone impressed.
Step 8: Shape with Intention
Pat the dough into a relaxed rectangle about 1-inch thick.
Don’t worry about perfection – rustic charm is your friend here.
Step 9: Craft Biscuit Circles
Use a 3-inch biscuit cutter, pressing straight down without twisting.
This ensures maximum rise and fluffy potential.
Gather scraps and reshape for bonus biscuits.
Step 10: Huddle the Biscuits
Arrange cut biscuits close together on a baking sheet, sides touching.
This proximity encourages upward growth and keeps them cozy.
Step 11: Bake to Golden Perfection
Slide the baking sheet into the oven.
Bake for 12-14 minutes until gloriously golden.
For extra indulgence, brush with melted butter during the final moments and broil briefly for a sun-kissed top.
Step 12: Butter and Celebrate
The moment they emerge, lavish the biscuits with melted butter.
Let it soak in, then add another loving brush.
Take a moment to bask in your baking triumph before diving into these heavenly treats!
Buttermilk Biscuit Baking Tips
How to Store Buttermilk Biscuits
Buttermilk Biscuit Pairings
Savor Southern Comfort Pairings: Elevate Buttermilk Biscuits
Buttermilk Biscuit Flavor Variations
FAQs
Self-rising flour already contains baking powder and salt, which helps the biscuits rise and provides seasoning without adding extra ingredients. This saves time and ensures consistent leavening for perfect biscuits.
Frozen butter creates tiny, cold pockets that melt during baking, producing flaky, tender layers. Cold butter doesn’t blend completely into the flour, which helps create those signature light and airy biscuit textures.
Proper kneading means gently folding the dough a few times without overworking it. The dough should remain slightly sticky and not become smooth like bread dough. Minimal handling prevents tough biscuits and maintains a delicate texture.
Yes, you can use regular milk with a tablespoon of vinegar or lemon juice added and let it sit for 5 minutes. This creates a similar acidic environment that helps activate the leavening agents and provides tenderness to the biscuits.
Print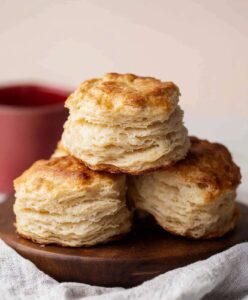
3-ingredient Buttermilk Biscuits Recipe
- Total Time: 29 minutes
- Yield: 8 1x
Description
Homemade 3-ingredient buttermilk biscuits elevate simple pantry staples into flaky, golden perfection. Southern comfort meets culinary simplicity with these irresistible, tender biscuits that welcome you to savor pure, mouthwatering warmth.
Ingredients
Main Ingredients:
- 2 cups self-rising flour
- 1 cup cold buttermilk
- 1 stick (113 grams) frozen butter
Topping:
- Additional butter for brushing
Measurements Note:
- Butter measurements: 1 stick = 1/2 cup = 113 grams = 4 ounces
Instructions
- Prepare the oven at 450F (232C), ensuring a hot environment for optimal biscuit rising and golden exterior.
- Select a large mixing bowl and add self-rising flour, creating a pristine base for the biscuit mixture.
- Retrieve frozen butter and grate it directly into the flour, using a grater to create tiny, cold butter fragments that will generate flaky layers.
- Integrate the grated butter into the flour using a pastry cutter or two forks, transforming the mixture into a texture resembling coarse crumbs.
- Pour cold buttermilk into the flour-butter mixture, stirring gently with a rubber spatula until a cohesive, slightly sticky dough forms.
- Dust a clean work surface with flour, then transfer the dough, coating hands lightly to prevent excessive sticking.
- Delicately knead the dough a few times, maintaining a light touch to preserve tenderness and avoid developing tough texture.
- Execute strategic folding techniques, turning the dough over itself multiple times to establish beautiful, distinct layers.
- Flatten the dough into a rectangular shape approximately 1-inch thick, ensuring uniform consistency for even baking.
- Utilize a 3-inch biscuit cutter, pressing straight down without twisting to maintain proper rising potential, and collect remaining dough scraps for additional biscuits.
- Arrange cut biscuits on a baking sheet with sides touching, promoting vertical expansion during baking.
- Bake for 12-14 minutes until golden brown, optional: brush with melted butter during final minute and briefly broil for enhanced color.
- Remove from oven and immediately coat with melted butter, allowing absorption for maximum flavor and moisture.
Notes
- Cold butter is the secret weapon for creating ultra-flaky, tender biscuits that practically melt in your mouth.
- Avoid overworking the dough, as this can develop gluten and result in tough, dense biscuits instead of light, airy ones.
- For a gluten-free version, swap self-rising flour with a gluten-free alternative and add 2 teaspoons of baking powder plus 1/2 teaspoon of salt to mimic self-rising flour’s properties.
- Buttermilk can be substituted with a quick homemade version by adding 1 tablespoon of white vinegar or lemon juice to regular milk and letting it sit for 5 minutes to curdle.
- Prep Time: 15 minutes
- Cook Time: 14 minutes
- Category: Breakfast, Snacks
- Method: Baking
- Cuisine: American
Nutrition
- Serving Size: 8
- Calories: 210
- Sugar: 1 g
- Sodium: 440 mg
- Fat: 9 g
- Saturated Fat: 5 g
- Unsaturated Fat: 4 g
- Trans Fat: 0 g
- Carbohydrates: 29 g
- Fiber: 1 g
- Protein: 4 g
- Cholesterol: 20 mg
Clara Thompson
Recipe Developer & Culinary Educator
Expertise
Developing accessible single-serving recipes, Food writing and content creation, Plant-based and allergen-friendly cooking, Culinary education and workshop facilitation
Education
Oregon Culinary Institute (Portland, OR)
Diploma in Culinary Arts
Specialized in plant-based cooking and sustainable kitchen practices.
Portland Community College
Certificate in Food Writing and Media
Focused on recipe writing, food photography, and digital content creation.
Clara’s food journey began with a curiosity for color, texture, and ingredients pulled straight from the garden. Her background in plant-forward cooking and creative writing gives her a unique edge – she makes healthy, flavorful food feel inviting, not intimidating.
She specializes in meals that work for busy lives and different diets, all without sacrificing taste. Clara’s voice comes through in every recipe she writes – clear, kind, and encouraging.