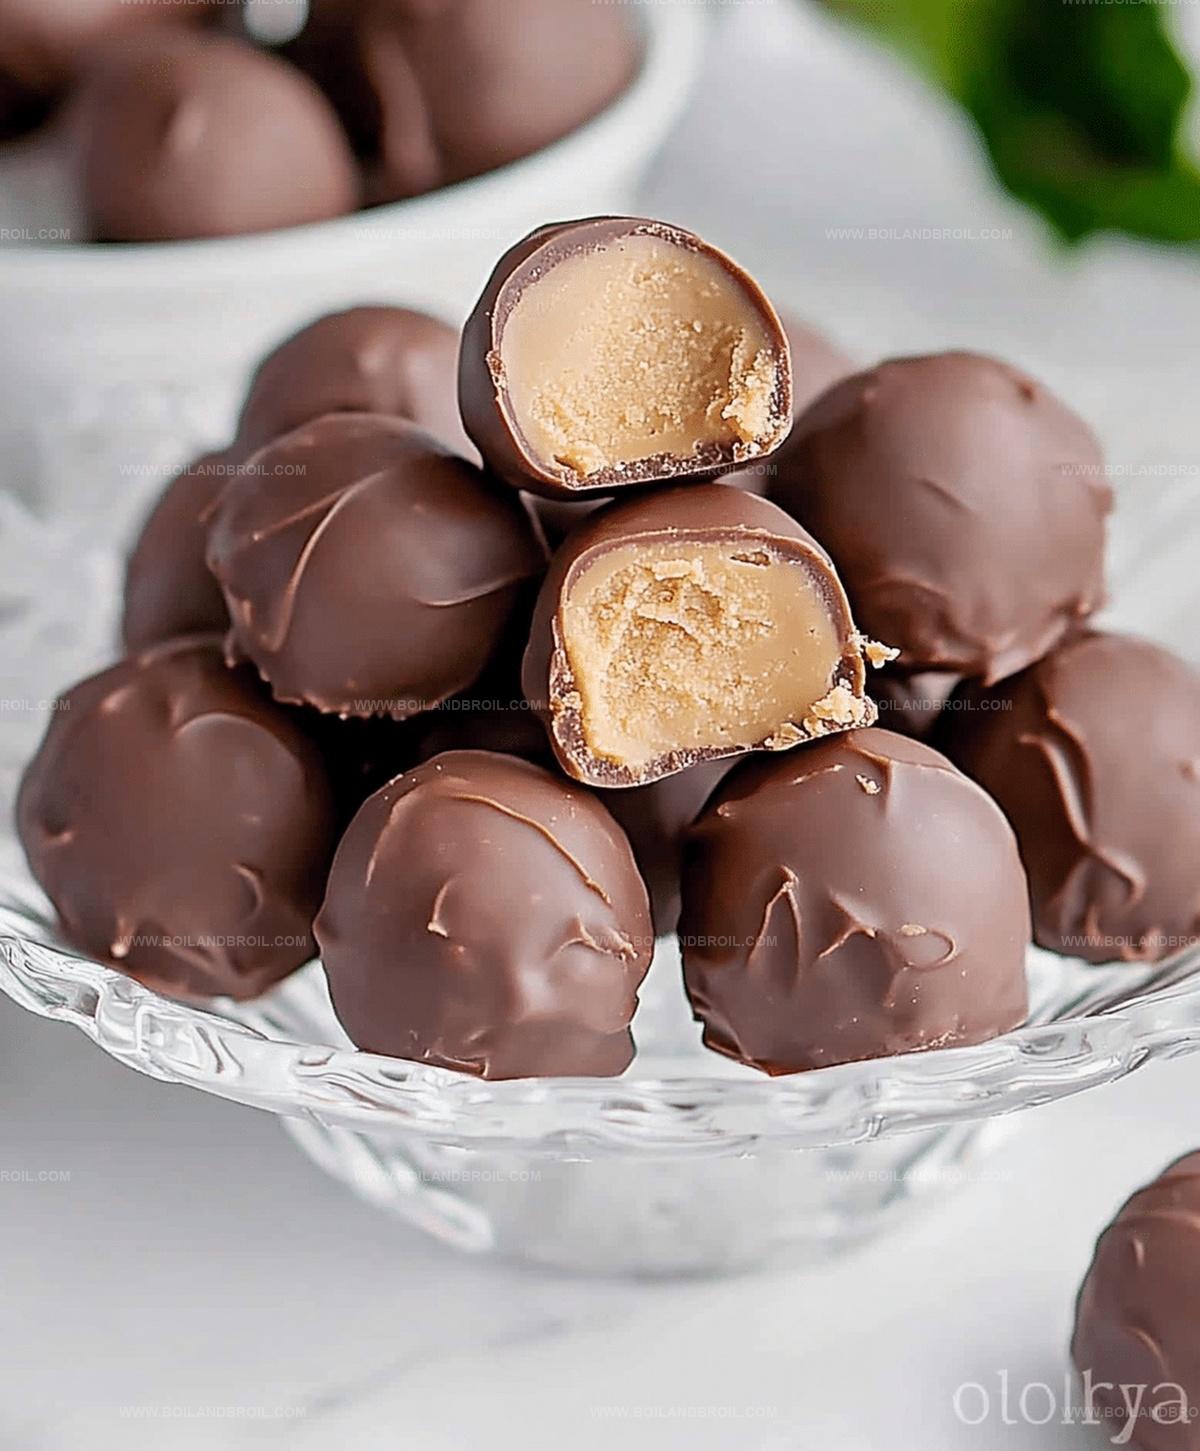
Try This Sweet 4 Ingredient Peanut Butter Balls Recipe Today
Delectable no-bake peanut butter balls spark joy with minimal effort and maximum flavor.
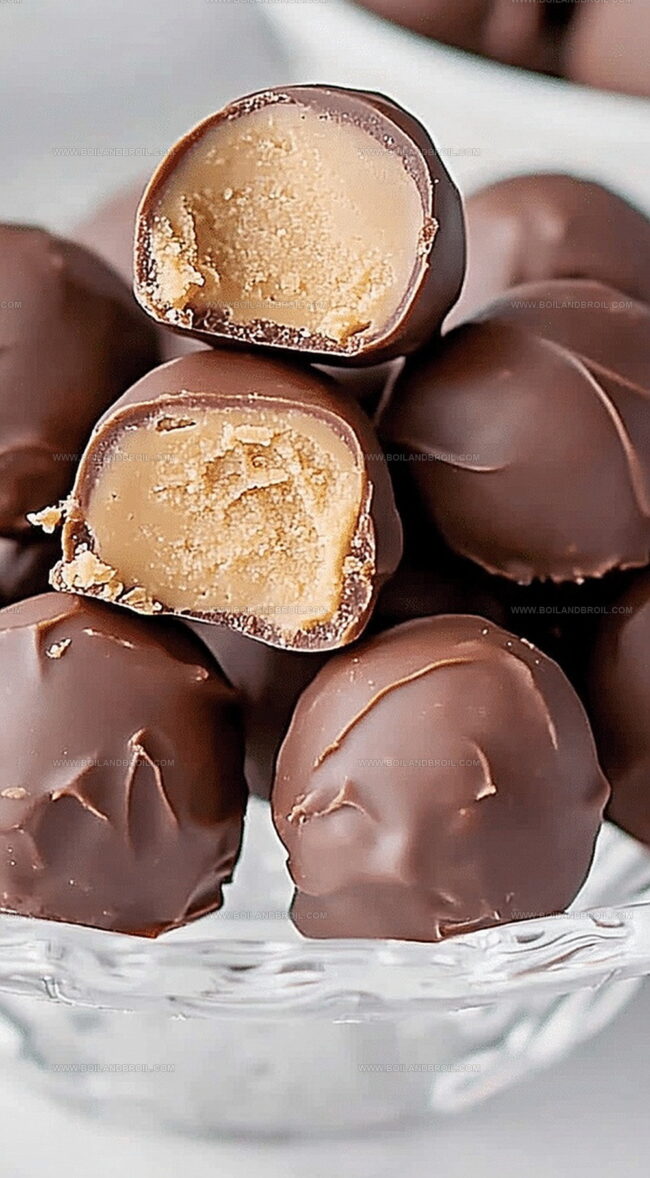
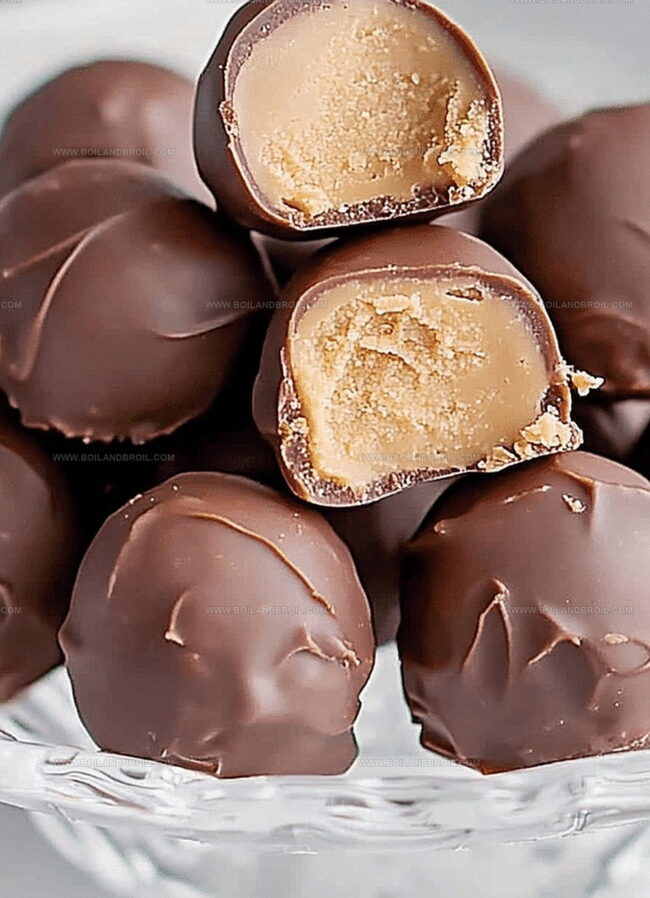
These simple four-ingredient treats deliver a delightful blend of sweet and creamy textures.
Chocolate and peanut butter create an irresistible combination that melts in your mouth.
Each bite promises a perfect balance of rich, nutty goodness.
Rolling these balls is a breeze, making them an ideal dessert for busy home cooks.
The recipe requires just a few pantry staples and zero baking skills.
Whip up these delightful morsels and watch them disappear in seconds – your taste buds will thank you.
What’s Great About Peanut Butter Balls
Just 4 Ingredients for Peanut Butter Balls
Base Ingredients:Optional Additions:Kitchen Tools:Steps to Shape Peanut Butter Balls
Step 1: Whip Up The Filling
Grab your softened butter and peanut butter in a medium bowl.
Blend these ingredients using a hand mixer or strong spoon until they transform into a creamy, smooth mixture.
Gradually incorporate powdered sugar, mixing slowly.
The mixture might look crumbly initially, but continue mixing until a cohesive dough forms.
Step 2: Chill The Mixture
Cover the bowl with plastic wrap and refrigerate for a couple of hours.
Chilling helps firm up the mixture, making it easier to shape into perfect balls.
Step 3: Shape Delightful Spheres
Remove the chilled mixture from the refrigerator.
Use a cookie scoop to portion out 1-inch balls.
Roll each portion between your palms to create smooth, uniform spheres.
Place the balls on a wax paper-lined cookie sheet.
Transfer the tray to the freezer to further solidify the balls.
Step 4: Melt Chocolate Coating
Prepare your chocolate using either the double boiler method or microwave.
For double boiler, place chocolate in a heat-safe bowl over simmering water, stirring occasionally until completely smooth.
If using microwave, heat in 20-second intervals, stirring between each session to prevent burning.
Step 5: Dip And Coat
Retrieve the frozen peanut butter balls.
Insert a toothpick or fork into each ball.
Dip each one into the melted chocolate, gently tapping your wrist to remove excess chocolate.
Place the coated balls back onto the wax paper.
Step 6: Allow Chocolate To Set
Let the chocolate coating harden completely at room temperature.
To speed up the process, place the tray in the refrigerator for approximately 20 minutes.
Once set, these decadent treats are ready to enjoy!
Tips to Master These Peanut Butter Balls
Store and Reheat Peanut Butter Balls the Right Way
Pair Peanut Butter Balls with These Treats
Peanut Butter Balls Mix-In Ideas
FAQs
Yes, you can substitute almond butter or cashew butter for a different flavor profile. Just ensure it has a similar consistency to peanut butter.
Ensure the mixture is well-chilled and use slightly damp hands when rolling. If it’s still too sticky, add a bit more powdered sugar to the mixture.
Use a double boiler method for the most consistent results. If using a microwave, heat in short 20-second intervals, stirring between each interval to prevent burning.
Absolutely! You can prepare the balls and store them in an airtight container in the refrigerator for up to a week before dipping in chocolate.
Print
4 Ingredient Peanut Butter Balls Recipe
- Total Time: 2 hours 35 minutes
- Yield: 24 1x
Description
Irresistible chocolate-dipped peanut butter balls bring sweet simplicity to classic dessert lovers. Quick no-bake treats blend creamy peanut butter, powdered sugar, melted chocolate, and vanilla for a delightful homemade indulgence you’ll crave.
Ingredients
Main Ingredients:
- 1 cup creamy peanut butter
- 2 cups powdered sugar
- 6 tablespoons (3/8 cup) unsalted butter, softened
Additional Ingredients:
- 16 ounces (454 grams) chocolate bark
Instructions
- Prepare the filling by combining softened butter and peanut butter in a medium bowl. Blend thoroughly using a hand mixer or spoon until achieving a creamy consistency.
- Gradually incorporate powdered sugar into the mixture, stirring until the texture transforms from crumbly to cohesive. The dough will eventually form a smooth, uniform mass.
- Refrigerate the filling for approximately 2 hours, covering the bowl with plastic wrap. Chilling helps solidify the mixture, facilitating easier ball formation.
- Remove the chilled mixture from the refrigerator. Using a cookie scoop or spoon, portion out 1-inch sections and roll them between your palms to create uniform spheres.
- Arrange the rolled balls on a wax paper-lined cookie sheet. Transfer the tray to the freezer for additional firming, approximately 15-20 minutes.
- Prepare the chocolate coating using a double boiler or microwave. If using a double boiler, melt chocolate over simmering water, stirring occasionally. For microwave, heat in 20-second intervals, mixing between each session to prevent burning.
- Extract the chilled peanut butter balls from the freezer. Insert a toothpick or fork into each ball, then submerge in melted chocolate, gently tapping to remove excess coating.
- Place the chocolate-dipped balls back onto the wax paper, allowing them to set at room temperature or expedite the process by refrigerating for approximately 20 minutes until the chocolate hardens completely.
Notes
- Ensure butter and peanut butter are softened at room temperature for smooth, easy mixing without lumps.
- Add powdered sugar gradually to prevent dusty clouds and achieve perfect dough consistency.
- Refrigerating the mixture helps control stickiness and makes rolling balls much easier and neater.
- Briefly freezing balls before chocolate dipping prevents filling from melting during coating process.
- Use high-quality chocolate bark for smoother, more professional-looking finish.
- Swap regular peanut butter with almond or sunflower seed butter for nut-free version; use dairy-free chocolate for vegan option.
- Prep Time: 2 hours 30 minutes
- Cook Time: 5 minutes
- Category: Snacks, Desserts
- Method: Rolling
- Cuisine: American
Nutrition
- Serving Size: 24
- Calories: 150
- Sugar: 9 g
- Sodium: 50 mg
- Fat: 10 g
- Saturated Fat: 4 g
- Unsaturated Fat: 6 g
- Trans Fat: 0 g
- Carbohydrates: 17 g
- Fiber: 0 g
- Protein: 3 g
- Cholesterol: 10 mg
Clara Thompson
Recipe Developer & Culinary Educator
Expertise
Developing accessible single-serving recipes, Food writing and content creation, Plant-based and allergen-friendly cooking, Culinary education and workshop facilitation
Education
Oregon Culinary Institute (Portland, OR)
Diploma in Culinary Arts
Specialized in plant-based cooking and sustainable kitchen practices.
Portland Community College
Certificate in Food Writing and Media
Focused on recipe writing, food photography, and digital content creation.
Clara’s food journey began with a curiosity for color, texture, and ingredients pulled straight from the garden. Her background in plant-forward cooking and creative writing gives her a unique edge – she makes healthy, flavorful food feel inviting, not intimidating.
She specializes in meals that work for busy lives and different diets, all without sacrificing taste. Clara’s voice comes through in every recipe she writes – clear, kind, and encouraging.