
Heavenly Aries Vintage Cake Recipe: A Dreamy Nostalgic Delight
Baking an Aries vintage cake brings nostalgic memories of grandmother’s kitchen and warm weekend afternoons.
Sweet whispers of classic ingredients dance through my childhood recollections.
Family recipes often carry magical stories behind their creation.
Delicate layers of flour, sugar, and memories blend perfectly in this traditional dessert.
vintage recipes connect generations through simple, heartwarming techniques.
Passionate bakers understand how each carefully measured ingredient tells a personal narrative.
You will fall in love with this timeless culinary treasure that celebrates heritage and deliciousness.
Vintage Aries Cake Recipe with Timeless Charm

Ingredients for a Classic Aries Vintage Cake
Dry Ingredients:Wet Ingredients:Frosting Ingredients:Step-by-Step Guide to Aries Vintage Cake
Step 1: Warm Up the Oven
Set your oven to a cozy 350F (175C).
Grab two round cake pans and give them a light coating of butter or cooking spray to prevent sticking.
Step 2: Mix Dry Ingredients
In a spacious mixing bowl, whisk together:Blend these dry ingredients until they’re perfectly combined and look like a delightful chocolate powder.
Step 3: Prepare Wet Ingredients
In a separate bowl, crack open some fresh eggs.
Pour in milk and add softened butter.
Whisk everything together until the mixture looks smooth and creamy.
Step 4: Create Cake Batter
Pour the wet ingredients into the dry ingredient bowl.
Gently stir the mixture, being careful not to overmix.
Stop stirring as soon as everything looks incorporated – this keeps the cake tender and light.
Step 5: Bake the Cake
Divide the cake batter evenly between the two prepared pans.
Slide the pans into the preheated oven and bake for 25-30 minutes.
Check doneness by inserting a toothpick – it should come out clean with just a few moist crumbs.
Step 6: Frost and Finish
Allow the cakes to cool completely.
Whip some heavy cream with powdered sugar until it becomes fluffy and delightful.
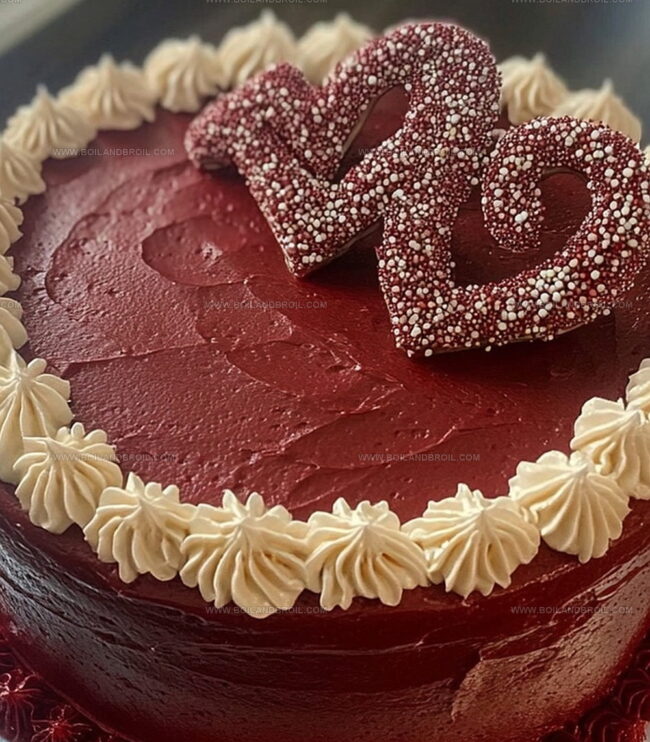
Spread this dreamy frosting between the cake layers and on top for a vintage-style finish.
Tips for Baking the Perfect Aries Vintage Cake
How to Store Aries Vintage Cake for Maximum Freshness
Ideal Pairings for Aries Vintage Cake
Unique Twists on the Aries Vintage Cake Tradition
FAQs
Yes, you can use carob powder or melted dark chocolate as alternatives, but they may slightly change the cake’s flavor and texture.
The recipe contains eggs and dairy, so it’s not vegan or dairy-free. For gluten-free needs, use gluten-free flour blend instead of regular flour.
Stop mixing when ingredients are just combined – overmixing can make the cake tough and dense. Look for a smooth, uniform batter without dry flour streaks.
Dutch-processed cocoa powder provides a richer, deeper chocolate flavor. Natural unsweetened cocoa powder also works well and will give a slightly different taste profile.
Print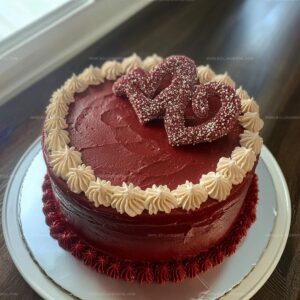
Aries Vintage Cake Recipe
- Total Time: 45 minutes
- Yield: 8 1x
Description
Delectable Aries vintage cake sparkles with celestial charm, blending nostalgic flavors and zodiac-inspired elegance. Passionate bakers can create this stellar dessert that connects culinary artistry with astrological magic.
Ingredients
Main Dry Ingredients:
- 1 3/4 cups all-purpose flour
- 3/4 cup unsweetened cocoa powder
- 1 1/2 cups granulated sugar
- 2 teaspoons baking powder
Wet Ingredients:
- 3 large eggs
- 1 cup whole milk (or almond milk)
- 1/2 cup unsalted butter (softened)
- 1 cup heavy cream
Frosting Ingredients:
- 2 cups powdered sugar
Instructions
- Warm the oven to 350F (175C) and thoroughly coat two circular cake molds with butter or cooking spray.
- Sift together the dry ingredients in a spacious mixing vessel, ensuring even distribution of flour, cocoa, sugar, leavening agent, and seasoning.
- Whisk eggs in a separate container, then incorporate milk and softened butter, blending until smooth and homogeneous.
- Gently fold wet ingredients into dry mixture, stirring minimally to prevent over-mixing and maintain a light texture.
- Evenly distribute the batter between prepared pans, smoothing the surface with a spatula.
- Position pans in preheated oven and bake for 25-30 minutes, monitoring doneness by inserting a clean skewer that emerges without wet batter.
- Remove cakes from oven and allow to rest in pans for 10 minutes before transferring to a wire cooling rack.
- Once completely cooled, prepare a luxurious topping by whipping cream and gradually integrating powdered sugar until light and fluffy.
- Carefully spread the cream frosting between cake layers and over the entire surface, creating an elegant finish.
Notes
- Flour Swap: Use gluten-free flour blend for a celiac-friendly version that maintains the cake’s soft texture.
- Dairy Alternative: Replace milk with almond or oat milk for a lactose-free option without compromising richness.
- Egg Substitution: Use mashed banana or applesauce to create a vegan-friendly cake with similar moisture and binding properties.
- Temperature Precision: Use room temperature ingredients to ensure smooth mixing and even baking, preventing dense or uneven cake layers.
- Prep Time: 15 minutes
- Cook Time: 30 minutes
- Category: Desserts
- Method: Baking
- Cuisine: American
Nutrition
- Serving Size: 8
- Calories: 335
- Sugar: 28 g
- Sodium: 150 mg
- Fat: 16 g
- Saturated Fat: 10 g
- Unsaturated Fat: 6 g
- Trans Fat: 0 g
- Carbohydrates: 43 g
- Fiber: 2 g
- Protein: 5 g
- Cholesterol: 70 mg
Jack Sullivan
Founder & Culinary Storyteller
Expertise
Single-recipe development with a narrative approach, Culinary storytelling and food history, Seasonal and regional ingredient utilization, Home cooking techniques adapted for modern kitchens
Education
New England Culinary Institute (Montpelier, VT)
Certificate in Culinary Arts
Focused on farm-to-table cooking, sustainable practices, and modern plating techniques.
Asheville-Buncombe Technical Community College
Associate Degree in Culinary Arts
Emphasized Southern Appalachian cuisine and local ingredient sourcing.
Jack grew up surrounded by smoky skillets and handwritten recipes in the mountains of North Carolina. His roots in Appalachian cooking shaped the way he sees food – as something that connects people, tells a story, and holds meaning.
With hands-on training and a background in sustainable, regional cooking, Jack started Boil And Broil to make meaningful meals more accessible. He’s all about one-dish recipes that are simple to follow but rich with flavor and history.