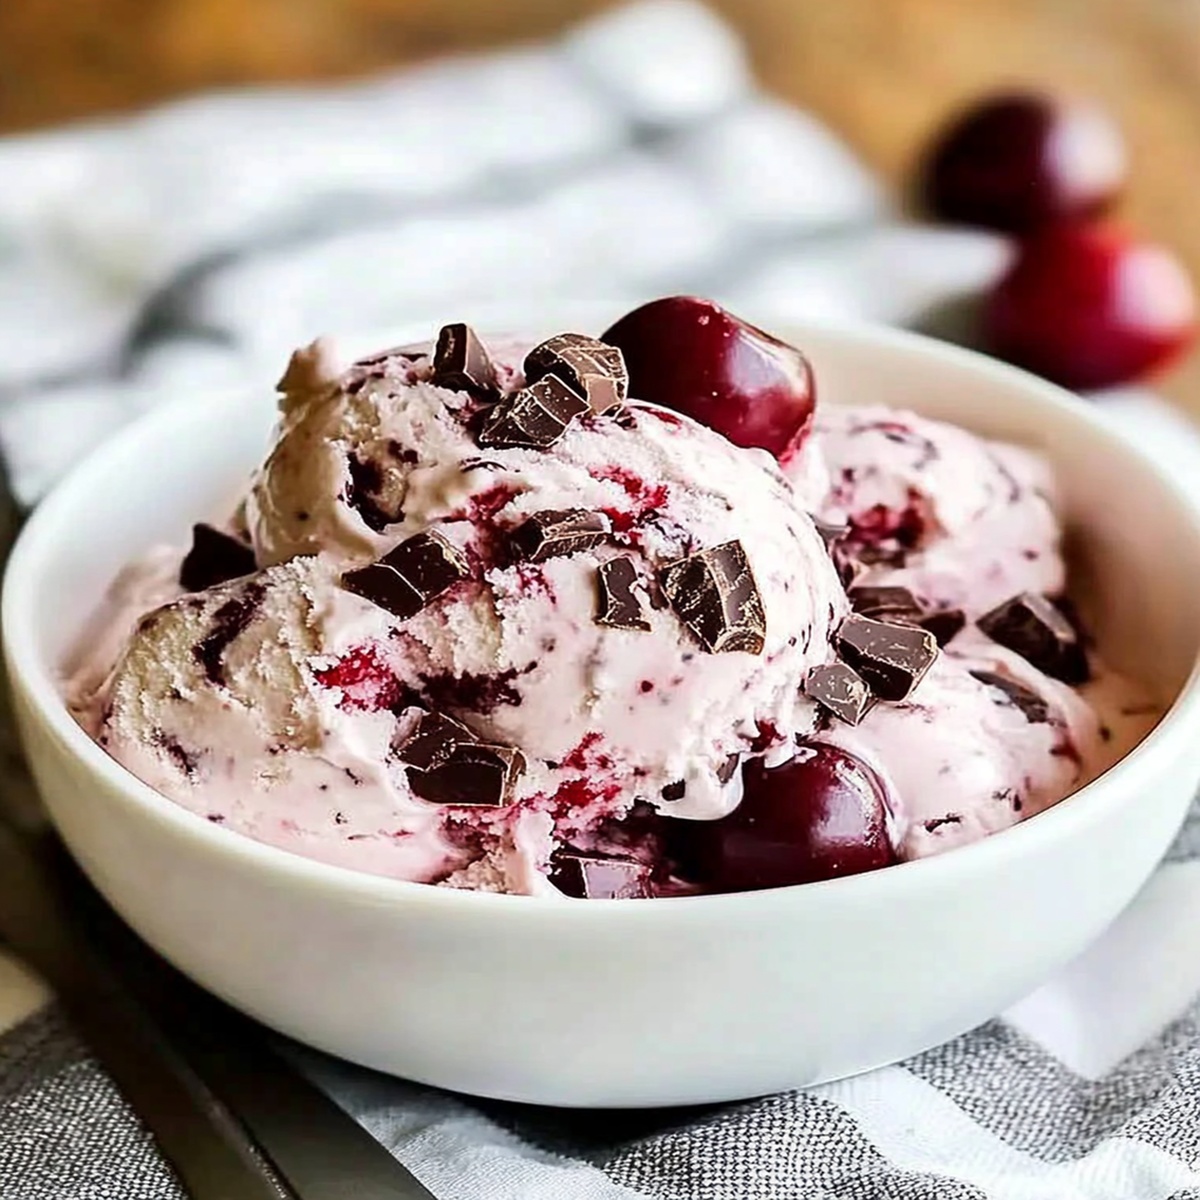
Luscious Brandied Cherry-and-Chocolate Chunk Ice Cream Recipe
Sweet memories swirl around this brandied cherry-and-chocolate chunk ice cream that promises pure indulgence.
Cherries soaked in smooth brandy create magical flavor notes dancing through creamy chocolate landscape.
Rich dark chocolate pieces promise unexpected bursts of intense pleasure.
Velvety textures merge elegantly with complex alcohol-infused fruit undertones.
Summer afternoons feel instantly more luxurious when you scoop this decadent dessert.
Chilled perfection awaits in every spoonful of this sophisticated treat.
One taste will transport you to culinary bliss.
Why Brandied Cherry Chocolate Ice Cream Is a Showstopper
What Goes in Brandied Cherry Chocolate Ice Cream Magic
Dairy Base:Sweeteners and Flavoring:Mix-Ins:Making Brandied Cherry & Chocolate Ice Cream, Step-by-Step
Step 1: Blend Creamy Base
Grab a large mixing bowl and whisk together heavy cream, whole milk, granulated sugar, and vanilla extract until the sugar completely melts and the mixture becomes smooth and silky.
Step 2: Chill the Mixture
Cover the creamy concoction with plastic wrap and slide it into the refrigerator.
Let it cool and develop its flavor for at least one hour, allowing the ingredients to mingle and get to know each other.
Step 3: Fold in Delightful Mix-Ins
After chilling, gently fold in the brandied cherries and dark chocolate chunks.
Ensure they are evenly distributed throughout the creamy base, creating pockets of boozy fruit and rich chocolate in every bite.
Step 4: Churn to Perfection
Pour the mixture into your ice cream maker and churn according to the manufacturer’s guidelines.
This typically takes 20-25 minutes, transforming the liquid into a dreamy, soft-serve consistency.
Step 5: Freeze and Set
Transfer the freshly churned ice cream to an airtight container.
Pop it in the freezer and let it firm up for at least 4 hours or overnight, allowing it to reach that perfect, scoopable texture.
Step 6: Serve and Indulge
Scoop the ice cream into bowls or cones.
For an extra touch of decadence, sprinkle with additional brandied cherries or chocolate shavings.
Enjoy your homemade frozen masterpiece!
Tips for Luscious Brandied Cherry Chocolate Ice Cream
Freezing & Serving Brandied Cherry Chocolate Ice Cream
Tasty Pairings for Brandied Cherry Chocolate Ice Cream
Cherry & Chocolate Ice Cream Variations to Try
FAQs
Homemade or high-quality store-bought brandied cherries are ideal. Dark, rich cherries soaked in brandy provide the most intense flavor and complement the chocolate chunks perfectly.
While an ice cream maker ensures a smooth texture, you can use the no-churn method by whipping the cream first and folding in ingredients. However, the texture might be slightly less creamy and more icy.
The brandied cherries will keep their rich, boozy taste throughout the ice cream’s freezing period. The alcohol helps prevent complete freezing and maintains the cherries’ soft, flavorful texture.
You can lightly drain the brandied cherries or use less brandy-soaked cherries to minimize alcohol. Alternatively, replace with regular fresh cherries, though the deep flavor profile will be slightly different.
Print
Brandied Cherry-and-Chocolate Chunk Ice Cream Recipe
- Total Time: 1 hour 25 minutes
- Yield: 6 1x
Description
Indulgent brandied cherry-and-chocolate chunk ice cream marries rich cocoa with boozy cherries in a luxurious frozen dessert. Creamy, complex flavors dance across your palate, promising a sophisticated sweet escape that elevates classic summer treats.
Ingredients
Main Ingredients:
- 2 cups (473 ml) heavy cream
- 1 cup (237 ml) whole milk
- 1 cup (150 g) dark chocolate chunks (60% cacao)
- 1 cup (150 g) brandied cherries, chopped
Sweeteners:
- 3/4 cup (150 g) granulated sugar
Flavor Enhancers:
- 2 teaspoons vanilla extract
Instructions
- Create a smooth, homogeneous base by thoroughly whisking heavy cream, whole milk, granulated sugar, and vanilla extract until sugar completely dissolves.
- Refrigerate the liquid mixture for a minimum of 1 hour to ensure optimal temperature and flavor integration.
- Gently incorporate brandied cherries and dark chocolate chunks, ensuring even distribution throughout the cream mixture.
- Transfer the infused base to an ice cream maker and churn at medium speed for approximately 20-25 minutes, watching for a soft, creamy consistency.
- Carefully spoon the churned ice cream into an airtight freezer-safe container, smoothing the surface to prevent ice crystal formation.
- Allow the ice cream to solidify in the freezer for 4-6 hours or preferably overnight, enabling a rich, dense texture.
- When ready to serve, let the ice cream sit at room temperature for 2-3 minutes to soften slightly, making scooping easier.
- Plate the ice cream in chilled serving bowls or crisp waffle cones, optionally garnishing with additional brandied cherries or delicate dark chocolate shavings for an elegant presentation.
Notes
- Adjust sugar levels to match your preferred sweetness, using alternatives like honey or maple syrup for natural sweetening.
- Soak cherries longer in brandy for deeper, more intense flavor infusion if you enjoy stronger alcohol notes.
- Ensure chocolate chunks are chopped into similar sizes for consistent texture throughout the ice cream.
- Use high-quality dark chocolate with at least 70% cocoa for richer, more complex flavor profile.
- Prep Time: 1 hour
- Cook Time: 25 minutes
- Category: Desserts, Snacks
- Method: Churning
- Cuisine: American
Nutrition
- Serving Size: 6
- Calories: 388
- Sugar: 28 g
- Sodium: 40 mg
- Fat: 29 g
- Saturated Fat: 17 g
- Unsaturated Fat: 11 g
- Trans Fat: 0 g
- Carbohydrates: 34 g
- Fiber: 1 g
- Protein: 4 g
- Cholesterol: 90 mg
Jack Sullivan
Founder & Culinary Storyteller
Expertise
Single-recipe development with a narrative approach, Culinary storytelling and food history, Seasonal and regional ingredient utilization, Home cooking techniques adapted for modern kitchens
Education
New England Culinary Institute (Montpelier, VT)
Certificate in Culinary Arts
Focused on farm-to-table cooking, sustainable practices, and modern plating techniques.
Asheville-Buncombe Technical Community College
Associate Degree in Culinary Arts
Emphasized Southern Appalachian cuisine and local ingredient sourcing.
Jack grew up surrounded by smoky skillets and handwritten recipes in the mountains of North Carolina. His roots in Appalachian cooking shaped the way he sees food – as something that connects people, tells a story, and holds meaning.
With hands-on training and a background in sustainable, regional cooking, Jack started Boil And Broil to make meaningful meals more accessible. He’s all about one-dish recipes that are simple to follow but rich with flavor and history.