Adorable Bunny Paw Cookies Recipe: Hop Into Baking Fun
Sweet little bunny paw cookies hop right into your dessert dreams with adorable charm and delightful taste.
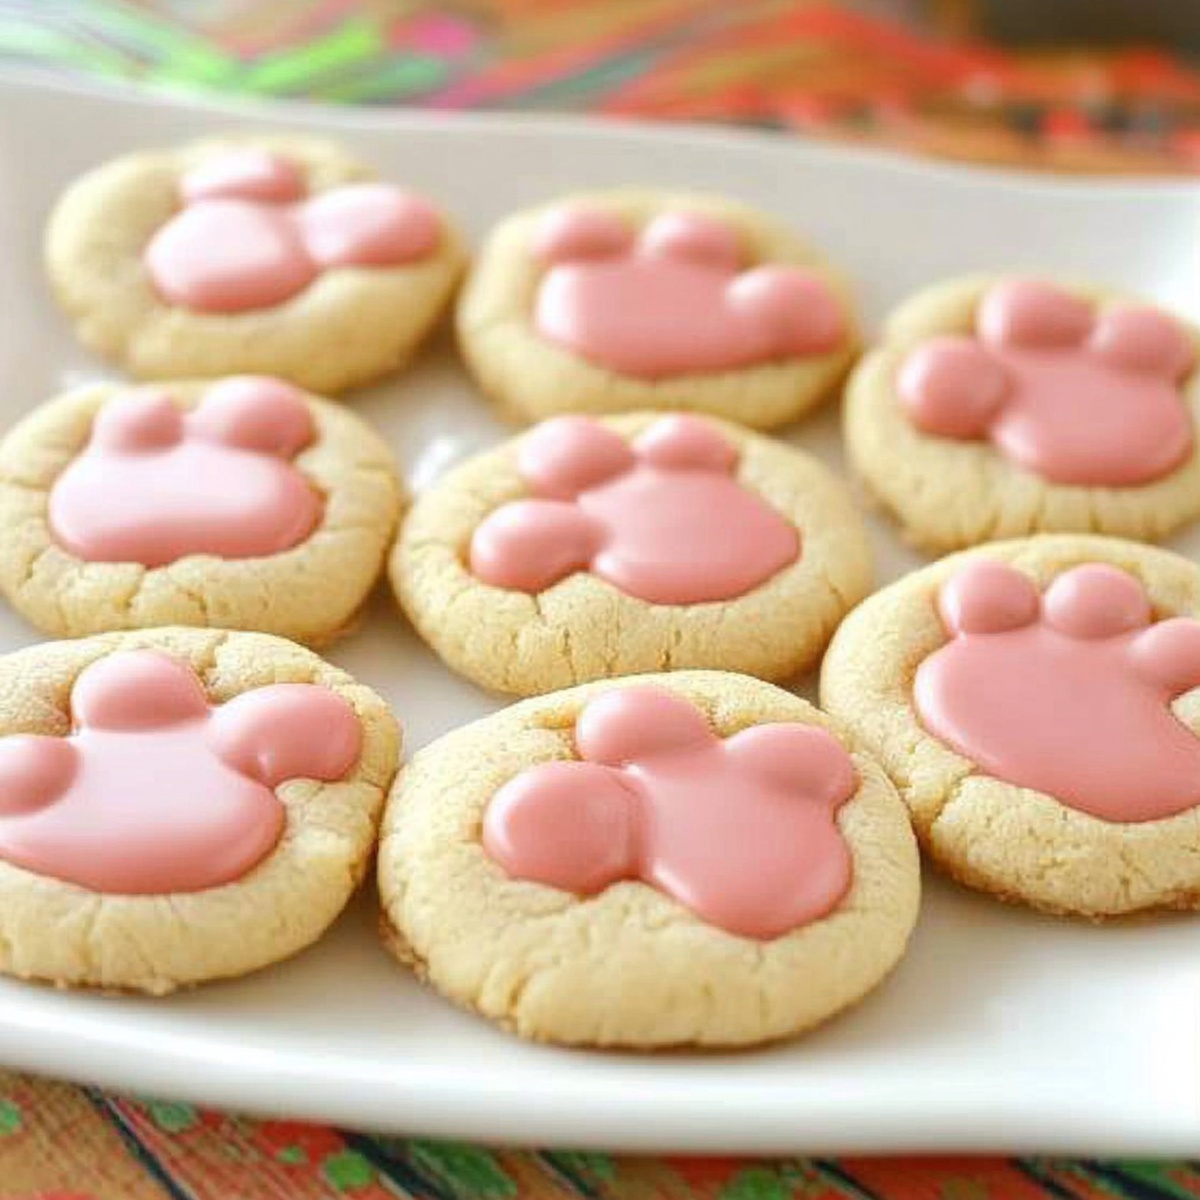
Soft sugar dough becomes magical when shaped into cute paw prints.
Kids absolutely adore these playful treats that look just like fluffy animal feet.
Pastel frosting adds whimsical details that make each cookie feel special.
Delicate decorations transform simple sugar cookies into charming springtime delights.
Crafting these treats lets you connect with creative baking magic.
Surprise everyone at your next gathering with these irresistible bunny-inspired sweets that will make hearts melt.
Bunny Paw Cookies: Adorable Spring Bites
Pantry Essentials for Bunny Paw Cookies
Main Ingredients:Flavor Enhancers:Decorative Ingredient:How to Shape and Bake Bunny Paw Cookies
Step 1: Prepare Baking Station
Preheat the oven to 350°F (175°C).
Line two baking sheets with parchment paper to ensure easy cookie removal and prevent sticking.
Step 2: Create Creamy Cookie Base
In a large mixing bowl, blend softened butter and sugar until the mixture becomes light and fluffy.
Carefully add eggs one at a time, mixing thoroughly after each addition to create a smooth, consistent batter.
Step 3: Combine Dry Ingredients
In a separate bowl, whisk together flour and baking powder.
Slowly fold the dry ingredients into the wet mixture, stirring gently until completely incorporated.
This ensures a smooth, lump-free cookie dough.
Step 4: Add Flavor Essence
Gently stir in vanilla extract, mixing until just blended.
The extract will provide a delightful aroma and subtle sweetness to the cookies.
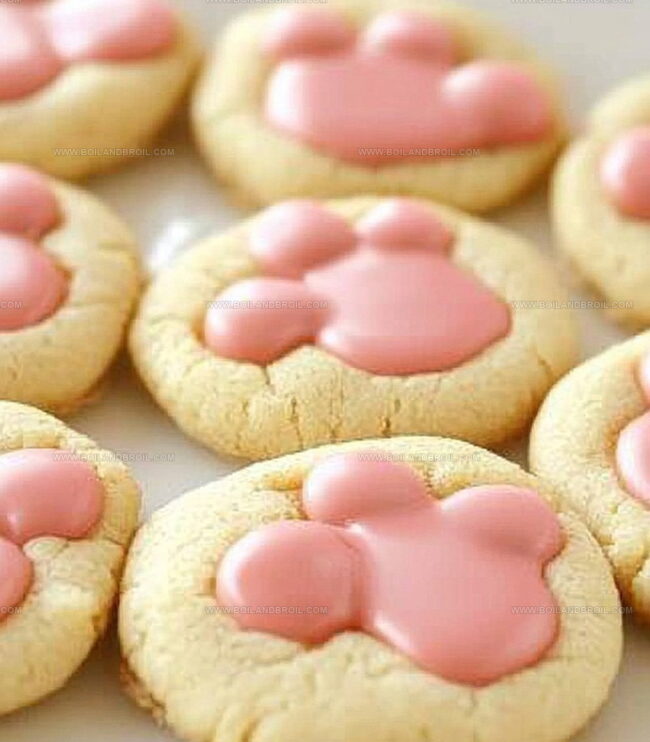
Step 5: Shape Bunny Paw Cookies
Scoop tablespoon-sized portions of dough onto the prepared baking sheets.
Space the cookie dough balls approximately two inches apart to allow room for spreading during baking.
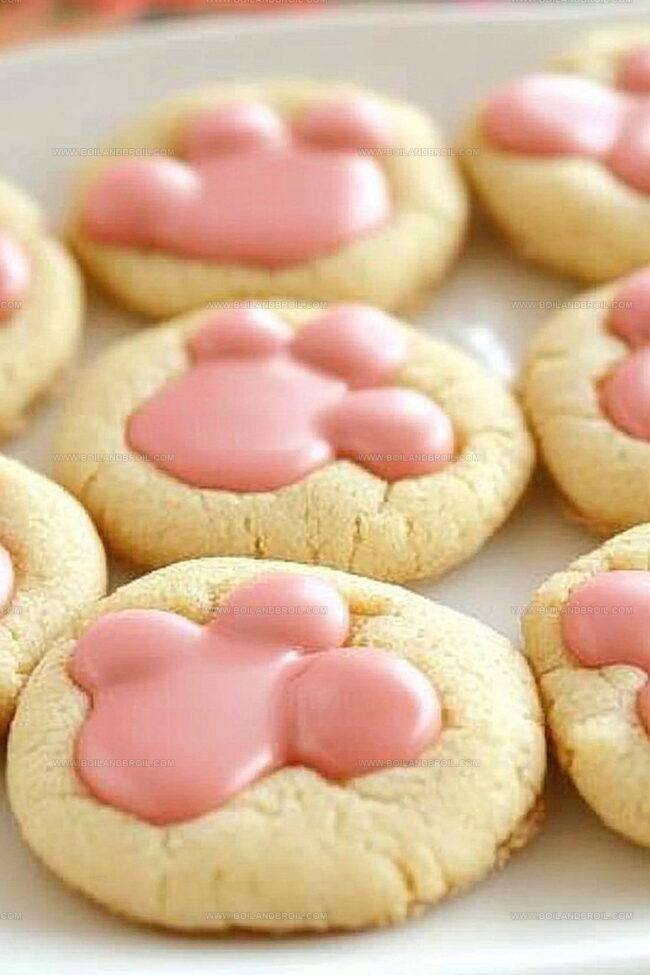
Step 6: Create Paw Print Details
Carefully press chocolate chips into the center of each cookie dough ball.
Arrange the chips to resemble adorable bunny paw prints, creating a playful and whimsical design.
Step 7: Bake to Golden Perfection
Place the baking sheets in the preheated oven.
Bake for 10-12 minutes, watching for lightly golden edges that indicate the cookies are perfectly cooked.
Step 8: Cool and Serve
Remove cookies from the oven and let them cool completely on the baking sheets.
Once cooled, transfer to a serving plate and enjoy these charming bunny paw treats.
Tips for Crisp Edges and Soft Centers
Storing and Enjoying Bunny Paw Cookies
Pairing Suggestions for Bunny Paw Cookies
Unique Flavors for Bunny Paw Cookies
FAQs
The key ingredients are butter, sugar, eggs, flour, baking powder, vanilla extract, and chocolate chips. These simple pantry staples help create the adorable bunny paw-shaped cookies.
Press the chocolate chips gently into the center of each cookie before baking. Use uniform-sized chocolate chips and place them carefully to create the signature paw print design.
Yes, you can prepare the cookie dough in advance and refrigerate it for up to 2 days before baking. This makes it easy to have fresh cookies ready quickly when you want them.
Absolutely! These cookies are great for baking with children. Kids can help press the chocolate chips to create the bunny paw prints, making it a fun and interactive baking activity.
Print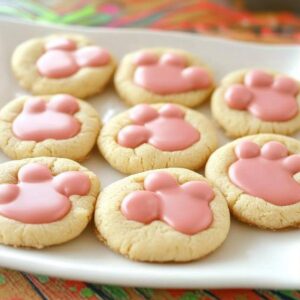
Bunny Paw Cookies Recipe
- Total Time: 25 minutes
- Yield: 12 1x
Description
Delightful bunny paw cookies bring whimsical charm to spring dessert tables, offering playful sweetness with each adorable bite. Pastry lovers will discover pure delight in these charming treats that blend cute design with delicious flavor.
Ingredients
Main Ingredients:
- 1 cup unsalted butter (room temperature)
- 2 large eggs (room temperature)
- 1 cup granulated sugar
- 2 1/2 cups all-purpose flour
Flavor Enhancers:
- 1 teaspoon vanilla extract
- 1 teaspoon baking powder
Chocolate Addition:
- 1 cup chocolate chips (semi-sweet or milk)
Instructions
- Prepare the oven at 350F (175C) and cover two baking trays with parchment paper, ensuring even surface coverage.
- Whip softened butter and sugar in a mixing bowl until light and airy, creating a smooth cream-like consistency.
- Incorporate eggs individually into the butter mixture, thoroughly blending after each addition to maintain a uniform texture.
- Combine flour and baking powder in a separate bowl, then gradually fold these dry ingredients into the wet mixture, stirring until completely integrated.
- Infuse the dough with vanilla extract, gently mixing to distribute the flavor evenly throughout.
- Using a spoon, dollop rounded portions of dough onto prepared baking sheets, maintaining approximately two inches between each cookie.
- Delicately press chocolate chips into the center of each cookie, arranging them to resemble distinctive bunny paw prints.
- Transfer cookies to the preheated oven and bake for 10-12 minutes, watching for edges to turn a delicate golden hue.
- Remove from oven and allow cookies to cool completely on the baking sheet before transferring to a serving platter.
Notes
- Softening butter perfectly helps create a fluffy, smooth cookie texture that ensures even mixing and better taste.
- Chill the dough for 30 minutes before baking to prevent spreading and maintain the adorable bunny paw shape.
- Use white chocolate chips instead of dark for a more delicate, pastel-like paw print that enhances the cute design.
- For gluten-free options, substitute all-purpose flour with a 1:1 gluten-free baking blend to accommodate dietary restrictions without compromising taste.
- Prep Time: 15 minutes
- Cook Time: 10 minutes
- Category: Desserts, Snacks
- Method: Baking
- Cuisine: American
Nutrition
- Serving Size: 12
- Calories: 190
- Sugar: 10g
- Sodium: 50mg
- Fat: 9g
- Saturated Fat: 5g
- Unsaturated Fat: 3g
- Trans Fat: 0g
- Carbohydrates: 26g
- Fiber: 1g
- Protein: 2g
- Cholesterol: 30mg
Jack Sullivan
Founder & Culinary Storyteller
Expertise
Single-recipe development with a narrative approach, Culinary storytelling and food history, Seasonal and regional ingredient utilization, Home cooking techniques adapted for modern kitchens
Education
New England Culinary Institute (Montpelier, VT)
Certificate in Culinary Arts
Focused on farm-to-table cooking, sustainable practices, and modern plating techniques.
Asheville-Buncombe Technical Community College
Associate Degree in Culinary Arts
Emphasized Southern Appalachian cuisine and local ingredient sourcing.
Jack grew up surrounded by smoky skillets and handwritten recipes in the mountains of North Carolina. His roots in Appalachian cooking shaped the way he sees food – as something that connects people, tells a story, and holds meaning.
With hands-on training and a background in sustainable, regional cooking, Jack started Boil And Broil to make meaningful meals more accessible. He’s all about one-dish recipes that are simple to follow but rich with flavor and history.