Homemade Crunchy Butterfinger Balls Recipe – Sweet Party Hit
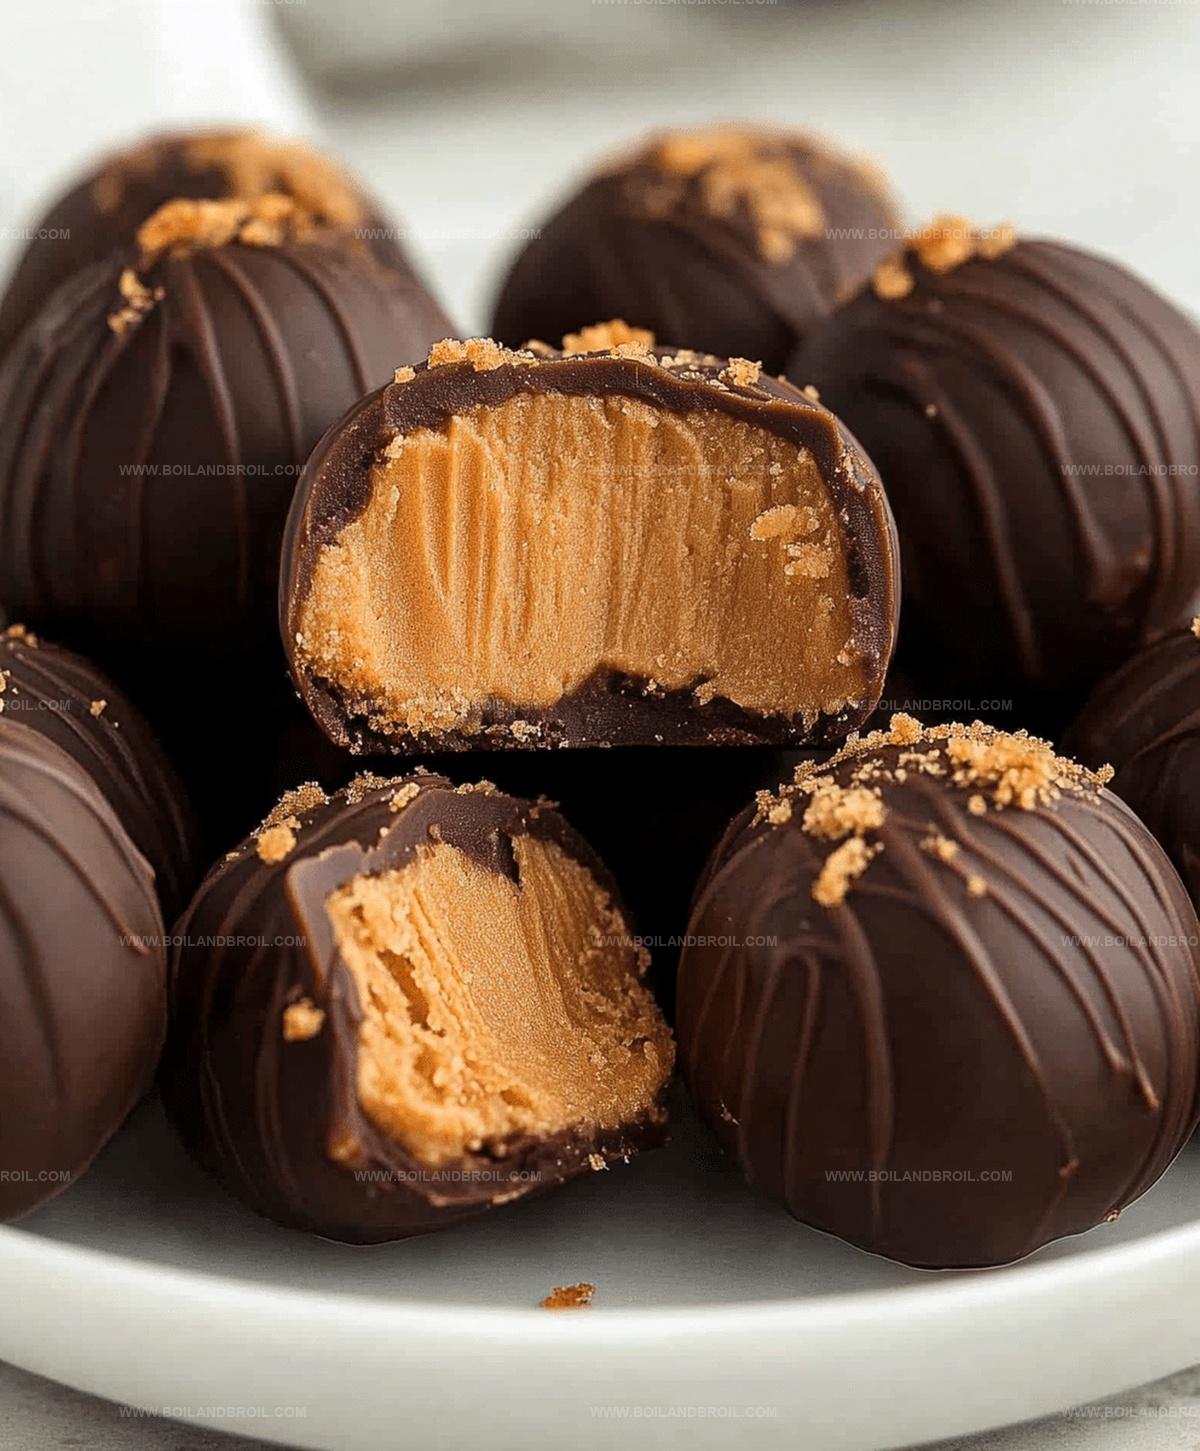
Decadent chocolate and peanut butter combine in these irresistible Butterfinger balls recipe treats that melt in your mouth.
Sweet cravings meet their match with this simple no-bake dessert.
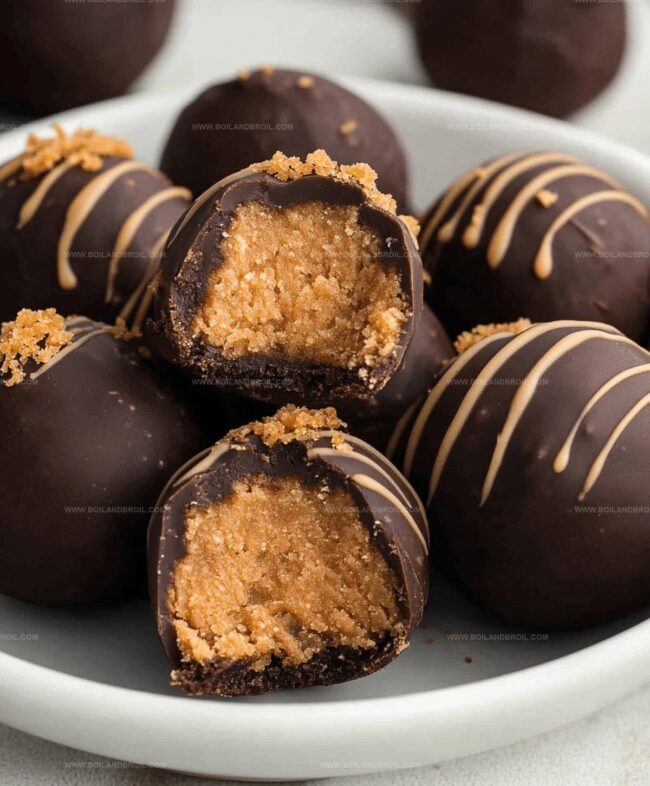
Crushed candy bars bring a rich, crunchy texture to each delightful bite.
The creamy mixture blends smooth peanut butter with crushed butterfingers for an incredible flavor punch.
Chilled to perfection, these bite-sized delights offer a perfect balance of sweet and salty notes.
Each ball promises a heavenly experience that satisfies even the most demanding sweet tooth.
Prepare to indulge in a dessert that will become your new favorite party treat.
What Makes Butterfinger Balls So Addictive
Ingredients For Making Butterfinger Candy Balls
Base Ingredients:Crumb and Candy Ingredients:Coating and Finishing Ingredients:How To Form And Chill Butterfinger Balls

Step 1: Create Creamy Peanut Butter Base
Grab a mixing bowl and blend peanut butter with softened butter.
Whip the mixture until it transforms into a silky smooth consistency.
Keep stirring until no butter lumps remain, creating a perfect creamy foundation.
Step 2: Sweeten the Mixture
Introduce vanilla extract to the creamy base.
Gradually fold in powdered sugar, working in small batches to prevent a sugar explosion across your kitchen workspace.
Step 3: Add Crunchy Texture
Incorporate delightful mix-ins:Fold these ingredients gently until the mixture becomes firm enough to shape.
If the mixture feels too soft, refrigerate briefly to enhance workability.
Step 4: Shape Delightful Treats
Cover a baking sheet with parchment paper.
Scoop out small portions and roll them into perfect round balls.
Aim for consistent bite-sized treats that look professionally crafted.
Step 5: Prepare for Chocolate Coating
Place the formed balls in the freezer.
Chilling for approximately 30 minutes helps them maintain shape during the chocolate dipping process.
Step 6: Melt Chocolate Smoothly
Use microwave technique to create perfect chocolate coating:Step 7: Chocolate Dipping Technique
Use a fork or toothpick to carefully dip each chilled ball into melted chocolate.
Allow excess chocolate to drip off, creating an elegant, even coating.
Step 8: Final Decorative Touch
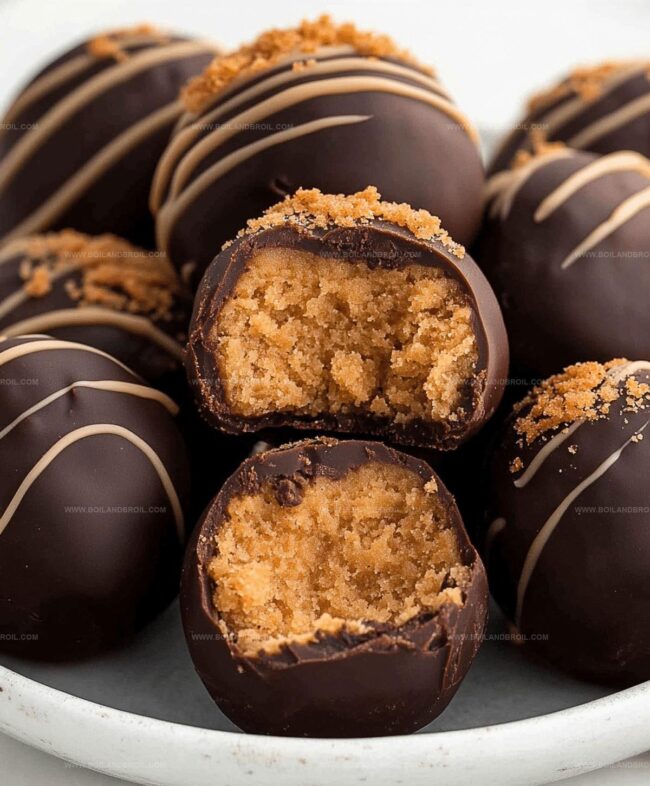
While chocolate remains wet, sprinkle additional crushed Butterfinger pieces or preferred garnish on top of each candy bite.
Step 9: Set and Serve
Allow chocolate to completely harden at room temperature or expedite the process by placing the tray in the refrigerator for 10-15 minutes.
Serve and enjoy these irresistible treats!
Tips For Best Candy Ball Texture
How To Store These Chocolate Balls Well
Sweet Pairings That Go With Butterfinger Balls
Pair Creamy Chocolate Delight with Complementary Beverages:Flavor Ideas To Customize Butterfinger Balls
FAQs
Graham cracker crumbs help bind the ingredients together and add a subtle sweet, crunchy texture that complements the peanut butter and Butterfinger flavors.
Yes, you can substitute Butterfinger with other chocolate or peanut butter candy bars like Reese’s or Crunch bars for a similar effect.
If the mixture is too soft, refrigerate it for 10 minutes before rolling. This helps firm up the ingredients and makes it easier to form smooth balls.
Use the microwave method with 30-second intervals at 50% power, stirring between each interval. Stop when there are a few chunks left and stir until smooth to avoid overheating.
Print
Butterfinger Balls Recipe
- Total Time: 1 hour
- Yield: 24 1x
Description
Indulgent Butterfinger Balls combine creamy peanut butter with crunchy candy bar pieces, creating a delightful no-bake dessert. Sweet sensations melt in your mouth, offering a perfect treat for chocolate and peanut butter enthusiasts.
Ingredients
Main Ingredients:
- 1 cup creamy peanut butter
- 0.5 cup crushed butterfinger bars
- 0.75 cup graham cracker crumbs
Binding Ingredients:
- 1 cup powdered sugar
- 4 tablespoons (0.25 cups) butter, softened
- 1 teaspoon vanilla extract
Coating Ingredients:
- 8 ounces (226 grams) chocolate bark or chocolate chips
Garnish:
- Additional crushed butterfingers
- Holiday sprinkles (optional)
- Coarse salt (optional)
Instructions
- In a medium mixing bowl, vigorously blend peanut butter and softened butter until achieving a silky, uniform consistency with zero butter lumps, approximately 1 minute.
- Introduce vanilla extract and gradually incorporate powdered sugar, mixing in incremental stages to prevent messy sugar dispersion.
- Gently fold graham cracker crumbs and crushed Butterfinger pieces into the mixture, ensuring a compact texture suitable for shaping. Refrigerate 10 minutes if mixture feels too soft.
- Prepare a parchment-lined baking sheet and methodically form uniform spherical portions, using 1-1½ tablespoon scoops. Roll each portion into smooth, compact balls with consistent size.
- Transfer balls to freezer and chill for 30 minutes, which stabilizes structural integrity and prepares surface for chocolate coating.
- Melt chocolate using microwave technique: heat at 50% power in 30-second intervals, stirring between cycles. Stop when slight chunks remain, then stir until completely smooth, avoiding overheating.
- Utilizing a fork or toothpick, submerge each frozen ball into melted chocolate, allowing excess to drip. Position coated balls back onto parchment paper and immediately garnish while chocolate remains wet.
- Allow chocolate coating to solidify completely at room temperature or accelerate process by refrigerating 10-15 minutes before serving.
Notes
- Chill the mixture briefly if it’s too soft to prevent sticky hands when rolling balls, ensuring smooth and easy shaping.
- Use room temperature ingredients for better blending and smoother texture, preventing lumpy or uneven consistency.
- Crush Butterfinger candy bars finely to distribute flavor evenly and create a more uniform coating throughout the mixture.
- Prep Time: 55 minutes
- Cook Time: 5 minutes
- Category: Desserts, Snacks
- Method: Rolling
- Cuisine: American
Nutrition
- Serving Size: 24
- Calories: 132
- Sugar: 9 g
- Sodium: 58 mg
- Fat: 7 g
- Saturated Fat: 3 g
- Unsaturated Fat: 4 g
- Trans Fat: 0 g
- Carbohydrates: 14 g
- Fiber: 0.5 g
- Protein: 2 g
- Cholesterol: 5 mg
Clara Thompson
Recipe Developer & Culinary Educator
Expertise
Developing accessible single-serving recipes, Food writing and content creation, Plant-based and allergen-friendly cooking, Culinary education and workshop facilitation
Education
Oregon Culinary Institute (Portland, OR)
Diploma in Culinary Arts
Specialized in plant-based cooking and sustainable kitchen practices.
Portland Community College
Certificate in Food Writing and Media
Focused on recipe writing, food photography, and digital content creation.
Clara’s food journey began with a curiosity for color, texture, and ingredients pulled straight from the garden. Her background in plant-forward cooking and creative writing gives her a unique edge – she makes healthy, flavorful food feel inviting, not intimidating.
She specializes in meals that work for busy lives and different diets, all without sacrificing taste. Clara’s voice comes through in every recipe she writes – clear, kind, and encouraging.