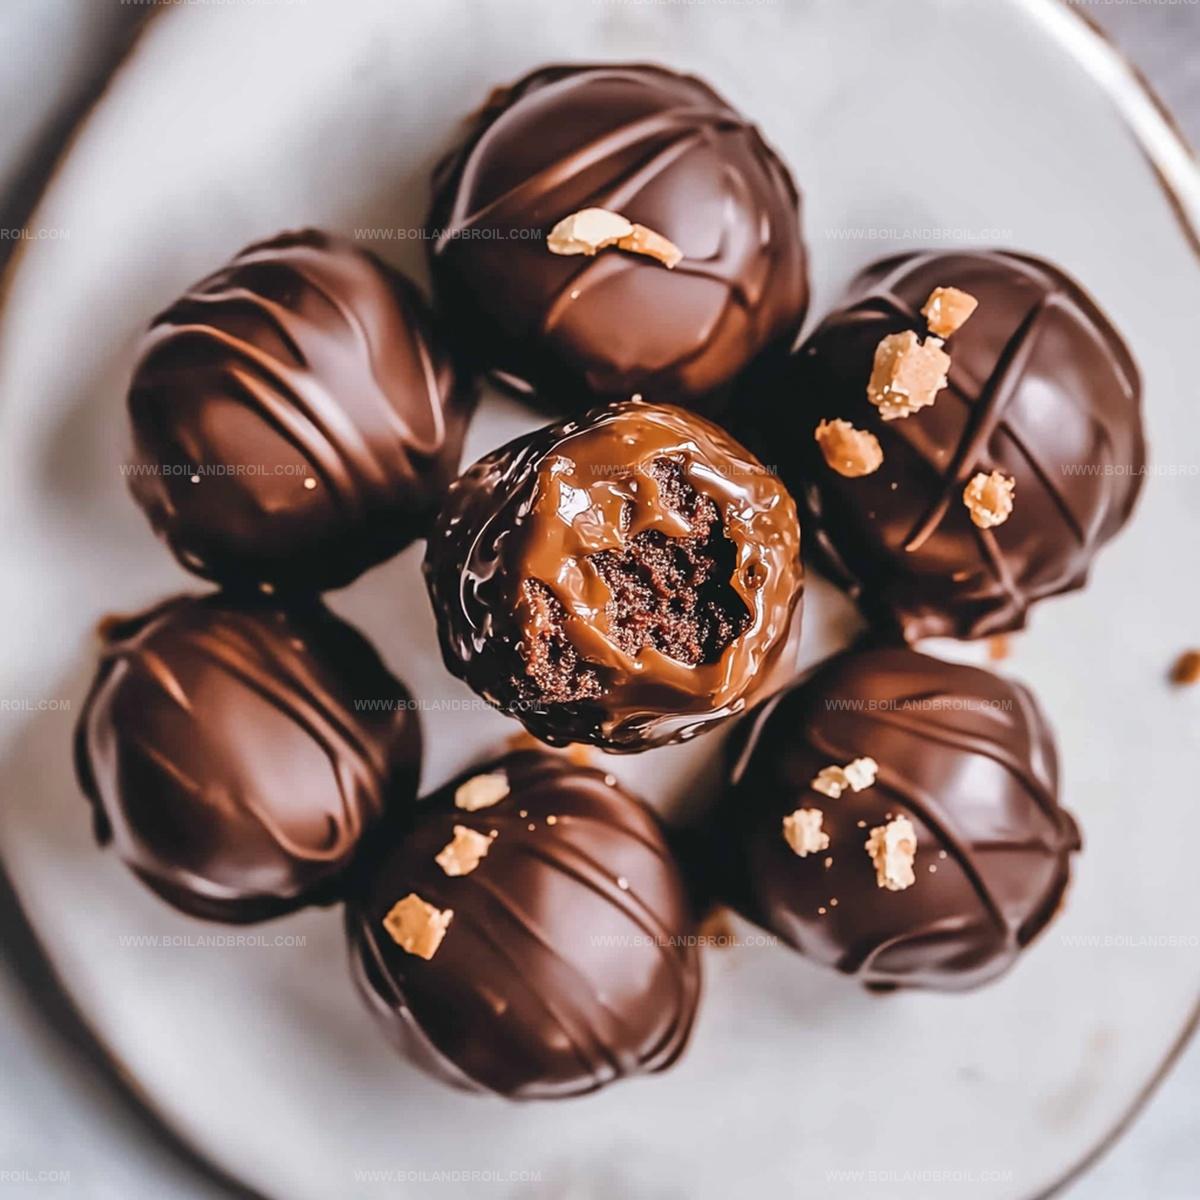
Indulgent Caramel Brownie Truffles Recipe: Sweet Bliss in Bites
Sweet chocolate dreams meet decadent caramel brownie truffles in a magical bite-sized treat that melts hearts instantly.
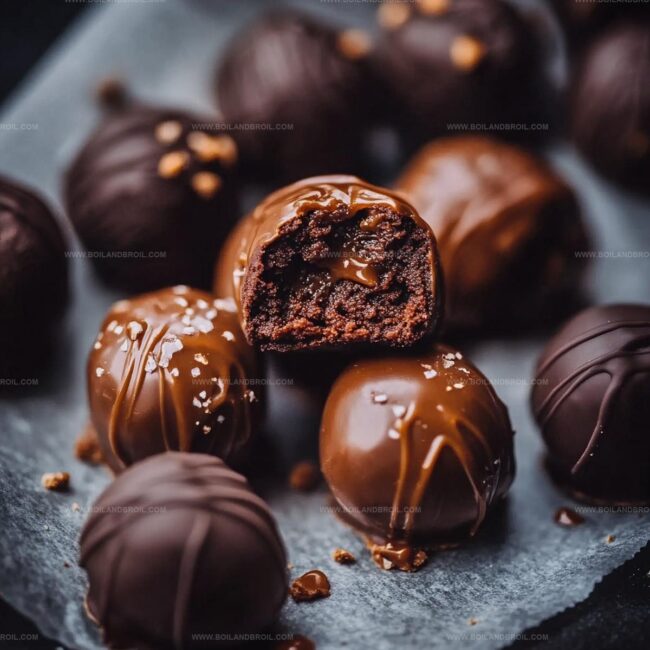
Chocolate lovers will swoon over these rich, fudgy delights crafted with pure indulgence.
Blending intense cocoa with gooey caramel creates an irresistible combination that dances on your palate.
Layers of complex flavors emerge with each delicate morsel, promising pure dessert satisfaction.
Minimal ingredients and simple techniques make these truffles accessible for home bakers of all skill levels.
Impressive yet uncomplicated, these little gems will become your new favorite dessert obsession.
You won’t be able to resist making batch after batch of these sinful, silky-smooth confections.
Tips to Make Brownie Truffles Rich and Smooth
Storing and Serving Brownie Truffles Later
Great Pairings for Caramel Brownie Truffles
Fun Fillings for Brownie Truffle Variations
FAQs
Yes, homemade brownies work perfectly. Just ensure they’re completely cooled before crumbling.
Semi-sweet or dark chocolate chips melt smoothly and provide a rich flavor. Milk chocolate is also an option for a sweeter coating.
Make sure the brownie-caramel mixture is well-chilled and compact. Use a fork to carefully dip and drain excess chocolate.
Absolutely! You can prepare them up to 3 days in advance and store in an airtight container in the refrigerator.
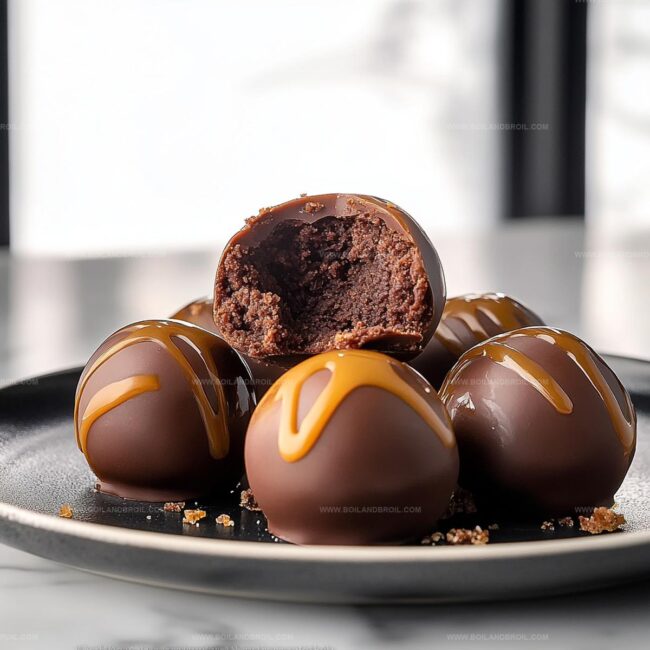
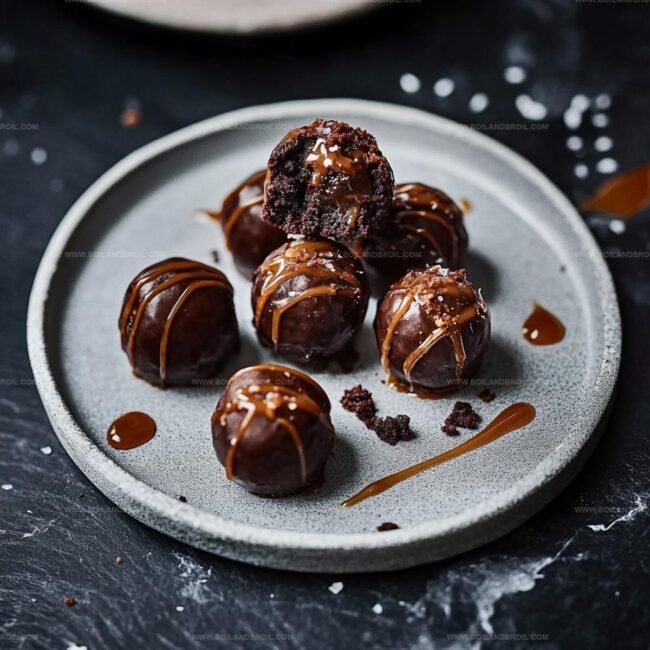
Caramel Brownie Truffles That Melt in Your Mouth
What You’ll Need for Brownie Truffle Bites
Base Ingredients:Coating Ingredients:Finishing Ingredient:How to Shape and Coat Brownie Truffles
Step 1: Bake Delicious Brownies
Whip up a batch of your favorite brownies and let them cool completely.
Once cooled, crumble the brownies into tiny, delectable pieces in a large mixing bowl.
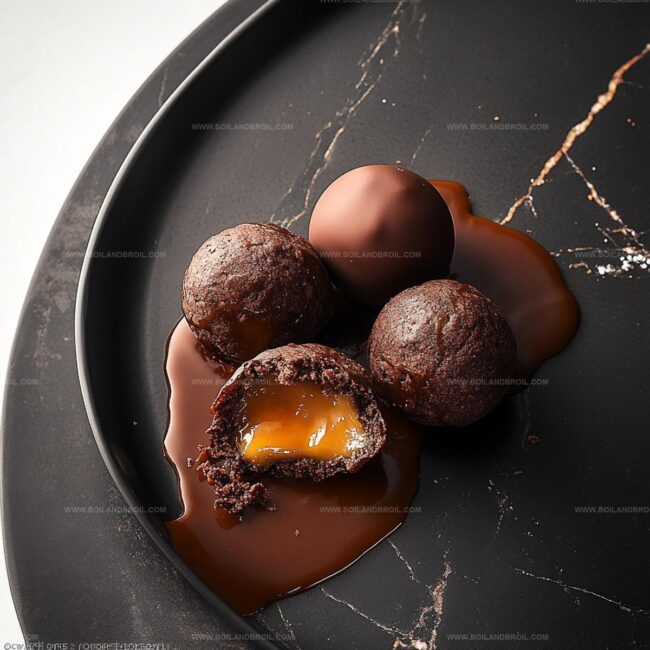
Step 2: Create Gooey Caramel Blend
Grab a microwave-safe bowl and combine:Microwave in short bursts, stirring between each interval until the mixture becomes silky smooth and fully incorporated.
Step 3: Craft Truffle Bases
Mix the crumbled brownies with the warm caramel sauce.
Gently blend until the mixture holds together.
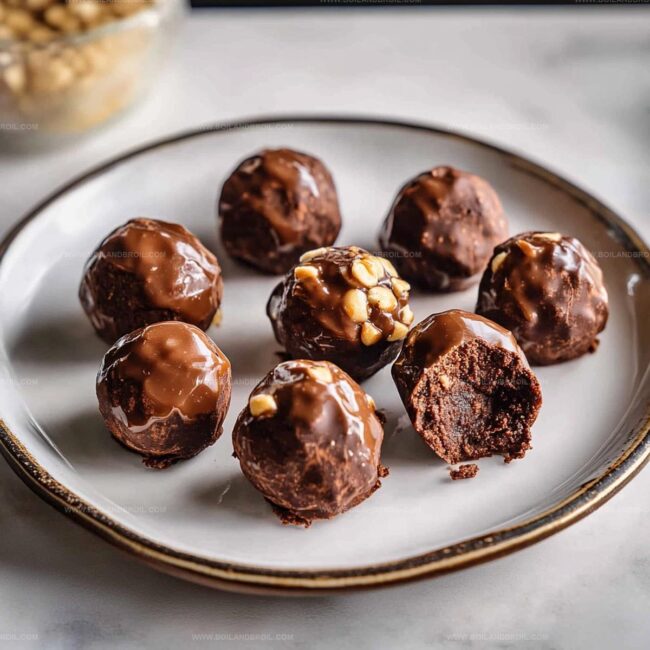
Roll the mixture into small, perfectly round balls.
Place these delightful spheres on a parchment-lined baking sheet.
Pop them in the refrigerator for a quick 15-minute chill to firm up.
Step 4: Chocolate Dipping Magic
Prepare the chocolate coating by melting:Dunk each chilled truffle into the melted chocolate, ensuring a complete and even coating.
Return the chocolate-covered truffles to the parchment-lined sheet.
Sprinkle a pinch of sea salt on top for an extra flavor punch.
Step 5: Final Chill and Serve
Refrigerate the truffles until the chocolate sets completely.
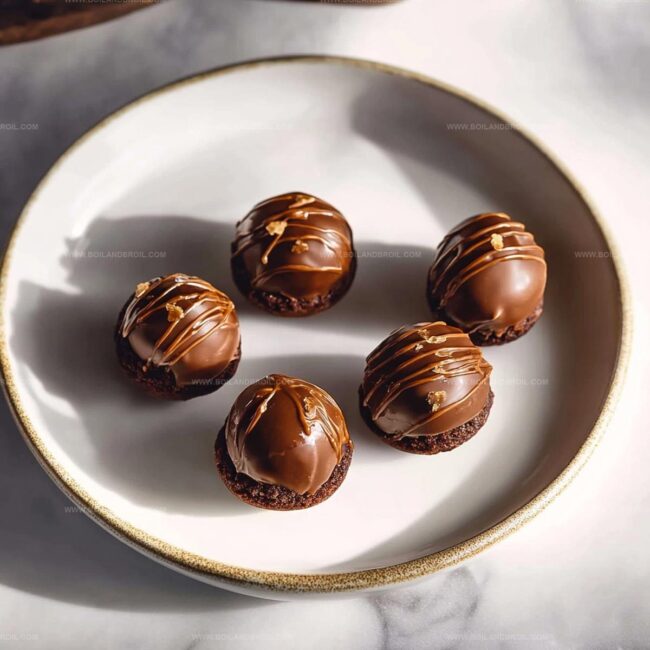
Serve these irresistible treats chilled or allow them to come to room temperature for a melt-in-your-mouth experience.
Watch as your friends and family devour these decadent caramel brownie truffles!
Print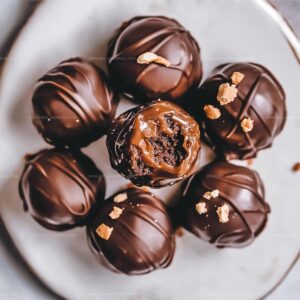
Caramel Brownie Truffles Recipe
- Total Time: 25 minutes
- Yield: 12 1x
Description
Chocolate-rich Caramel Brownie Truffles melt seamlessly between fudgy indulgence and elegant confection. Silky ganache and deep caramel notes invite sweet explorers into a luxurious dessert experience where each bite promises delectable pleasure.
Ingredients
Main Ingredients:
- 1 batch brownies (homemade or store-bought, about 8x8 inch pan)
- 12 soft caramels
- 1 cup chocolate chips (milk or dark chocolate)
Coating and Binding Ingredients:
- 2 tablespoons (30 milliliters) heavy cream
- 1 tablespoon (15 milliliters) coconut oil (optional, for smoother coating)
Garnish:
- Sea salt (for garnish)
Instructions
- Transform freshly baked brownies into fine crumbs inside a spacious mixing container, ensuring a uniform texture without large chunks.
- Create a silky caramel mixture by microwaving caramels with heavy cream, stirring every 15 seconds until achieving a smooth, glossy consistency.
- Integrate the crumbled brownie fragments with the warm caramel sauce, blending thoroughly until a moldable mixture forms.
- Gently shape the caramel-brownie blend into compact, uniform spheres approximately one inch in diameter, positioning each truffle on a parchment-lined baking tray.
- Briefly chill the formed truffles in the refrigerator for 15 minutes to stabilize their structure and enhance cohesion.
- Melt chocolate chips combined with coconut oil, creating a glossy coating that will encase each truffle completely.
- Carefully immerse each chilled truffle into the melted chocolate, ensuring full coverage, and delicately return to the parchment-lined surface.
- Sprinkle a subtle layer of flaky sea salt across the chocolate-coated truffles for a contrasting flavor profile.
- Refrigerate the truffles for approximately 10-15 minutes until the chocolate coating solidifies and becomes firm.
- Serve the truffles either chilled or at ambient room temperature for optimal taste and texture.
Notes
- Crumble brownies when completely cool to prevent sticky, messy texture and ensure clean, even breaking.
- Mix caramel slowly to avoid burning, creating smooth, silky consistency that blends perfectly with brownie crumbs.
- Use room temperature ingredients for easier mixing and more consistent truffle formation, preventing cracking or uneven surfaces.
- Experiment with different chocolate coatings like dark, milk, or white chocolate to customize flavor profiles and match personal preferences.
- Prep Time: 15 minutes
- Cook Time: 10 minutes
- Category: Desserts, Snacks
- Method: No-bake
- Cuisine: American
Nutrition
- Serving Size: 12
- Calories: 210
- Sugar: 15g
- Sodium: 100mg
- Fat: 12g
- Saturated Fat: 7g
- Unsaturated Fat: 3g
- Trans Fat: 0g
- Carbohydrates: 25g
- Fiber: 1g
- Protein: 2g
- Cholesterol: 20mg
Jack Sullivan
Founder & Culinary Storyteller
Expertise
Single-recipe development with a narrative approach, Culinary storytelling and food history, Seasonal and regional ingredient utilization, Home cooking techniques adapted for modern kitchens
Education
New England Culinary Institute (Montpelier, VT)
Certificate in Culinary Arts
Focused on farm-to-table cooking, sustainable practices, and modern plating techniques.
Asheville-Buncombe Technical Community College
Associate Degree in Culinary Arts
Emphasized Southern Appalachian cuisine and local ingredient sourcing.
Jack grew up surrounded by smoky skillets and handwritten recipes in the mountains of North Carolina. His roots in Appalachian cooking shaped the way he sees food – as something that connects people, tells a story, and holds meaning.
With hands-on training and a background in sustainable, regional cooking, Jack started Boil And Broil to make meaningful meals more accessible. He’s all about one-dish recipes that are simple to follow but rich with flavor and history.