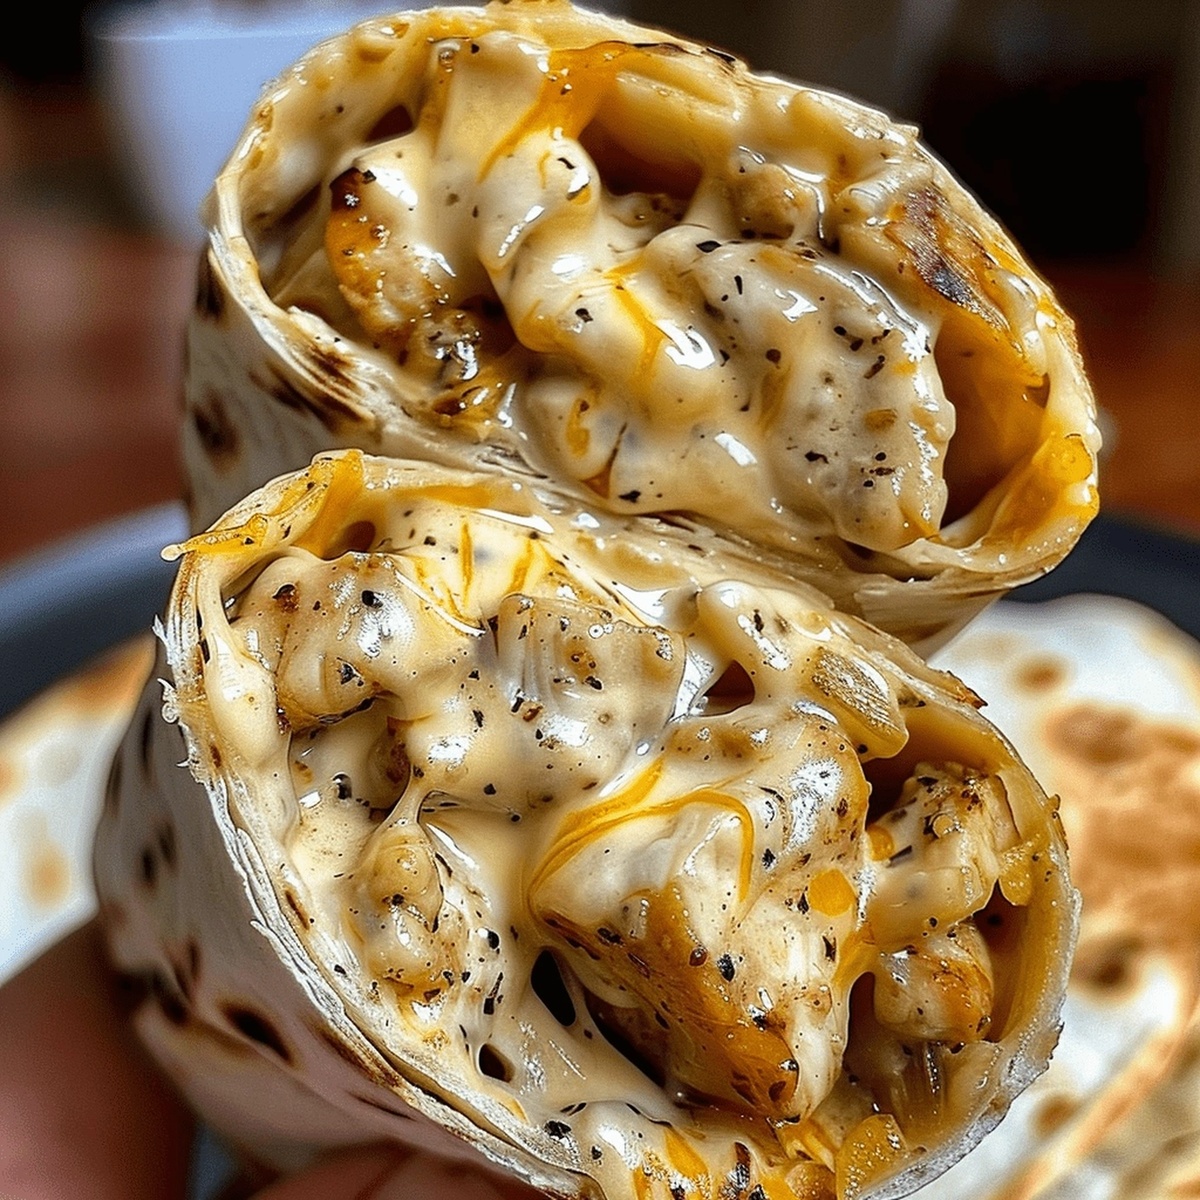
Quick & Creamy Cheesy Garlic Chicken Wraps Recipe for Dinner Joy
Whipping up these delectable cheesy garlic chicken wraps can turn an ordinary dinner into a mouthwatering adventure.
Crisp tortillas embrace tender, seasoned chicken with a melty cheese blanket that promises pure comfort.
Garlic lovers will swoon over the robust flavors dancing through each carefully crafted bite.
Simple ingredients combine to create something extraordinary in just minutes.
Kitchen magic happens when fresh components meet smart techniques.
Minimal effort yields maximum satisfaction with this crowd-pleasing meal that keeps everyone asking for seconds.
What Makes These Garlic Chicken Wraps So Easy
Tortellini Alfredo Casserole Ingredient Breakdown
Main Protein:Dairy Components:Wrap and Seasoning Base:Optional Garnish:Creamy Tortellini Alfredo Casserole: Baking Method
Step 1: Sizzle Garlic in Butter
Grab a skillet and melt butter over medium heat. Toss in minced garlic and let it dance around for 1-2 minutes until the kitchen fills with a mouth-watering aroma.
Step 2: Spice Up the Chicken
Drop the cooked chicken into the skillet. Sprinkle in:Stir everything together until the chicken is heated through and coated with flavor.
Step 3: Create Creamy Cheese Blend
In a mixing bowl, whip together:Mix until the texture is silky smooth.
Step 4: Combine Chicken and Cheese Mixture
Pull the chicken off the heat and fold it into the creamy cheese blend. Make sure every piece of chicken is generously coated.
Step 5: Prepare the Wraps
Spread out the tortillas and distribute the chicken-cheese mixture evenly in the center. Sprinkle the remaining shredded cheese on top.
Step 6: Roll Into Perfect Wraps
Fold the sides of each tortilla over the filling and roll tightly into neat little packages.
Step 7: Grill to Golden Perfection
Heat a clean skillet or grill pan over medium heat. Cook the wraps for 2-3 minutes on each side until they turn a beautiful golden brown and the cheese melts into gooey deliciousness.
Step 8: Serve and Enjoy
Optional: Garnish with fresh parsley. Serve these wraps warm and watch them disappear in seconds!
Casserole Tips That Keep Tortellini Alfredo Smooth and Cheesy
Creamy Tortellini Alfredo Casserole Reheating Instructions
Side Picks for Tortellini Alfredo Casserole
Garlic Chicken Wrap Styles
FAQs
Yes, shredded rotisserie chicken works perfectly and saves time while maintaining great flavor.
Add red pepper flakes, diced jalapeños, or a dash of hot sauce to the chicken mixture for extra heat.
Mozzarella, cheddar, or a Mexican blend cheese will melt smoothly and provide excellent gooey texture.
You can assemble the wraps and refrigerate them for up to 24 hours before cooking, making them great for meal prep.
Print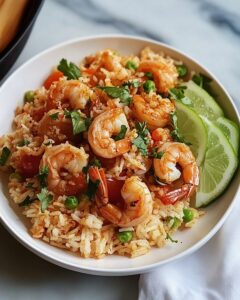
Firecracker Shrimp and Rice Recipe
- Total Time: 18 minutes
- Yield: 4 1x
Description
Sizzling firecracker shrimp dances with bold Asian-inspired flavors over fluffy rice, creating a spicy sensation that ignites dinner tables. Crispy, zesty shrimp nestled on fragrant grains promises a quick, delectable meal you’ll crave again and again.
Ingredients
Shrimp:
- 1 1/4 pounds small shrimp, peeled and deveined, tails removed
- 3 tablespoons cornstarch
- 1/2 teaspoon kosher salt
- 1/4 teaspoon crushed red pepper flakes, plus more for garnish
Sauce and Seasonings:
- 1/3 cup light brown sugar
- 3 tablespoons fresh orange juice
- 2 tablespoons hot sauce (such as Frank’s)
- 2 tablespoons rice vinegar
- 1/4 cup vegetable oil
- 1 1/2 teaspoons fresh ginger, grated
- 3 cloves garlic, grated
Rice and Garnish:
- 3 cups cooked basmati rice
- 1 bunch scallions, cut into 1/2-inch pieces
- Sriracha, for garnish
- Fresh cilantro leaves, for garnish
Instructions
- Craft a zesty marinade by whisking brown sugar, orange juice, hot sauce, rice vinegar, red pepper flakes, and salt in a medium bowl.
- Thoroughly dry shrimp using paper towels, then coat evenly with cornstarch in a large bowl.
- Heat vegetable oil in a large nonstick skillet over medium-high heat until the surface appears shimmery and hot.
- Sear shrimp for approximately 1 minute per side, achieving a pink color and slight crispiness.
- Introduce grated ginger and garlic to the skillet, sautéing for 1 minute to release aromatic flavors.
- Pour prepared sauce over shrimp, then fold in cooked rice and sliced scallions, ensuring thorough mixing.
- Simmer the mixture for 2-3 minutes, allowing ingredients to meld and heat thoroughly.
- Transfer to serving plates, garnishing with additional red pepper flakes, a sriracha drizzle, and fresh cilantro leaves for a vibrant finish.
Notes
- Ensure shrimp are completely dry before coating with cornstarch to achieve maximum crispiness and prevent soggy texture.
- Use high-quality hot sauce and fresh ginger for a more vibrant and complex flavor profile.
- For a gluten-free version, substitute cornstarch with arrowroot powder and use tamari instead of traditional soy sauce.
- Experiment with different protein options like chicken or tofu if seafood isn’t preferred, adjusting cooking times accordingly.
- Prep Time: 10 minutes
- Cook Time: 8 minutes
- Category: Lunch, Dinner, Appetizer, Snacks
- Method: Frying
- Cuisine: Asian
Nutrition
- Serving Size: 4
- Calories: 400
- Sugar: 12 g
- Sodium: 500 mg
- Fat: 20 g
- Saturated Fat: 2 g
- Unsaturated Fat: 18 g
- Trans Fat: 0 g
- Carbohydrates: 42 g
- Fiber: 1 g
- Protein: 15 g
- Cholesterol: 150 mg
Clara Thompson
Recipe Developer & Culinary Educator
Expertise
Developing accessible single-serving recipes, Food writing and content creation, Plant-based and allergen-friendly cooking, Culinary education and workshop facilitation
Education
Oregon Culinary Institute (Portland, OR)
Diploma in Culinary Arts
Specialized in plant-based cooking and sustainable kitchen practices.
Portland Community College
Certificate in Food Writing and Media
Focused on recipe writing, food photography, and digital content creation.
Clara’s food journey began with a curiosity for color, texture, and ingredients pulled straight from the garden. Her background in plant-forward cooking and creative writing gives her a unique edge – she makes healthy, flavorful food feel inviting, not intimidating.
She specializes in meals that work for busy lives and different diets, all without sacrificing taste. Clara’s voice comes through in every recipe she writes – clear, kind, and encouraging.