
Cheesy Taco Stuffed Shells Recipe: A Fun Family Favorite
Crafting a mouthwatering cheesy taco stuffed meal can turn an ordinary evening into a culinary adventure.
Packed with zesty ingredients, this recipe promises to satisfy those intense dinner cravings.
Spices dance through each bite, creating a symphony of flavors that’ll make you smile.
Your kitchen will soon fill with an irresistible aroma that draws everyone close.
Simple techniques combine classic Mexican-inspired elements with comfort food favorites.
We love how effortlessly these tacos come together in minutes.
Grab a plate and get ready to experience a dinner that’ll become your new go-to comfort classic.
Cheesy Taco Stuffed Dish Highlights
What Goes Into Cheesy Taco Stuffed
Main Protein:Seasoning and Cheese:Base and Binding Ingredients:Flavor Enhancers:Optional Toppings:How to Make Cheesy Taco Stuffed Fast

Step 1: Fire Up the Filling
Grab a skillet and drizzle olive oil.
Toss in diced onions and dance them around until they turn soft and translucent.
Crumble ground beef into the pan and brown the meat until no pink remains.
Sprinkle taco seasoning over the mixture and pour in water.
Let everything bubble and meld together.
Stir in shredded cheddar cheese and take the skillet off the heat.
Step 2: Warm Up the Tortillas
Crank your oven to 375°F.
Brush flour tortillas with melted butter, coating both sides generously.
Lay the buttery tortillas on a baking sheet, ready for their transformation.
Step 3: Create Taco Magic
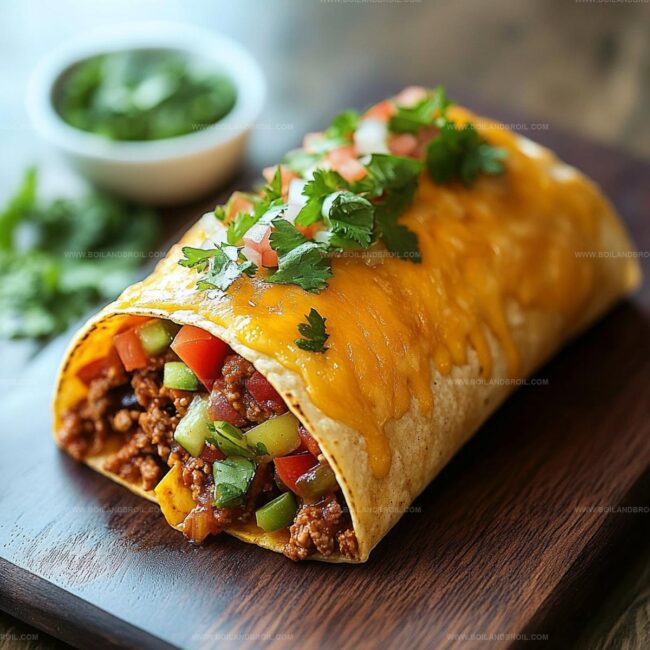
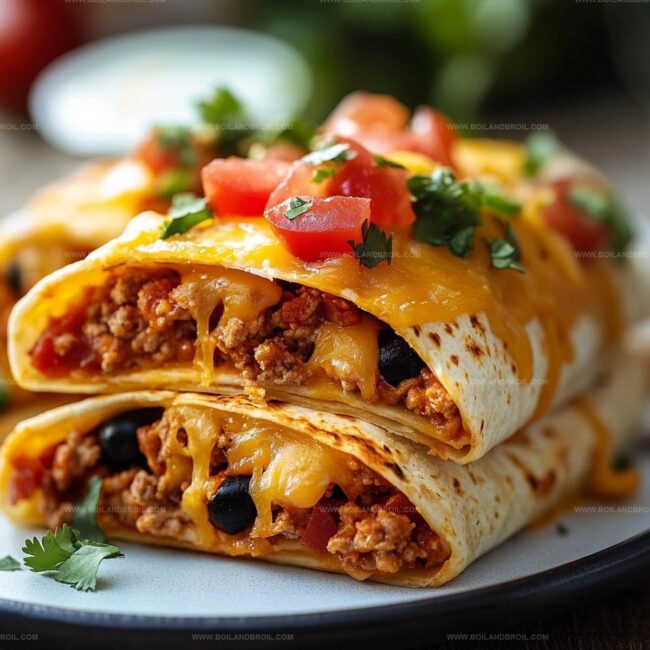
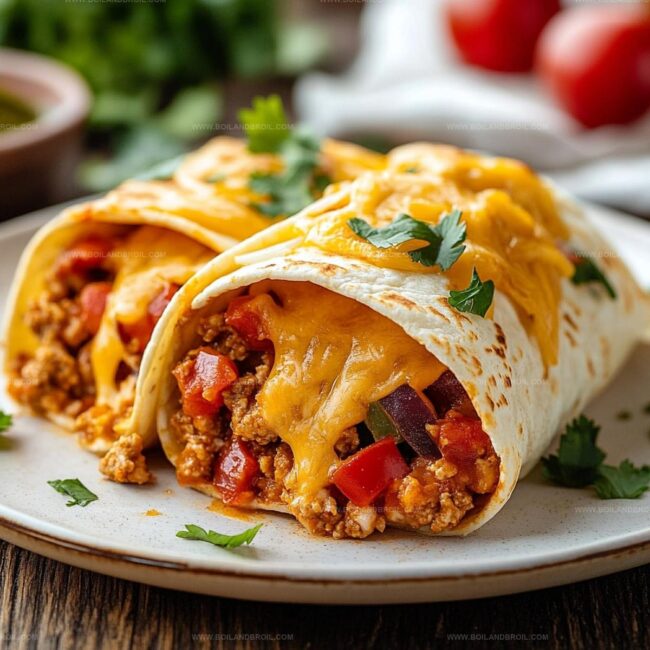
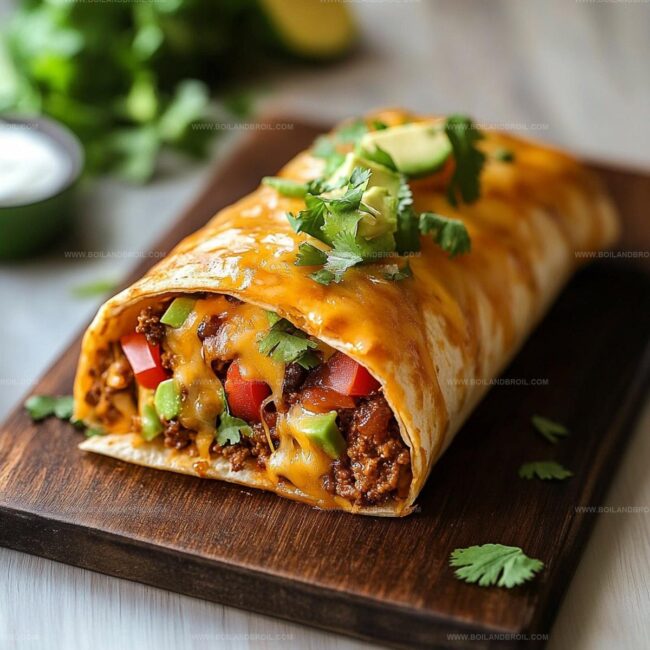
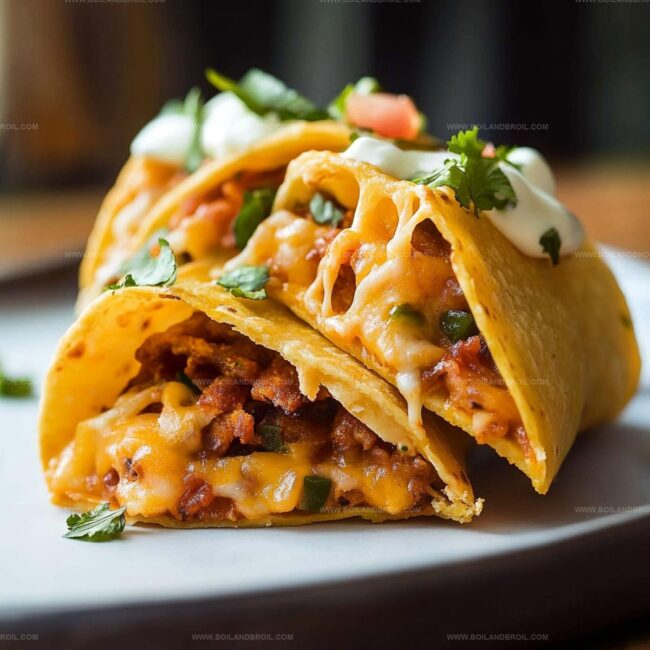
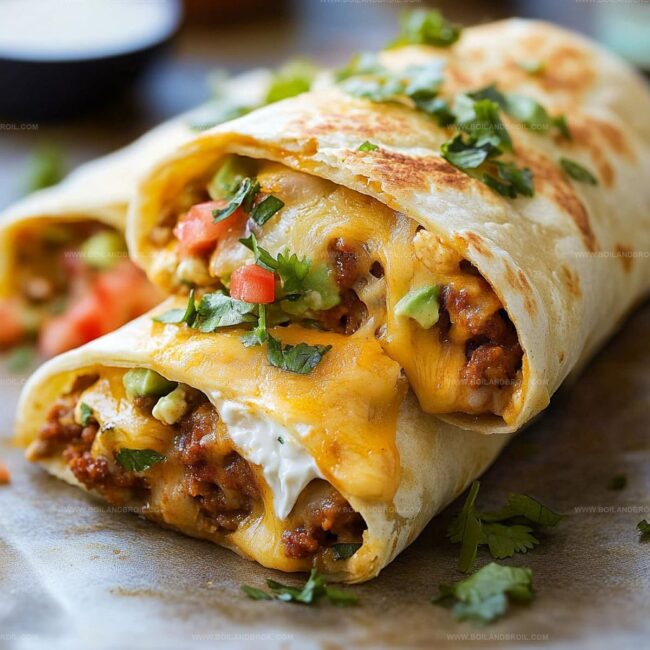
Spoon the sizzling beef mixture into the center of each tortilla.
Roll them up snugly, tucking in the sides to keep the cheesy goodness locked inside.
Position the rolled tortillas seam-side down on the baking sheet.
Step 4: Bake to Golden Perfection
Slide the baking sheet into the oven.
Let the tortillas crisp up and turn a beautiful golden brown, about 12-15 minutes.
Step 5: Serve and Celebrate
Pull the tortillas out and let them cool for a moment.
Slice diagonally and get ready to garnish with your favorite toppings.
Tips for Cheesy Taco Stuffed Done Right
Save and Reheat Cheesy Taco Stuffed
What Goes with Cheesy Taco Stuffed
Tasty Spins on Cheesy Taco Stuffed
FAQs
Yes, ground turkey is a great lean alternative. Just ensure it’s fully cooked and seasoned similarly to the ground beef recipe.
The spice level depends on your taco seasoning. Use mild seasoning for less heat or add hot sauce for extra kick.
Cheddar is classic, but you can also use monterey jack, pepper jack, or a mexican cheese blend for more flavor.
Prepare the filling and roll the tacos in advance, then refrigerate. Bake just before serving to maintain crispy texture.
Print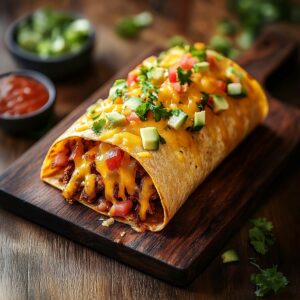
Cheesy Taco Stuffed Recipe
- Total Time: 30 minutes
- Yield: 4 1x
Description
Savory Mexican-inspired Cheesy Taco Stuffed Peppers blend bold spices with creamy cheese and hearty ground beef. Colorful bell peppers cradle a zesty filling that promises a delightful fiesta of flavors you won’t want to miss.
Ingredients
Main Proteins:
- 1 pound (1 lb) ground beef
- 1 packet taco seasoning
Vegetables and Aromatics:
- 1 small onion, finely chopped
- 4 large flour tortillas
Dairy, Fats, and Liquids:
- 1 tablespoon olive oil
- 1 cup shredded cheddar cheese
- 1/2 cup water (or beef broth)
- 1 tablespoon butter, melted (for brushing)
Optional Toppings:
- sour cream
- salsa
- chopped cilantro
- jalapenos
Instructions
- Warm a skillet over medium heat with olive oil. Sauté diced onions until translucent and softened, approximately 2-3 minutes.
- Add ground beef to the skillet, breaking it into crumbles. Cook until meat is completely browned and no pink remains.
- Sprinkle taco seasoning over the meat and pour water. Simmer mixture for 3-4 minutes, allowing sauce to thicken and flavors to meld.
- Fold shredded cheddar cheese into the meat mixture, then remove from heat. The residual warmth will help cheese slightly melt.
- Preheat oven to 375°F (190°C). Brush flour tortillas generously with melted butter on both sides to ensure even browning.
- Distribute the seasoned meat mixture evenly across the center of each tortilla. Roll tightly, tucking in sides to prevent filling from escaping.
- Arrange rolled tacos seam-side down on a baking sheet, ensuring they don’t touch each other.
- Bake for 12-15 minutes until tortillas turn golden brown and crisp, creating a crunchy exterior.
- Allow tacos to rest for 2-3 minutes after removing from oven. Slice diagonally and garnish with sour cream, salsa, or sliced jalapeños before serving.
Notes
- Choose lean ground beef or turkey for a healthier protein option that reduces overall fat content while maintaining delicious flavor.
- Experiment with different cheese varieties like pepper jack or Mexican blend to add exciting taste variations and customize the dish.
- Swap flour tortillas with low-carb alternatives like cauliflower wraps or lettuce leaves for gluten-free and keto-friendly modifications.
- Enhance nutritional value by adding diced bell peppers or black beans to the meat filling, increasing fiber and vegetable intake without compromising taste.
- Prep Time: 10 minutes
- Cook Time: 20 minutes
- Category: Dinner, Lunch, Appetizer
- Method: Baking
- Cuisine: Mexican
Nutrition
- Serving Size: 4
- Calories: 550
- Sugar: 2 g
- Sodium: 800 mg
- Fat: 30 g
- Saturated Fat: 12 g
- Unsaturated Fat: 15 g
- Trans Fat: 0 g
- Carbohydrates: 45 g
- Fiber: 2 g
- Protein: 28 g
- Cholesterol: 90 mg
Jack Sullivan
Founder & Culinary Storyteller
Expertise
Single-recipe development with a narrative approach, Culinary storytelling and food history, Seasonal and regional ingredient utilization, Home cooking techniques adapted for modern kitchens
Education
New England Culinary Institute (Montpelier, VT)
Certificate in Culinary Arts
Focused on farm-to-table cooking, sustainable practices, and modern plating techniques.
Asheville-Buncombe Technical Community College
Associate Degree in Culinary Arts
Emphasized Southern Appalachian cuisine and local ingredient sourcing.
Jack grew up surrounded by smoky skillets and handwritten recipes in the mountains of North Carolina. His roots in Appalachian cooking shaped the way he sees food – as something that connects people, tells a story, and holds meaning.
With hands-on training and a background in sustainable, regional cooking, Jack started Boil And Broil to make meaningful meals more accessible. He’s all about one-dish recipes that are simple to follow but rich with flavor and history.