No-Bake Cherry Cheesecake Bars: Dreamy Summer Recipe
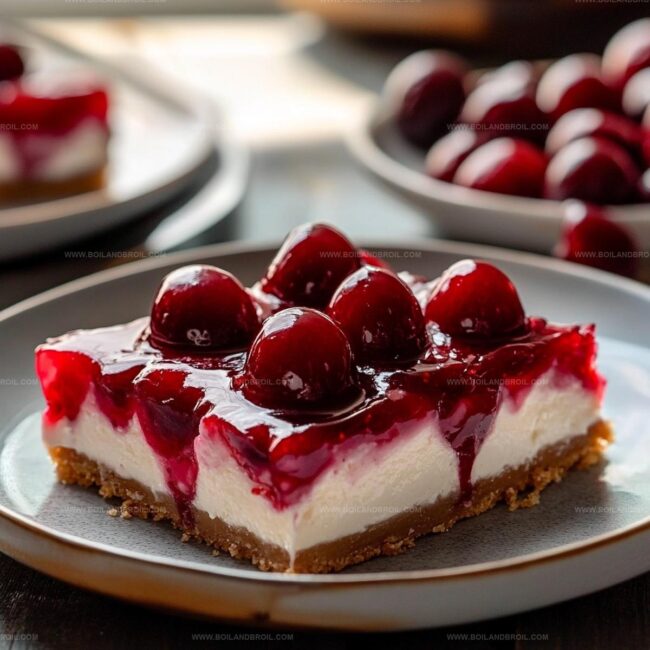
Creamy no-bake cherry cheesecake bars promise a delightful dessert that melts in your mouth with minimal effort.
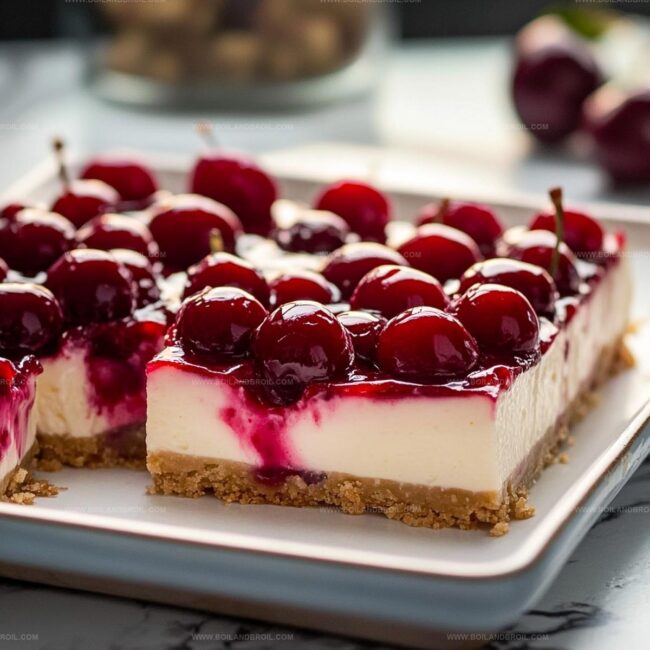
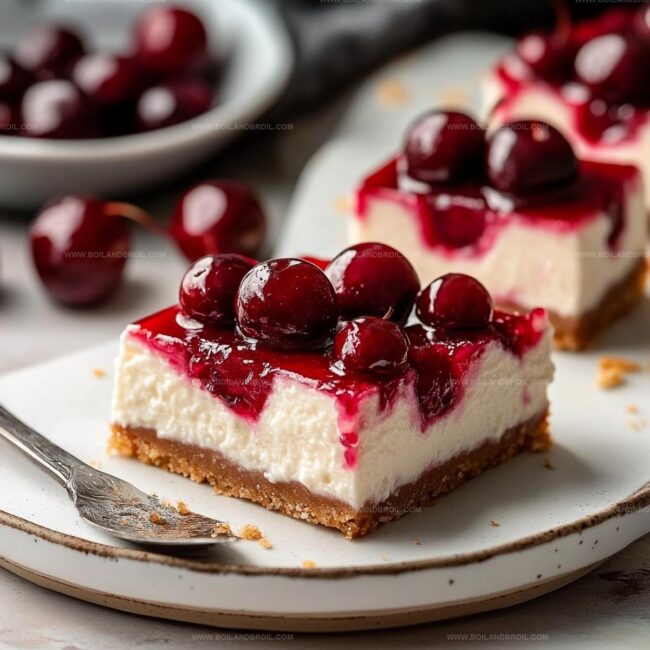
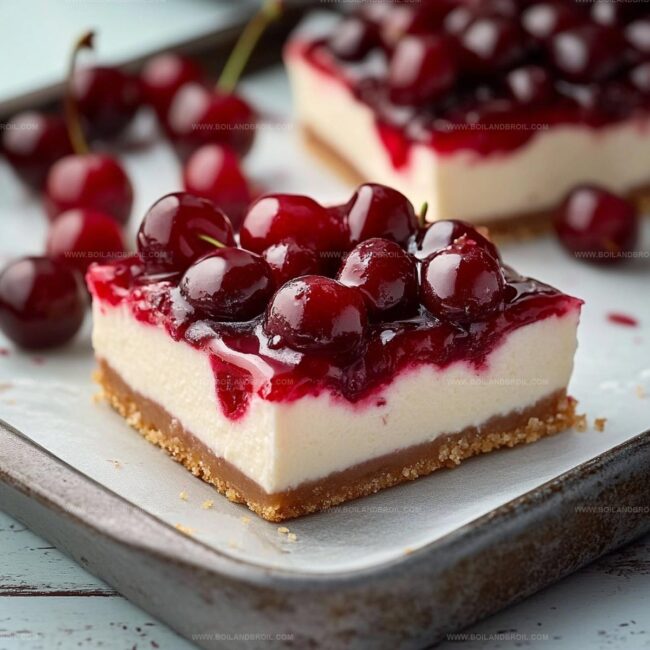
Sweet cherries add a burst of vibrant color and tangy flavor to this classic treat.
Minimal kitchen skills work perfectly for crafting these delectable bars.
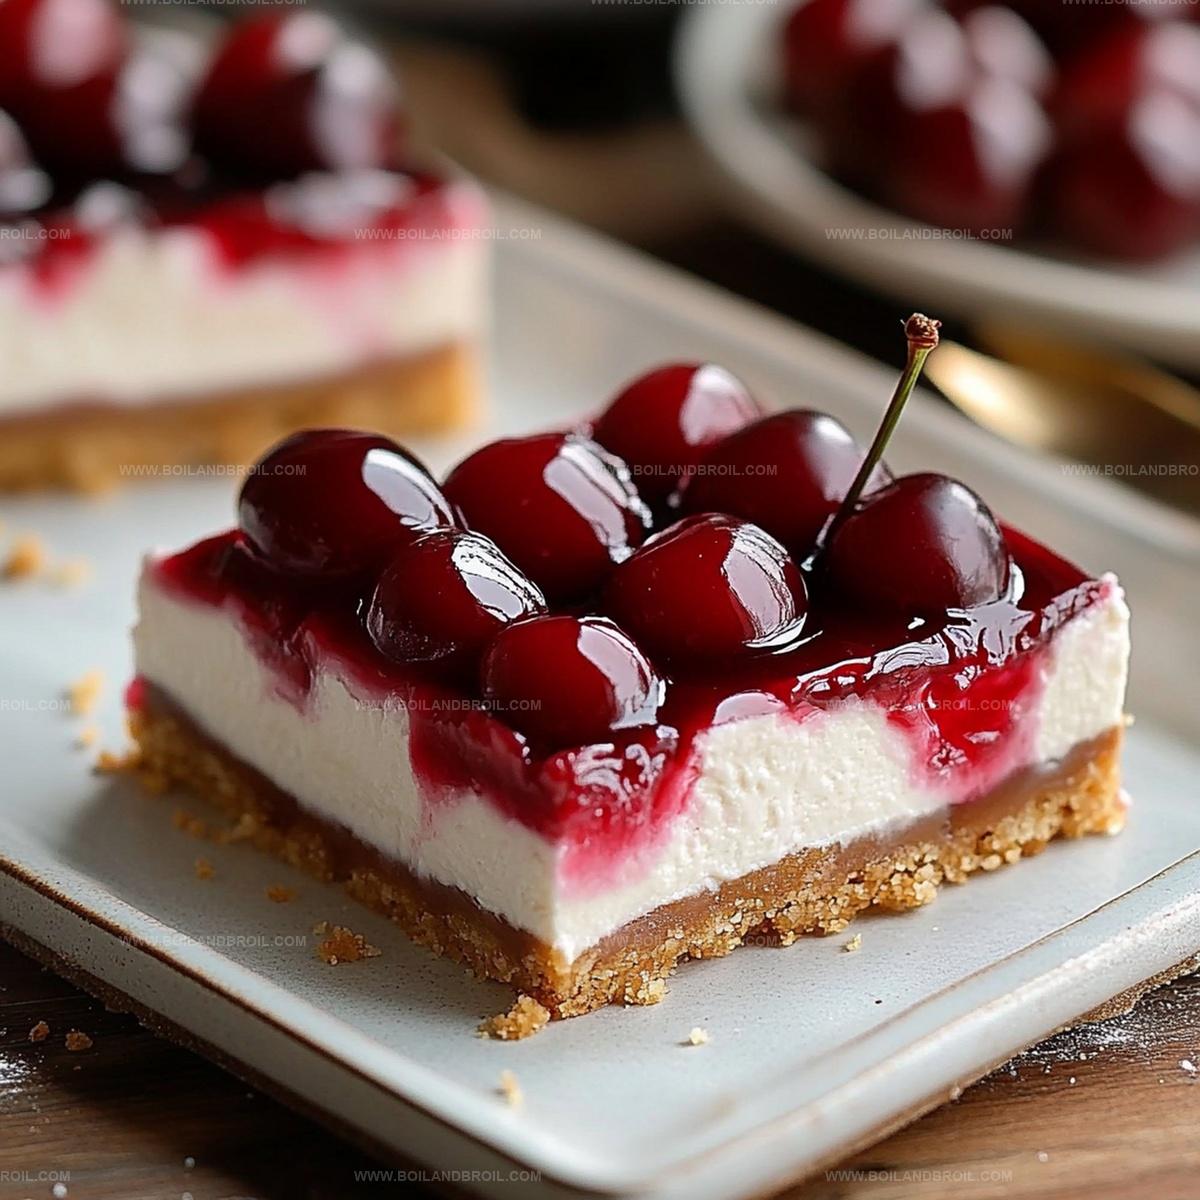
Graham cracker crusts provide a satisfying crunch beneath smooth, silky cream cheese layers.
Chilling transforms simple ingredients into an elegant dessert that impresses without complicated techniques.
Cool and refreshing, these bars offer a perfect summer indulgence that anyone can master.
You’ll want to savor every rich, decadent bite of this crowd-pleasing dessert.
No-Bake Cherry Cheesecake Bars Overview
Ingredients for Cherry Cheesecake Bars

How to Prepare No-Bake Cherry Cheesecake Bars
Step 1: Craft the Crumbly Crust
Grab a mixing bowl and toss in graham cracker crumbs, sugar, and melted butter.
Mix everything until it looks like wet sand.
Press this magical mixture firmly into the bottom of a 9×9-inch baking dish.
Pop it in the refrigerator to chill while you work on the next stage.
Step 2: Whip Up Heavenly Filling
Pull out your mixer and beat cream cheese until it’s silky smooth.
Sprinkle in powdered sugar and vanilla extract, blending until perfectly combined.
In a separate bowl, whip heavy cream until it forms gorgeous, fluffy peaks.
Gently fold the whipped cream into the cream cheese mixture, creating a cloud-like filling.
Step 3: Layer the Lusciousness
Spread the dreamy cheesecake mixture evenly over the chilled crust.
Use a spatula to create a perfectly smooth surface.
Slide the dish back into the refrigerator and let it set for at least 4 hours (or overnight for maximum deliciousness).
Step 4: Crown with Cherry Goodness
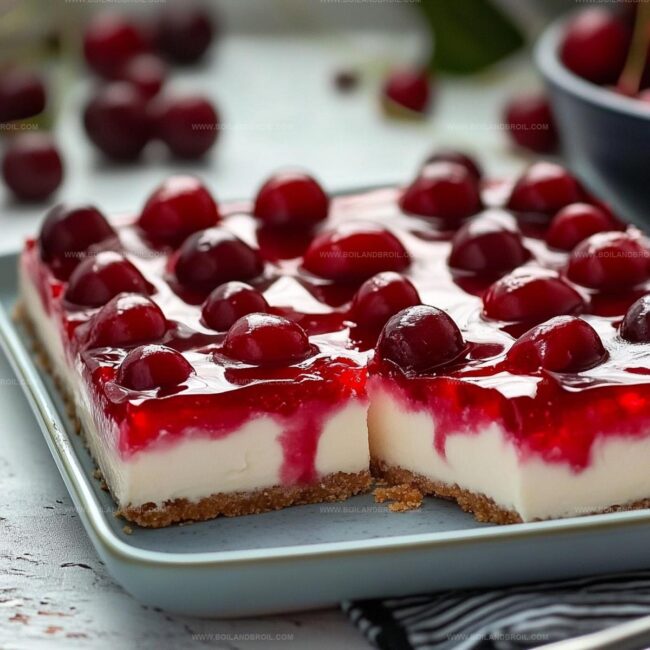
Once the cheesecake is firm and chilled, drizzle and spread cherry pie filling across the top.
Make sure it covers the entire surface for maximum fruity flavor.
Step 5: Slice and Serve
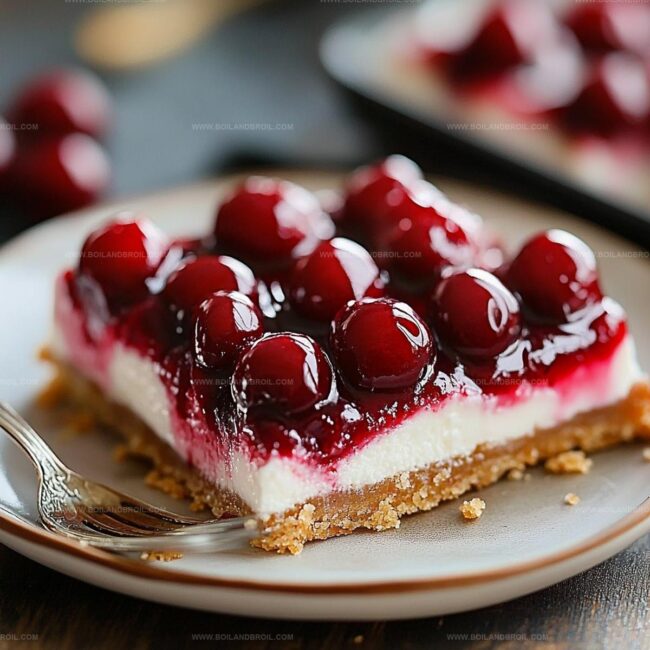
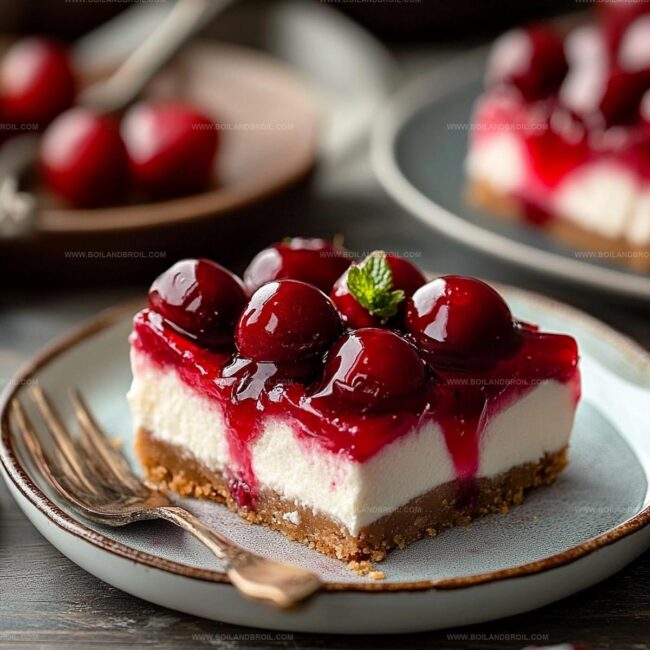
Cut into perfect squares, plate up, and prepare for a taste explosion.
Keep these bars chilled until you’re ready to devour them.
Tips for No-Bake Cherry Cheesecake Bars
Proper Storage for Cherry Cheesecake Bars
Pairing Suggestions for Cherry Cheesecake Bars
Variations on Cherry Cheesecake Bars
FAQs
Graham cracker crumbs, sugar, and melted butter are the key ingredients for creating a delicious and sturdy crust for the cheesecake bars.
While pie filling is recommended for convenience, you can create a homemade cherry topping by cooking fresh cherries with sugar and cornstarch until thickened.
When stored in an airtight container in the refrigerator, these bars will remain delicious for up to 5 days.
No, a hand mixer or even mixing by hand will work. The key is to ensure the cream cheese is smooth and the ingredients are well combined.
Print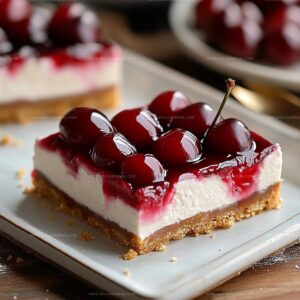
Cherry Cheesecake Bars Recipe
- Total Time: 20 minutes
- Yield: 12 1x
Description
Indulgent Cherry Cheesecake Bars invite sweet tooths on a delightful culinary journey through creamy, tangy layers. Crumbly graham cracker crust and luscious cherry topping create a perfect dessert companion for summer gatherings or intimate moments.
Ingredients
Primary Ingredients:
- 16 ounces (454 grams) cream cheese, softened
- 1 1/2 cups (360 milliliters) heavy whipping cream
- 1 can (21 ounces / 595 grams) cherry pie filling
Crust Ingredients:
- 1 1/2 cups (180 grams) graham cracker crumbs
- 1/4 cup (50 grams) granulated sugar
- 1/2 cup (113 grams) unsalted butter, melted
Flavoring Ingredients:
- 1 cup (120 grams) powdered sugar
- 1 teaspoon vanilla extract
Instructions
- Craft a crumbly foundation by blending graham cracker crumbs with sugar and melted butter until thoroughly incorporated. Press the mixture firmly into a 9×9-inch baking dish, creating an even layer. Chill the crust in the refrigerator for 15 minutes while preparing the filling.
- Using an electric mixer, whip the cream cheese until silky and lump-free at room temperature. Gradually incorporate powdered sugar and vanilla extract, mixing until smooth and creamy.
- In a separate bowl, whip heavy cream until it forms stiff, peak-like textures. Delicately fold the whipped cream into the cream cheese mixture, maintaining a light and airy consistency.
- Carefully spread the cheesecake mixture across the chilled crust, ensuring an uniform surface with a spatula. Refrigerate for 4-5 hours or until the bars become completely set and firm.
- Once chilled, generously distribute cherry pie filling across the top of the cheesecake, creating an even layer of vibrant fruity topping.
- Slice into square portions and serve directly from the refrigerator. Keep chilled until ready to indulge in this creamy, fruity dessert.
Notes
- Choose graham crackers with consistent texture to ensure an even, compact crust that holds together perfectly.
- Soften cream cheese at room temperature for 30-45 minutes to achieve a smoother, lump-free filling that blends seamlessly.
- Whip heavy cream carefully to stiff peaks, being cautious not to overbeat, which can cause a grainy texture and potential separation.
- For gluten-free version, swap graham cracker crumbs with almond flour or gluten-free cookie crumbs, maintaining the same proportions.
- Prep Time: 20 minutes
- Cook Time: 0 minutes
- Category: Desserts
- Method: Refrigerating
- Cuisine: American
Nutrition
- Serving Size: 12
- Calories: 280
- Sugar: 18 g
- Sodium: 150 mg
- Fat: 18 g
- Saturated Fat: 11 g
- Unsaturated Fat: 7 g
- Trans Fat: 0 g
- Carbohydrates: 28 g
- Fiber: 0 g
- Protein: 3 g
- Cholesterol: 45 mg
Jack Sullivan
Founder & Culinary Storyteller
Expertise
Single-recipe development with a narrative approach, Culinary storytelling and food history, Seasonal and regional ingredient utilization, Home cooking techniques adapted for modern kitchens
Education
New England Culinary Institute (Montpelier, VT)
Certificate in Culinary Arts
Focused on farm-to-table cooking, sustainable practices, and modern plating techniques.
Asheville-Buncombe Technical Community College
Associate Degree in Culinary Arts
Emphasized Southern Appalachian cuisine and local ingredient sourcing.
Jack grew up surrounded by smoky skillets and handwritten recipes in the mountains of North Carolina. His roots in Appalachian cooking shaped the way he sees food – as something that connects people, tells a story, and holds meaning.
With hands-on training and a background in sustainable, regional cooking, Jack started Boil And Broil to make meaningful meals more accessible. He’s all about one-dish recipes that are simple to follow but rich with flavor and history.