
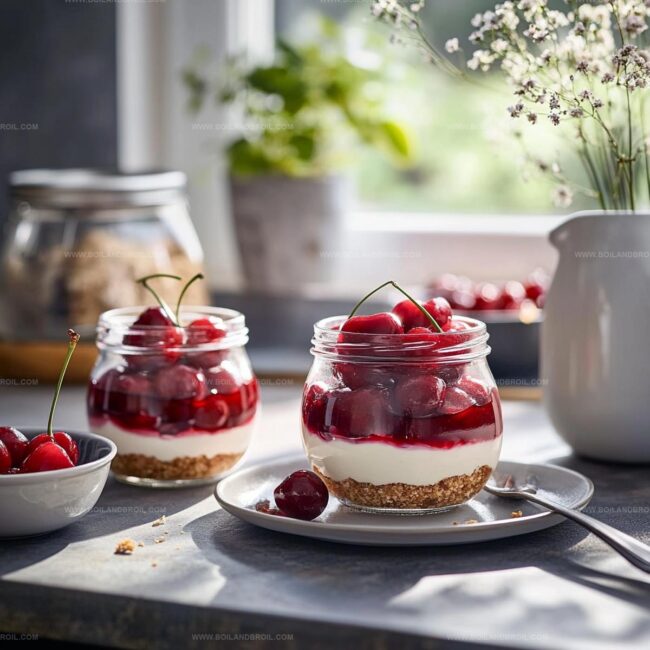
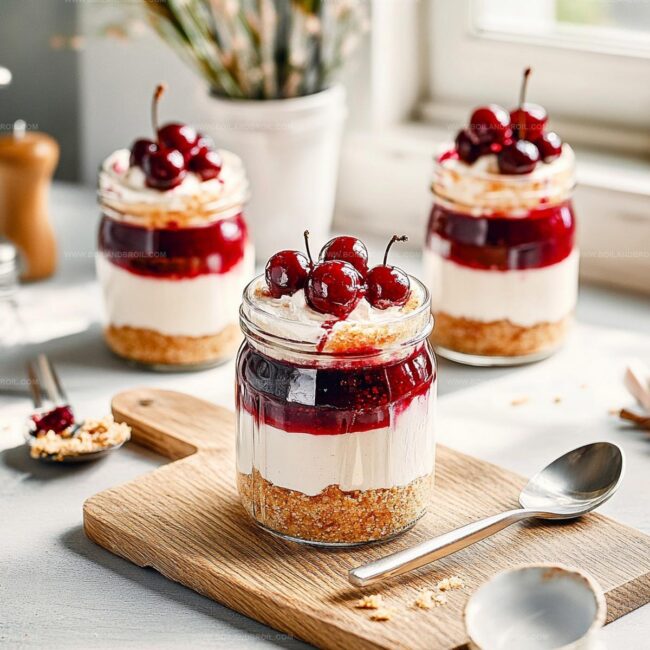
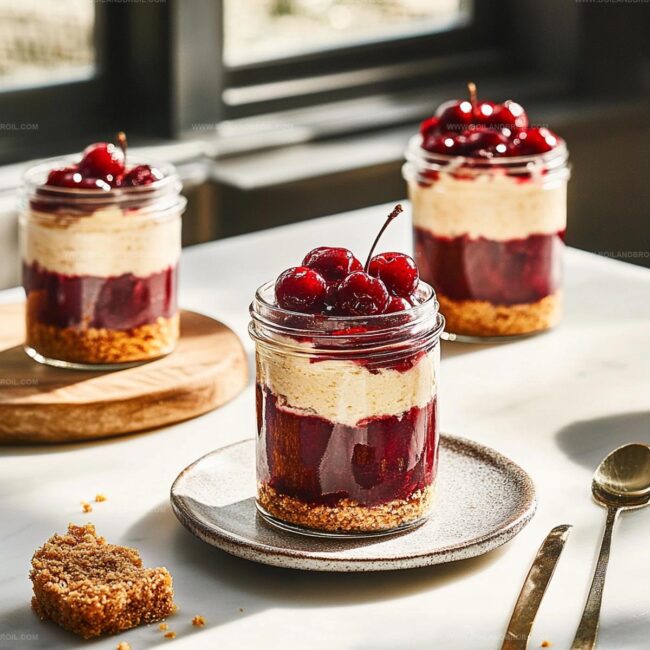
The Dreamiest Cherry Cheesecake in a Jar Recipe Ever
Sweet layers of creamy cherry cheesecake nestled in charming glass jars will make your dessert dreams come true.
Compact and portable, these delightful treats pack all the classic flavors into a perfectly portioned package.
Mason jar magic turns an ordinary cheesecake into something playful and Instagram-worthy.
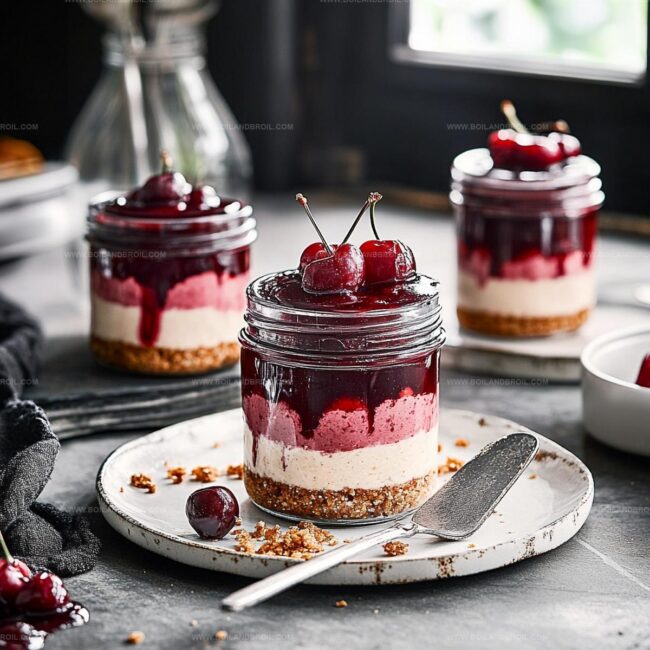
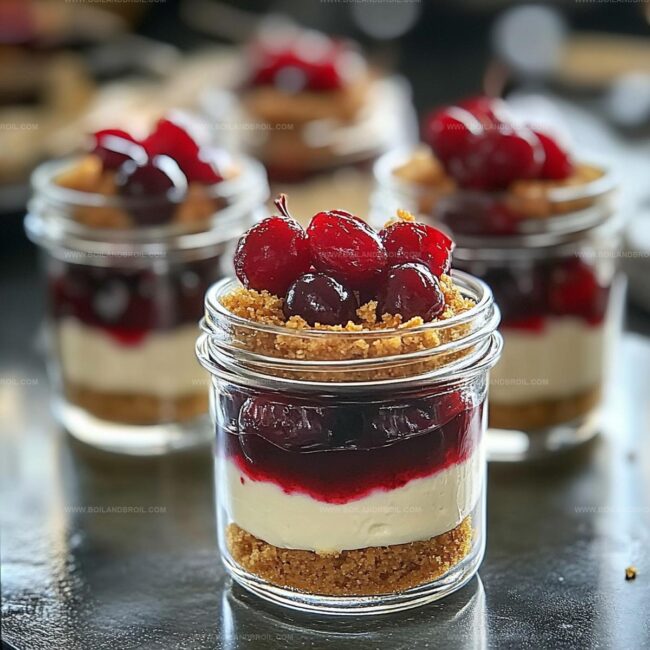
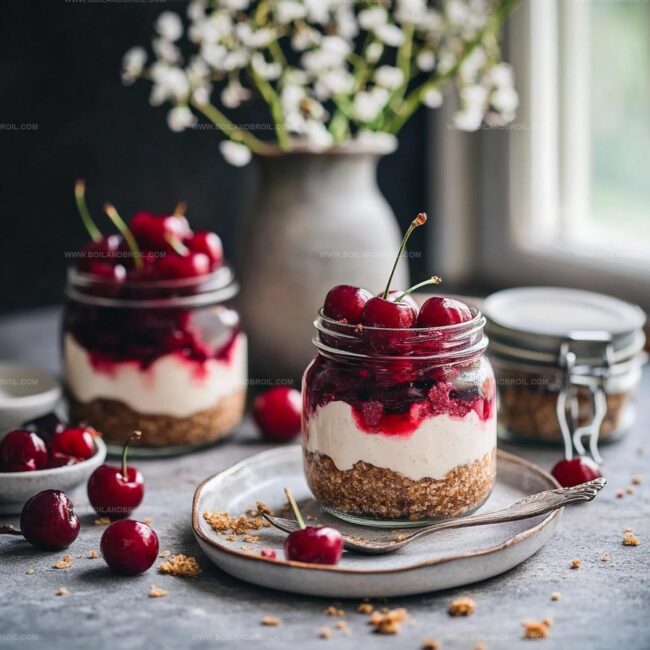
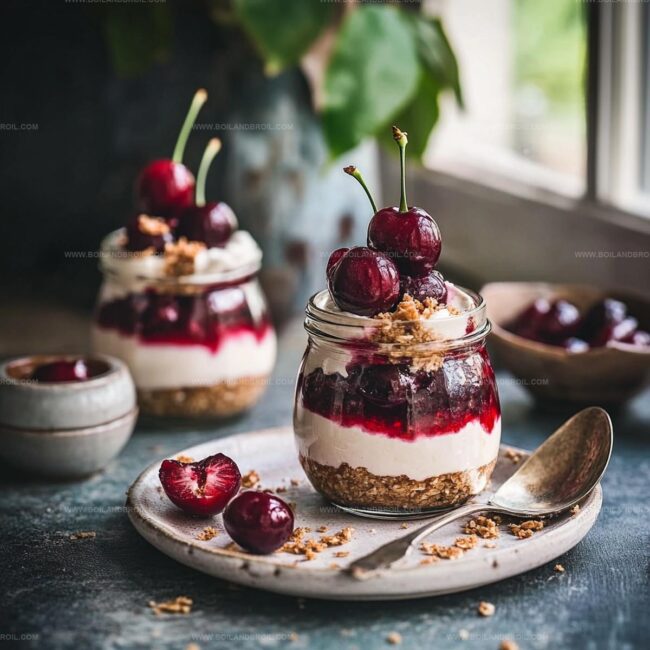
Crumbly graham cracker bases provide a delicious foundation for silky cream cheese filling.
Rich vanilla notes mingle with tangy cherries, creating a balanced and irresistible combination.
Cold temperatures help these miniature desserts set beautifully, ensuring a smooth and decadent texture.
You’ll want to savor every spoonful of this delectable no-bake sensation that promises to impress at any gathering.
Why Cherry Cheesecake in a Jar Feels Special
Ingredients List for Cherry Cheesecake in a Jar
How to Layer Cherry Cheesecake in a Jar
Step 1: Crush and Blend Crust Ingredients
Grab a medium bowl and toss in graham cracker crumbs, sugar, and melted butter.
Stir everything together until the mixture looks uniform and slightly damp.
Use a spoon to distribute the crumbly goodness evenly across the bottom of mason jars or dessert cups.
Press down firmly with the back of your spoon to create a solid, compact crust layer.
Step 2: Whip Up Creamy Cheesecake Filling
Grab your electric mixer and beat the softened cream cheese until it transforms into a silky smooth texture.
Gradually add powdered sugar and vanilla, mixing until the combination looks dreamy and consistent.
In a separate bowl, whip heavy cream until it forms gorgeous stiff peaks.
Carefully fold the whipped cream into the cream cheese mixture, blending gently to maintain that light, airy consistency.
Step 3: Layer and Chill the Cheesecake
Carefully spoon the creamy cheesecake filling over the prepared crust in each jar.
Use a spatula to smooth the top, creating a picture-perfect surface.
Pop the jars into the refrigerator and let them chill for at least 4 hours or overnight.
This resting time allows the cheesecake to set and develop its incredible texture.
Step 4: Crown With Cherry Topping
Just before serving, generously spoon cherry pie filling over the chilled cheesecake layer.
If you’re feeling fancy, slice fresh cherries and artfully arrange them on top for an extra burst of fruity freshness.
Smart Tips for Cherry Cheesecake in a Jar
Save and Reuse Cherry Cheesecake in a Jar
Tasty Pairings for Cherry Cheesecake in a Jar
Cherry Cheesecake in a Jar Style Ideas
FAQs
Graham cracker crumbs are finely ground graham crackers. You can buy them pre-crushed in most grocery stores’ baking aisles or make your own by crushing whole graham crackers in a food processor or placing them in a sealed bag and crushing with a rolling pin.
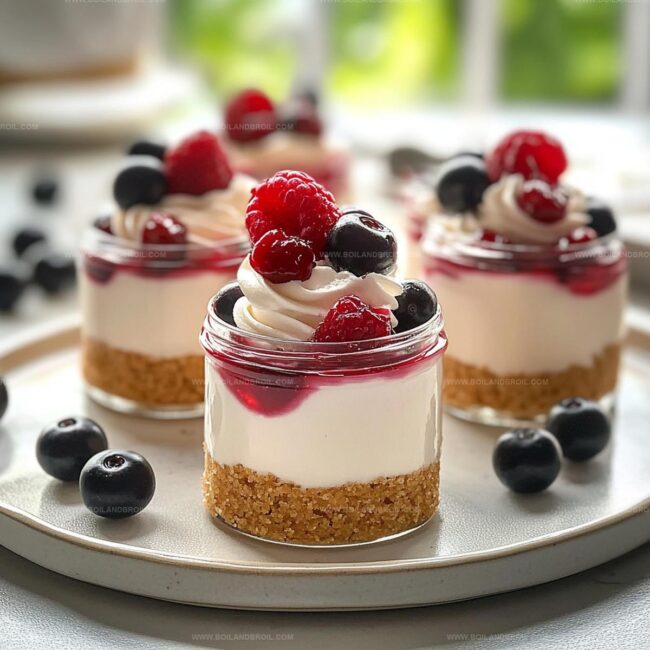
Yes, absolutely! While cherry pie filling is traditional, you can substitute with other fruit toppings like strawberry, blueberry, or mixed berry preserves. Fresh seasonal fruits also work great as alternative toppings.
When whipping cream, it’s ready when stiff peaks form. This means when you lift the beater, the cream stands up straight without falling over. Be careful not to overbeat, which can turn the cream grainy and start separating.
No special equipment is required. You’ll need a mixing bowl, electric mixer, spatula, and mason jars or dessert cups. Most home cooks already have these basic kitchen tools.
Print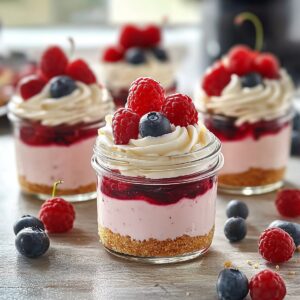
Cherry Cheesecake in a Jar Recipe
- Total Time: 20 minutes
- Yield: 4 1x
Description
Silky smooth cherry cheesecake in a jar brings Italian dessert elegance to your table. Sweet layers of creamy mascarpone and tangy cherries create a perfect portable treat you’ll absolutely adore.
Ingredients
Main Ingredients:
- 8 ounces (226 grams) cream cheese, softened
- 1 cup (240 milliliters) heavy cream
- 1 cup (237 milliliters) cherry pie filling (or fresh cherries)
Crust Ingredients:
- 1 cup (240 grams) graham cracker crumbs
- 4 tablespoons (56 grams) unsalted butter, melted
- 2 tablespoons (25 grams) sugar
Flavoring Ingredients:
- 1/2 cup (60 grams) powdered sugar
- 1 teaspoon (5 milliliters) vanilla extract
Instructions
- Create a crumbly foundation by blending graham cracker crumbs with sugar and melted butter until thoroughly combined and moistened.
- Press the mixture evenly and compactly into the base of mason jars, ensuring a solid and uniform crust layer.
- Using an electric mixer, whip cream cheese until silky and smooth, eliminating any potential lumps.
- Gradually incorporate powdered sugar and vanilla extract, mixing until the cream cheese filling becomes light and creamy.
- In a separate mixing bowl, whip heavy cream until it develops stiff, voluminous peaks that hold their shape.
- Delicately fold the whipped cream into the cream cheese mixture, maintaining the airy texture while ensuring complete integration.
- Carefully distribute the cheesecake filling over the prepared graham cracker crust in each jar, using a spatula to create an even surface.
- Chill the assembled desserts in the refrigerator for a minimum of 4 hours or ideally overnight to allow the filling to set and flavors to meld.
- Just before serving, generously top the chilled cheesecake with cherry pie filling or freshly sliced cherries for a vibrant and fruity finish.
Notes
- Swap graham crackers with gluten-free alternatives like almond flour or crushed gluten-free cookies for a celiac-friendly version.
- Use low-fat cream cheese and Greek yogurt to reduce calories without sacrificing creamy texture.
- Experiment with different fruit toppings like blueberry, strawberry, or peach compote for seasonal variations.
- Prepare jars in advance and store up to 3 days in sealed containers for convenient make-ahead desserts.
- Prep Time: 20 minutes
- Cook Time: 0 minutes
- Category: Desserts, Snacks
- Method: Refrigerating
- Cuisine: American
Nutrition
- Serving Size: 4
- Calories: 520
- Sugar: 40 g
- Sodium: 350 mg
- Fat: 36 g
- Saturated Fat: 22 g
- Unsaturated Fat: 14 g
- Trans Fat: 0 g
- Carbohydrates: 43 g
- Fiber: 1 g
- Protein: 6 g
- Cholesterol: 100 mg
Jack Sullivan
Founder & Culinary Storyteller
Expertise
Single-recipe development with a narrative approach, Culinary storytelling and food history, Seasonal and regional ingredient utilization, Home cooking techniques adapted for modern kitchens
Education
New England Culinary Institute (Montpelier, VT)
Certificate in Culinary Arts
Focused on farm-to-table cooking, sustainable practices, and modern plating techniques.
Asheville-Buncombe Technical Community College
Associate Degree in Culinary Arts
Emphasized Southern Appalachian cuisine and local ingredient sourcing.
Jack grew up surrounded by smoky skillets and handwritten recipes in the mountains of North Carolina. His roots in Appalachian cooking shaped the way he sees food – as something that connects people, tells a story, and holds meaning.
With hands-on training and a background in sustainable, regional cooking, Jack started Boil And Broil to make meaningful meals more accessible. He’s all about one-dish recipes that are simple to follow but rich with flavor and history.