Sweet summer memories flood back with these delightful cherry pie bars that combine nostalgia and pure deliciousness.
Grandma’s classic dessert gets a modern twist in this irresistible treat.
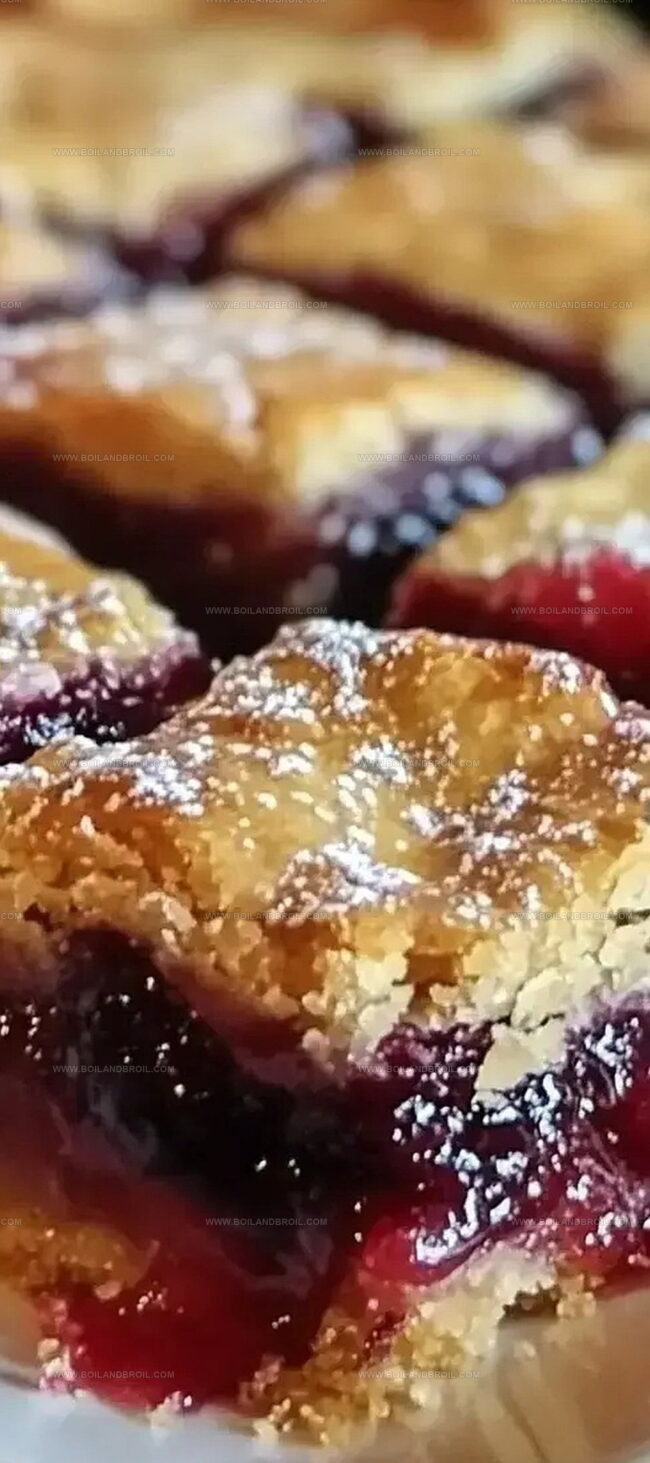
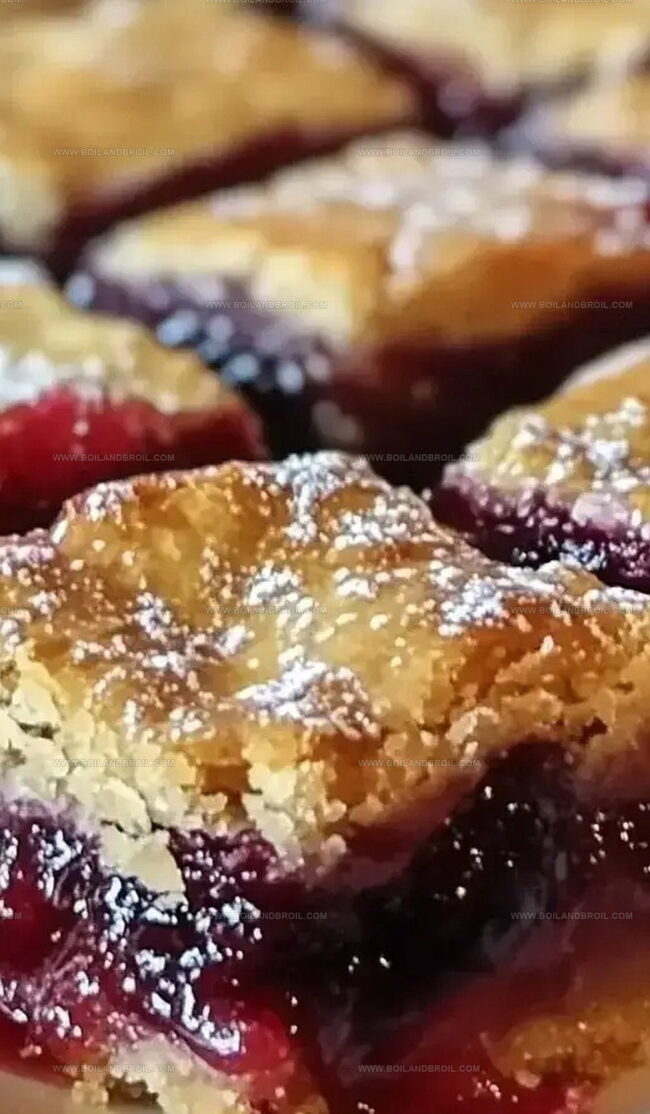
Buttery crumble layers meld perfectly with rich, vibrant cherry filling.
Soft and crumbly textures create a mouthwatering contrast you’ll absolutely adore.
Minimal ingredients and simple steps make this recipe approachable for bakers of all skill levels.
Quick to prepare and even faster to disappear from the plate, these bars promise to become a instant favorite.
Slice into these tempting bars and let the sweet cherry magic transport you to dessert heaven.
Bars That Deliver Cherry Pie Flavor in a Fun New Way
Whip Up Effortless Delight: Reasons to Love Cherry Pie Bars
Beginner-Friendly Baking: Perfect for novice bakers with simple steps and minimal technical skills required, ensuring success even for those new to dessert making.
Crowd-Pleasing Versatility: Ideal for potlucks, family gatherings, and casual celebrations, these bars offer a delightful twist on traditional cherry pie that everyone will adore.
Quick Comfort Creation: Minimal preparation time and straightforward ingredients make these bars a go-to dessert for spontaneous sweet cravings or last-minute entertaining.
Customize with Ease: Flexible recipe allows for creative variations like swapping cherry filling with other fruit preserves or adding a sprinkle of nuts for extra texture.
Cherry Pie Bars Ingredient List
Base Ingredients:
All-Purpose Flour: A key foundation for the bar’s texture.
Granulated Sugar: Provides sweetness and helps with caramelization.
Butter: Adds richness and creates a tender base.
Eggs: Bind ingredients and contribute to the structure.
Filling and Flavor Enhancers:
Cherry Pie Filling: Brings a sweet and tangy fruit layer.
Non-Stick Spray: Ensures easy removal from the baking pan.
Baking Cherry Pie Bars with a Tangy Touch
Step 1: Warm Up the Oven
Crank up your oven to 350°F. Grab a 15x10x1-inch baking pan and give it a quick spray of non-stick cooking spray to prevent any sticky situations.
Step 2: Create Creamy Base
Grab a large mixing bowl and whip together butter and sugar until the mixture becomes light, fluffy, and looks like a cloud of sweetness.
Step 3: Blend in Liquid Ingredients
Add eggs one at a time, mixing thoroughly after each addition. Pour in vanilla and almond extracts, stirring until everything is beautifully combined.
Step 4: Mix Dry Components
In a separate bowl, whisk flour and salt together. Slowly incorporate these dry ingredients into your butter mixture, stirring until you have a smooth, consistent batter.
Step 5: Layer Your Masterpiece
Spread 3 cups of batter across the bottom of your prepared pan. Next, carefully distribute cherry pie filling evenly over the first layer. Drop remaining batter in spoonfuls across the cherry layer, creating a beautiful marbled effect.
Step 6: Bake to Perfection
Slide the pan into the preheated oven. Bake for 30-35 minutes. Check doneness by inserting a toothpick – it should come out clean when the bars are ready.
Step 7: Cool Down
Transfer the pan to a wire rack. Allow the bars to cool completely, letting all the flavors meld together.
Step 8: Create Glaze Magic
In a small bowl, whisk together:
Powdered sugar
Vanilla extract
Almond extract
Milk
Stir until the mixture becomes silky smooth.
Step 9: Finish and Serve
Once the bars have cooled, drizzle the glaze generously over the top. Let the glaze set for a few minutes, then slice into squares. Serve and watch everyone’s eyes light up with delight!
Pie Bar Tips That Make Cherry Bites Tangy and Sweet
Prevent Filling Sinking: Spread cherry pie filling carefully to avoid it pooling in one area, ensuring even distribution for consistent flavor in every bite.
Gentle Mixing Matters: Fold dry ingredients into wet mixture slowly to maintain a light, tender texture without overworking the batter.
Check Baking Precision: Use a toothpick test to confirm doneness, looking for a clean insertion with no wet batter clinging to its surface.
Temperature Control Tip: Allow bars to cool completely before glazing to prevent runny, thin icing and ensure a beautiful, set finish.
Extract Enhancement: Add a touch more almond extract for deeper flavor complexity that complements the sweet cherry filling beautifully.
How to Keep Cherry Pie Bars Fresh
Store cooled cherry pie bars in an airtight container in the refrigerator for up to 5 days. Cover with plastic wrap or aluminum foil to prevent drying out.
Wrap individual bars tightly in plastic wrap, then place in a freezer-safe container. Freeze for up to 3 months. Label with the date for easy tracking.
Remove frozen bars from the freezer and let them thaw in the refrigerator overnight. This prevents soggy texture and maintains quality.
Warm refrigerated or thawed bars in the microwave for 10-15 seconds on medium power. Alternatively, place in a preheated 350°F oven for 5-7 minutes to restore crisp edges and warm filling.
Cherry Pie Bars Pairing Suggestions
Pair Creamy Vanilla Ice Cream: Smooth, cold vanilla ice cream creates a delightful contrast with the warm, tangy cherry bars, enhancing the dessert’s richness and temperature complexity.
Complement with Sparkling Rosé Wine: Light, slightly sweet rosé wine balances the cherry’s tartness and complements the sweet glaze, offering a sophisticated adult pairing that elevates the dessert experience.
Match with Almond-Flavored Coffee: Brewing coffee with a hint of almond extract mirrors the recipe’s almond notes, providing a warm, aromatic companion that deepens the cherry bar’s flavor profile.
Serve Alongside Whipped Mascarpone: Soft, creamy mascarpone with a touch of honey adds a luxurious texture and subtle sweetness that beautifully highlights the cherry pie bars’ fruity and buttery characteristics.
Cherry Pie Bar Flavor Spins
Gluten-Free Cherry Delight: Replace wheat flour with almond or coconut flour for a celiac-friendly version. Ensure all ingredients are certified gluten-free.
Vegan Cherry Bars: Substitute butter with coconut oil, eggs with flax eggs, and use plant-based milk in the glaze. Select dairy-free cherry pie filling for a complete vegan option.
Low-Sugar Cherry Treat: Use stevia or monk fruit sweetener instead of regular sugar. Choose a sugar-free cherry pie filling to reduce overall sugar content.
Nutty Cherry Crunch: Sprinkle chopped almonds or pecans over the top before baking for added texture and nutty flavor. Mix some ground nuts into the base batter for extra richness.
FAQs
Can I use fresh cherries instead of pie filling?
Yes, you can! Pit and chop fresh cherries, mix with a little sugar and cornstarch, and use as a replacement for canned pie filling.
Is it okay to skip the almond extract?
Absolutely. The almond extract adds depth, but you can omit it or substitute with more vanilla extract if you prefer.
How do I know when the bars are perfectly baked?
Look for golden edges and a toothpick that comes out clean from the center. The bars should be set but still slightly soft.
Can I make these bars ahead of time?
Definitely! These cherry pie bars can be prepared a day in advance and stored at room temperature. The flavors actually develop nicely overnight.
Developing accessible single-serving recipes, Food writing and content creation, Plant-based and allergen-friendly cooking, Culinary education and workshop facilitation
Education
Oregon Culinary Institute (Portland, OR) Diploma in Culinary Arts
Specialized in plant-based cooking and sustainable kitchen practices.
Portland Community College Certificate in Food Writing and Media
Focused on recipe writing, food photography, and digital content creation.
Clara’s food journey began with a curiosity for color, texture, and ingredients pulled straight from the garden. Her background in plant-forward cooking and creative writing gives her a unique edge – she makes healthy, flavorful food feel inviting, not intimidating.
She specializes in meals that work for busy lives and different diets, all without sacrificing taste. Clara’s voice comes through in every recipe she writes – clear, kind, and encouraging.

Clara Thompson
Recipe Developer & Culinary Educator
Expertise
Developing accessible single-serving recipes, Food writing and content creation, Plant-based and allergen-friendly cooking, Culinary education and workshop facilitation
Education
Oregon Culinary Institute (Portland, OR)
Diploma in Culinary Arts
Specialized in plant-based cooking and sustainable kitchen practices.
Portland Community College
Certificate in Food Writing and Media
Focused on recipe writing, food photography, and digital content creation.
Clara’s food journey began with a curiosity for color, texture, and ingredients pulled straight from the garden. Her background in plant-forward cooking and creative writing gives her a unique edge – she makes healthy, flavorful food feel inviting, not intimidating.
She specializes in meals that work for busy lives and different diets, all without sacrificing taste. Clara’s voice comes through in every recipe she writes – clear, kind, and encouraging.