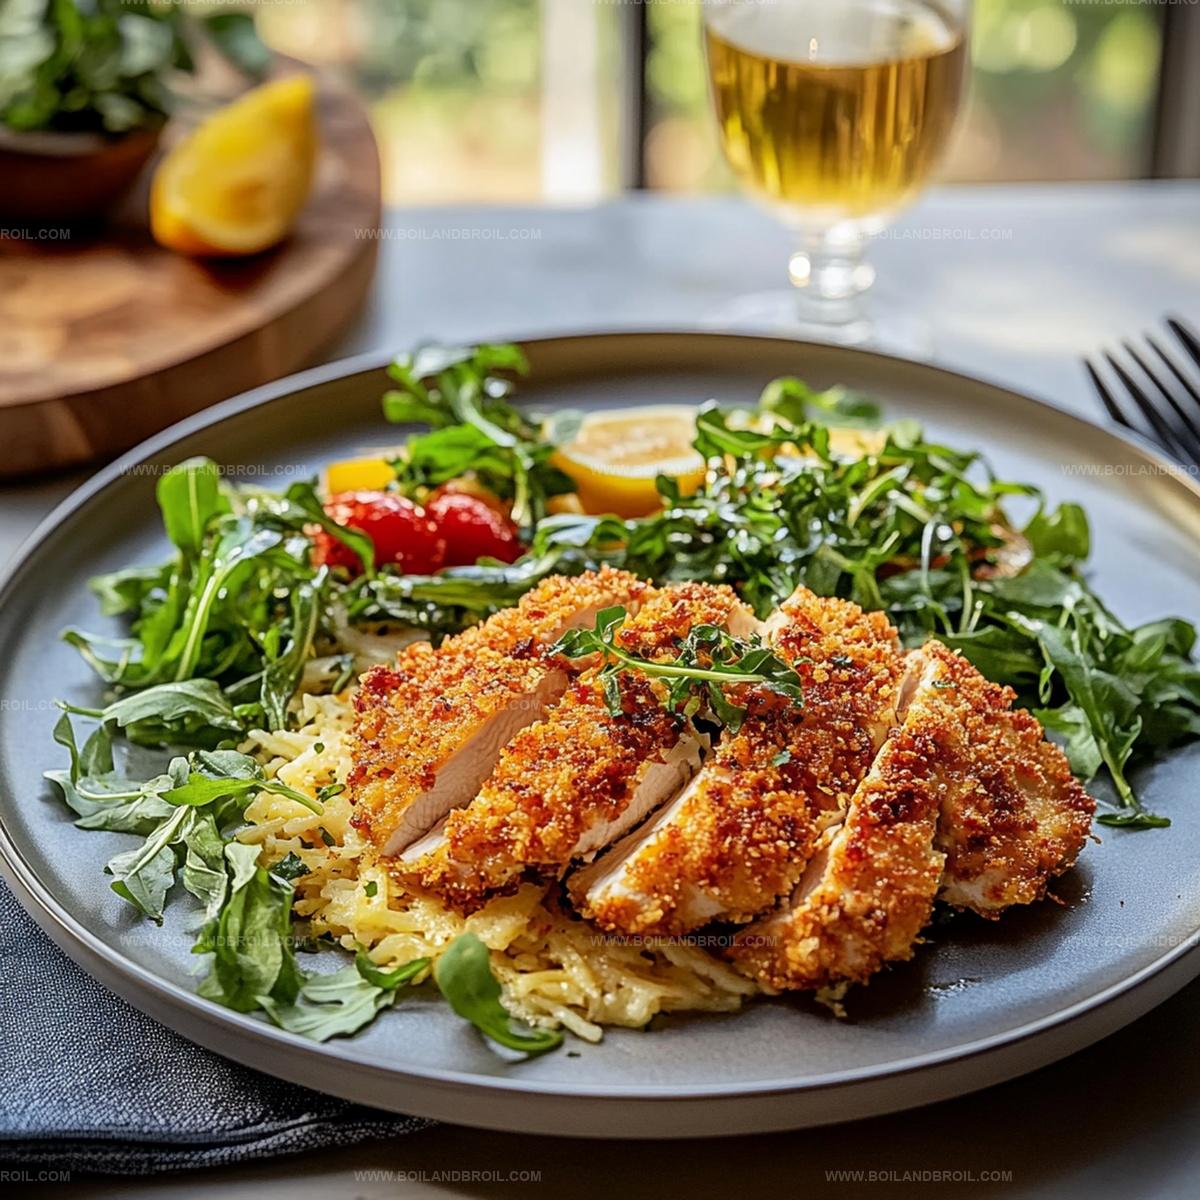
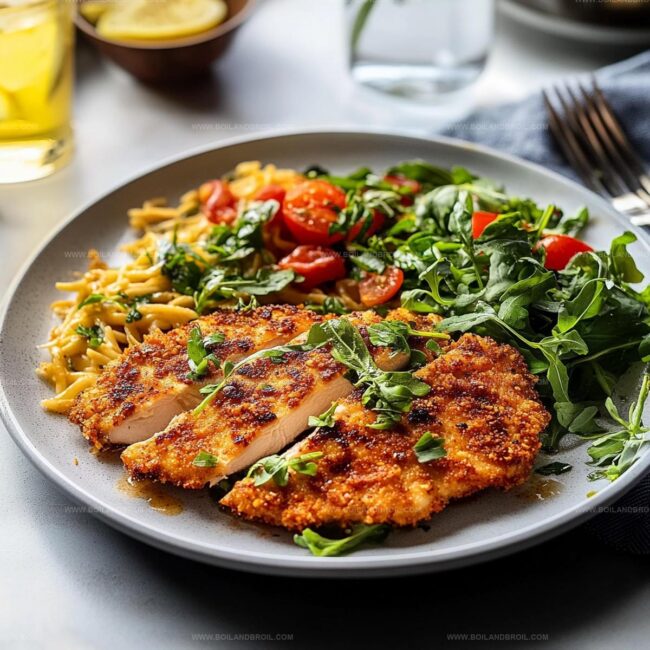
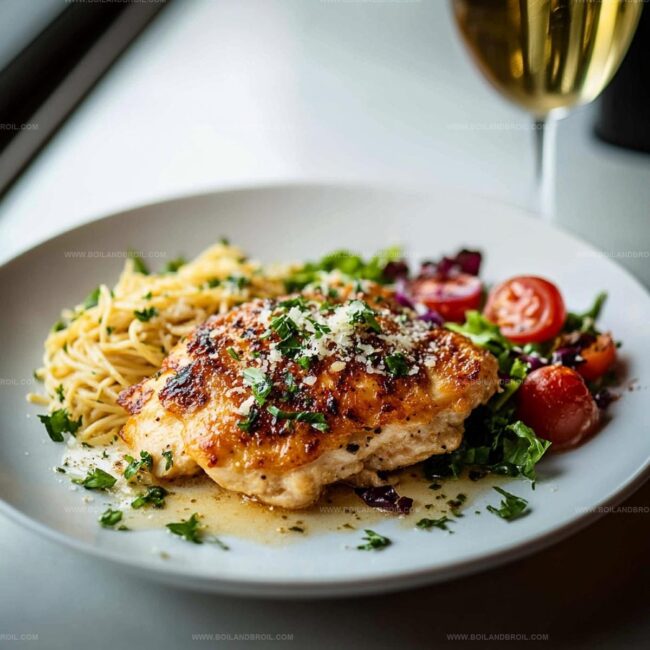
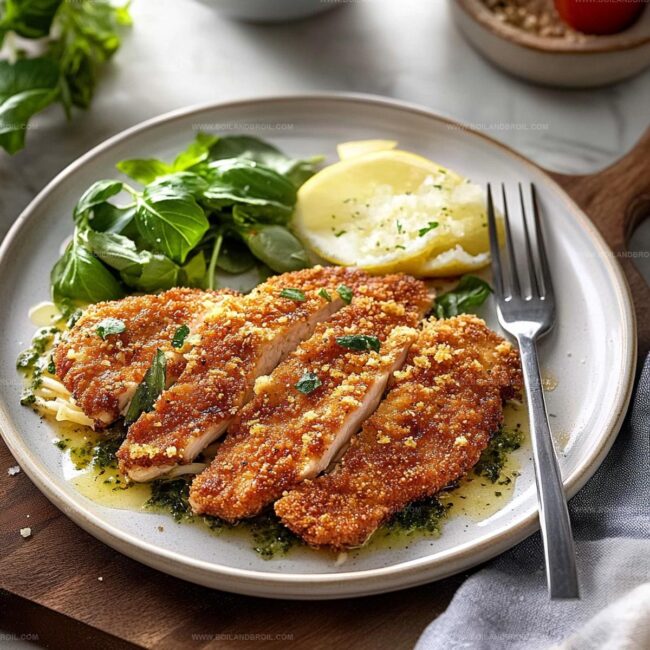
Crispy Chicken Milanese: The Zesty Italian Classic Recipe
Crafting a delectable crispy chicken Milanese brings pure culinary joy to your kitchen adventure.
Fresh ingredients transform an ordinary meal into something spectacular.
Italian cooking celebrates simplicity and bold flavors with remarkable elegance.
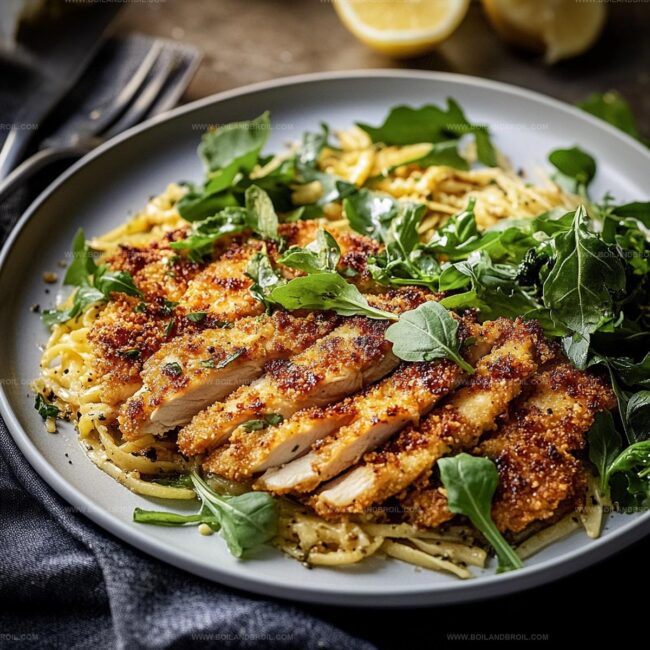
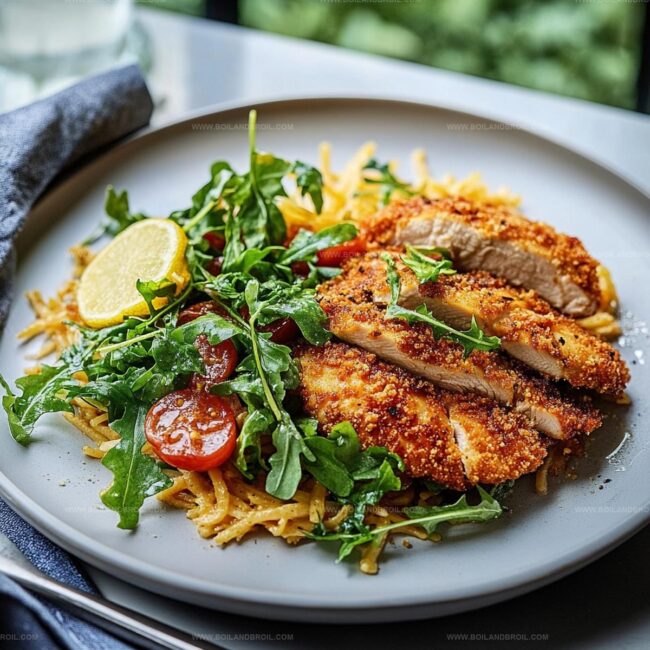
Tender chicken breasts coated in golden, crunchy breadcrumbs promise a delightful dining experience.
Authentic techniques guarantee restaurant-quality results right on your plate.
Seasonal herbs and a squeeze of lemon complement this classic dish perfectly.
Each bite promises a mouthwatering journey through traditional Italian cuisine that you won’t want to miss.
Why Crispy Chicken Milanese Is a Go-To Classic
Ingredients in Crispy Chicken Milanese
Main Ingredients:Breading Components:Cooking and Finishing Ingredients:Steps to Cook Crispy Chicken Milanese
Step 1: Tenderize The Chicken
Place chicken breasts between plastic wrap.
Use a meat mallet or rolling pin to flatten evenly until the chicken reaches a thin, uniform thickness.
Step 2: Create Breading Stations
Prepare three separate shallow dishes:Step 3: Coat The Chicken
Dip each chicken breast through the stations in this sequence:Step 4: Sizzle To Golden Perfection
Heat olive oil in a large skillet over medium-high heat.
Carefully place breaded chicken into hot oil.
Cook for 3-4 minutes on each side until exterior turns a beautiful golden brown and interior reaches safe cooking temperature.
Step 5: Finish And Serve
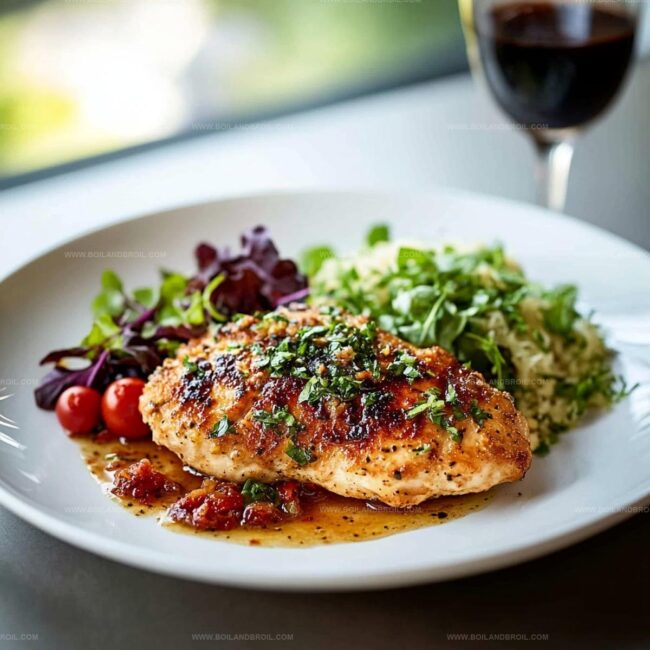
Transfer chicken to a paper towel-lined plate to absorb excess oil.
Squeeze fresh lemon juice over the top and sprinkle with chopped parsley for a bright, fresh finish.
Serve immediately while crispy and warm.
Smart Tips for Chicken Milanese Perfection
Best Ways to Store and Reheat Chicken Milanese
What to Serve with Crispy Chicken Milanese

Elevate Chicken Milanese Flavor Combinations
Crispy Chicken Milanese Recipe Twists
FAQs
Pounding creates an even thickness, which helps the chicken cook uniformly and ensures crispy, golden breading on every part of the meat.
Yes, you can use panko, Italian-style, or homemade breadcrumbs. Each type will slightly alter the texture and crispiness of the final dish.
Drop a small breadcrumb into the oil – if it sizzles immediately and rises to the top, the oil is ready for frying the chicken.
The flour creates a dry surface that helps the egg wash stick better, which then allows the breadcrumb coating to adhere more effectively, resulting in a crunchier exterior.
Print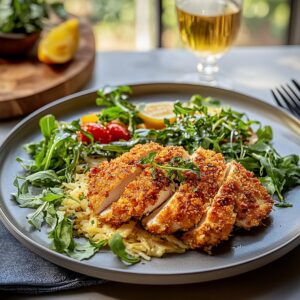
Chicken Milanese Recipe
- Total Time: 23 minutes
- Yield: 2 1x
Description
Crispy chicken milanese brings Italian-style comfort to your dinner table with golden-breaded chicken cutlets. Juicy meat beneath a crunchy exterior promises a delightful meal you’ll savor with pure satisfaction.
Ingredients
Main Ingredients:
- 2 boneless, skinless chicken breasts
- 1 cup breadcrumbs (preferably panko)
- 1/2 cup freshly grated Parmesan cheese
Coating Ingredients:
- 1/2 cup all-purpose flour
- 2 large eggs, beaten
- 1 teaspoon garlic powder
- 1 teaspoon dried oregano
- Salt and pepper to taste
Cooking and Serving Ingredients:
- 1/4 cup olive oil (for frying)
- Lemon wedges (for serving)
- Fresh parsley (optional, for garnish)
Instructions
- Transform chicken breasts into thin, uniform cutlets by positioning them between plastic wrap and gently pounding to approximately 1/4-inch thickness using a meat mallet.
- Arrange three separate shallow dishes: first with seasoned flour, second with whisked eggs, and third with a mixture of breadcrumbs, Parmesan, garlic powder, oregano, salt, and pepper.
- Coat each chicken cutlet systematically by first dredging in flour, ensuring complete coverage, then dipping thoroughly in beaten eggs, and finally pressing into breadcrumb mixture to create a crisp, even layer.
- Warm olive oil in a large skillet over medium-high heat until shimmering, approximately 2-3 minutes.
- Carefully place breaded cutlets into hot oil, cooking for 3-4 minutes per side until achieving a rich golden-brown exterior and internal temperature reaches 165°F.
- Remove chicken from skillet and place on paper towel-lined plate to absorb excess oil and maintain crispiness.
- Plate the crispy chicken immediately, garnishing with fresh parsley and providing a bright lemon wedge for squeezing over the top just before serving.
Notes
- Create an extra-crispy coating by using panko breadcrumbs instead of traditional breadcrumbs for an extra crunch.
- Prevent oil splatter by using a splatter screen or partially covering the skillet during frying.
- Ensure even cooking by bringing chicken to room temperature before breading and frying.
- Make the dish gluten-free by substituting flour with cornstarch or gluten-free flour blend and using gluten-free breadcrumbs.
- Prep Time: 15 minutes
- Cook Time: 8 minutes
- Category: Dinner, Lunch, Appetizer
- Method: Frying
- Cuisine: Italian
Nutrition
- Serving Size: 2
- Calories: 600
- Sugar: 1g
- Sodium: 500mg
- Fat: 30g
- Saturated Fat: 5g
- Unsaturated Fat: 20g
- Trans Fat: 0g
- Carbohydrates: 50g
- Fiber: 2g
- Protein: 40g
- Cholesterol: 150mg
Jack Sullivan
Founder & Culinary Storyteller
Expertise
Single-recipe development with a narrative approach, Culinary storytelling and food history, Seasonal and regional ingredient utilization, Home cooking techniques adapted for modern kitchens
Education
New England Culinary Institute (Montpelier, VT)
Certificate in Culinary Arts
Focused on farm-to-table cooking, sustainable practices, and modern plating techniques.
Asheville-Buncombe Technical Community College
Associate Degree in Culinary Arts
Emphasized Southern Appalachian cuisine and local ingredient sourcing.
Jack grew up surrounded by smoky skillets and handwritten recipes in the mountains of North Carolina. His roots in Appalachian cooking shaped the way he sees food – as something that connects people, tells a story, and holds meaning.
With hands-on training and a background in sustainable, regional cooking, Jack started Boil And Broil to make meaningful meals more accessible. He’s all about one-dish recipes that are simple to follow but rich with flavor and history.