
Indulgent Chocolate Molten Lava Cake Recipe: Pure Bliss in Every Bite
Crafting a decadent chocolate molten lava cake can turn an ordinary evening into a memorable dessert adventure.
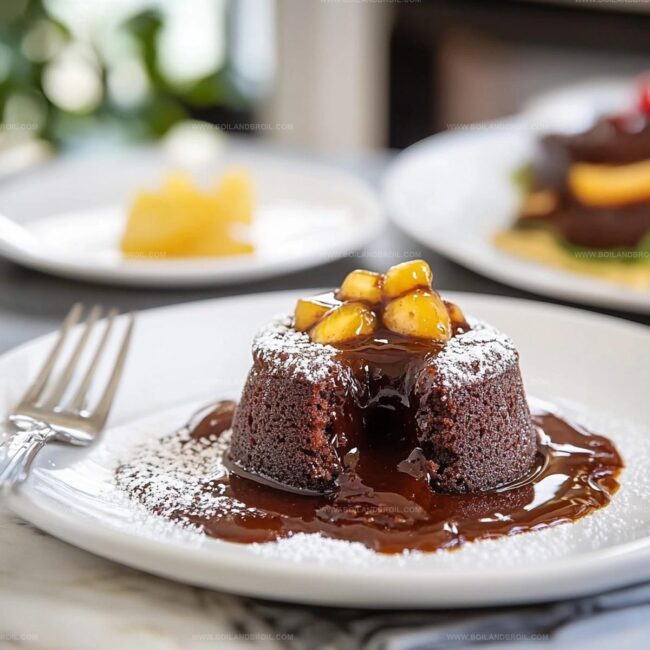
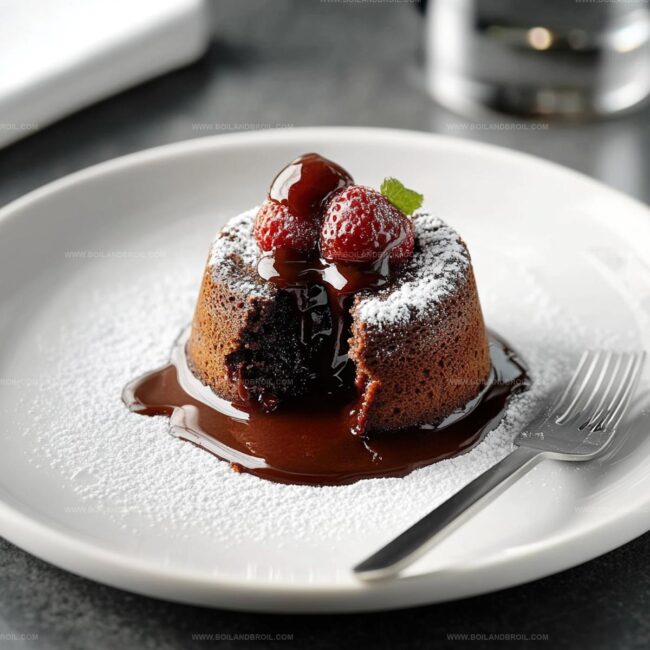
Melted chocolate oozes from a tender, rich exterior that promises pure indulgence.
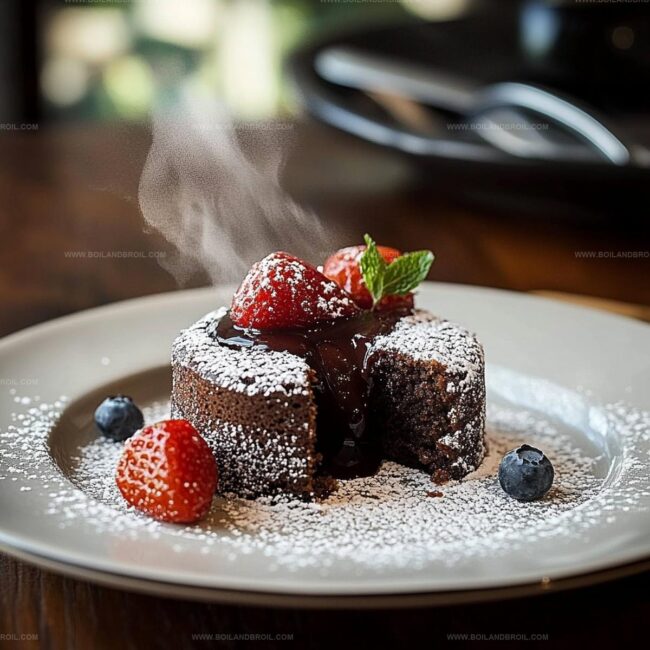
Sweet aromas will soon fill your kitchen with warmth and anticipation.
Each carefully measured ingredient contributes to a delightful symphony of flavor and texture.
Experienced bakers and novice cooks alike can master this elegant treat with confidence.
Precise techniques combined with quality ingredients guarantee a spectacular dessert that impresses everyone at the table.
You are about to create a show-stopping finale that transforms an ordinary meal into an extraordinary experience.
What Makes Molten Lava Cake So Luxurious
Ingredients in Chocolate Molten Lava Cake
How to Bake a Perfect Lava Cake
Step 1: Prepare Baking Station
Warm up your oven to 425F (220C).
Generously coat four individual ramekins with butter or cooking spray to prevent sticking.
Step 2: Create Chocolate Base
Melt together:Use a microwave-safe bowl or double boiler.
Stir continuously until the mixture becomes silky smooth and fully combined.
Step 3: Whip Egg Mixture
In a separate mixing bowl, vigorously whisk:Beat until the mixture transforms into a thick, pale cream.
Gently incorporate vanilla extract and a touch of salt.
Step 4: Blend Chocolate and Eggs
Slowly pour the melted chocolate into the egg mixture.
Stir carefully to create a uniform blend.
Softly fold in flour until just integrated, avoiding overmixing.
Step 5: Fill Ramekins
Distribute the rich batter evenly across the prepared ramekins, ensuring equal portions.
Step 6: Bake to Perfection
Position the ramekins on a baking sheet.
Slide into the preheated oven and bake for 12 minutes.
Look for firm edges with a slightly wobbly center.
Step 7: Serve Immediately
After a brief one-minute rest, carefully flip the cakes onto serving plates.
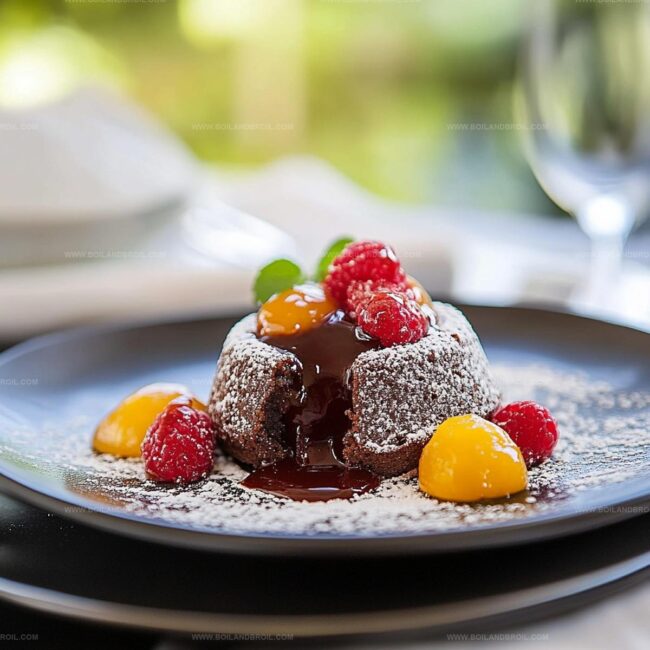
Accompany with a scoop of cold ice cream or a dollop of whipped cream for an extra indulgent experience.
Key Tips for Lava Cake Success
Lava Cake Storage and Reheating Tips
Lava Cake Pairing Favorites
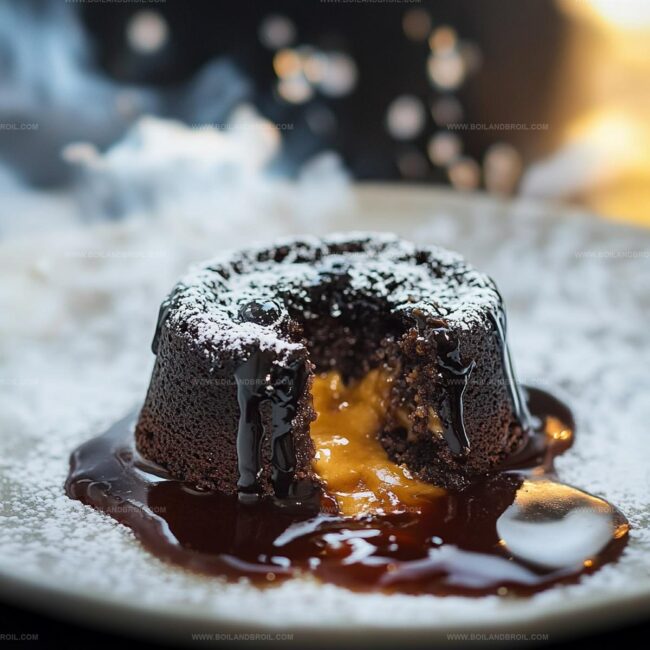
Unique Lava Cake Filling Ideas
FAQs
The thick and pale eggs create a light, airy texture and help trap air, which gives the molten cake its delicate, fluffy structure and helps incorporate more volume into the batter.
Overmixing the flour can develop gluten, making the cake tough and dense instead of soft and delicate. Gently fold the flour just until incorporated to maintain the cake’s tender texture.
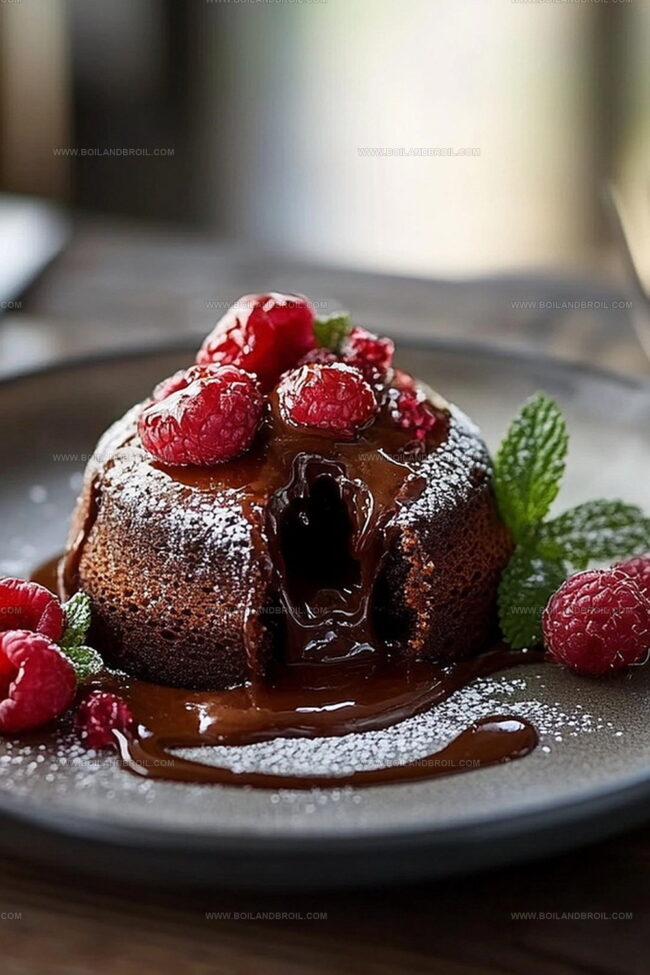
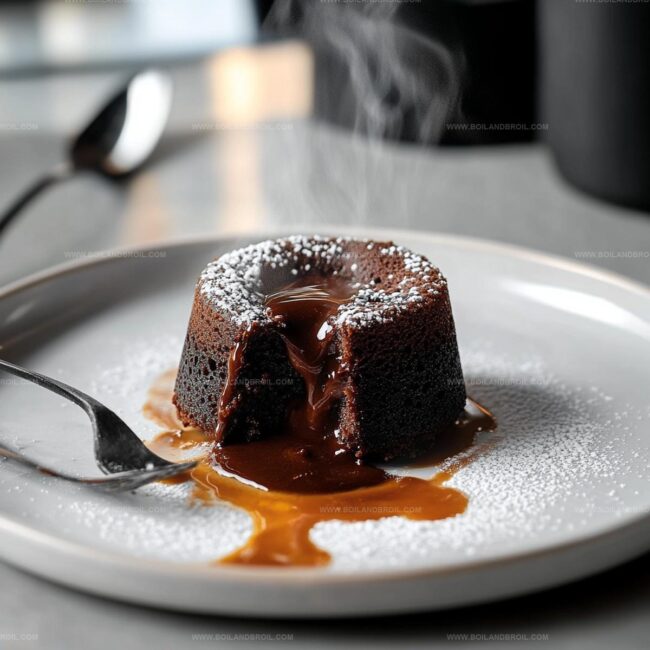
The edges should look firm while the center still appears slightly jiggly. This ensures a gooey, liquid chocolate center when you cut into the cake, which is the signature characteristic of a molten lava cake.
Yes, you can use dark, semi-sweet, or milk chocolate based on your preference. Dark chocolate will give a richer, more intense flavor, while milk chocolate creates a sweeter, milder taste.
Print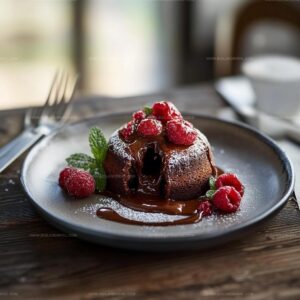
Chocolate Molten Lava Cake Recipe
- Total Time: 27 minutes
- Yield: 2 1x
Description
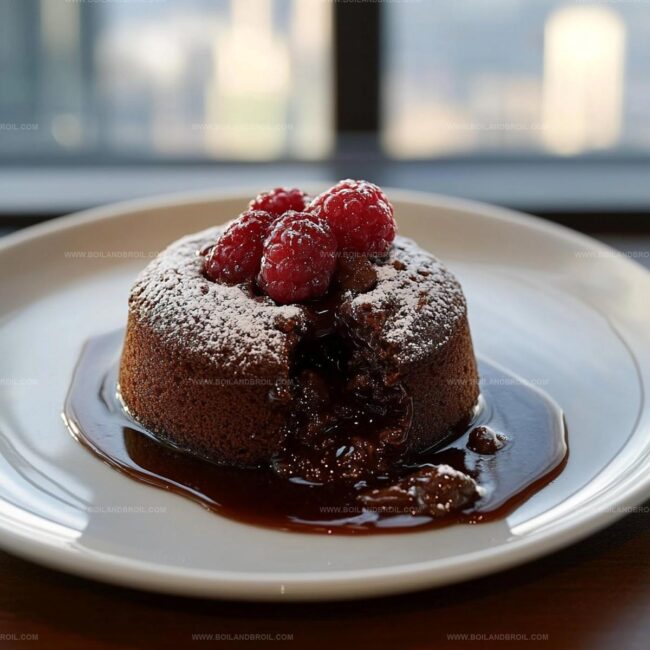
Indulgent chocolate molten lava cake delivers a silky chocolate experience straight from Paris kitchens. Rich ganache center melts dramatically, creating pure dessert magic when served warm with vanilla ice cream.
Ingredients
Main Chocolate Ingredients:
- 1 cup semi-sweet chocolate chips
- 1/2 cup (1 stick) unsalted butter
Egg Ingredients:
- 2 large eggs
- 2 large egg yolks
Dry and Flavor Ingredients:
- 1/4 cup granulated sugar
- 2 tablespoons all-purpose flour
- 1 teaspoon vanilla extract
- 1 pinch salt
Instructions
- Prepare the baking environment by heating the oven to 425F (220C). Generously coat four 6-ounce ramekins with butter or cooking spray to prevent sticking.
- Create a smooth chocolate base by melting butter and chocolate chips together in a microwave-safe bowl or double boiler. Stir frequently until the mixture becomes glossy and uniform.
- Whip eggs, egg yolks, and sugar in a separate bowl until the mixture transforms into a thick, pale cream. Enhance the flavor by incorporating vanilla extract and a touch of salt.
- Carefully integrate the melted chocolate into the egg mixture, ensuring thorough blending. Gently fold flour into the batter, mixing until just combined to maintain a light texture.
- Distribute the batter evenly among the prepared ramekins, filling each one carefully and consistently.
- Position the ramekins on a baking sheet and slide into the preheated oven. Bake for precisely 12 minutes, watching for firm edges while maintaining a slightly wobbly center.
- Allow the cakes to rest for one minute after removing from the oven. Invert onto serving plates and present immediately, optionally accompanied by a scoop of cold ice cream or dollop of whipped cream.
Notes
- Chocolate Selection Matters: Use high-quality dark or semi-sweet chocolate with at least 60% cocoa content for a rich, intense flavor that elevates the entire dessert.
- Precision in Baking: Remove cakes from the oven exactly when edges are set but centers are slightly wobbly to guarantee that perfect molten, gooey interior every single time.
- Temperature Control: Allow ingredients like eggs and butter to reach room temperature before mixing to ensure smoother blending and more consistent texture in your lava cakes.
- Dietary Adaptations: Swap regular flour with gluten-free alternatives like almond or coconut flour for a gluten-free version, and use dairy-free chocolate and butter substitutes for a vegan-friendly adaptation.
- Prep Time: 15 minutes
- Cook Time: 12 minutes
- Category: Desserts
- Method: Baking
- Cuisine: French
Nutrition
- Serving Size: 2
- Calories: 548
- Sugar: 14 g
- Sodium: 61 mg
- Fat: 38 g
- Saturated Fat: 23 g
- Unsaturated Fat: 15 g
- Trans Fat: 0 g
- Carbohydrates: 41 g
- Fiber: <1 g
- Protein: 8 g
- Cholesterol: 186 mg
Jack Sullivan
Founder & Culinary Storyteller
Expertise
Single-recipe development with a narrative approach, Culinary storytelling and food history, Seasonal and regional ingredient utilization, Home cooking techniques adapted for modern kitchens
Education
New England Culinary Institute (Montpelier, VT)
Certificate in Culinary Arts
Focused on farm-to-table cooking, sustainable practices, and modern plating techniques.
Asheville-Buncombe Technical Community College
Associate Degree in Culinary Arts
Emphasized Southern Appalachian cuisine and local ingredient sourcing.
Jack grew up surrounded by smoky skillets and handwritten recipes in the mountains of North Carolina. His roots in Appalachian cooking shaped the way he sees food – as something that connects people, tells a story, and holds meaning.
With hands-on training and a background in sustainable, regional cooking, Jack started Boil And Broil to make meaningful meals more accessible. He’s all about one-dish recipes that are simple to follow but rich with flavor and history.