
Crunchy Chocolate & Peanut Butter Stacks Recipe for Kids
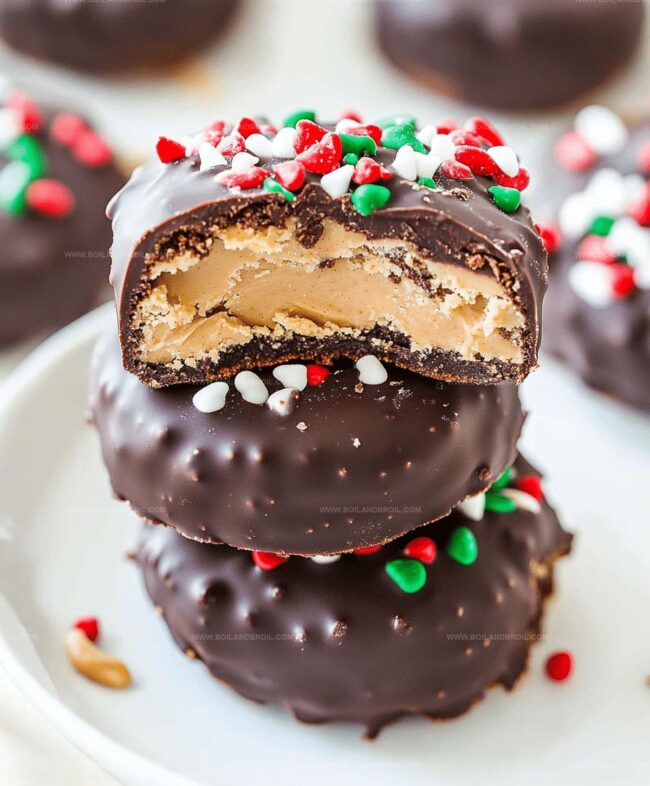
Decadent layers of rich chocolate and creamy peanut butter create a no-bake chocolate peanut butter stacks sensation that melts in your mouth.
chocolate lovers rejoice as these irresistible treats come together with minimal effort.
Each bite delivers a perfect balance of sweet and salty flavors that dance across your palate.
The recipe combines classic ingredients in a simple yet elegant dessert that looks impressive on any plate.
Smooth chocolate and velvety peanut butter layers stack up to create a dessert that feels both indulgent and nostalgic.
Cool and set these delightful stacks in your refrigerator for a quick and satisfying treat.
These heavenly stacks are about to become your new favorite no-fuss dessert that will have everyone asking for the recipe.
Storage Help for Chocolate PB Stacks
Pair With These for the Best Combo
Flavor Variations for Chocolate PB Stacks
FAQs
The mixture is smooth and slightly sticky, creating a creamy filling that holds the crackers together without being too runny.
Yes, you can use milk, dark, or white chocolate depending on your preference. Just ensure you melt it carefully in short intervals to prevent burning.
No special equipment is needed – just a microwave, two forks, a baking sheet, and parchment paper. Basic kitchen tools work perfectly for this recipe.
Melt chocolate in short 15-30 second bursts, stirring between each interval. If it seizes, add a teaspoon of coconut oil or butter and stir vigorously to restore smoothness.
Why Chocolate Peanut Butter Stacks Work So Well

What’s Inside the Chocolate Stacks
Main Ingredients:Additional Ingredients:How to Layer Chocolate PB Stacks
Step 1: Prepare Workspace
Line a baking sheet with parchment or wax paper.
This surface will help you build and cool your delicious chocolate peanut butter stacks smoothly.
Step 2: Create Peanut Butter Sandwiches
Gather your ingredients:Mix peanut butter and marshmallow creme in a medium bowl until perfectly blended.
Spread a thin layer on each cracker and create sandwiches by topping with another cracker.
Step 3: Melt Chocolate
Chop chocolate into small pieces.
Use a microwave-safe bowl to melt chocolate in short 15-30 second intervals.
Stir between each heating cycle to ensure smooth melting.
If chocolate looks challenging, add a touch of coconut oil to restore its silky texture.
Step 4: Coat Cracker Sandwiches
Dip each cracker sandwich into melted chocolate using two forks.
Allow excess chocolate to drip off.
Place coated stacks back on the baking sheet.
Sprinkle decorative toppings while chocolate remains wet for extra flair.
Step 5: Chill and Serve
Refrigerate or freeze the baking sheet for 20-30 minutes until chocolate sets completely.
Once firm, your chocolate peanut butter stacks are ready to enjoy with friends and family.
Tips for the Ultimate Stack Experience

Chocolate Peanut Butter Stacks Recipe
- Total Time: 45 minutes
- Yield: 12 1x
Description
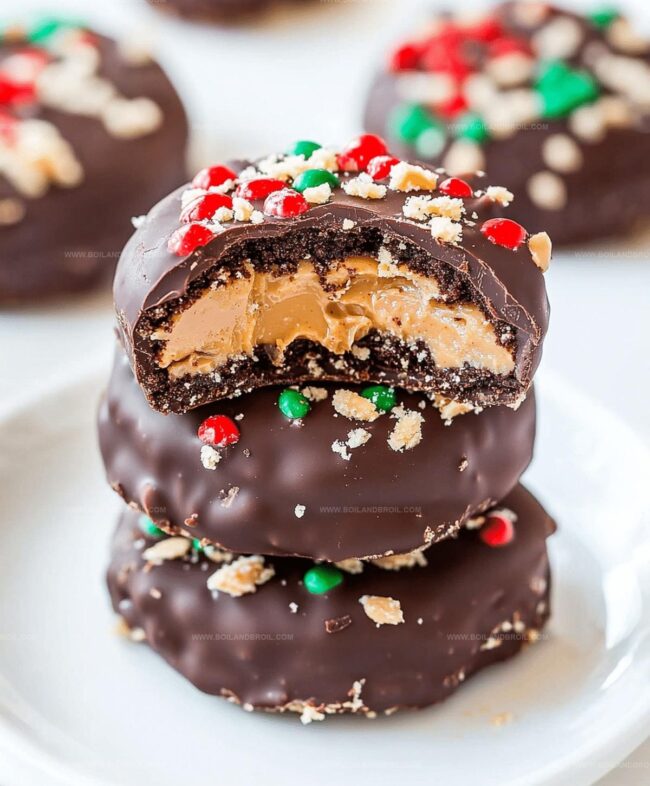
Indulgent chocolate peanut butter stacks bring layers of rich, creamy delight to dessert lovers seeking pure bliss. Crisp wafers, smooth chocolate, and nutty peanut butter create a heavenly combination you’ll crave with each delectable bite.
Ingredients
Main Ingredients:
- 1 pound chocolate, coarsely chopped and melted for dipping
- 1/2 cup creamy peanut butter
- 1/2 cup marshmallow creme
Base/Cracker:
- 48 Ritz crackers or buttery golden round crackers
Decoration:
- Holiday sprinkles (optional)
Instructions
- Prepare a baking sheet by lining it with parchment paper, creating a non-stick surface for assembling and cooling the chocolate peanut butter stacks.
- Arrange 24 Ritz crackers on the prepared baking sheet, creating a uniform base for the treat.
- In a medium bowl, thoroughly blend peanut butter and marshmallow creme until achieving a smooth, consistent mixture.
- Carefully spread a thin, even layer of the peanut butter-marshmallow mixture onto each cracker, ensuring not to overfill.
- Gently place a second cracker on top of each spread cracker, forming sandwich-like layers.
- Chop chocolate into small, uniform pieces to ensure even melting.
- Transfer chocolate to a microwave-safe bowl and heat in 15-30 second intervals, stirring between each session to prevent burning.
- If chocolate becomes challenging, add a teaspoon of coconut oil or butter to restore smooth consistency.
- Using two forks, carefully dip each cracker sandwich into the melted chocolate, allowing excess to drip off.
- Return chocolate-coated stacks to the parchment-lined baking sheet.
- While chocolate remains wet, optionally sprinkle with decorative toppings for added flair.
- Refrigerate or freeze for 20-30 minutes until chocolate completely sets and becomes firm to the touch.
- Remove from refrigerator and serve chilled for optimal texture and flavor.
Notes
- Ensure crackers are evenly spaced for consistent chocolate coating and easier handling.
- Use creamy peanut butter for smoother texture and easier mixing with marshmallow creme.
- Control chocolate melting by using low power settings and stirring frequently to prevent burning.
- Customize decorations with sprinkles, chopped nuts, or drizzled white chocolate for personalized touch.
- Prep Time: 15 minutes
- Cook Time: 30 minutes
- Category: Snacks, Desserts
- Method: Baking
- Cuisine: American
Nutrition
- Serving Size: 12
- Calories: 150
- Sugar: 10 g
- Sodium: 200 mg
- Fat: 9 g
- Saturated Fat: 3 g
- Unsaturated Fat: 5 g
- Trans Fat: 0 g
- Carbohydrates: 15 g
- Fiber: 1 g
- Protein: 3 g
- Cholesterol: 0 mg
Clara Thompson
Recipe Developer & Culinary Educator
Expertise
Developing accessible single-serving recipes, Food writing and content creation, Plant-based and allergen-friendly cooking, Culinary education and workshop facilitation
Education
Oregon Culinary Institute (Portland, OR)
Diploma in Culinary Arts
Specialized in plant-based cooking and sustainable kitchen practices.
Portland Community College
Certificate in Food Writing and Media
Focused on recipe writing, food photography, and digital content creation.
Clara’s food journey began with a curiosity for color, texture, and ingredients pulled straight from the garden. Her background in plant-forward cooking and creative writing gives her a unique edge – she makes healthy, flavorful food feel inviting, not intimidating.
She specializes in meals that work for busy lives and different diets, all without sacrificing taste. Clara’s voice comes through in every recipe she writes – clear, kind, and encouraging.