
Sweet Chocolate Peppermint Bark Recipe for Holiday Magic
Festive holiday treats sparkle with this irresistible chocolate peppermint bark that combines rich cocoa and cool mint flavors.
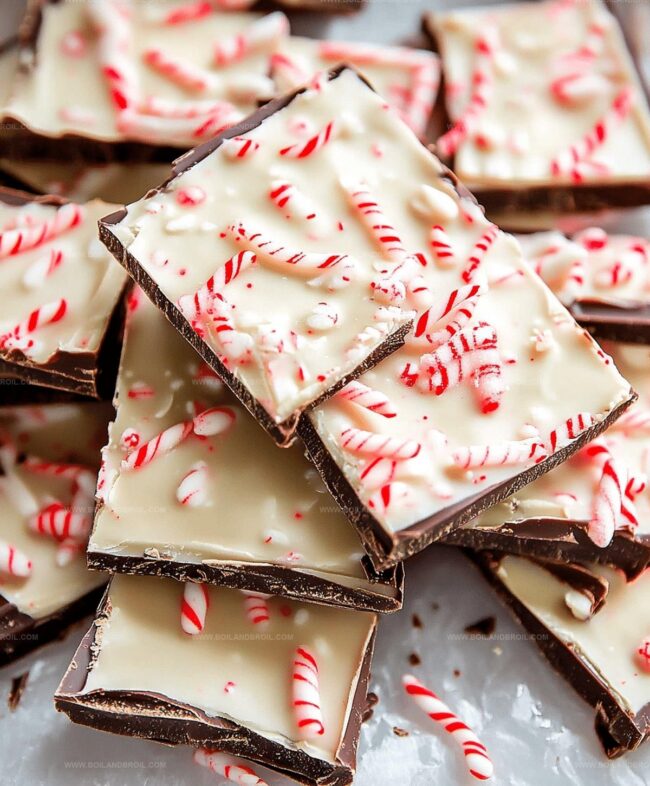
Dark chocolate layers meld perfectly with smooth white chocolate for a delightful seasonal dessert.
Crisp peppermint candy adds a delightful crunch and vibrant pop of color to each delectable piece.
Elegant yet simple, this recipe brings winter magic right to your kitchen counter.
You can whip up this crowd-pleasing confection in minutes with just a few basic ingredients.
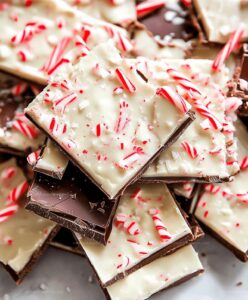
The combination of silky chocolate and refreshing peppermint creates a mouthwatering experience that everyone will adore.
Indulge in this sweet holiday classic that promises to become a cherished tradition at your seasonal gatherings.
What You’ll Need To Make Peppermint Bark
Base Ingredients:Fat and Binding Ingredients:Topping Ingredients:Preparation Ingredients:How To Prepare Crisp, Minty Peppermint Bark
Step 1: Prepare Baking Surface
Line a baking sheet with parchment paper, ensuring complete coverage.
This simple trick will make removing the bark effortless and prevent any sticky situations.
Step 2: Create Dark Chocolate Base
Melt dark chocolate chips with coconut oil in a microwave-safe bowl.
Follow these detailed melting steps:Microwave for one minute and stir thoroughly.
Continue microwaving in short 15-20 second intervals, stirring between each round until the mixture becomes silky smooth.
Watch carefully to prevent chocolate from burning.
Step 3: Spread First Chocolate Layer
Pour the melted dark chocolate onto the prepared baking sheet.
Use a spatula to create an even layer approximately ¼-inch thick.
Don’t stress about perfection – rustic looks delicious!
Refrigerate for 10-15 minutes until the layer sets completely.
Step 4: Prepare White Chocolate Topping
Melt white chocolate chips with remaining coconut oil using the same careful microwaving technique.
White chocolate burns easily, so use short bursts and stir frequently to maintain a smooth consistency.
Step 5: Add White Chocolate Layer
Once the dark chocolate layer has hardened, pour melted white chocolate over the surface.
Spread evenly to cover the entire dark chocolate base completely.
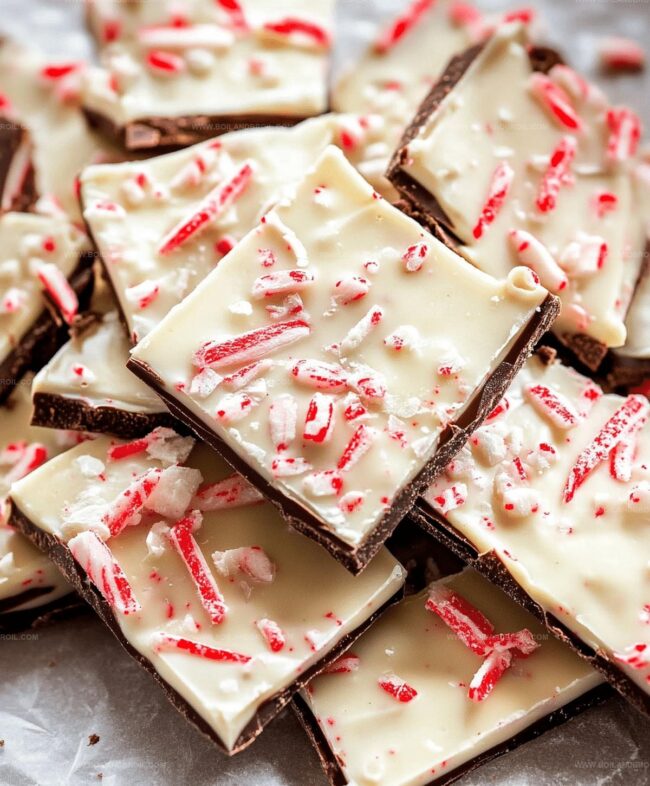
Step 6: Decorate with Festive Toppings
While the white chocolate remains soft, sprinkle these delightful additions:Gently press toppings into the chocolate to ensure they stick perfectly.
Step 7: Chill and Break
Refrigerate the bark for at least one hour until completely firm.
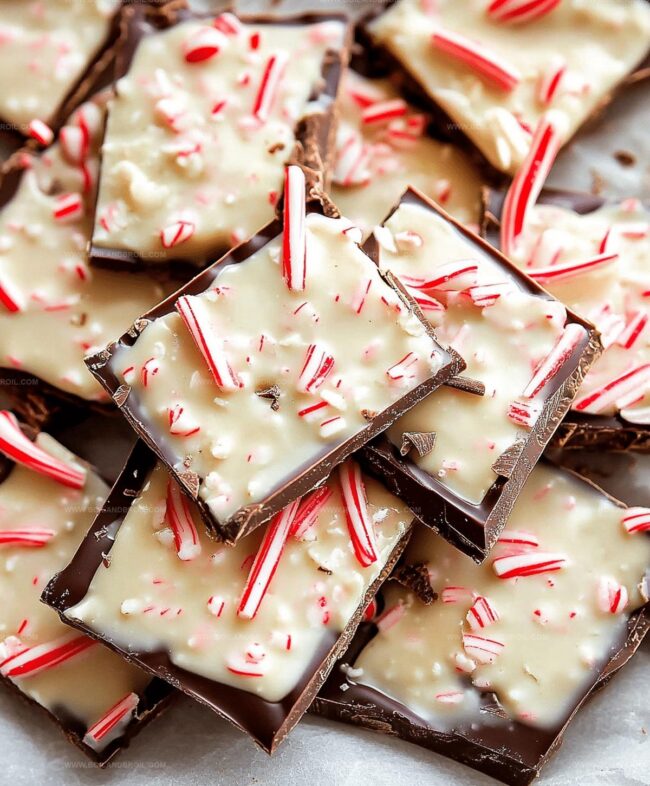
Peel the bark from the parchment paper and break into irregular pieces.
The uneven shards create a rustic, homemade charm that makes this treat irresistible.
Tips To Keep Layers Clean And Snappy
How To Store Peppermint Bark Properly
Treats That Complement Peppermint Bark
Fun Additions For A Bark Flavor Twist
FAQs
You’ll need a microwave-safe bowl, baking sheet, parchment paper, spatula, and a way to crush candy canes like a rolling pin or food processor.
Absolutely! You can swap dark and white chocolate with milk chocolate or even mix different percentages of dark chocolate to suit your taste preferences.
Coconut oil helps create a smoother, glossier chocolate that melts more evenly and prevents the chocolate from becoming too hard or brittle when it sets.
Aim for a mix of small chunks and fine powder. This gives your bark interesting texture and ensures peppermint flavor in every bite. Crush them roughly using a rolling pin or pulse briefly in a food processor.
Why Peppermint Bark Is A Holiday Staple
Chocolate Peppermint Bark Recipe
- Total Time: 1 hour 25 minutes
- Yield: 16 1x
Description
Rich chocolate layers meld with cool peppermint bark, creating a festive holiday treat that whispers winter’s sweet magic. Crisp candy cane pieces and smooth chocolate combine for a delightful dessert you’ll savor with each delectable bite.
Ingredients
Chocolate Base:
- 16 ounces (454 grams) dark chocolate chips 60%
- 4 teaspoons (20 milliliters) coconut oil
White Chocolate Layer:
- 16 ounces (454 grams) white chocolate chips
- 4 teaspoons (20 milliliters) coconut oil
Topping:
- 1/2 cup (60 grams) crushed candy canes
- Flake sea salt
Instructions
- Prepare a baking sheet by lining it with parchment paper, ensuring easy removal of the chocolate bark later.
- Combine dark chocolate chips and coconut oil in a microwave-safe bowl. Heat for one minute, stirring thoroughly to distribute heat evenly. Continue microwaving in 15-20 second intervals, stirring between each, until chocolate becomes completely smooth and glossy.
- Carefully pour the melted dark chocolate onto the prepared baking sheet, using a spatula to create an approximately ¼-inch thick even layer. Refrigerate for 10-15 minutes until the chocolate sets and hardens.
- Repeat the melting process with white chocolate chips and remaining coconut oil, using shorter microwave intervals to prevent scorching. Stir meticulously between each heating cycle to ensure smooth consistency.
- Once the dark chocolate layer has firmed, gently pour the melted white chocolate over the surface, spreading evenly to completely cover the dark chocolate base.
- Immediately sprinkle crushed candy canes and flake sea salt across the white chocolate surface while still warm and malleable. Lightly press toppings to ensure they adhere properly.
- Refrigerate the bark for at least one hour to completely set. Once firm, remove from parchment paper and break into rustic, irregular pieces for serving.
Notes
- Chocolate Melting Magic Stir chocolate consistently to prevent burning and ensure smooth, glossy texture.
- Temperature Control Microwave chocolate in short bursts, stirring between intervals to maintain ideal melting consistency and prevent scorching.
- Surface Preparation Use parchment paper for easy removal and clean break of bark pieces, creating professional-looking results.
- Topping Techniques Press candy canes and sea salt gently into white chocolate layer to ensure maximum adherence and even distribution of flavors.
- Dietary Adaptations Swap traditional chocolate for dairy-free alternatives like vegan chocolate chips to make recipe allergen-friendly and suitable for plant-based diets.
- Storage Wisdom Store bark in airtight container between parchment layers in refrigerator for up to two weeks, maintaining crisp texture and preventing flavor absorption.
- Prep Time: 10 minutes
- Cook Time: 1 hour 15 minutes
- Category: Desserts, Snacks
- Method: Baking
- Cuisine: American
Nutrition
- Serving Size: 16
- Calories: 200
- Sugar: 18 g
- Sodium: 50 mg
- Fat: 12 g
- Saturated Fat: 7 g
- Unsaturated Fat: 4 g
- Trans Fat: 0 g
- Carbohydrates: 23 g
- Fiber: 1 g
- Protein: 2 g
- Cholesterol: 0 mg
Clara Thompson
Recipe Developer & Culinary Educator
Expertise
Developing accessible single-serving recipes, Food writing and content creation, Plant-based and allergen-friendly cooking, Culinary education and workshop facilitation
Education
Oregon Culinary Institute (Portland, OR)
Diploma in Culinary Arts
Specialized in plant-based cooking and sustainable kitchen practices.
Portland Community College
Certificate in Food Writing and Media
Focused on recipe writing, food photography, and digital content creation.
Clara’s food journey began with a curiosity for color, texture, and ingredients pulled straight from the garden. Her background in plant-forward cooking and creative writing gives her a unique edge – she makes healthy, flavorful food feel inviting, not intimidating.
She specializes in meals that work for busy lives and different diets, all without sacrificing taste. Clara’s voice comes through in every recipe she writes – clear, kind, and encouraging.