Sweet & Festive Christmas Cheesecake Bars Recipe
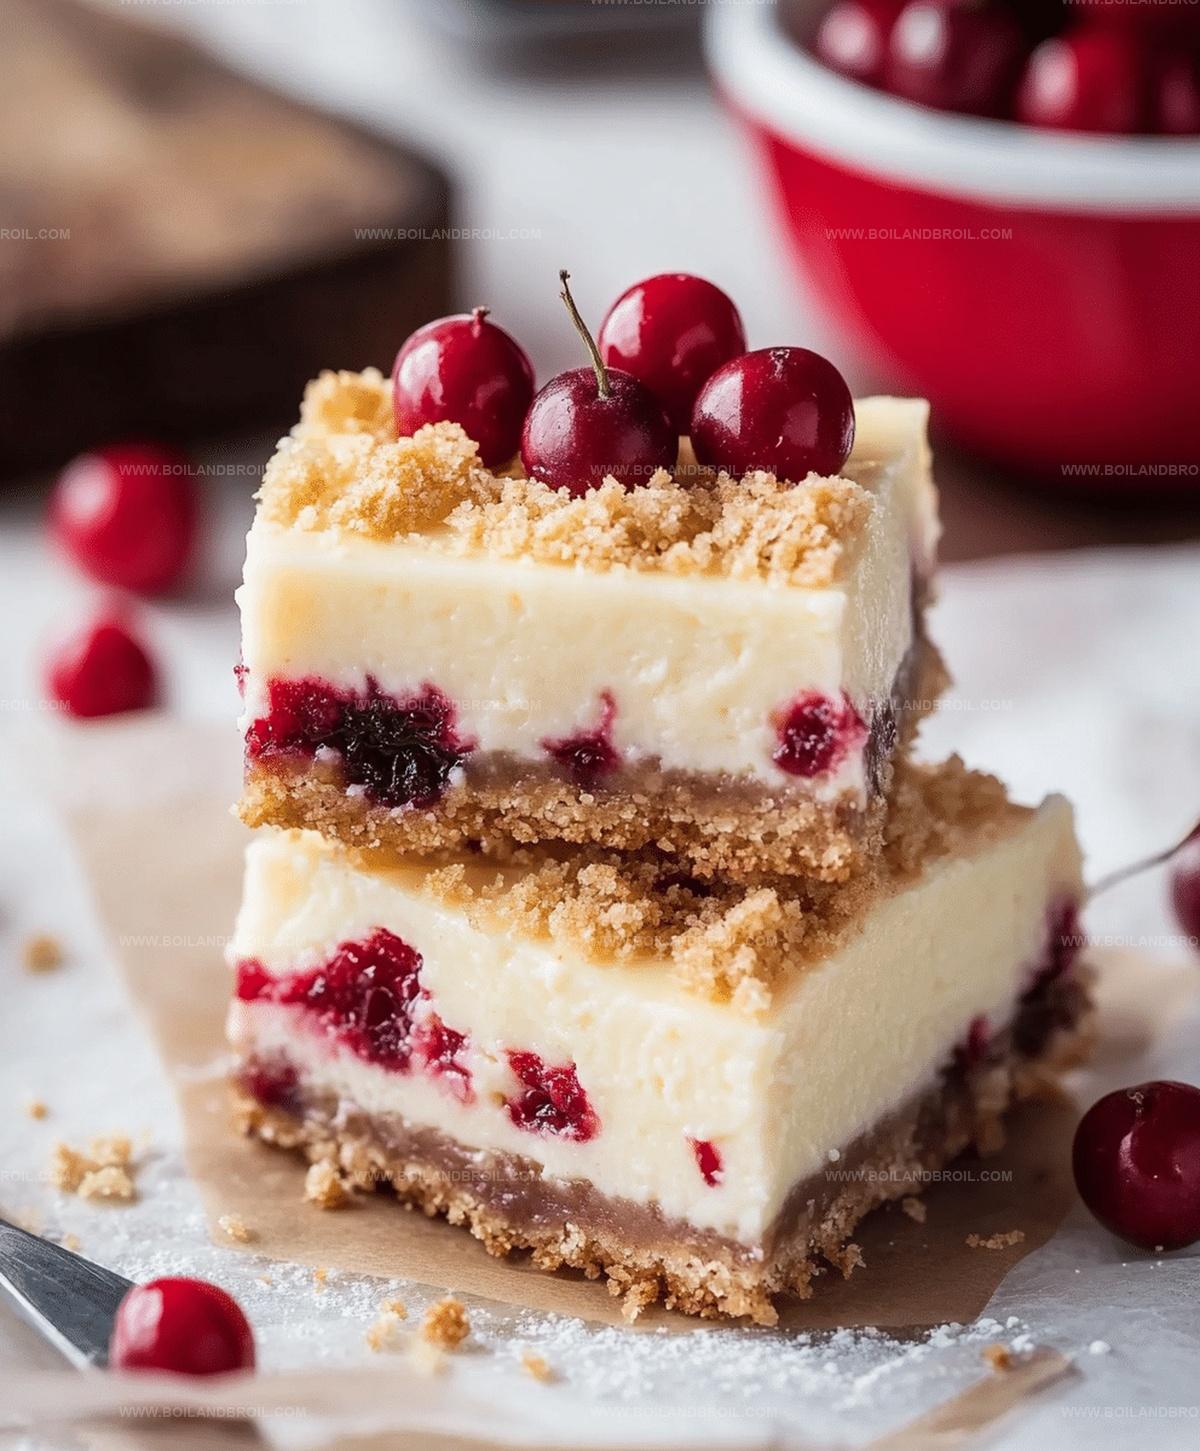
Decadent holiday treats always spark joy during festive gatherings, and these Christmas cheesecake bars deliver pure seasonal delight.
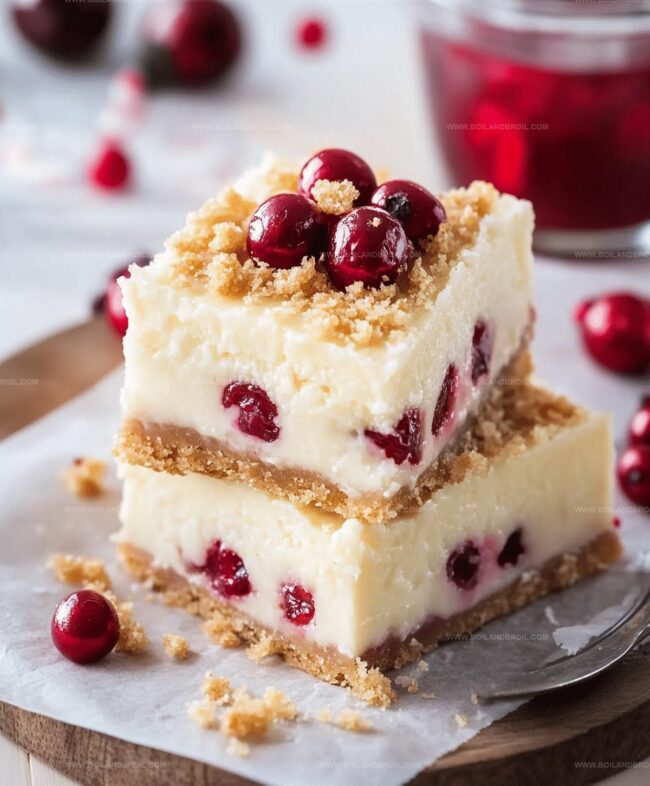
Sweet creamy layers meld perfectly with classic winter flavors.
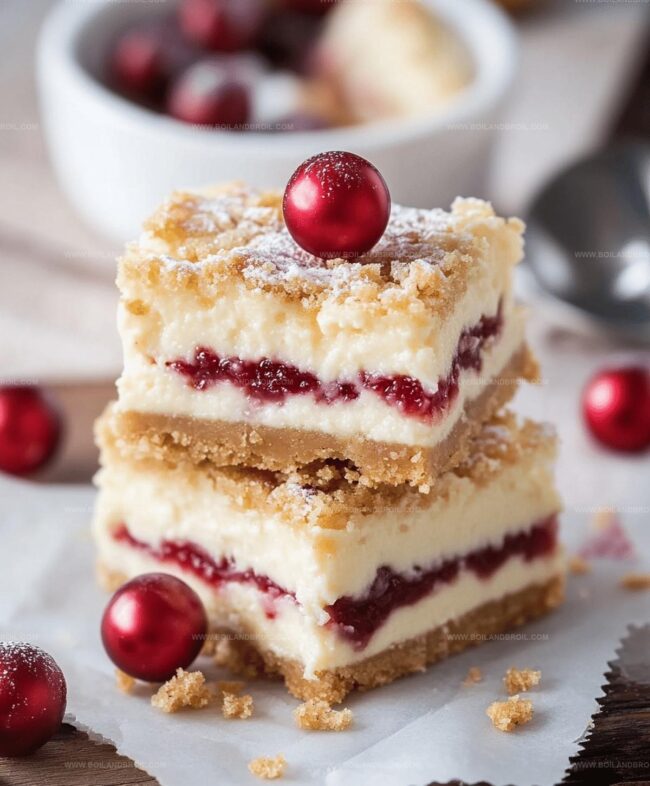
Crumbly graham cracker crusts provide a delightful foundation for rich cream cheese filling.
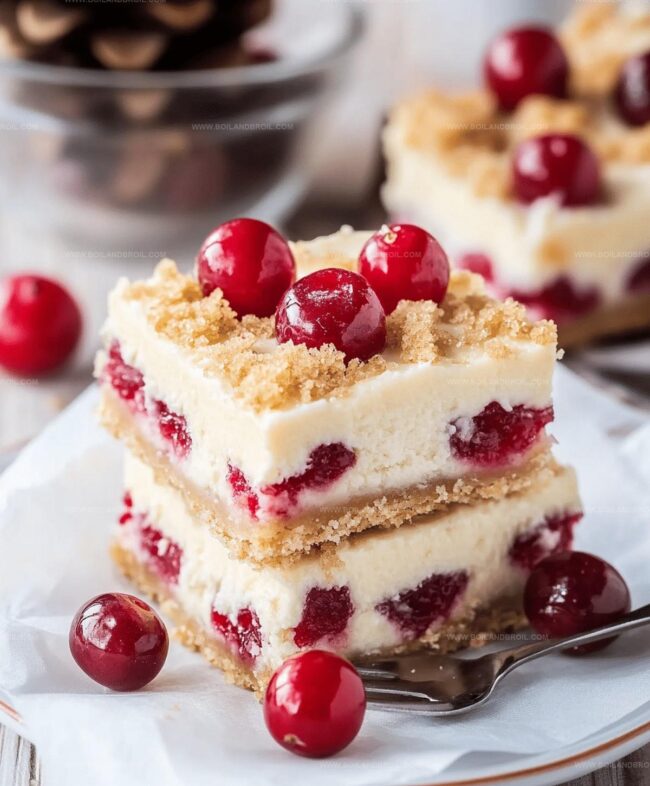
Festive sprinkles and delicate swirls add elegant touches to each bite-sized square.
The combination of smooth textures and warm spices creates an irresistible dessert everyone will adore.
Guests won’t be able to resist these charming bars that capture the essence of holiday indulgence.
Bring these magical treats to your next celebration and watch them disappear in moments.
How to Bake Christmas Cheesecake Bars
Step 1: Prepare the Baking Station
Warm up your oven to 350°F.
Grab an 8×8 inch baking pan and coat it with non-stick spray.
Line the pan with parchment paper, allowing some overhang for easy bar removal later.
Step 2: Create the Crumbly Crust
Mix sugar cookie mix with cold butter cubes using your fingers or a fork.
Work the ingredients until they resemble wet sand with tiny butter chunks.
Set aside 3/4 cup of this mixture for topping.
Press the remaining crumb mixture firmly into the pan’s bottom.
Bake for 10 minutes, then chill in the refrigerator to help the crust firm up.
Step 3: Whip the Creamy Cheesecake Filling
In a mixing bowl, blend:Beat until smooth and creamy, making sure to scrape down bowl sides to eliminate any lumps.
Step 4: Layer the Delicious Components
Spread the cheesecake mixture evenly over the cooled crust.
Gently spoon cherry pie filling across the top, covering the cheesecake layer without mixing the two.
Step 5: Craft the Crunchy Almond Streusel
Fold sliced almonds into the reserved sugar cookie crumb mixture.
Sprinkle this crumble generously over the cherry layer, aiming for complete coverage to create a golden, crispy topping.
Step 6: Bake and Cool to Perfection
Bake the bars for 40 minutes.
The top should turn golden, with a slight jiggle in the center.
Allow bars to cool at room temperature for 30 minutes.
Refrigerate for 2 hours until completely set and chilled.
Pro Tips for Better Cheesecake Bars
Storage and Reheating for Cheesecake Bars
Perfect Pairings for Cheesecake Bars
Christmas Cheesecake Bar Variations to Explore
FAQs
Absolutely! Feel free to swap cherry with raspberry, blueberry, or any fruit filling you prefer. Just ensure it complements the creamy cheesecake base.
No, a hand mixer works perfectly fine. You can even mix the cheesecake layer by hand with a whisk if you’re careful to blend until smooth and lump-free.
Look for golden edges and a center that’s still slightly jiggly. The bars will continue to set as they cool, so don’t overbake. A slight wobble is totally normal and expected.
Yes! These Christmas Cheesecake Bars are great for advance preparation. You can make them 1-2 days before serving and store them covered in the refrigerator until ready to enjoy.
Why Christmas Cheesecake Bars Are a Must
Everything You Need for Cheesecake Bars
Main Ingredients:Cheesecake Layer Ingredients:Topping Ingredients: Print
Christmas Cheesecake Bars Recipe
- Total Time: 1 hour 5 minutes
- Yield: 12 1x
Description
Festive Christmas cheesecake bars bring holiday cheer with creamy, spiced layers nestled on a crumbly graham cracker base. Peppermint and rich chocolate create a merry dessert that will delight your senses and spread seasonal joy.
Ingredients
Main Ingredients:
- 1 (8 ounces / 226 grams) Cream Cheese, Softened
- 1 (8.5 ounces / 241 grams) Sugar Cookie Mix
- 3/4 can Cherry Pie Filling
Binding and Flavor Ingredients:
- 1 Egg
- 1/4 cup Sugar
- 4 tablespoons Butter, Cold
- 1 tablespoon Flour
- 1/2 teaspoon Vanilla
Garnish:
- 1/3 cup Almonds, Sliced
Instructions
- Prepare the oven to 350°F and ready an 8×8 baking pan by coating with non-stick spray and lining with parchment paper for effortless removal.
- Create the crust by combining sugar cookie mix with cold, cubed butter using fingers or fork until mixture resembles coarse, wet sand. Separate 3/4 cup of this mixture for topping, then firmly press remaining crumbs into pan bottom. Bake for 10 minutes and refrigerate to solidify.
- Craft the cheesecake layer by whipping cream cheese, sugar, flour, vanilla, and egg in a mixing bowl until ultra-smooth and creamy, carefully scraping bowl sides to eliminate potential lumps.
- Distribute cheesecake mixture evenly across cooled crust, then gently layer cherry pie filling across the surface without blending the two layers.
- Transform reserved cookie mixture into streusel by incorporating sliced almonds. Generously sprinkle this crumbly topping across cherry layer, aiming for maximum coverage.
- Bake for 40 minutes until golden and center appears slightly wobbly. Allow bars to cool at room temperature for 30 minutes, then refrigerate for 2 hours until completely set and chilled.
Notes
- Chill the crust before adding the cheesecake layer to prevent crumbling and ensure a clean, distinct base.
- Soften cream cheese at room temperature for 30 minutes to achieve a smoother, lump-free mixture that blends easily.
- Use a spatula to spread cherry filling gently, creating beautiful swirls without disrupting the cheesecake layer underneath.
- Prep Time: 15 minutes
- Cook Time: 50 minutes
- Category: Desserts
- Method: Baking
- Cuisine: American
Nutrition
- Serving Size: 12
- Calories: 210
- Sugar: 10 g
- Sodium: 150 mg
- Fat: 11 g
- Saturated Fat: 6 g
- Unsaturated Fat: 4 g
- Trans Fat: 0 g
- Carbohydrates: 25 g
- Fiber: 1 g
- Protein: 3 g
- Cholesterol: 40 mg
Clara Thompson
Recipe Developer & Culinary Educator
Expertise
Developing accessible single-serving recipes, Food writing and content creation, Plant-based and allergen-friendly cooking, Culinary education and workshop facilitation
Education
Oregon Culinary Institute (Portland, OR)
Diploma in Culinary Arts
Specialized in plant-based cooking and sustainable kitchen practices.
Portland Community College
Certificate in Food Writing and Media
Focused on recipe writing, food photography, and digital content creation.
Clara’s food journey began with a curiosity for color, texture, and ingredients pulled straight from the garden. Her background in plant-forward cooking and creative writing gives her a unique edge – she makes healthy, flavorful food feel inviting, not intimidating.
She specializes in meals that work for busy lives and different diets, all without sacrificing taste. Clara’s voice comes through in every recipe she writes – clear, kind, and encouraging.