Festive Cherry Bars Recipe: Sweet Christmas Treats
Sweet memories of holiday gatherings dance through kitchens when cherry bars emerge from the oven, filling the air with nostalgic warmth.
Festive treats like these Christmas cherry bars recipe bring comfort and joy to winter celebrations.
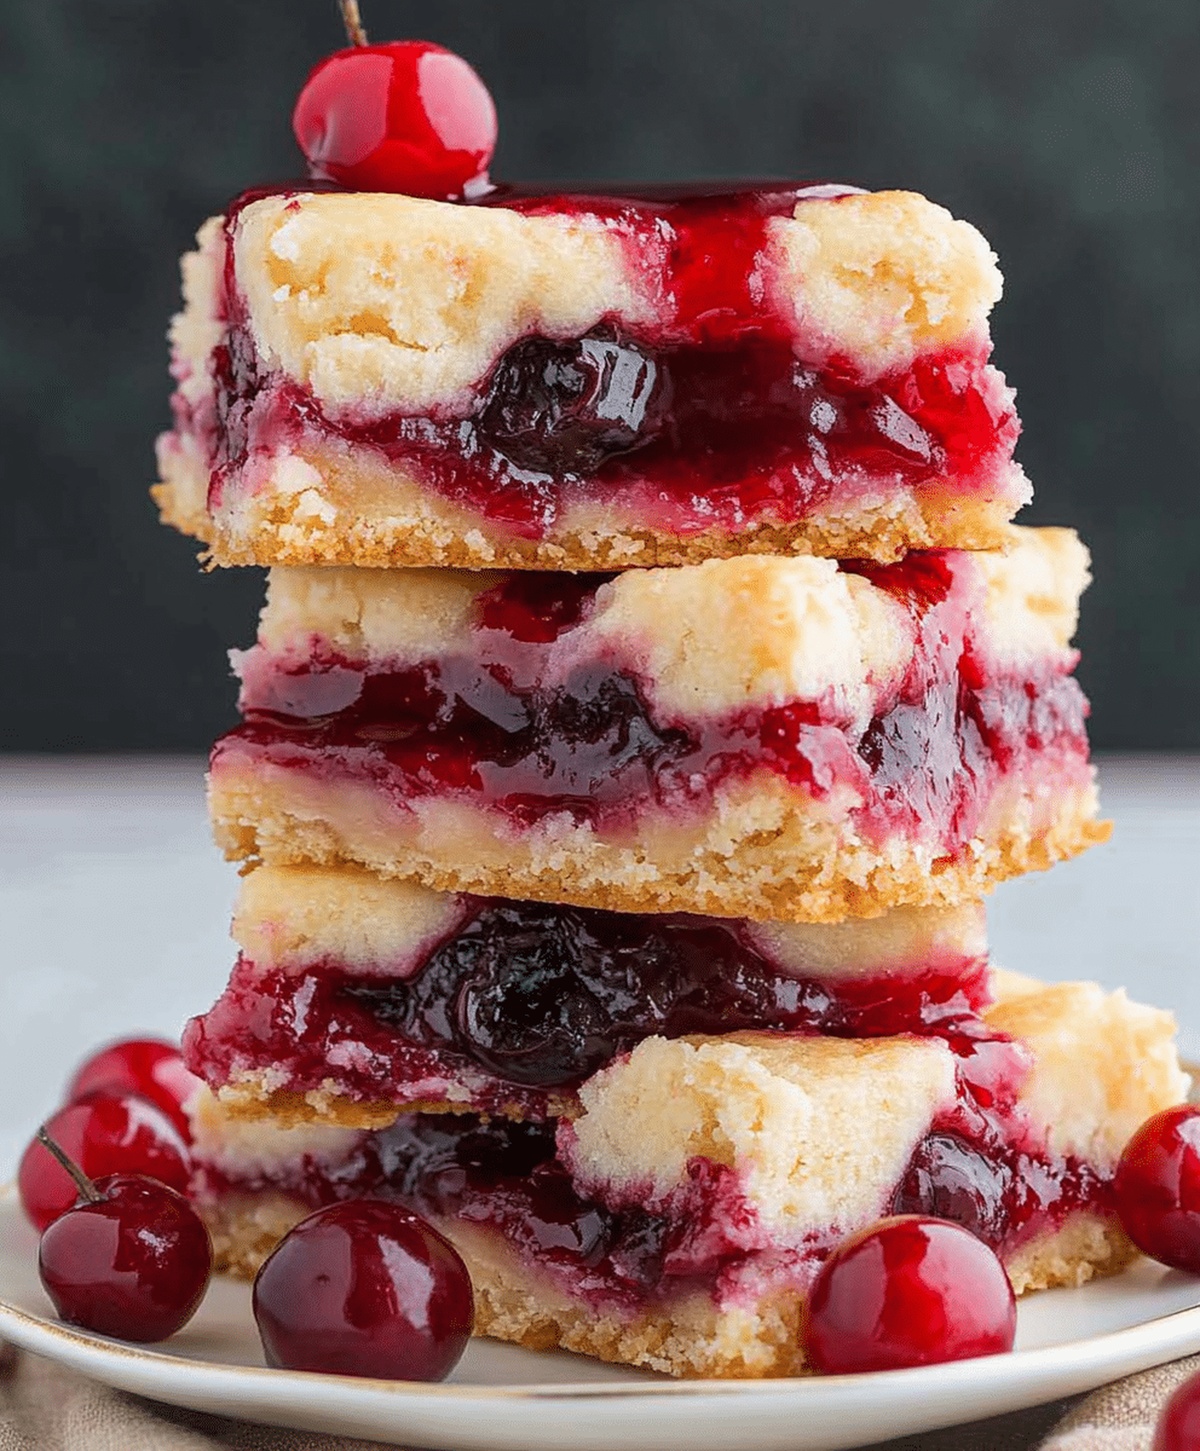
Bright red cherries nestled in buttery, tender pastry create a delightful dessert that sparks conversation.
Each slice tells a story of tradition and home-baked love.
The combination of sweet fruit and delicate crumb makes these bars an irresistible addition to any holiday spread.
You’ll find these bars disappear quickly as guests savor every delectable bite.
Serve these delightful bars and watch smiles light up the room.
Why Cherry Bars Feel Like A Festive Favorite

What Goes Into Christmas Cherry Bars
Base Ingredients:Dry Ingredients:Topping Ingredients:How To Make Cherry Bars With A Tender Crust

Step 1: Warm Up The Oven
Preheat the oven to 350°F.
Grab a 9×13-inch baking pan and coat it thoroughly with butter or cooking spray to prevent sticking.
Step 2: Whip Butter And Sugar
In a large mixing bowl, combine butter and sugar.
Use an electric mixer to blend until the mixture becomes light, fluffy, and creates a creamy texture.
Step 3: Incorporate Eggs And Flavor
Gently add eggs one at a time, ensuring each is fully mixed before adding the next.
Pour in vanilla extract and stir until everything is smoothly combined.
Step 4: Combine Dry Components
In a separate bowl, whisk together:Slowly fold the dry ingredients into the wet mixture, stirring carefully to avoid overmixing.
Step 5: Prepare Base Layer
Spread approximately 3 cups of batter evenly across the prepared pan.
Use a spatula to create a smooth, consistent surface.
Step 6: Add Cherry Goodness
Carefully spoon cherry pie filling over the batter.
Take care not to disturb the base layer while distributing the cherries.
Step 7: Create Decorative Topping
Drop remaining batter in small clumps across the cherry layer.
The topping will look rustic and uneven, which adds to the dessert’s charm.
Step 8: Bake To Golden Perfection
Place the pan in the preheated oven.
Bake for 35-40 minutes until the top turns a beautiful golden brown and the center sets completely.
Step 9: Cool And Rest
Allow the bars to cool completely on a wire rack before adding any additional glaze or toppings.
Tips To Get Just The Right Cherry Texture
Storing Cherry Bars Without Losing Flavor
Drinks And Treats That Pair Nicely
Christmas Cherry Bar Variations You Can Try Next
FAQs
These bars are perfect for children! They’re sweet, colorful, and easy to eat. Kids love the fruity cherry filling and the soft, cake-like texture.
No, fresh cherries won’t work well. Pie filling provides the right consistency and moisture. Using fresh cherries would change the recipe’s texture and baking time.
Look for a golden brown top and set edges. When you gently shake the pan, the center should look firm and not wiggle. A toothpick inserted near the center should come out mostly clean.
Absolutely! These bars are a crowd-pleaser. They’re easy to make, cut into neat squares, and have a festive look that’s perfect for Christmas parties or family get-togethers.
Print
Christmas Cherry Bars Recipe
- Total Time: 55 minutes
- Yield: 12 1x
Description
Festive Christmas cherry bars bring seasonal joy to holiday dessert tables with their rich, buttery crust and sweet cherry filling. Delightful layers of crimson cherries nestled between crumbly pastry promise merry celebrations that guests will savor and remember.
Ingredients
Main Ingredients:
- 3 cups all-purpose flour
- 1 can (21 ounces / 595 grams) cherry pie filling
- 4 eggs
- 1 cup (227 grams) butter, softened
- 2 cups (400 grams) sugar
Flavoring Ingredients:
- 1 teaspoon vanilla extract
- 1/2 teaspoon vanilla extract
- 1 teaspoon salt
Topping Ingredients:
- 1 cup (120 grams) powdered sugar
- 2 tablespoons milk
Instructions
- Prepare the oven and baking vessel by heating to 350°F and coating a 9×13-inch pan with butter or non-stick spray to ensure easy release.
- Utilize an electric mixer to thoroughly blend butter and sugar until the mixture becomes airy and pale, creating a smooth foundation for the dessert.
- Incorporate eggs individually, ensuring complete integration after each addition, then blend in vanilla extract for enhanced flavor complexity.
- Separately combine flour and salt, then gently fold into the butter mixture, mixing minimally to maintain a tender texture.
- Distribute approximately three cups of batter evenly across the prepared pan, using a spatula to create a uniform base layer.
- Delicately spoon cherry pie filling over the initial batter layer, maintaining distinct separation between components.
- Strategically scatter remaining batter in small dollops across the cherry layer, allowing glimpses of the vibrant filling to peek through.
- Bake in the preheated oven for 35-40 minutes, monitoring until the surface achieves a golden-brown appearance and the center sets completely.
- Allow the dessert to cool thoroughly on a wire rack before applying glaze, permitting structural stability and optimal flavor development.
Notes
- Choose high-quality maraschino cherries or fresh cherries for a more vibrant and authentic flavor profile.
- Ensure butter is softened at room temperature for smoother creaming and better texture in the bars.
- Use an offset spatula or back of a spoon to distribute batter evenly and create beautiful marbled effects with the cherry filling.
- Prep Time: 15 minutes
- Cook Time: 40 minutes
- Category: Desserts, Snacks
- Method: Baking
- Cuisine: American
Nutrition
- Serving Size: 12
- Calories: 334
- Sugar: 25 g
- Sodium: 113 mg
- Fat: 14 g
- Saturated Fat: 8 g
- Unsaturated Fat: 4 g
- Trans Fat: 0 g
- Carbohydrates: 47 g
- Fiber: 1 g
- Protein: 3 g
- Cholesterol: 63 mg
Clara Thompson
Recipe Developer & Culinary Educator
Expertise
Developing accessible single-serving recipes, Food writing and content creation, Plant-based and allergen-friendly cooking, Culinary education and workshop facilitation
Education
Oregon Culinary Institute (Portland, OR)
Diploma in Culinary Arts
Specialized in plant-based cooking and sustainable kitchen practices.
Portland Community College
Certificate in Food Writing and Media
Focused on recipe writing, food photography, and digital content creation.
Clara’s food journey began with a curiosity for color, texture, and ingredients pulled straight from the garden. Her background in plant-forward cooking and creative writing gives her a unique edge – she makes healthy, flavorful food feel inviting, not intimidating.
She specializes in meals that work for busy lives and different diets, all without sacrificing taste. Clara’s voice comes through in every recipe she writes – clear, kind, and encouraging.