Jolly Christmas Cool Whip Truffles Recipe – Sweet Holiday Magic
Chocolate lovers rejoice as these Christmas cool whip truffles bring festive magic to your holiday dessert table.
Sweet treats packed with creamy goodness melt effortlessly in your mouth.
The delightful combination of cool whip and rich chocolate creates an irresistible indulgence.
Each truffle bursts with seasonal cheer and delectable flavor.
Rolling these delicate confections becomes a joyful experience that connects generations of bakers.
Simple ingredients transform into elegant treats that spark celebration.
You’ll want to savor every single bite of these heavenly chocolate delights.
Why Cool Whip Truffles Make It Merry
Cool Whip Truffle Ingredient Breakdown
Chocolate Base:Coating Chocolates:Decorative Topping:Steps for Easy Cool Whip Truffles
Step 1: Melt Chocolate Smoothly
Grab milk chocolate chips and place them in a microwave-safe bowl.
Microwave the chocolate in short 30-second bursts, stirring between each interval until the chocolate transforms into a silky, smooth consistency.
Be careful not to overheat, as chocolate can quickly become grainy.
Step 2: Cool Chocolate Carefully
Allow the melted chocolate to reach room temperature.
This cooling period prevents the mixture from becoming lumpy when combined with Cool Whip.
Patience is crucial for achieving the perfect truffle texture.
Step 3: Blend Chocolate and Cool Whip
Gently fold Cool Whip into the cooled chocolate until completely incorporated.
The mixture should become thick and creamy.
Transfer the blend to the refrigerator and let it firm up for about 30 minutes.
Step 4: Shape Truffle Bases
Use a small cookie scoop or spoon to create uniform portions on a parchment-lined baking sheet.
Place the sheet in the freezer for one hour to make the next steps easier.
Step 5: Roll Truffle Balls
Remove the truffle portions from the freezer.
Quickly roll each portion into smooth, round balls.
Return the balls to the freezer while preparing the chocolate coatings.
Step 6: Prepare Chocolate Coatings
Melt milk chocolate bark and white chocolate bark in separate bowls.
If the chocolate seems too thick, stir in a small amount of coconut oil to thin it.
Use a fork to dip half the truffles in milk chocolate and the remaining half in white chocolate.
Place the coated truffles back on the parchment to set.
Step 7: Add Decorative Finishing Touches
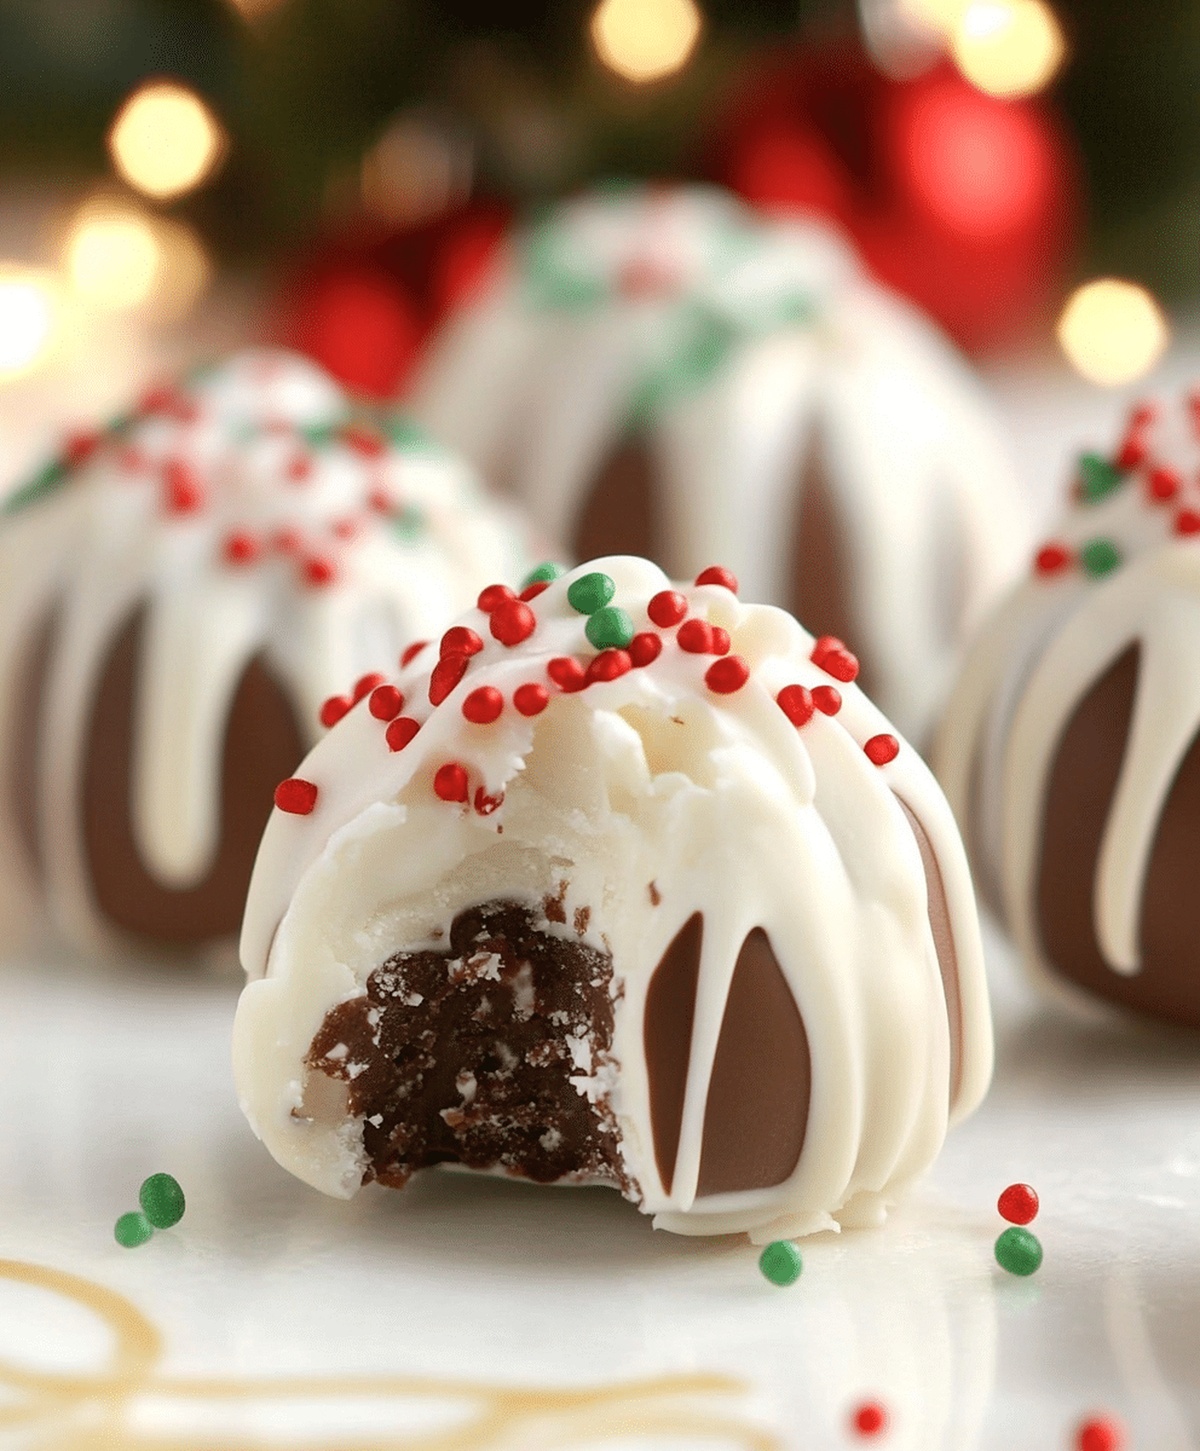
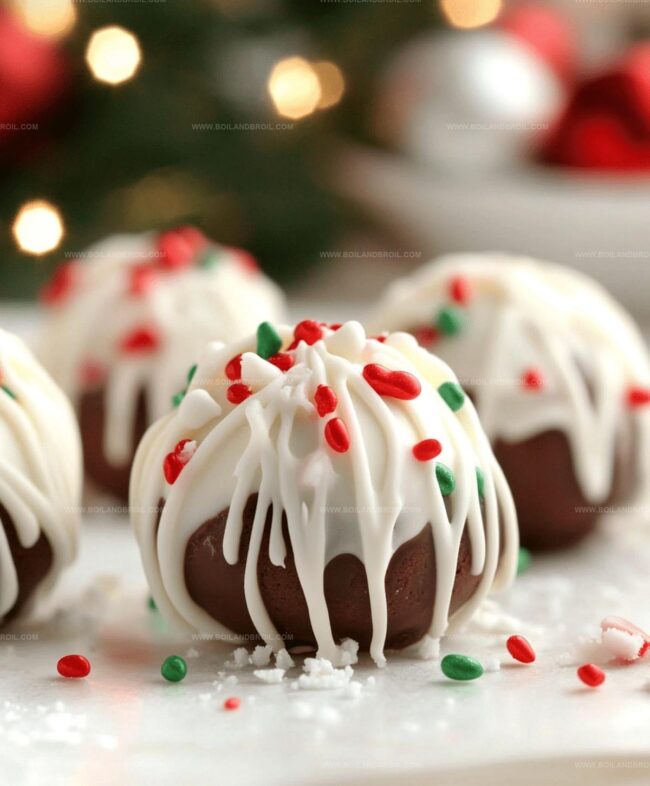
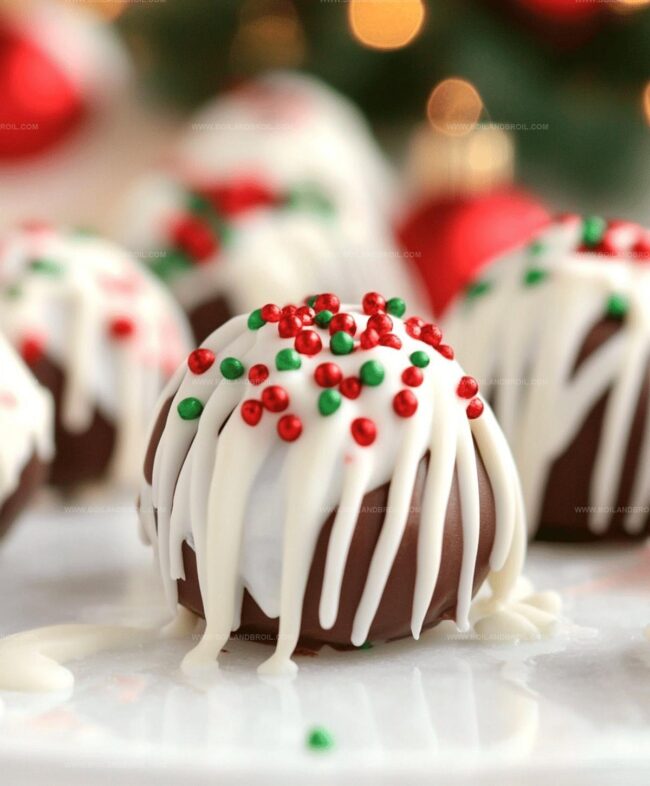
Drizzle white chocolate over the milk chocolate truffles and milk chocolate over the white chocolate truffles.
Immediately sprinkle festive decorations on top before the chocolate hardens completely.
These truffles are now ready to delight and impress!
Tips for Fluffy Truffle Results
How to Store Cool Whip Truffles Properly
Sweet Pairings for Cool Whip Truffles
Truffle Style Variations to Try
FAQs
Use 30-second intervals in the microwave and stir between each interval. This helps distribute heat evenly and prevents scorching.
Hot chocolate can cause the Cool Whip to separate and create a lumpy texture. Room temperature chocolate ensures a smooth, creamy mixture.
Absolutely! You can experiment with dark, milk, or semi-sweet chocolate bark. Just ensure you have a coating chocolate that melts smoothly.
Freeze the portioned scoops for an hour before rolling. This helps the mixture stay firm and makes shaping easier without sticking to your hands.
Print
Christmas Cool Whip Truffles Recipe
- Total Time: 2 hours 15 minutes
- Yield: 24 1x
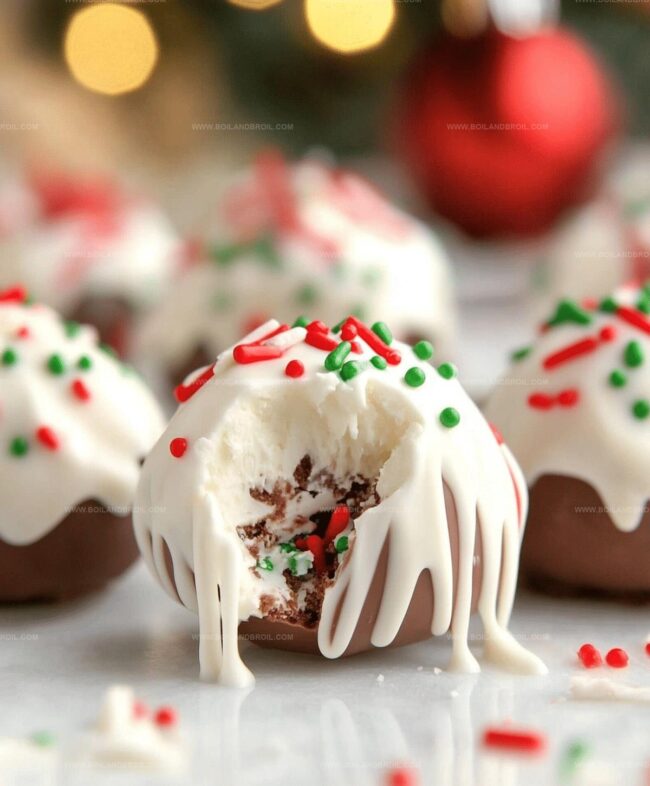
Description
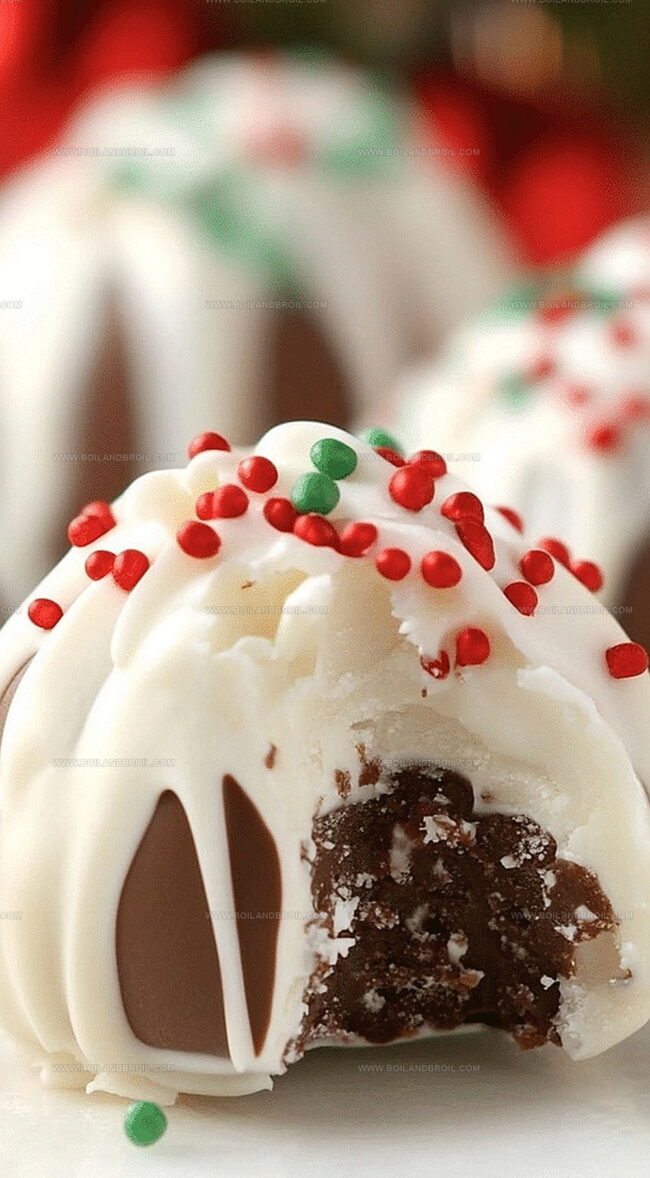
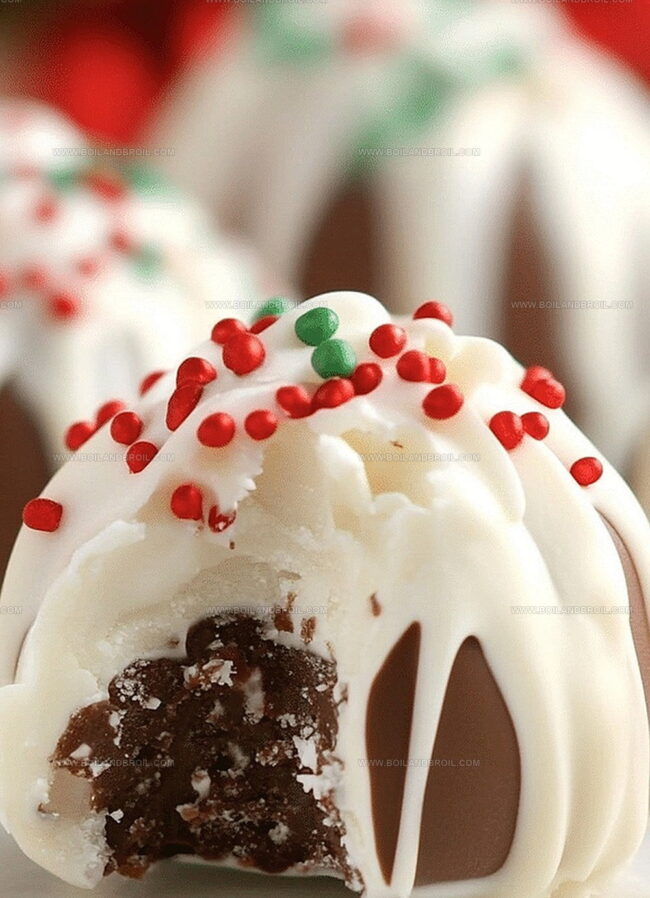
Indulgent Christmas Cool Whip Truffles bring festive cheer with their creamy chocolate exterior and light, airy center. Rich cocoa and whipped cream combine for a melt-in-your-mouth holiday treat you’ll savor with pure delight.
Ingredients
Primary Chocolate Ingredients:
- 2 11.5 ounces milk chocolate chips
- 8 ounces chocolate bark
- 8 ounces white chocolate bark
Topping Ingredient:
- Christmas-themed sprinkles
Creamy Base Ingredient:
- 8 ounces Cool Whip (thawed)
- Coconut oil (if needed)
Instructions
- Melt milk chocolate chips in a microwave-safe bowl using 30-second intervals, stirring between each cycle until chocolate reaches a smooth consistency. Avoid overheating to prevent seizing.
- Allow melted chocolate to cool to room temperature before incorporating Cool Whip to prevent lumpy texture.
- Gently fold Cool Whip into cooled chocolate until fully integrated, creating a thick and creamy mixture. Refrigerate for 30 minutes to firm up the mixture.
- Using a small cookie scoop, portion truffle mixture onto a parchment-lined baking sheet. Freeze for one hour to facilitate shaping.
- Remove chilled scoops and quickly roll into uniform spheres. Return rolled truffles to freezer during coating preparation.
- Separately melt chocolate bark and white chocolate bark, adding a touch of coconut oil if needed to achieve smooth consistency. Using a fork, dip half the truffles in milk chocolate and remaining half in white chocolate. Place coated truffles on parchment to solidify.
- Work swiftly to drizzle contrasting chocolate over each truffle – white chocolate on milk chocolate truffles and vice versa. Immediately garnish with festive sprinkles before chocolate sets completely.
Notes
- Prevent chocolate seizing by using gentle, short microwave intervals and stirring frequently to maintain smooth consistency.
- Cool chocolate completely before mixing with Cool Whip to ensure a creamy, lump-free texture that sets perfectly.
- Add coconut oil sparingly when melting chocolate bark to create a thin, glossy coating that makes dipping truffles easier and more professional.
- Work quickly when adding sprinkles, as chocolate hardens fast and prevents decorations from sticking to the truffle surface.
- Prep Time: 1 hour 45 minutes
- Cook Time: 30 minutes
- Category: Desserts, Snacks
- Method: Blending
- Cuisine: American
Nutrition
- Serving Size: 24
- Calories: 150
- Sugar: 12 g
- Sodium: 30 mg
- Fat: 9 g
- Saturated Fat: 5 g
- Unsaturated Fat: 3 g
- Trans Fat: 0 g
- Carbohydrates: 17 g
- Fiber: 1 g
- Protein: 1 g
- Cholesterol: 5 mg
Clara Thompson
Recipe Developer & Culinary Educator
Expertise
Developing accessible single-serving recipes, Food writing and content creation, Plant-based and allergen-friendly cooking, Culinary education and workshop facilitation
Education
Oregon Culinary Institute (Portland, OR)
Diploma in Culinary Arts
Specialized in plant-based cooking and sustainable kitchen practices.
Portland Community College
Certificate in Food Writing and Media
Focused on recipe writing, food photography, and digital content creation.
Clara’s food journey began with a curiosity for color, texture, and ingredients pulled straight from the garden. Her background in plant-forward cooking and creative writing gives her a unique edge – she makes healthy, flavorful food feel inviting, not intimidating.
She specializes in meals that work for busy lives and different diets, all without sacrificing taste. Clara’s voice comes through in every recipe she writes – clear, kind, and encouraging.