
Sweet Holiday Chaos: Christmas Kitchen Sink Cookies Recipe
Baking Christmas kitchen sink cookies unleashes a wave of festive joy and delightful chaos in the kitchen.
These magical treats blend unexpected ingredients into one irresistible bite.
Chocolate chips, pretzels, nuts, and holiday sprinkles dance together in a symphony of flavors.
Crumbs of sweetness tell a story of spontaneous creativity and seasonal cheer.
Every batch promises a unique adventure for adventurous bakers.
Gather your mixing bowl and embrace the delicious unpredictability of these crowd-pleasing cookies.
Prepare to delight everyone with this whimsical and mouthwatering recipe.
Fun Spins on Christmas Kitchen Sink Cookies
FAQs
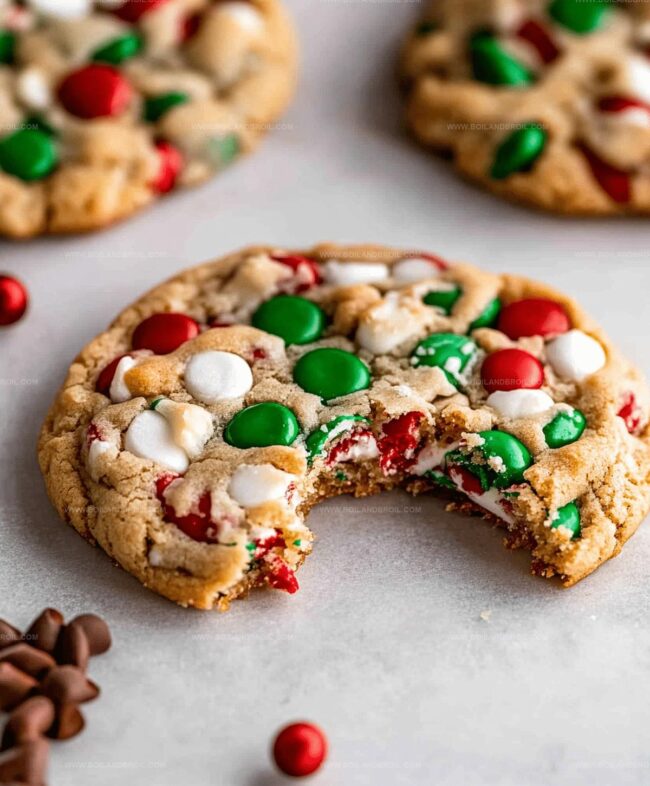
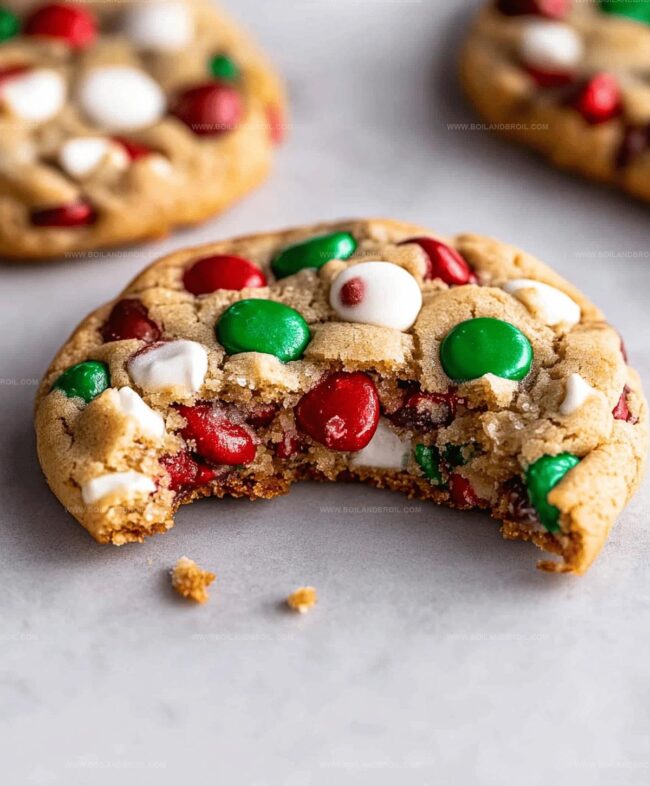
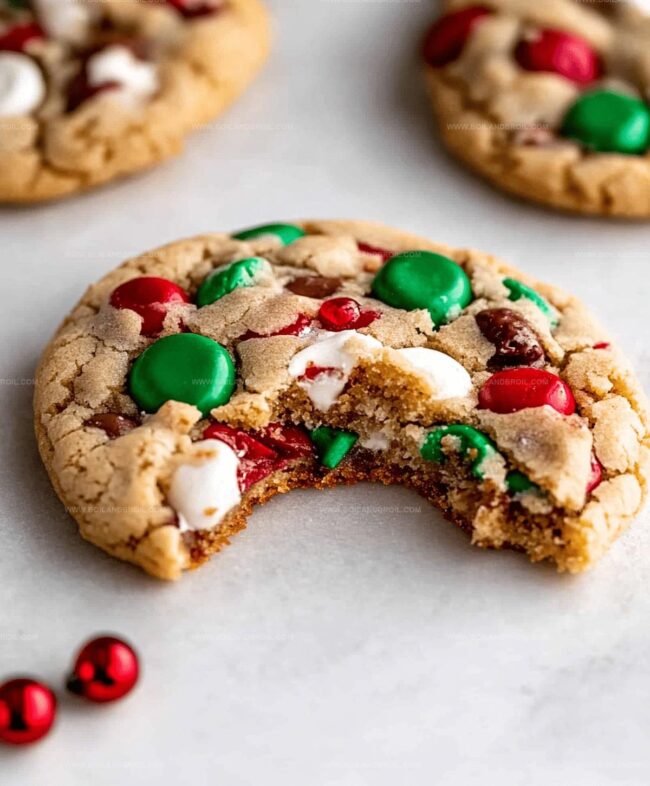
Because they have everything but the kitchen sink! These cookies include a wild mix of sweet and salty ingredients like M&M’s, pretzels, potato chips, white chocolate chips, and sprinkles.
Absolutely! Feel free to swap in similar items like different chocolate chips, crackers instead of pretzels, or various candy pieces. The key is maintaining a balance of sweet and salty mix-ins.
Beat the butter and sugars thoroughly for two full minutes, don’t overmix the flour, and remove the cookies from the oven when they look slightly underbaked. They’ll continue setting as they cool, keeping that perfect soft texture.
Brown sugar adds moisture and a deeper caramel flavor, while white sugar helps with crisp edges. Together, they create a more complex, rich cookie texture that’s both soft and slightly crisp.
Why Christmas Kitchen Sink Cookies Are a Crowd Favorite
What You Need for Christmas Kitchen Sink Cookies
Main Ingredients:Mix-Ins:Dry Ingredients:Steps to Bake Christmas Kitchen Sink Cookies
Step 1: Prep Baking Station
Warm the oven to 350°F.
Cover two baking sheets with parchment paper.
This prevents sticky messes and makes cleanup super easy.
Step 2: Cream Butter and Sugars
Grab a large mixing bowl.
Combine softened butter with brown and white sugars.
Beat the mixture until it becomes light, fluffy, and looks like a creamy dream.
Spend a full two minutes mixing to create the perfect cookie base.
Step 3: Add Wet Ingredients
Drop in egg yolks and vanilla extract.
Blend thoroughly until the mixture transforms into a pale, silky smooth consistency.
This step builds incredible depth of flavor.
Step 4: Mix Dry Ingredients
In a separate bowl, whisk together:Slowly incorporate this dry mixture into the wet ingredients.
Stir gently until just combined to keep the dough tender.
Step 5: Fold in Delicious Mix-Ins
Carefully fold these fun ingredients into the dough:Mix gently to maintain the integrity of each delightful chunk.
Step 6: Shape Cookie Dough
Use a cookie scoop to create about 20 perfect dough balls.
Place them generously spaced on prepared baking sheets.
For extra visual appeal, press a few additional mix-ins on top of each cookie.
Step 7: Bake to Perfection
Slide the trays into the oven.
Bake for 10-12 minutes.
For chewy cookies, remove at 10 minutes.
For crispy edges, wait until 12 minutes.
The cookies might look slightly underbaked – don’t worry!
They’ll set as they cool.
Step 8: Shape and Style
Immediately after removing from the oven, use a circular cookie cutter to reshape and smooth each cookie into a perfect round.
This bakery-style trick creates picture-perfect treats.
Step 9: Cool and Enjoy
Let cookies rest on the baking sheet for 5 minutes.
Transfer to a wire rack to cool completely.
Try not to eat them all at once – but no promises!
Tips to Nail Your Christmas Kitchen Sink Cookies
Keeping Christmas Kitchen Sink Cookies Fresh
Pairing Picks for Christmas Kitchen Sink Cookies
Print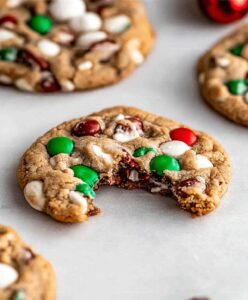
Christmas Kitchen Sink Cookies Recipe
- Total Time: 32 minutes
- Yield: 24 1x
Description
Festive Christmas Kitchen Sink Cookies blend sweet nostalgia with holiday cheer, combining unexpected ingredients into one delightful treat. Delicious crumbles of chocolate, nuts, and seasonal sprinkles make these cookies a perfect companion for winter gatherings you’ll treasure.
Ingredients
Main Ingredients:
- 3/4 cup (170 grams) salted butter, softened
- 2 egg yolks, at room temperature
- 1 1/2 cups (180 grams) all-purpose flour, spooned and leveled
Sugars:
- 3/4 cup (150 grams) light brown sugar, packed
- 1/4 cup (50 grams) granulated white sugar
Mix-ins and Extras:
- 1/2 cup red and green M&Ms
- 1/3 cup white chocolate chips
- 1/3 cup pretzel pieces
- 1/3 cup potato chip pieces
- 2 tablespoons red and green jimmies
- 2 teaspoons vanilla bean paste or extract
- 1/2 teaspoon baking powder
- 1/2 teaspoon baking soda
- 1/2 teaspoon salt
Instructions
- Preheat the oven to 350°F and prepare two baking sheets with parchment paper to prevent sticky aftermath from melted ingredients.
- Cream butter with brown and granulated sugars in a large mixing bowl until the mixture becomes light and airy, ensuring a smooth and fluffy texture.
- Incorporate egg yolks and vanilla extract, blending until the mixture transforms into a pale, silky consistency.
- Separately combine flour, baking powder, baking soda, and salt in a clean bowl, then gradually integrate into the wet ingredients, mixing until just incorporated.
- Gently fold in the diverse mix-ins: M&M’s, white chocolate chips, pretzels, potato chips, and sprinkles, maintaining the integrity of the larger chip pieces for textural contrast.
- Utilize a cookie scoop to create uniform dough balls, spacing them two inches apart on prepared sheets. Optionally, strategically place additional mix-ins on top for visual appeal.
- Bake for 10-12 minutes, adjusting time based on desired cookie texture—10 minutes for chewy centers, 12 for crisp edges. Cookies will appear slightly underbaked but will set while cooling.
- Immediately after removing from the oven, use a circular cookie cutter to reshape cookies into perfect rounds, creating a professional bakery-style finish.
- Allow cookies to rest on the baking sheet for 5 minutes before transferring to a wire rack for complete cooling.
Notes
- Ensure butter is truly softened at room temperature for the smoothest, most even cookie texture without lumps.
- Use a kitchen scale for precise ingredient measurements, especially flour, to guarantee consistent cookie results every time.
- Crush pretzels and potato chips coarsely to maintain delightful crunch and prevent turning the dough into a mushy mess.
- Prep Time: 20 minutes
- Cook Time: 12 minutes
- Category: Snacks, Desserts
- Method: Baking
- Cuisine: American
Nutrition
- Serving Size: 24
- Calories: 155
- Sugar: 10 g
- Sodium: 98 mg
- Fat: 7 g
- Saturated Fat: 4 g
- Unsaturated Fat: 2 g
- Trans Fat: 0 g
- Carbohydrates: 23 g
- Fiber: 1 g
- Protein: 2 g
- Cholesterol: 31 mg
Clara Thompson
Recipe Developer & Culinary Educator
Expertise
Developing accessible single-serving recipes, Food writing and content creation, Plant-based and allergen-friendly cooking, Culinary education and workshop facilitation
Education
Oregon Culinary Institute (Portland, OR)
Diploma in Culinary Arts
Specialized in plant-based cooking and sustainable kitchen practices.
Portland Community College
Certificate in Food Writing and Media
Focused on recipe writing, food photography, and digital content creation.
Clara’s food journey began with a curiosity for color, texture, and ingredients pulled straight from the garden. Her background in plant-forward cooking and creative writing gives her a unique edge – she makes healthy, flavorful food feel inviting, not intimidating.
She specializes in meals that work for busy lives and different diets, all without sacrificing taste. Clara’s voice comes through in every recipe she writes – clear, kind, and encouraging.