
Easy Festive Christmas Pinwheel Cookies Recipe for All Ages
Sweet memories swirl around this classic Christmas pinwheel cookies recipe that brings festive cheer to every kitchen.
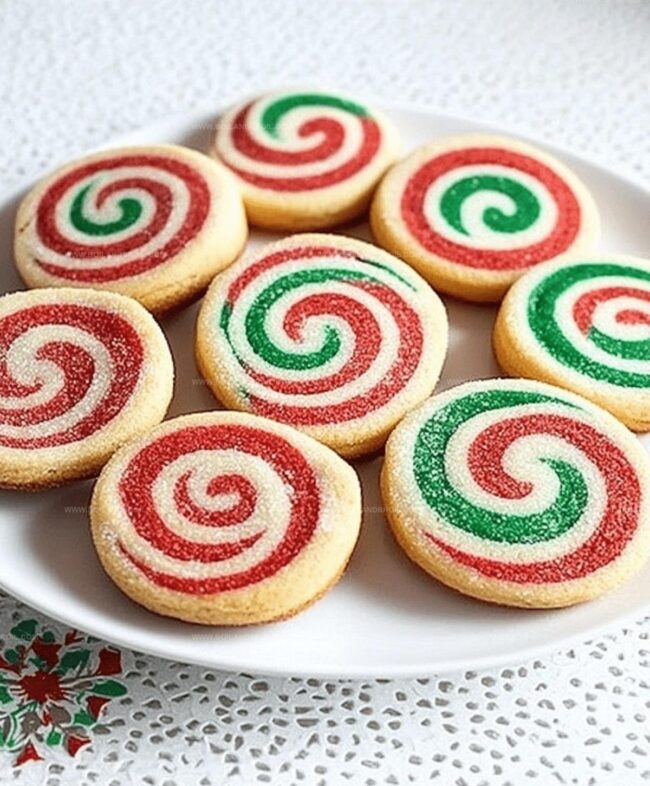
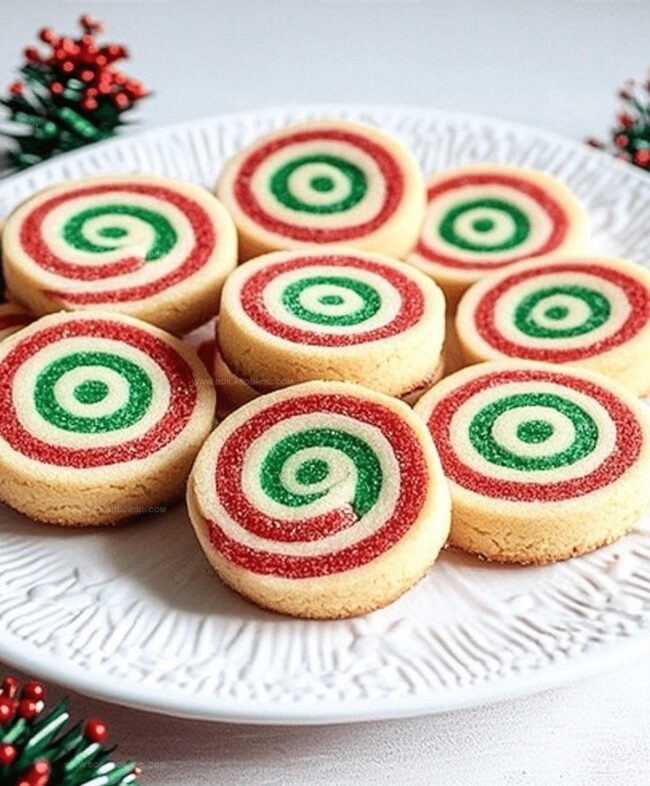
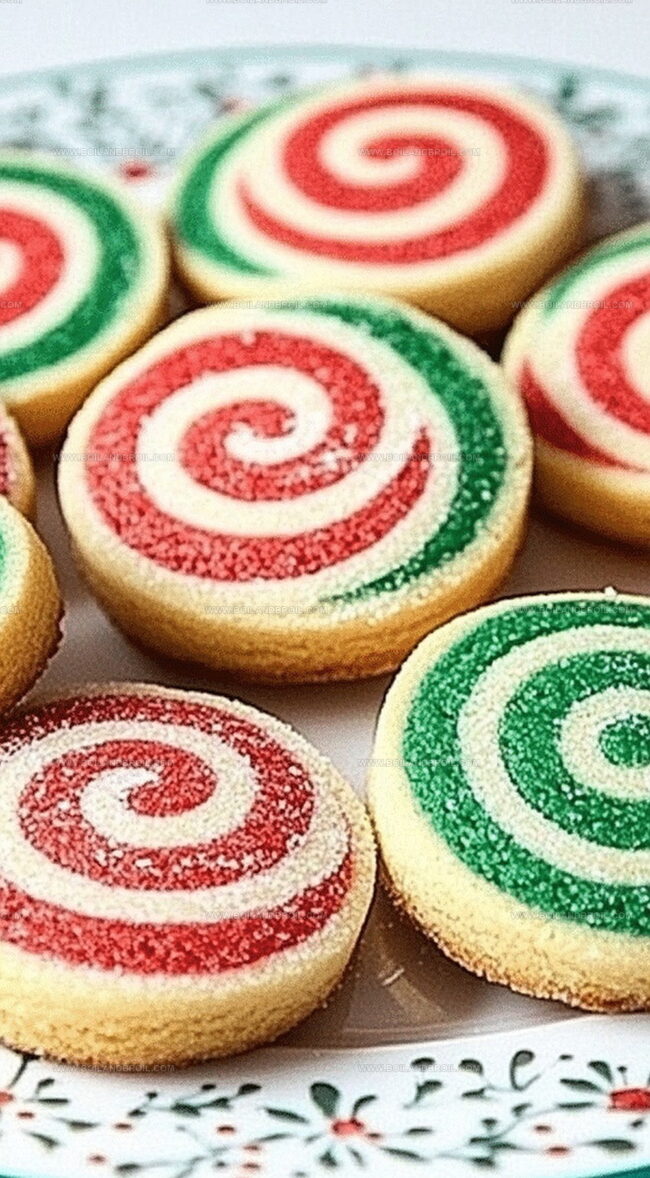
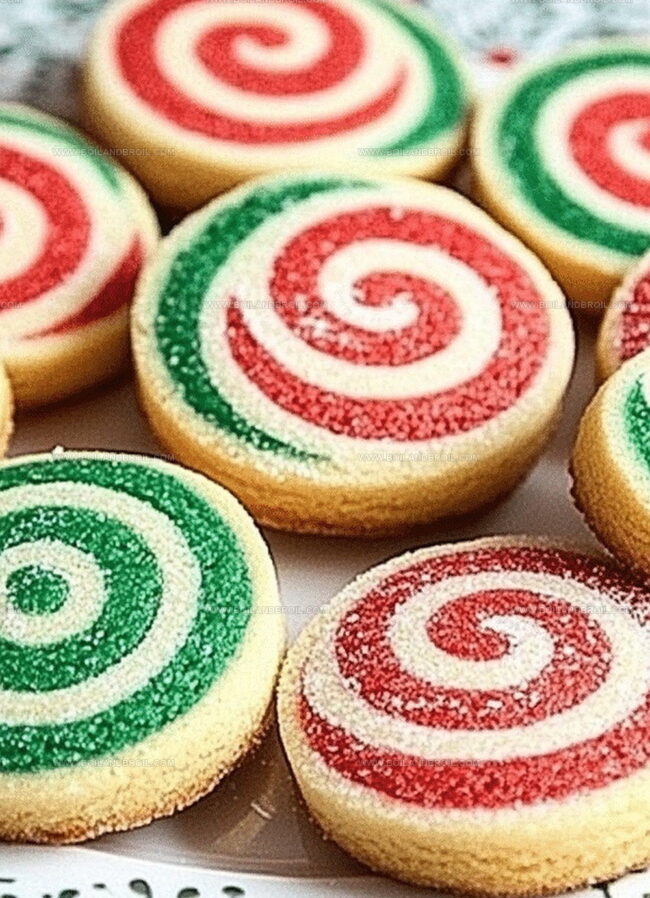
Vibrant colors twist and dance through delicate dough, creating a delightful treat that captures holiday spirit.
Red and green spirals intertwine like cheerful ribbons, promising delectable moments of joy.
Soft vanilla and rich cocoa layers blend seamlessly, creating a visual and tasty masterpiece.
Each cookie tells a story of tradition and warmth, inviting you to share a slice of holiday magic.
Baking these pinwheels transforms ordinary afternoons into extraordinary celebrations.
Treat yourself and loved ones to this enchanting cookie that sparkles with seasonal delight.
Why These Pinwheel Cookies Are a Treat
What Goes Into Christmas Pinwheel Cookies
Dry Ingredients:Wet Ingredients:Color and Decoration:Additional Ingredients:How to Roll and Slice Pinwheel Cookies

Step 1: Prepare Dry Ingredients
Whisk flour, baking powder, and salt together in a medium bowl.
Set aside this mixture for future use.
Step 2: Create Creamy Base
Beat butter and sugar until the mixture becomes light and fluffy.
This process takes about 2 minutes.
Add egg and vanilla, mixing until completely smooth.
Step 3: Merge Mixtures
Gradually incorporate dry ingredients into wet mixture.
Mix until just combined, scraping bowl sides as needed.
The result should be a soft, pliable dough.
Step 4: Divide Dough
Separate dough into three equal portions.
Use a kitchen scale for precise division if possible.
Form each portion into a round ball.
Step 5: Add Festive Colors
Transform dough balls with food coloring:Add colors gradually, mixing thoroughly in a non-staining bowl.
Step 6: Initial Chilling
Flatten each colored dough ball into a square shape.
Wrap individually in plastic wrap.
Refrigerate for at least one hour to firm up the dough.
Step 7: Roll Out Layers
Roll each dough square between parchment paper sheets into approximately 10-inch squares.
Carefully stack layers:Trim edges using a pizza cutter for clean lines.
Step 8: Create Pinwheel Log
Gently roll the stacked dough into a log, starting from one trimmed edge.
Use parchment paper as a guide.
Smooth any cracks by pinching and reshaping.
Step 9: Final Chilling
Wrap the dough log in plastic wrap.
Refrigerate for another hour to make slicing easier.
Step 10: Slice and Bake
Preheat oven to 350°F.
Slice log into 1/4-inch rounds.
Arrange cookies on lined baking sheets, leaving 2 inches between each cookie.
Bake for 12-15 minutes until set but not browned.
Step 11: Cool and Serve
Allow cookies to rest on baking sheet for 5 minutes.
Transfer to a wire rack to cool completely.
Enjoy your festive pinwheel treats!
Tips to Nail Pinwheel Cookie Swirls
Storage Advice for Pinwheel Cookies
Pinwheel Cookie Pairing Possibilities
Creative Designs for Pinwheel Cookies
FAQs
This recipe requires some baking skills and patience. While not extremely complex, it involves multiple steps like color mixing, layering, and precise rolling. Beginners can succeed by following instructions carefully and taking time with each step.
You’ll need a mixer, kitchen scale, parchment paper, pizza cutter, mixing bowls, baking sheets, and plastic wrap. A rolling pin is also very helpful for creating even dough layers.
Yes! The dough log can be prepared and refrigerated for up to 3 days before baking. You can also freeze the unbaked log for up to 2 weeks, which makes holiday prep easier and more convenient.
Chilling helps firm up the butter, prevents spreading during baking, and makes the dough easier to handle. It also helps the colors stay distinct and creates cleaner, more defined pinwheel layers in your final cookies.
Print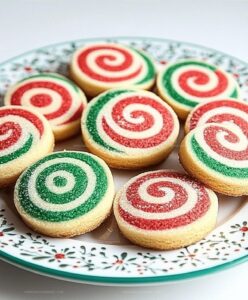
Christmas Pinwheel Cookies Recipe
- Total Time: 1 hour 25 minutes
- Yield: 24 1x
Description
Festive Christmas Pinwheel Cookies spiral delightful red and white swirls of holiday cheer onto your dessert plate. Sweet spirals blend classic vanilla and peppermint flavors, promising cheerful moments for family gatherings and seasonal celebrations you will treasure.
Ingredients
Dry Ingredients:
- 2 cups (240 grams) all-purpose flour
- 1/2 teaspoon baking powder
- 1/4 teaspoon salt
Butter and Sweeteners:
- 12 tablespoons (170 grams) unsalted butter, room temperature
- 3/4 cup (150 grams) sugar
Binding and Flavoring Ingredients:
- 1 egg
- 1 teaspoon vanilla extract
- 1/2 to 1 teaspoon liquid red food coloring
- 1/2 to 1 teaspoon liquid green food coloring
- Additional flour for dusting
Instructions
- Prepare dry ingredients by whisking flour, baking powder, and salt in a medium bowl. Set aside for later use.
- Cream butter and sugar in a larger bowl until light and fluffy, approximately 2 minutes. Incorporate egg and vanilla, mixing until smooth and well-blended.
- Gradually add dry ingredients to wet mixture in two portions, mixing gently until just combined. Carefully scrape bowl sides to ensure even integration.
- Divide prepared dough into three equal portions, using a kitchen scale for precise measurement. Form each portion into a compact ball.
- Apply food coloring to separate dough portions: transform one ball to vibrant red, another to festive green, leaving the third in its original state. Mix colors thoroughly using a non-staining bowl, adding pigment incrementally.
- Flatten each colored dough ball into a square shape. Encase in plastic wrap and refrigerate for a minimum of 1 hour to firm the dough.
- Roll out each chilled dough square between parchment paper sheets, aiming for a 10-inch square dimension. Carefully layer red, white, and green doughs, removing parchment between layers. Trim edges for clean lines.
- Initiate rolling process from one trimmed edge, using parchment as a guide. Gently roll stacked dough into a compact log, smoothing any potential cracks.
- Wrap log in plastic wrap and return to refrigerator for an additional hour to enhance slicing precision.
- Preheat oven to 350°F. Slice chilled log into 1/4-inch rounds. Arrange cookies on lined baking sheets, maintaining 2-inch spacing. Bake for 12-15 minutes until edges are set but not browned.
- Allow cookies to rest on baking sheet for 5 minutes. Transfer to wire rack for complete cooling before serving or storing.
Notes
- Master color control by adding food coloring drop by drop, ensuring vibrant yet natural-looking hues without oversaturating the dough.
- Use parchment paper as your secret weapon for smooth rolling and easy log formation, preventing potential dough sticking or tearing.
- Chill dough thoroughly between stages to maintain crisp edges and prevent spreading during baking, guaranteeing picture-perfect pinwheel patterns.
- Swap food coloring for natural alternatives like beet juice for red or matcha powder for green if you prefer avoiding artificial colorings, creating a healthier holiday treat.
- Prep Time: 1 hour 10 minutes
- Cook Time: 15 minutes
- Category: Desserts
- Method: Baking
- Cuisine: American
Nutrition
- Serving Size: 24
- Calories: 136
- Sugar: 7 g
- Sodium: 33 mg
- Fat: 8 g
- Saturated Fat: 5 g
- Unsaturated Fat: 3 g
- Trans Fat: 0 g
- Carbohydrates: 16 g
- Fiber: 0.5 g
- Protein: 1 g
- Cholesterol: 20 mg
Clara Thompson
Recipe Developer & Culinary Educator
Expertise
Developing accessible single-serving recipes, Food writing and content creation, Plant-based and allergen-friendly cooking, Culinary education and workshop facilitation
Education
Oregon Culinary Institute (Portland, OR)
Diploma in Culinary Arts
Specialized in plant-based cooking and sustainable kitchen practices.
Portland Community College
Certificate in Food Writing and Media
Focused on recipe writing, food photography, and digital content creation.
Clara’s food journey began with a curiosity for color, texture, and ingredients pulled straight from the garden. Her background in plant-forward cooking and creative writing gives her a unique edge – she makes healthy, flavorful food feel inviting, not intimidating.
She specializes in meals that work for busy lives and different diets, all without sacrificing taste. Clara’s voice comes through in every recipe she writes – clear, kind, and encouraging.