Festive Christmas Sugar Cookie Bars Recipe for Sweet Joy
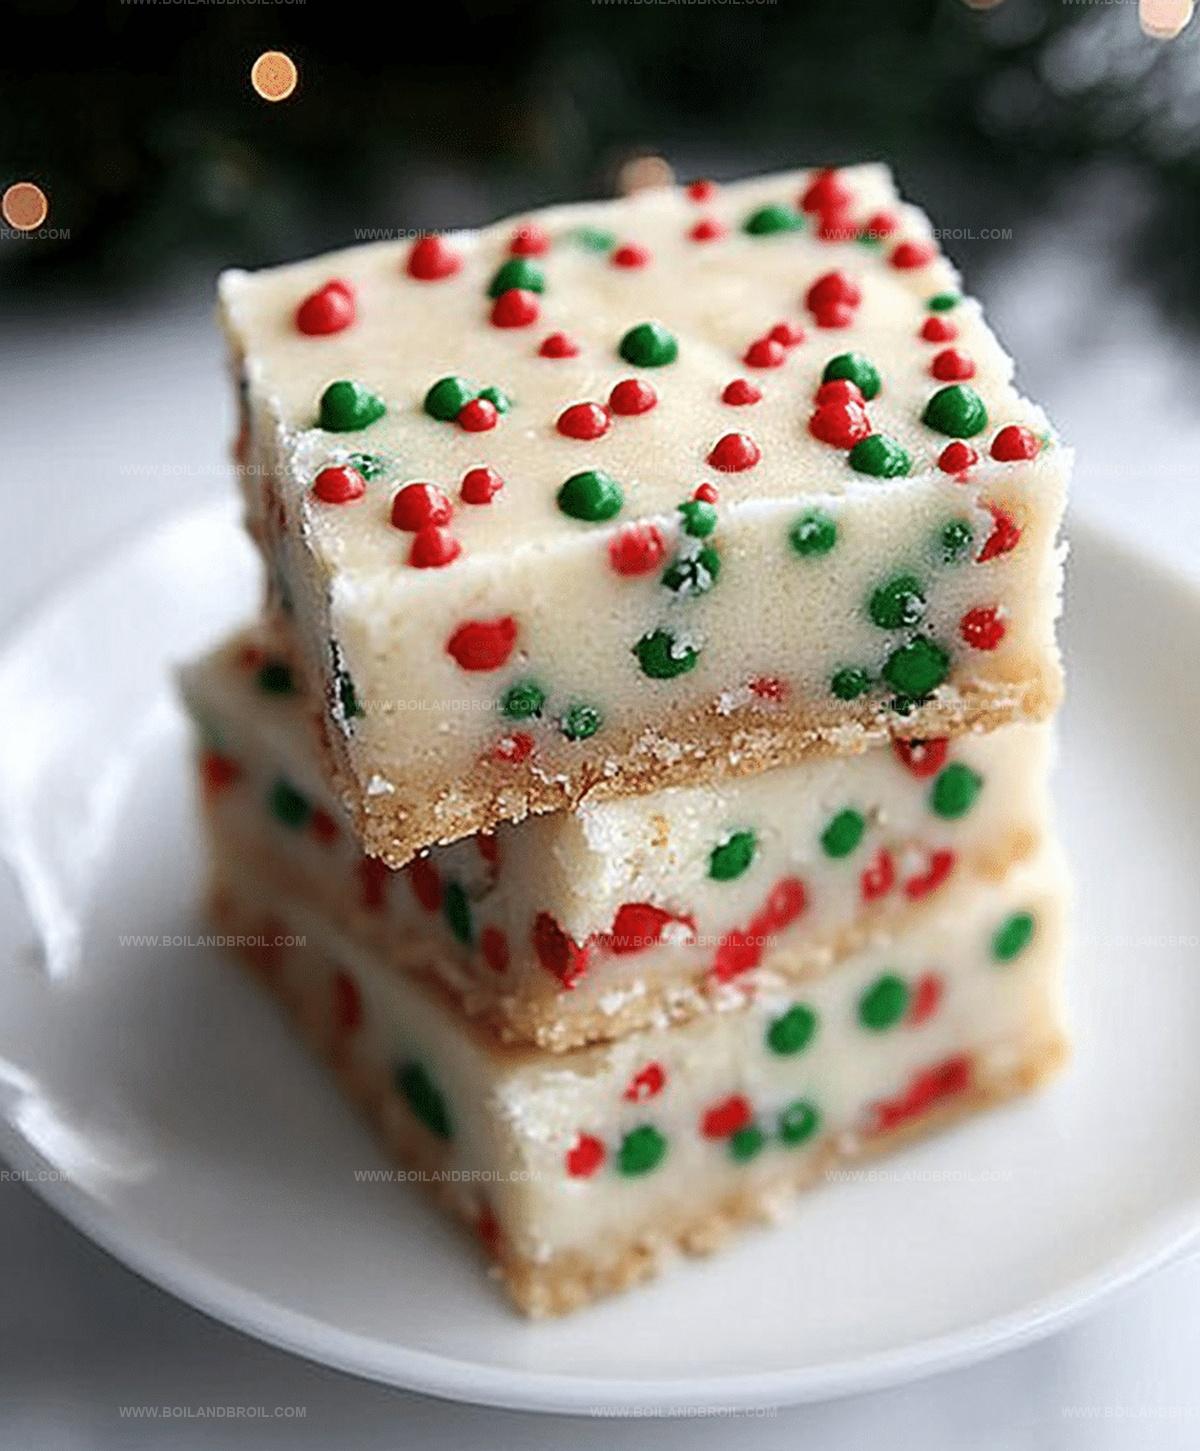
Sweet memories and festive cheer come alive with these delectable Christmas sugar cookie bars that melt in your mouth.
The holiday season sparkles with warmth and joy when these treats emerge from the oven.
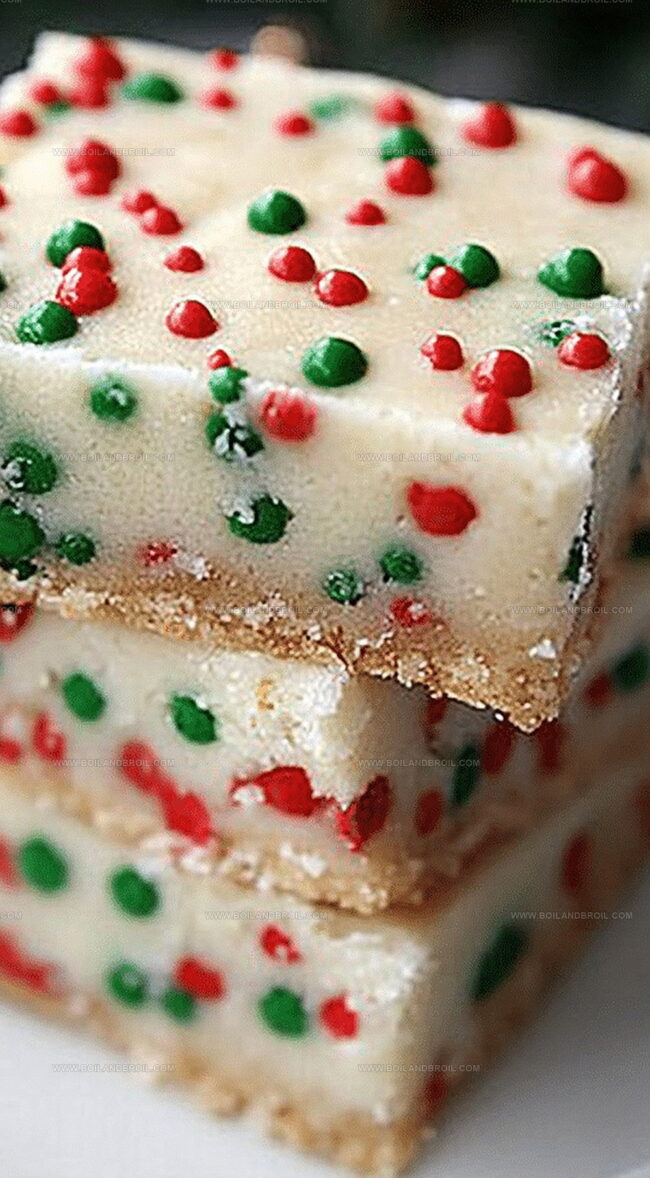
Soft, buttery, and perfectly spiced, these bars capture the essence of winter celebrations.
Delicate edges and a tender center make each bite a delightful experience.
Decorated with colorful frosting or sprinkled with festive sugar, they bring smiles to everyone gathered around.
You’ll love how simple ingredients transform into a magical dessert that looks like it took hours to prepare.
These cookie bars are your ticket to spreading holiday happiness one delicious square at a time.
Why Sugar Cookie Bars Are So Popular
Christmas Sugar Cookie Bar Ingredient List
Cake Base Ingredients:Dry Ingredients:Frosting Ingredients:Decorative Ingredients:How to Make Sugar Cookie Bars from Scratch
Step 1: Prepare the Oven and Baking Pan
Warm up your oven to 350°F.
Grab a baking pan and line it with parchment paper or foil, then give it a quick spray of cooking oil.
This trick makes removing the bars super easy later.
Step 2: Create a Creamy Base
Grab a large mixing bowl and combine softened butter, cream cheese, and sugar.
Whip these together using an electric mixer until the mixture becomes light and fluffy.
Take your time – about 2-3 minutes on medium speed will do the trick.
Step 3: Add Flavor Boosters
Splash in vanilla and almond extracts, then crack in the eggs.
Mix everything until well combined.
Don’t worry if the batter looks a bit lumpy from the cream cheese – that’s totally normal!
Step 4: Blend Dry Ingredients
In a separate bowl, sift together:Slowly fold this dry mixture into the wet ingredients, mixing on low speed.
The dough will be thick but easy to handle.
Step 5: Spread the Dough
Transfer the dough to your prepared pan.
Use greased hands or a silicone spatula to press the dough into an even layer across the pan.
Step 6: Bake to Perfection
Slide the pan into the oven and bake for 22-25 minutes.
The top should look set, and a toothpick inserted in the center should come out clean.
Avoid overbaking – you want these bars to stay delightfully soft.
Step 7: Cool Down
Let the bars cool completely in the pan before adding frosting.
This step is crucial for getting that perfect texture.
Step 8: Craft the Frosting
Beat butter and cream cheese until smooth.
Mix in vanilla and salt, then gradually add powdered sugar.
Start with 2 cups and adjust to your preferred sweetness.
Step 9: Decorate with Cheer
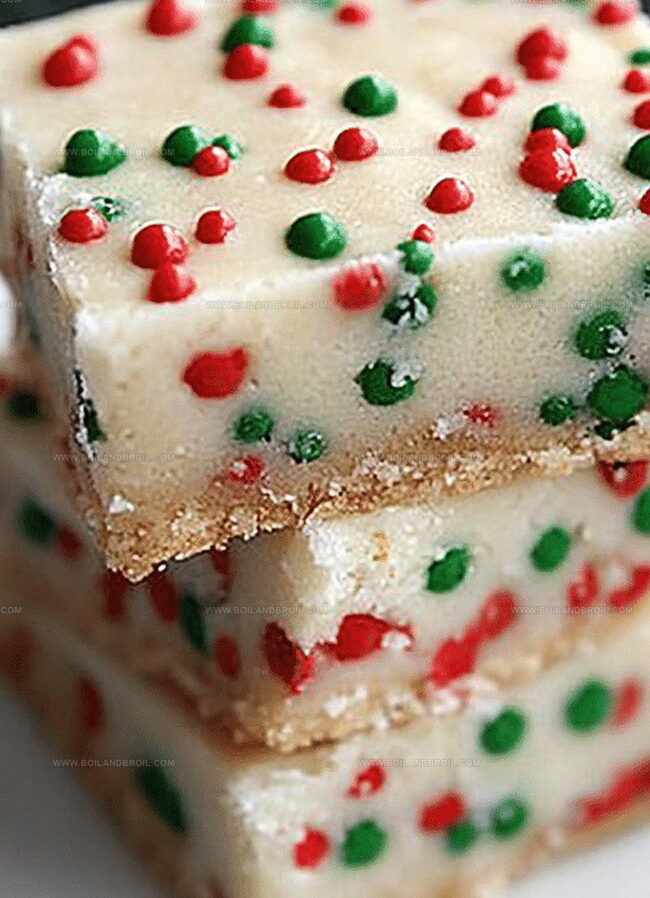
Spread the frosting generously over the cooled bars.
Go crazy with holiday sprinkles to add some festive magic!
Step 10: Slice and Serve
Lift the bars out of the pan using the parchment paper.
Slice into squares or rectangles, then watch them disappear!
Helpful Sugar Cookie Bar Tricks
Storage Tips for Sugar Cookie Bars
Best Pairings for Sugar Cookie Bars
Topping Ideas for Sugar Cookie Bars
FAQs
Cream cheese adds moisture and a subtle tangy flavor, making the bars extra soft and rich compared to traditional sugar cookies.
Yes, simply substitute the all-purpose flour with a gluten-free flour blend that contains xanthan gum for the best texture and structure.
Avoid overbaking by checking the bars at 22 minutes and removing them when a toothpick comes out with just a few moist crumbs. The bars will continue cooking slightly after removing from the oven.
Cornstarch helps create a more tender and delicate texture in the bars, making them softer and more melt-in-your-mouth compared to traditional cookie recipes.
Print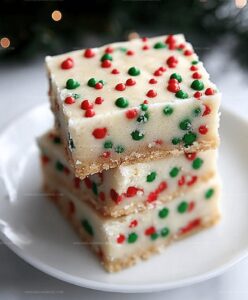
Christmas Sugar Cookie Bars Recipe
- Total Time: 40 minutes
- Yield: 12 1x
Description
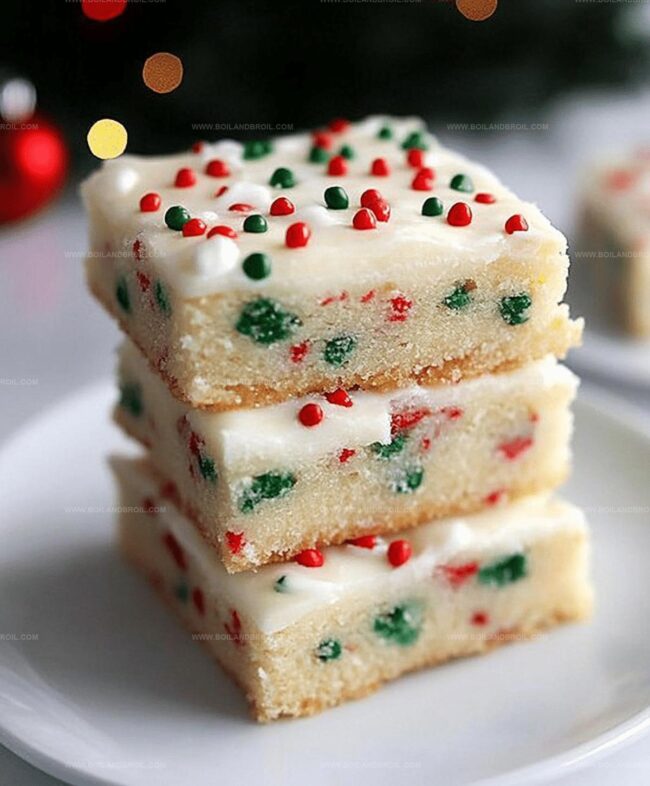
Festive Christmas sugar cookie bars bring holiday cheer with their buttery, sweet layers of pure delight. Crisp edges and rich vanilla flavor make these treats perfect for sharing with family and friends during seasonal celebrations.
Ingredients
Main Ingredients:
- 1/2 cup (113 grams) unsalted butter, softened to room temperature
- 4 ounces (113 grams) cream cheese
- 1 cup (200 grams) white sugar
- 2 large eggs
- 2 1/4 cups (281 grams) all-purpose flour
Binding and Flavoring Ingredients:
- 2 teaspoons vanilla extract
- 1/2 teaspoon almond extract, optional
- 2 teaspoons cornstarch
- 1 teaspoon baking powder
- 1/4 teaspoon salt
Frosting Ingredients:
- 1/2 cup (113 grams) unsalted butter
- 2 ounces (57 grams) cream cheese
- 1/4 teaspoon salt
- 1/2 teaspoon vanilla extract
- 2–3 cups (226–340 grams) powdered sugar
- holiday sprinkles
Instructions
- Prepare the baking environment by heating the oven to 350°F and lining a baking pan with parchment paper, ensuring light greasing for easy removal.
- In a large mixing bowl, thoroughly blend softened butter, cream cheese, and sugar until achieving a light, fluffy consistency using an electric mixer on medium speed for 2-3 minutes.
- Incorporate vanilla and almond extracts into the creamed mixture, then add eggs, mixing until uniformly combined despite potential cream cheese-induced texture variations.
- Separately sift flour, cornstarch, baking powder, and salt, then gradually fold the dry ingredients into the wet mixture using low-speed mixing to create a thick, manageable dough.
- Transfer the dough into the prepared pan, using greased hands or a silicone spatula to evenly distribute and smooth the surface.
- Bake for 22-25 minutes, monitoring until the top sets and a toothpick inserted centrally emerges clean, avoiding overbaking to maintain a soft texture.
- Allow the baked bars to cool completely within the pan before applying frosting, preventing potential melting or structural compromise.
- Prepare frosting by beating butter and cream cheese until smooth, then blend in vanilla and salt, gradually introducing powdered sugar to achieve desired sweetness and consistency.
- Generously spread the prepared frosting across the cooled bars, embellishing with festive holiday sprinkles for a decorative touch.
- Remove the baked bars from the pan using parchment paper edges, then slice into precise squares or rectangular portions for serving.
Notes
- Choose cream cheese at room temperature to ensure smooth mixing and prevent lumps in the batter.
- Avoid overmixing the dough to keep the bars tender and prevent a tough texture.
- Swap almond extract with additional vanilla for a nut-free version or different flavor profile.
- Prep Time: 15 minutes
- Cook Time: 25 minutes
- Category: Desserts, Snacks
- Method: Baking
- Cuisine: American
Nutrition
- Serving Size: 12
- Calories: 220
- Sugar: 21 g
- Sodium: 150 mg
- Fat: 9 g
- Saturated Fat: 5 g
- Unsaturated Fat: 3 g
- Trans Fat: 0 g
- Carbohydrates: 30 g
- Fiber: 0 g
- Protein: 2 g
- Cholesterol: 40 mg
Clara Thompson
Recipe Developer & Culinary Educator
Expertise
Developing accessible single-serving recipes, Food writing and content creation, Plant-based and allergen-friendly cooking, Culinary education and workshop facilitation
Education
Oregon Culinary Institute (Portland, OR)
Diploma in Culinary Arts
Specialized in plant-based cooking and sustainable kitchen practices.
Portland Community College
Certificate in Food Writing and Media
Focused on recipe writing, food photography, and digital content creation.
Clara’s food journey began with a curiosity for color, texture, and ingredients pulled straight from the garden. Her background in plant-forward cooking and creative writing gives her a unique edge – she makes healthy, flavorful food feel inviting, not intimidating.
She specializes in meals that work for busy lives and different diets, all without sacrificing taste. Clara’s voice comes through in every recipe she writes – clear, kind, and encouraging.