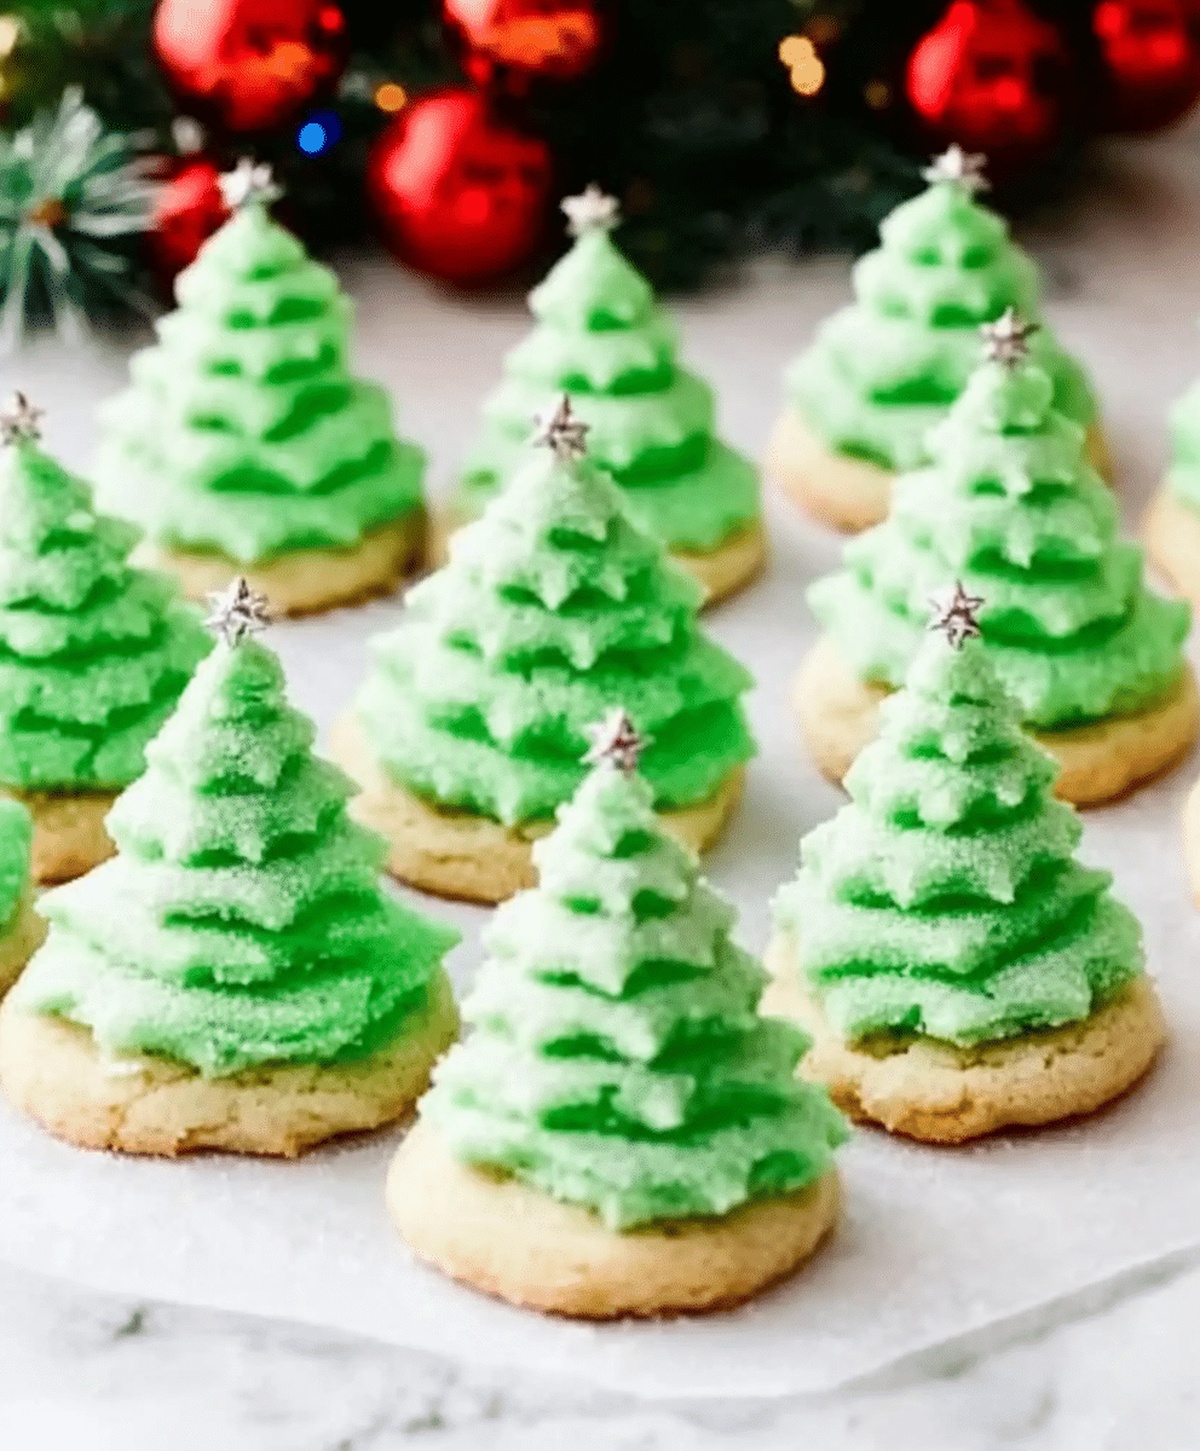
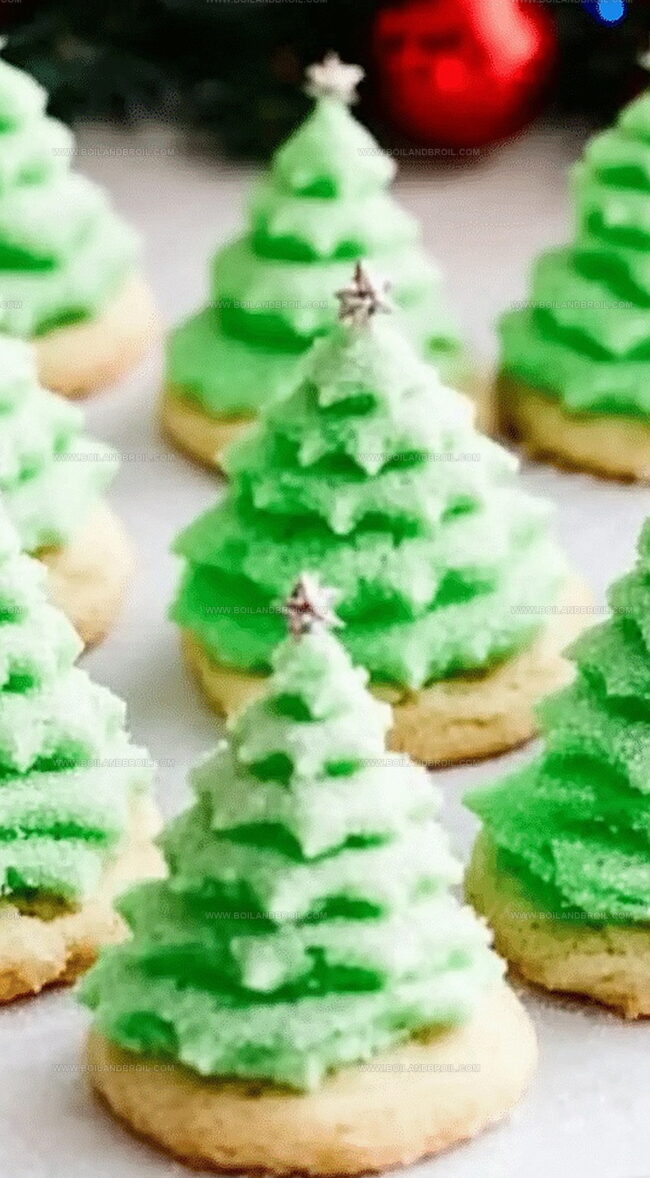
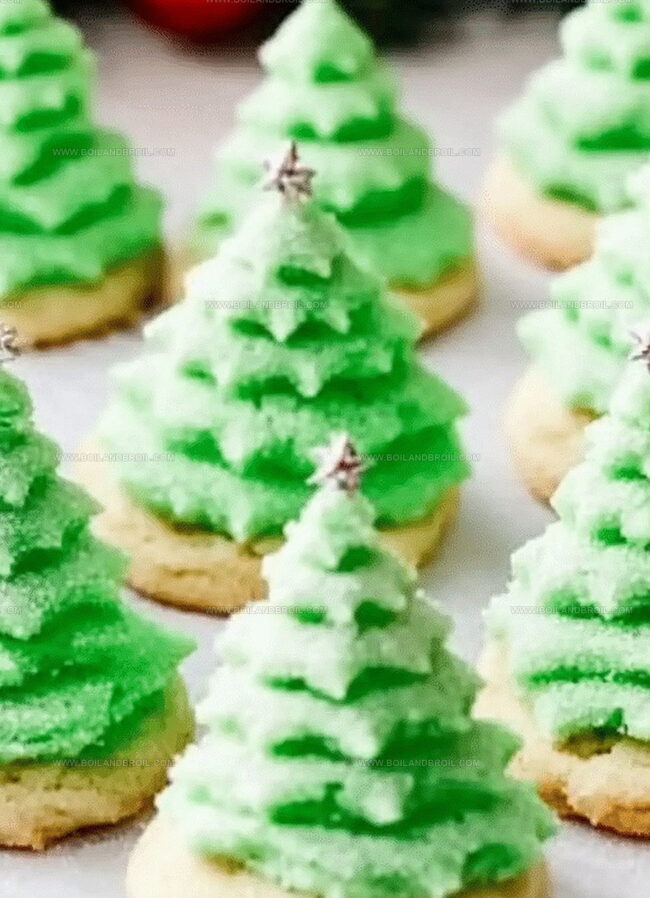
Sweet holiday magic comes alive with these delightful Christmas tree cookies that sparkle with festive cheer.
Delicate green-tinted sugar cookies stand tall and proud, adorned with decorative sprinkles and twinkling icing.
Baking these treats fills your kitchen with warm, buttery aromas that whisper of yuletide joy.
Simple ingredients transform into delectable edible trees that capture winter’s enchantment.
Each cookie tells a story of celebration and childhood wonder.
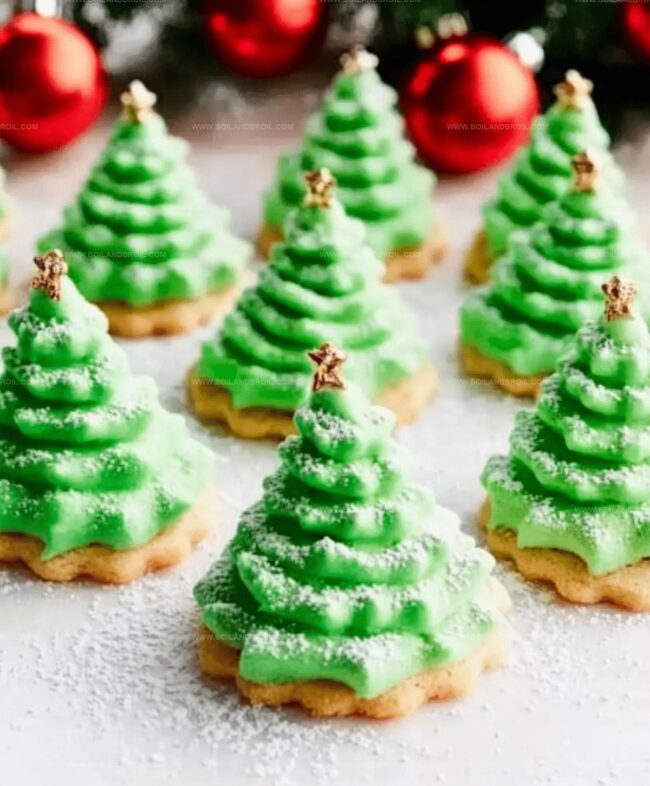
Decorating becomes a playful adventure, turning ordinary baking into a cherished seasonal tradition.
These charming cookies will surely become the star of your holiday dessert spread.
Why Christmas Tree Cookies Are a Holiday Icon
Reasons to Love These Christmas Tree Cookies
Baking these adorable meringue trees transforms ordinary kitchen time into a festive family bonding experience that sparks joy and creates lasting memories.
Little hands can sprinkle colorful decorations, turning cookie-making into an interactive and exciting activity that encourages creativity and helps children feel involved in holiday preparations.
With just a few basic ingredients and straightforward steps, even novice bakers can confidently craft these delightful treats without stress or complicated techniques, making them perfect for all skill levels.
These make-ahead cookies can be prepared well in advance, allowing hosts to focus on enjoying celebrations instead of last-minute baking, and they’re sure to impress guests with their charming festive design.
Christmas Tree Cookie Ingredient List
Meringue Base:
Egg Whites: The foundation of these light and airy Christmas tree cookies that create the perfect crisp texture.
Salt: A small pinch that helps stabilize the egg whites during whipping.
Cream of Tartar: Helps create smooth and stable meringue peaks with a consistent structure.
Sweetening Agents:
Granulated Sugar: Provides sweetness and helps create a glossy, stiff meringue with a smooth finish.
Decorative Elements:
Green Food Coloring: Transforms the white meringue into festive green Christmas tree shapes.
Multi-Colored Sprinkles: Adds a playful ornament-like decoration to mimic Christmas tree ornaments.
Star Sprinkles: Creates a decorative topper to represent the star on top of a Christmas tree.
How to Make Christmas Tree Cookies
Step 1: Warm Up the Oven
Crank your oven to 200°F and line two baking sheets with parchment paper.
This prep work will make your baking adventure smooth and cleanup a breeze.
Step 2: Whip Magical Egg Whites
Grab your mixer and combine:
Egg whites
Salt
Cream of tartar
Whip the mixture on medium speed until soft peaks emerge.
The peaks should gently curve when you lift the whisk.
Step 3: Add Festive Green Color
Introduce green food coloring gradually.
Start with a small amount and mix thoroughly until the color spreads evenly throughout the meringue.
Step 4: Create Sweet Perfection
Slowly incorporate sugar, one tablespoon at a time.
Continue whipping to ensure smooth integration.
The mixture should become glossy with stiff, sturdy peaks.
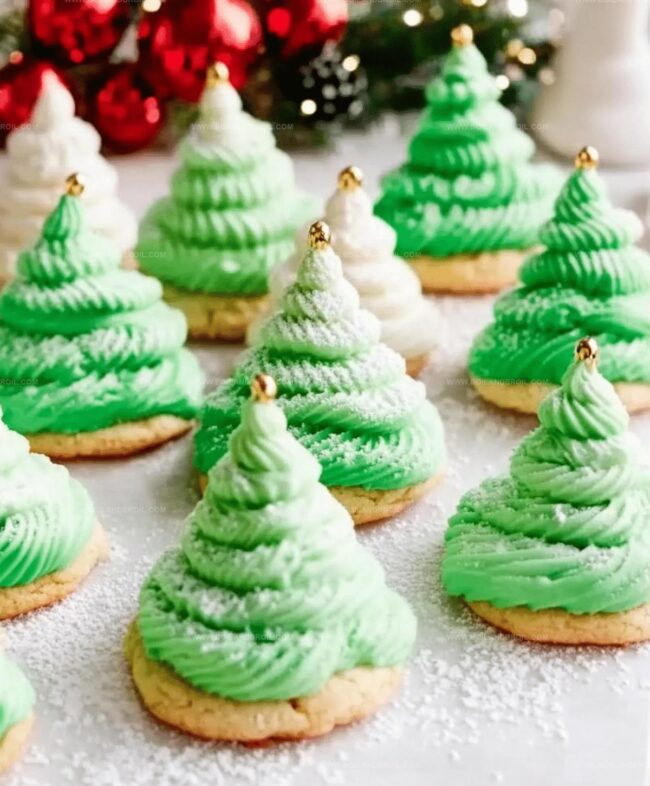
Step 5: Shape Delightful Trees
Transfer the meringue to a piping bag with a large round tip.
Pipe charming little tree shapes onto your prepared baking sheets.
Embrace the uniqueness of each tree – imperfections are part of the charm!
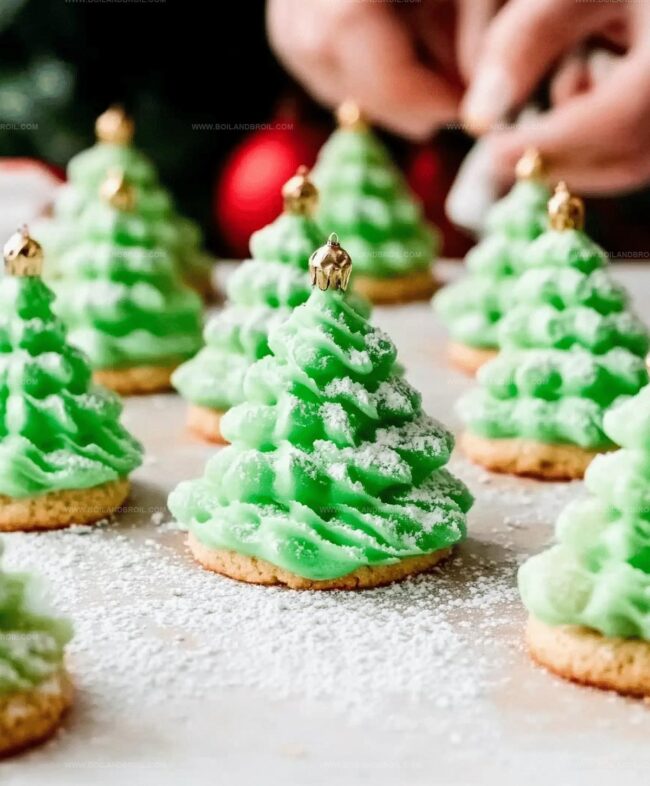
Step 6: Sprinkle Holiday Magic
Decorate your trees with:
Multicolored sprinkles
Star-shaped sprinkles
Encourage kids to join in and add their creative touch.
Step 7: Slow Bake to Perfection
Place cookies in the oven and bake for 2 hours.
Resist the urge to open the oven door.
After baking, turn off the oven, slightly crack the door, and let cookies rest for an additional 2 hours to ensure they dry completely without cracking.
Tips for Decorating Tree Cookies
Whip egg whites precisely, stopping when they gently fold over without falling flat, ensuring a perfect meringue texture.
Add sugar tablespoon by tablespoon while mixing, preventing graininess and creating a silky-smooth meringue consistency.
Start with minimal food coloring, gradually increasing to achieve desired green shade without overwhelming the delicate meringue base.
Use small, colorful sprinkles to create playful “ornament” effects, adding visual interest and child-friendly decorative elements.
Follow low-temperature baking and extended drying time exactly, allowing cookies to set without cracking and developing crisp, light texture.
Storage and Reheat Tips for Tree Cookies
Store Christmas tree cookies in an airtight container with parchment paper between layers. Keep them in the refrigerator for up to 5 days, protecting from moisture and maintaining their crisp texture.
Carefully place cooled cookies in a freezer-safe container, separating layers with wax paper. Freeze for maximum 3 weeks, ensuring they remain intact and fresh.
Keep in a sealed container away from humidity in a cool, dry spot. Consume within 2-3 days for best quality and crunchiness.
Avoid reheating meringue cookies as they can lose their delicate structure. Instead, let them sit at room temperature for 10-15 minutes before serving to restore their original texture.
Pairing Christmas Tree Cookies with Other Treats
Festive Flavor Companions: Christmas Tree Meringue Cookie Pairings
Sip Sparkling Peppermint Hot Chocolate: Creamy peppermint-infused hot chocolate perfectly complements the light, airy texture of the meringue cookies. The cool mint flavor enhances the sweet green trees, creating a delightful holiday taste experience.
Pair with Gingerbread Crumble: Sprinkle crushed gingerbread cookies around the meringue trees for a delicious textural contrast. The warm spices of gingerbread will beautifully balance the delicate sweetness of the meringue, adding depth to your holiday treat.
Serve with Vanilla Bean Eggnog: Smooth, rich eggnog with real vanilla bean provides a luxurious drink companion. The creamy, nutmeg-kissed beverage will highlight the meringue’s delicate sweetness and festive green color.
Create Chocolate Dipping Station: Melt dark or white chocolate for optional cookie dipping. Guests can personalize their treats by drizzling or dunking the meringue trees, adding an interactive and indulgent element to dessert time.
Different Styles for Tree Cookie Decor
Low-Sugar Delight: Replace granulated sugar with stevia or monk fruit sweetener for a diabetic-friendly version that maintains the cookie’s light texture.
Vegan Holiday Trees: Swap egg whites with aquafaba (chickpea liquid) and use plant-based natural food coloring to create a cruelty-free meringue cookie that keeps the festive spirit.
Gluten-Free Festive Treat: Ensure all sprinkles and decorations are certified gluten-free to make these cookies safe for those with celiac disease or gluten sensitivities.
Nut-Free Christmas Option: Select sprinkles and decorations without potential nut cross-contamination to make these cookies safe for those with nut allergies.
FAQs
Why use cream of tartar in this recipe?
Cream of tartar helps stabilize egg whites, creating smoother, more voluminous meringue with better structure and preventing sugar from crystallizing.
How do I know when my meringue is ready?
The meringue is ready when it forms stiff, glossy peaks that hold their shape when you lift the whisk. When you turn the bowl upside down, the mixture should not slide out.
Can I use a different food coloring?
Yes, you can use gel or liquid food coloring. Gel colors are more concentrated, so you’ll need less to achieve the desired green shade. Start with a small amount and gradually add more until you reach the perfect Christmas tree color.
What if my meringue looks grainy or separates?
This usually happens if sugar is added too quickly or not fully dissolved. Always add sugar gradually and whip continuously. If the mixture looks grainy, keep whipping until it becomes smooth and glossy.
Developing accessible single-serving recipes, Food writing and content creation, Plant-based and allergen-friendly cooking, Culinary education and workshop facilitation
Education
Oregon Culinary Institute (Portland, OR) Diploma in Culinary Arts
Specialized in plant-based cooking and sustainable kitchen practices.
Portland Community College Certificate in Food Writing and Media
Focused on recipe writing, food photography, and digital content creation.
Clara’s food journey began with a curiosity for color, texture, and ingredients pulled straight from the garden. Her background in plant-forward cooking and creative writing gives her a unique edge – she makes healthy, flavorful food feel inviting, not intimidating.
She specializes in meals that work for busy lives and different diets, all without sacrificing taste. Clara’s voice comes through in every recipe she writes – clear, kind, and encouraging.
Clara Thompson
Recipe Developer & Culinary Educator
Expertise
Developing accessible single-serving recipes, Food writing and content creation, Plant-based and allergen-friendly cooking, Culinary education and workshop facilitation
Education
Oregon Culinary Institute (Portland, OR)
Diploma in Culinary Arts
Specialized in plant-based cooking and sustainable kitchen practices.
Portland Community College
Certificate in Food Writing and Media
Focused on recipe writing, food photography, and digital content creation.
Clara’s food journey began with a curiosity for color, texture, and ingredients pulled straight from the garden. Her background in plant-forward cooking and creative writing gives her a unique edge – she makes healthy, flavorful food feel inviting, not intimidating.
She specializes in meals that work for busy lives and different diets, all without sacrificing taste. Clara’s voice comes through in every recipe she writes – clear, kind, and encouraging.