The Zesty Classic Cheese Ball Recipe: A Crowd-Pleasing Hit
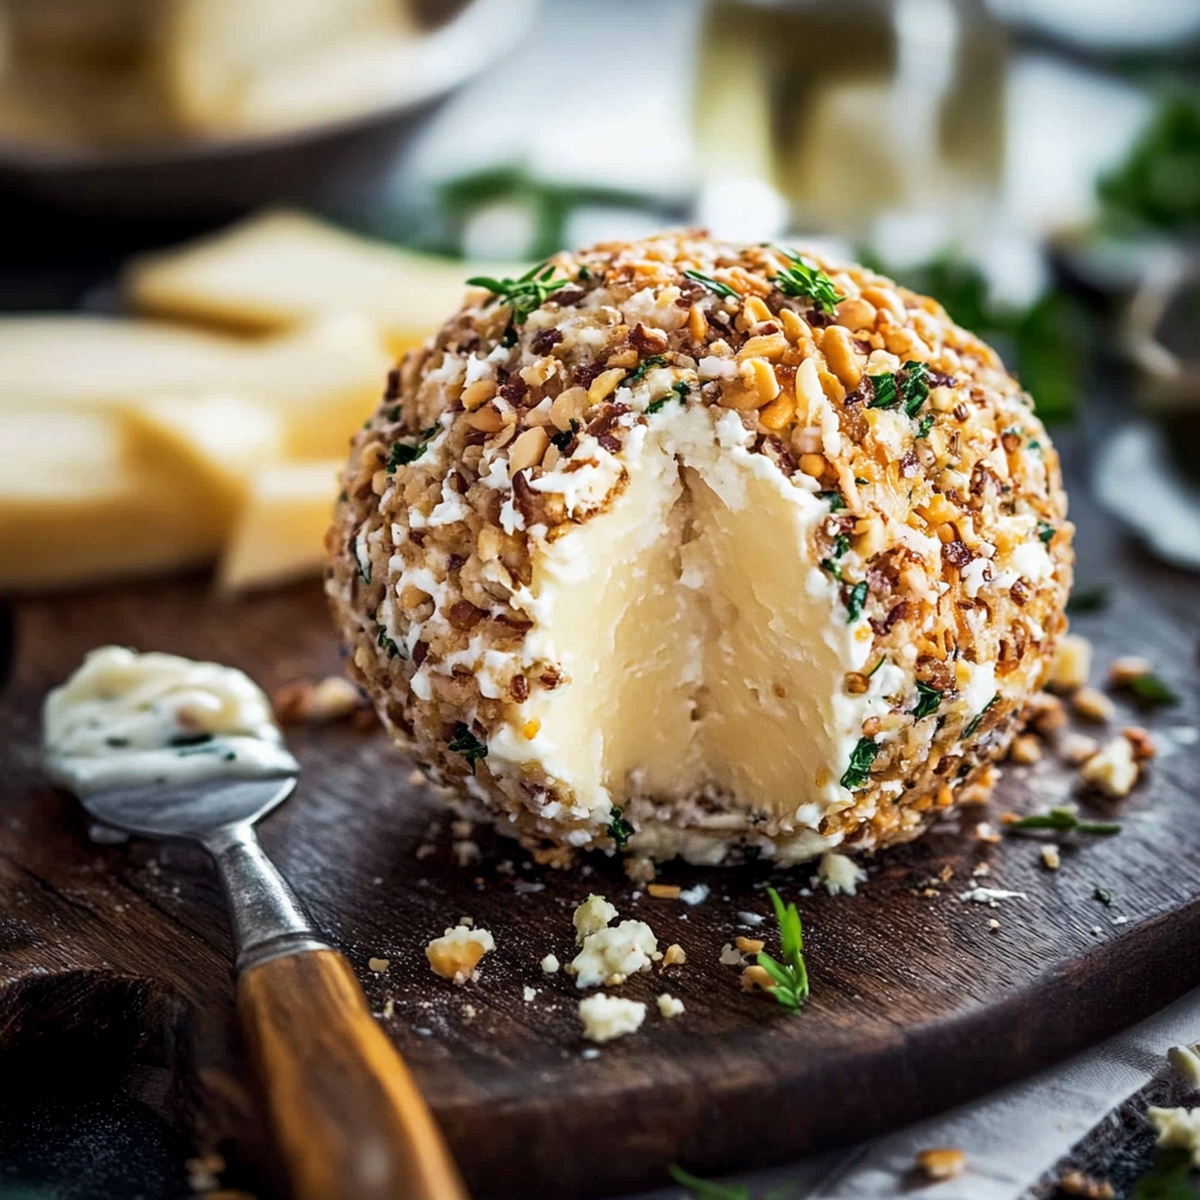
Cheese lovers adore this classic cheese ball that brings instant joy to any gathering.
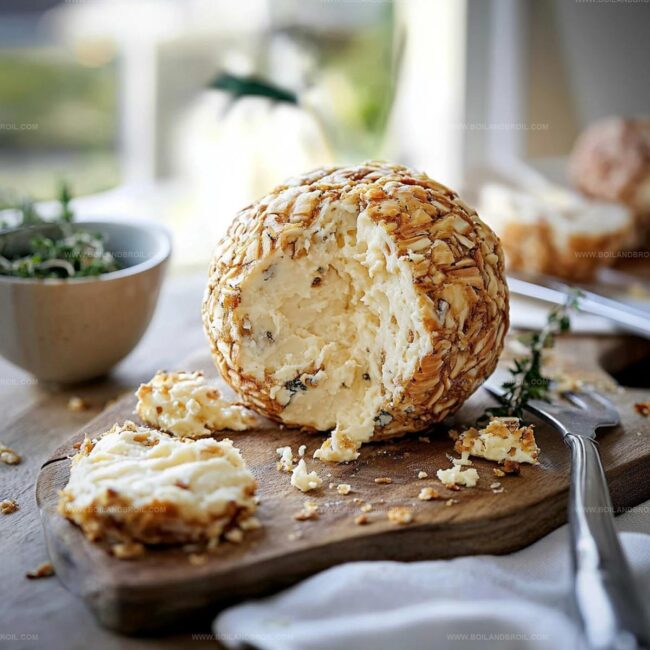
Creamy textures and bold flavors combine in a delightful appetizer everyone craves.
Soft cream cheese blends seamlessly with sharp cheddar and aromatic herbs.
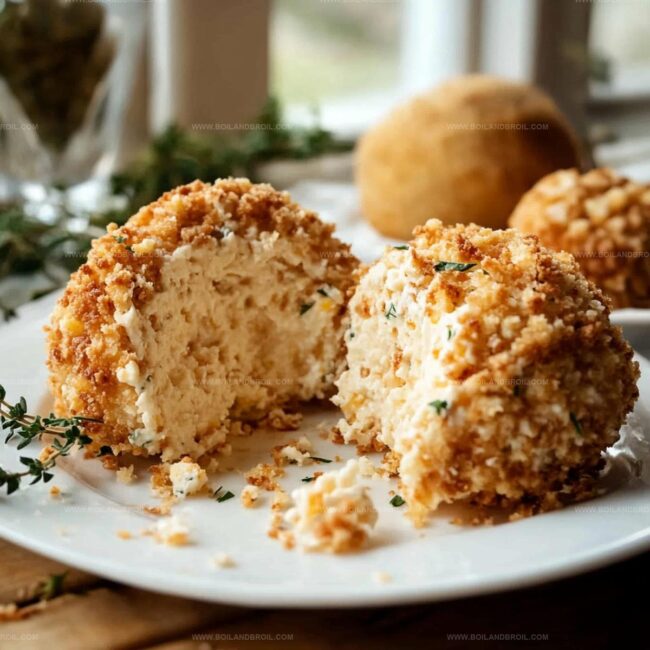
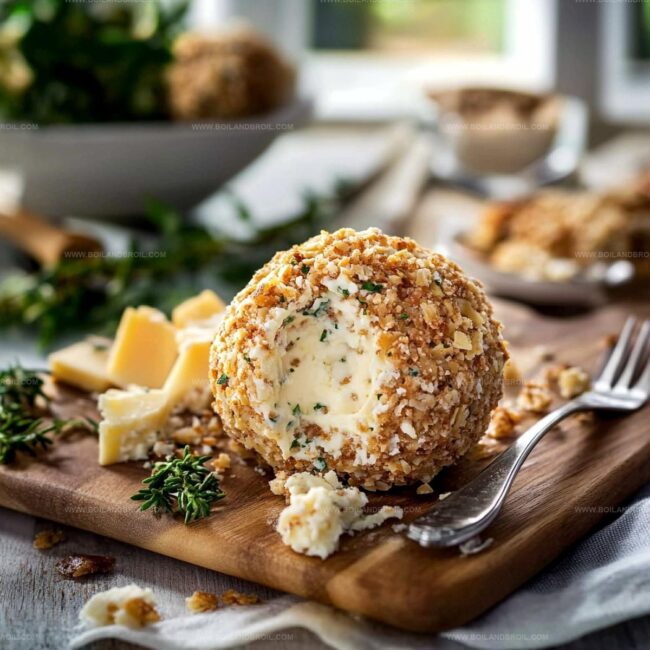
Nutty pecans provide a delicious crunch around the exterior, creating perfect bite-sized moments of happiness.
Simple ingredients transform into an elegant starter that impresses guests without complicated techniques.
Mixing takes mere minutes, making this recipe a go-to solution for spontaneous entertaining.
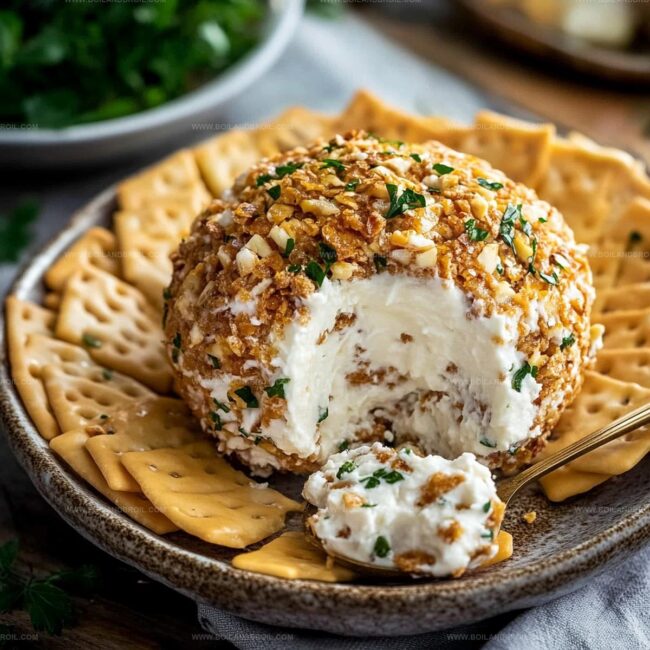
Serve with crisp crackers and watch how quickly this crowd-pleasing appetizer disappears from the table.
Ultimate Guide to the Classic Cheese Ball
Ingredients Needed for a Party-Ready Cheese Ball
How to Make the Perfect Cheese Ball
Step 1: Blend Creamy Cheese Mixture
In a spacious mixing bowl, combine the following ingredients:Whisk and stir everything together until the mixture becomes silky smooth and all ingredients are perfectly integrated.
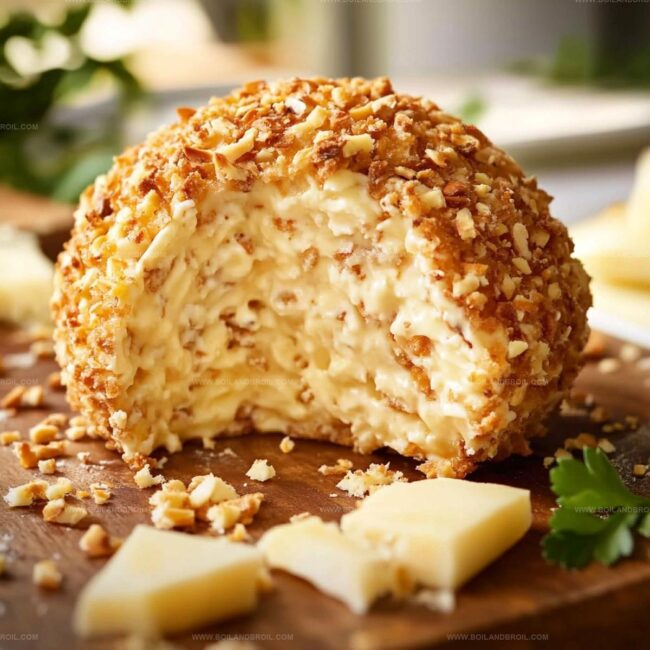
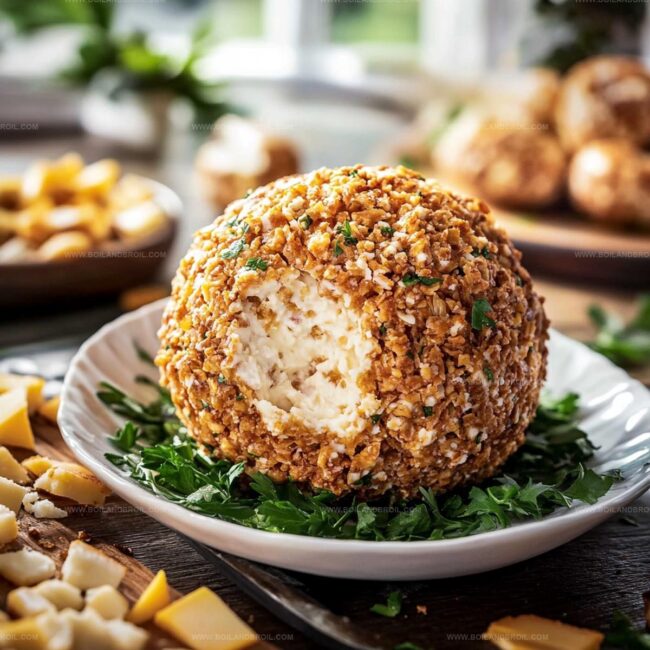
Step 2: Shape Delightful Cheese Sphere
Using clean hands, gently mold the cheese mixture into a round, attractive ball.
Press and shape carefully to ensure a compact and uniform sphere that holds together nicely.
Step 3: Coat with Crunchy Nutty Exterior
Spread chopped nuts on a flat surface or plate.
Carefully roll the cheese ball through the nuts, applying gentle pressure to ensure complete and even coverage.
Rotate the ball to create a beautiful, textured exterior that adds crunch and visual appeal.
Step 4: Chill and Develop Flavors
Wrap the cheese ball completely in plastic wrap, sealing it tightly.
Place in the refrigerator and allow it to rest and develop rich flavors for a minimum of 2 hours.
This chilling process helps the cheese ball firm up and allows the ingredients to meld together wonderfully.
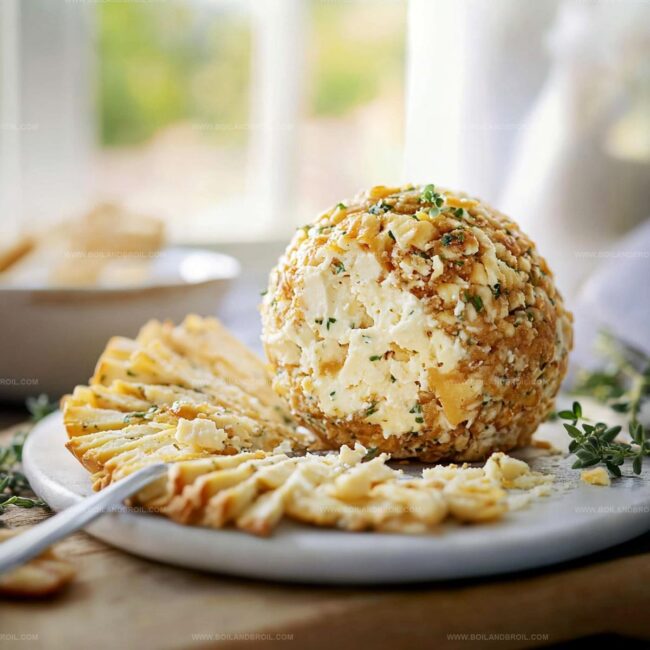
Step 5: Serve and Enjoy
Remove the cheese ball from the refrigerator just before serving.
Unwrap and place on a decorative serving platter.
Arrange an assortment of crackers, fresh vegetable sticks, and other dipping accompaniments around the cheese ball for guests to enjoy.
Tips for Texture and Flavor in Cheese Balls
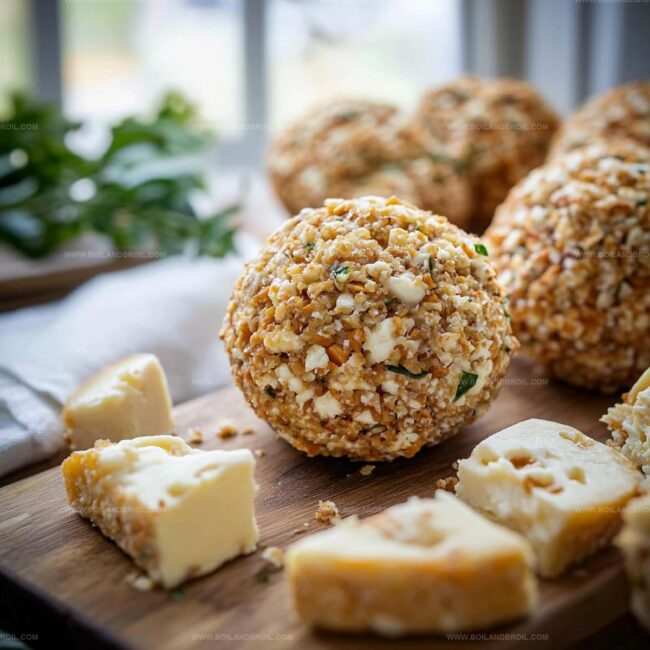
Storing and Serving Your Cheese Ball
Best Foods to Pair with Cheese Ball
Cheese Ball Variations for Every Occasion
FAQs
Sharp cheddar cheese provides the most robust flavor, but you can also use mild cheddar or a blend of cheeses like monterey jack for variety.
Yes, you can prepare the cheese ball up to 3 days before your event. Keep it wrapped tightly in plastic wrap in the refrigerator until ready to serve.
Absolutely! You can use chopped herbs, crispy bacon bits, or even crushed pretzel crumbs as a coating instead of nuts for different flavor profiles and textures.
The mixture should be smooth and evenly combined, with no lumps of cream cheese remaining. Mix until all ingredients are well incorporated and the texture is consistent.
Print
Classic Cheese Ball Recipe
- Total Time: 15 minutes
- Yield: 8 1x
Description
Creamy Philadelphia cream cheese blends with sharp cheddar in this classic cheese ball recipe, creating a crowd-pleasing appetizer perfect for gatherings. Rolled in chopped pecans and served with crisp crackers, this nostalgic party starter will delight guests and spark conversation.
Ingredients
Main Ingredients:
- 1 cup shredded cheddar cheese
- 8 ounces (226 grams) cream cheese, softened
Flavor Enhancers:
- 1/2 cup chopped green onions
- 1 teaspoon garlic powder
- 1 teaspoon onion powder
- Salt to taste
- Pepper to taste
Topping:
- 1/2 cup chopped pecans or walnuts
Instructions
- Blend cream cheese, cheddar cheese, green onions, garlic powder, onion powder, salt, and pepper in a mixing bowl until ingredients form a uniform, creamy consistency.
- Gently manipulate the cheese mixture with clean hands, sculpting it into a compact, rounded sphere.
- Spread chopped nuts evenly on a flat surface and methodically roll the cheese ball, ensuring complete and even nut coverage.
- Carefully encase the cheese ball in plastic wrap, sealing it completely to prevent moisture loss.
- Refrigerate for a minimum of 2 hours, allowing flavors to meld and texture to firm up.
- Remove from refrigerator 15-20 minutes before serving to soften slightly and enhance flavor profile.
- Arrange on a serving platter alongside an assortment of crisp crackers, fresh vegetable sticks, or preferred dipping accompaniments.
Notes
- Soften cream cheese at room temperature for easier mixing and smoother texture.
- Use freshly grated cheese instead of pre-shredded for better melting and richer flavor.
- Experiment with different nut varieties like pecans, almonds, or walnuts for unique crunch and taste profiles.
- Make the cheese ball up to 3 days in advance to enhance flavor development and save party prep time.
- Prep Time: 15 minutes
- Cook Time: 0 minutes
- Category: Appetizer, Snacks
- Method: Rolling
- Cuisine: American
Nutrition
- Serving Size: 8
- Calories: 150
- Sugar: 1 g
- Sodium: 200 mg
- Fat: 13 g
- Saturated Fat: 5 g
- Unsaturated Fat: 8 g
- Trans Fat: 0 g
- Carbohydrates: 4 g
- Fiber: 0.5 g
- Protein: 4 g
- Cholesterol: 30 mg
Jack Sullivan
Founder & Culinary Storyteller
Expertise
Single-recipe development with a narrative approach, Culinary storytelling and food history, Seasonal and regional ingredient utilization, Home cooking techniques adapted for modern kitchens
Education
New England Culinary Institute (Montpelier, VT)
Certificate in Culinary Arts
Focused on farm-to-table cooking, sustainable practices, and modern plating techniques.
Asheville-Buncombe Technical Community College
Associate Degree in Culinary Arts
Emphasized Southern Appalachian cuisine and local ingredient sourcing.
Jack grew up surrounded by smoky skillets and handwritten recipes in the mountains of North Carolina. His roots in Appalachian cooking shaped the way he sees food – as something that connects people, tells a story, and holds meaning.
With hands-on training and a background in sustainable, regional cooking, Jack started Boil And Broil to make meaningful meals more accessible. He’s all about one-dish recipes that are simple to follow but rich with flavor and history.