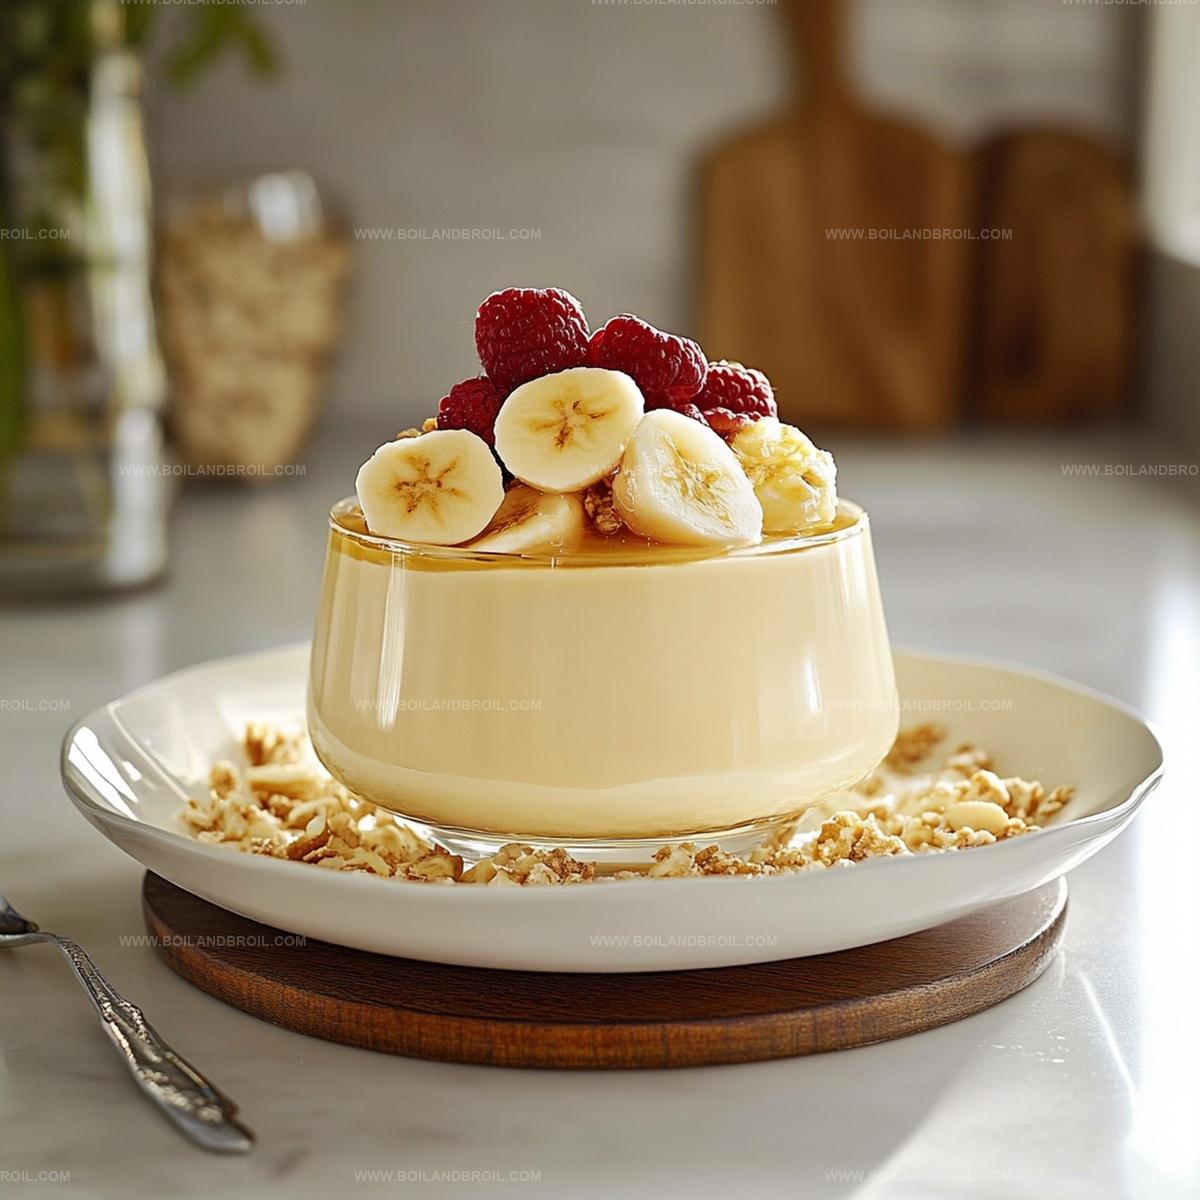
The Dreamiest Creamy Homemade Vanilla Pudding Recipe Ever
Whipping up a delectable homemade vanilla pudding brings pure comfort to your kitchen.
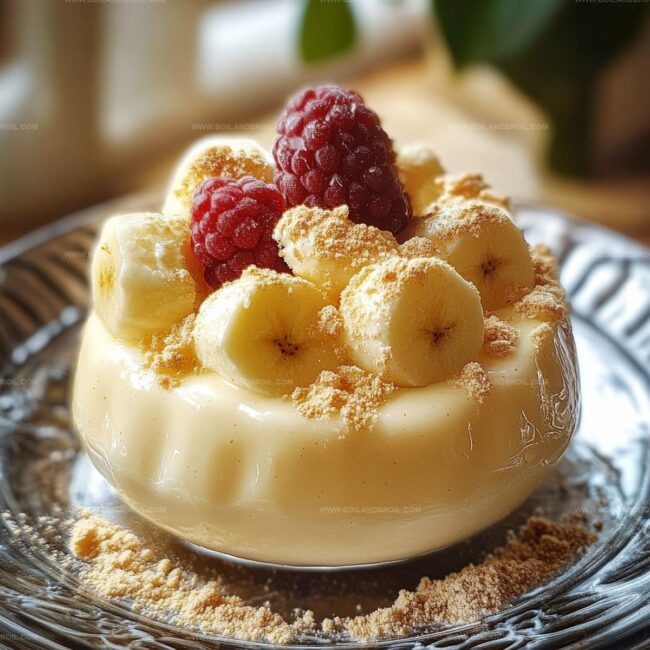
Silky smooth textures dance across your palate with each spoonful of this classic dessert.
Memories of childhood sweet treats flood back when you prepare this simple yet elegant recipe.
Rich ingredients blend together effortlessly, creating a luscious dessert that feels like a warm hug.
creamy and delightful, this pudding transforms ordinary moments into something special.
Minimal effort yields maximum satisfaction, promising a delicious experience you won’t forget.
Prepare to indulge in a timeless treat that connects generations through its irresistible charm.
Creamy Homemade Vanilla Pudding Basics
Ingredients for Vanilla Pudding
Dairy Base:Sweeteners and Thickeners:Flavor Enhancers:How to Prepare Vanilla Pudding
Step 1: Combine Dairy and Sweet Base
In a saucepan, gently whisk together milk, sugar, and a pinch of salt.
Warm the mixture over medium heat, watching carefully until steam rises and the liquid becomes hot but not bubbling.
Step 2: Prepare Egg and Thickening Mixture
In a separate mixing bowl, whisk egg yolks and cornstarch until the blend becomes completely smooth and free of lumps.
Slowly stream the hot milk into the egg mixture, whisking continuously to prevent egg from scrambling.
Step 3: Create Pudding Consistency
Pour the entire mixture back into the saucepan and cook over medium heat.
Stir constantly with a wooden spoon or silicone spatula, tracking the transformation as the liquid gradually thickens into a creamy texture.
Step 4: Enhance Flavor Profile
Remove the saucepan from heat.
Stir in:Mix until ingredients are perfectly incorporated and smooth.
Step 5: Chill and Set Pudding
Transfer the pudding into serving bowls or a large dish.
Cover the surface directly with plastic wrap to prevent skin formation.
Refrigerate for at least 2 hours, allowing pudding to cool and set completely before serving.
Pro Tips for Creamy Vanilla Pudding
Storing and Reheating Vanilla Pudding
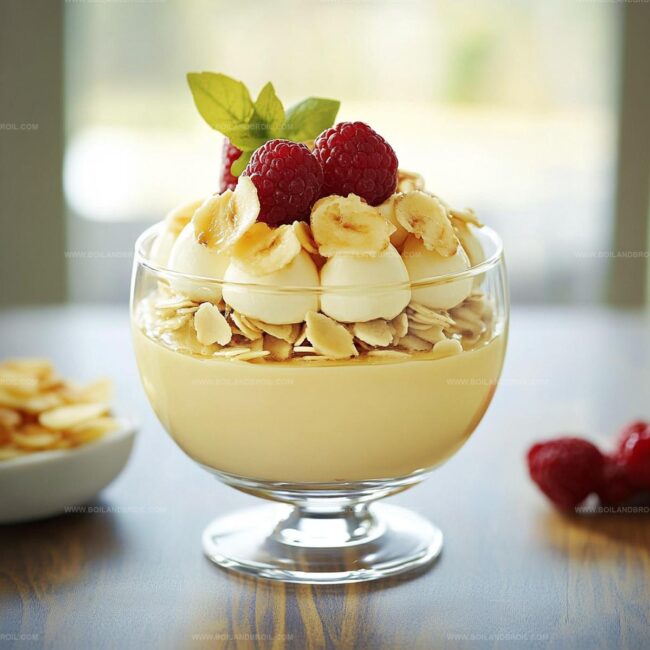
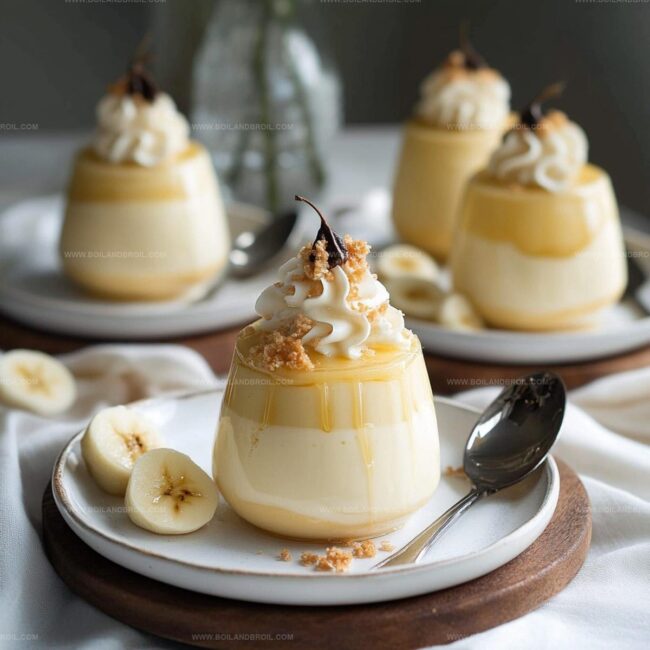
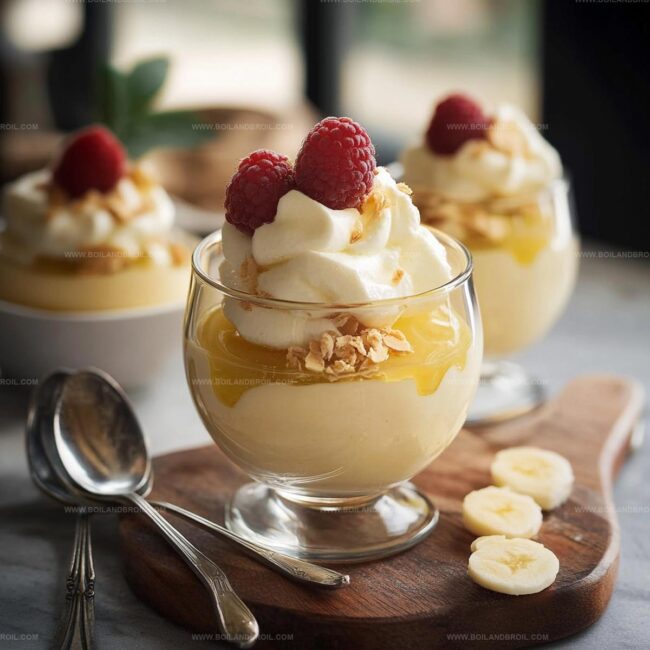
Serving Suggestions for Vanilla Pudding
Variations on Vanilla Pudding
FAQs
Yes, you can substitute whole milk with 2% or non-fat milk, but the pudding will be less creamy and rich.
Cornstarch is crucial as it helps thicken the pudding and provides the smooth, creamy texture. Without it, the pudding will be runny and won’t set properly.
Whisk the egg yolks and cornstarch thoroughly, and gradually add hot milk while continuously whisking. Constant stirring during cooking also helps prevent lumps from forming.
Absolutely! You can prepare the pudding up to 3 days in advance and store it covered in the refrigerator. Just make sure to place plastic wrap directly on the surface to prevent a skin from forming.
Print
Creamy Homemade Vanilla Pudding Recipe
- Total Time: 25 minutes
- Yield: 4 1x
Description
Silky smooth homemade vanilla pudding delights dessert enthusiasts with its classic comfort and rich flavor profile. Rich custard whispers memories of grandmother’s kitchen, promising pure indulgence in each luxurious spoonful you’ll savor.
Ingredients
Main Ingredients:
- 2 1/2 cups (590 ml) whole milk
- 3 large egg yolks
Side Ingredients:
- 1/2 cup (100 g) granulated sugar
- 2 tablespoons (30 ml) unsalted butter
Flavor and Thickening Agents:
- 2 tablespoons (16 g) cornstarch
- 1/4 teaspoon (1.5 g) salt
- 1 1/2 teaspoons (7.5 ml) vanilla extract
Instructions
- Combine milk, sugar, and salt in a saucepan, warming gently over medium heat until steam rises, avoiding a full boil.
- Blend egg yolks and cornstarch in a separate bowl until completely smooth and uniform.
- Slowly stream the hot milk into the egg mixture, whisking continuously to temper and prevent curdling.
- Pour the combined liquid back into the saucepan, cooking over medium heat while stirring constantly until the mixture thickens and coats the back of a spoon, approximately 3-4 minutes.
- Remove from heat and incorporate butter and vanilla extract, stirring until fully integrated and silky.
- Distribute the pudding into serving dishes, pressing plastic wrap directly onto the surface to prevent skin formation.
- Refrigerate for 2 hours or until thoroughly chilled, allowing the pudding to set and develop a rich, creamy consistency.
Notes
- Prevent lumps by whisking constantly and gradually adding hot milk to egg mixture, ensuring smooth texture.
- For a lighter version, substitute whole milk with low-fat or plant-based alternatives like almond or oat milk.
- Enhance flavor by using high-quality vanilla extract or scraping fresh vanilla bean seeds directly into the pudding.
- Cover pudding surface with plastic wrap touching the top to prevent skin formation and maintain creamy consistency.
- Prep Time: 10 minutes
- Cook Time: 15 minutes
- Category: Desserts
- Method: Simmering
- Cuisine: American
Nutrition
- Serving Size: 4
- Calories: 250
- Sugar: 12 g
- Sodium: 60 mg
- Fat: 10 g
- Saturated Fat: 6 g
- Unsaturated Fat: 4 g
- Trans Fat: 0 g
- Carbohydrates: 33 g
- Fiber: 0 g
- Protein: 5 g
- Cholesterol: 160 mg
Jack Sullivan
Founder & Culinary Storyteller
Expertise
Single-recipe development with a narrative approach, Culinary storytelling and food history, Seasonal and regional ingredient utilization, Home cooking techniques adapted for modern kitchens
Education
New England Culinary Institute (Montpelier, VT)
Certificate in Culinary Arts
Focused on farm-to-table cooking, sustainable practices, and modern plating techniques.
Asheville-Buncombe Technical Community College
Associate Degree in Culinary Arts
Emphasized Southern Appalachian cuisine and local ingredient sourcing.
Jack grew up surrounded by smoky skillets and handwritten recipes in the mountains of North Carolina. His roots in Appalachian cooking shaped the way he sees food – as something that connects people, tells a story, and holds meaning.
With hands-on training and a background in sustainable, regional cooking, Jack started Boil And Broil to make meaningful meals more accessible. He’s all about one-dish recipes that are simple to follow but rich with flavor and history.