
Crispy Chicken Tenders Recipe: Golden Goodness Made Simple
Crafting the perfect crispy chicken tenders requires a delicate balance of technique and flavor that will make your taste buds dance.
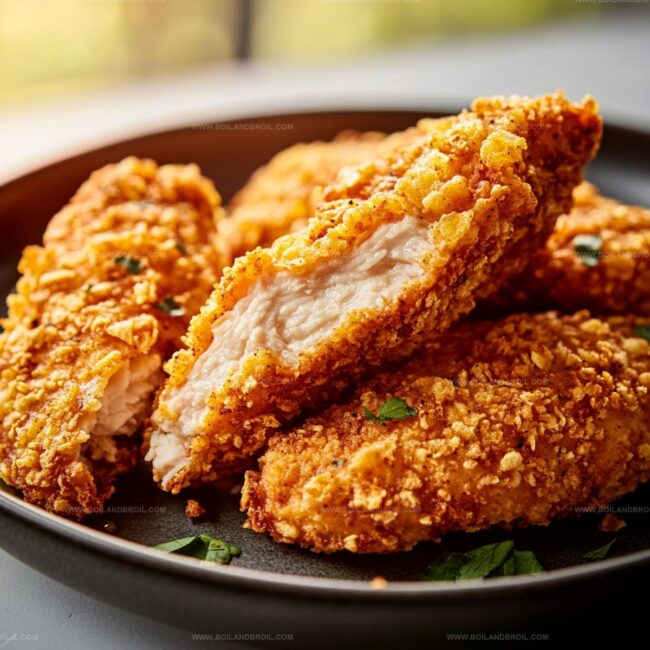
Crunchy exterior meets tender meat in this irresistible dish that breaks free from ordinary dinner routines.
Kitchen experiments often lead to delightful surprises, and these tenders prove that simple ingredients can create magic.
Secret spices and a clever coating technique ensure each bite delivers maximum crunch and satisfaction.
You’ll find yourself reaching for seconds before the first plate is even empty.
Crisp, golden, and impossibly addictive, these chicken tenders are about to become your new dinnertime obsession.
Dive into this recipe and watch everyone around the table light up with excitement.
Reasons Crispy Chicken Tenders Are Always a Hit

Key Ingredients to Make Crispy Chicken Tenders at Home
Protein Base:Marinade:Breading Ingredients:Cooking Ingredients:Serving Suggestion:How to Make Crispy Chicken Tenders Step by Step
Step 1: Soak Chicken in Buttermilk Bath
Grab your chicken tenders and submerge them completely in buttermilk.
Allow the chicken to relax and soften in the refrigerator for at least 30 minutes.
This magical bath helps break down proteins, making your chicken super tender and flavorful.
Step 2: Create Flavor-Packed Breading
In a wide, shallow bowl, combine your dry ingredients with bold flavors:Whisk these ingredients together until they’re perfectly blended and ready to create a crunchy coating.
Step 3: Dredge Chicken in Seasoned Flour
Remove chicken from buttermilk, letting excess liquid drip away.
Roll each tender generously in the seasoned flour mixture, pressing firmly to ensure a thick, even coating.
The flour will stick beautifully to the buttermilk-coated chicken.
Step 4: Heat Oil to Crispy Perfection
Select a heavy-bottomed skillet and pour in enough oil to reach about 1 inch deep.
Warm the oil over medium-high heat until it reaches a sizzling 350°F.
A kitchen thermometer helps ensure the perfect temperature for golden, crispy tenders.
Step 5: Fry Chicken to Golden Deliciousness
Gently lower chicken tenders into the hot oil, working in batches to avoid overcrowding.
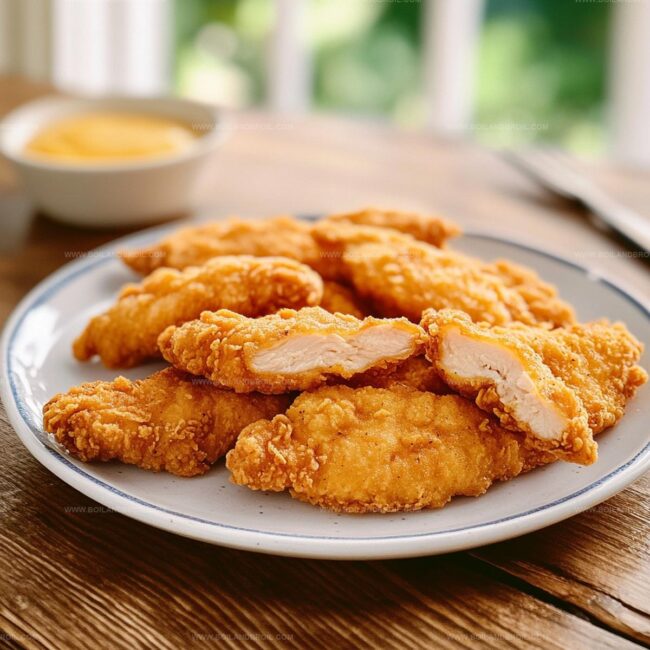
Fry each side for 4-5 minutes until they transform into a gorgeous golden-brown color.
The exterior will be irresistibly crunchy while the inside remains juicy.
Step 6: Drain and Serve Immediately
Transfer freshly fried tenders onto a wire rack or paper towel-lined plate to drain excess oil.
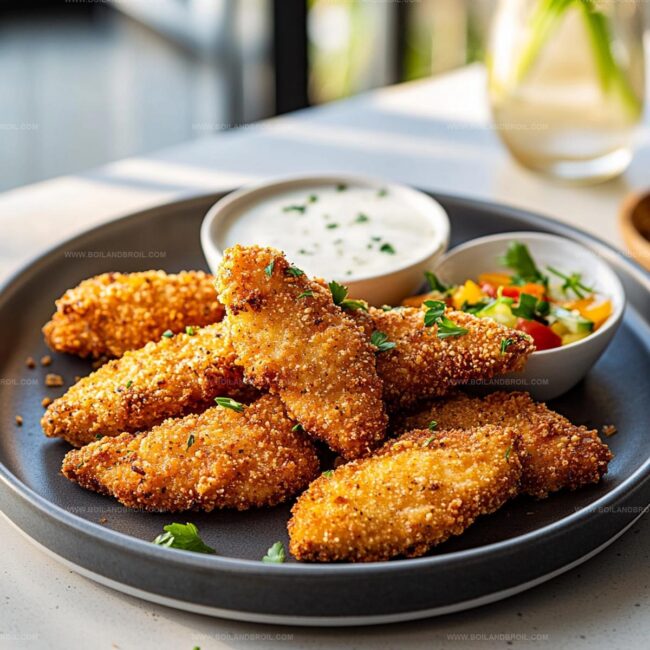
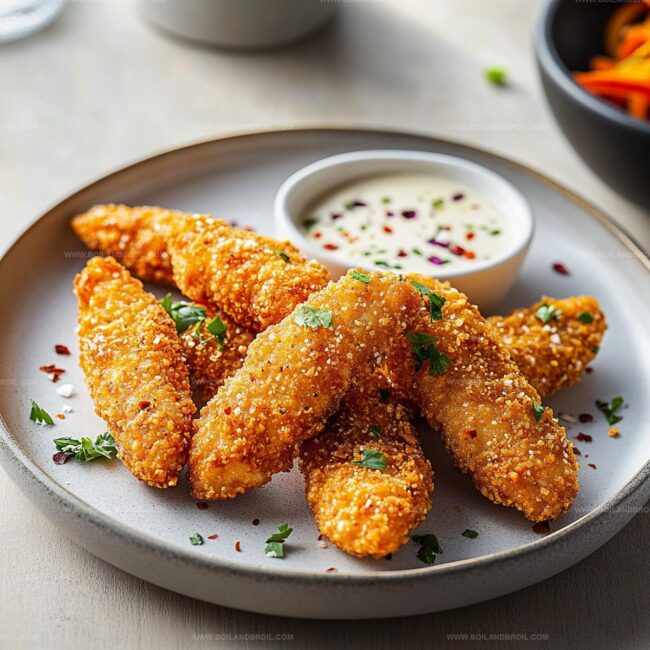
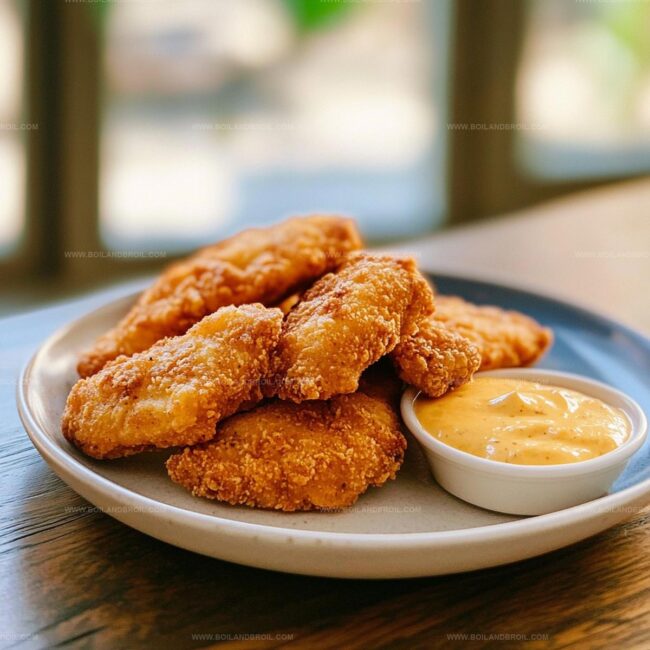
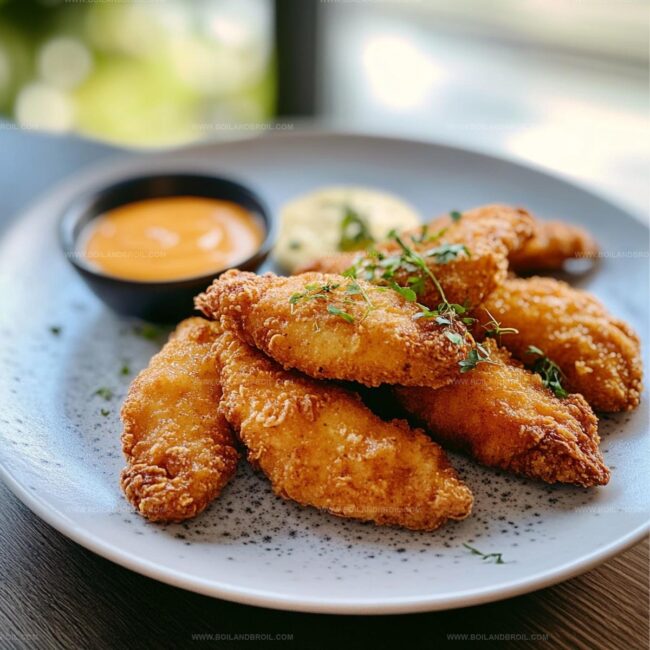
Serve piping hot alongside your favorite dipping sauces like tangy ranch, sweet honey mustard, or smoky barbecue sauce.
Tips for Achieving Golden, Crunchy Chicken Tenders
How to Reheat Crispy Chicken Tenders Without Drying Out
Perfect Sides to Serve with Crispy Chicken Tenders
Creative Coatings and Flavors for Chicken Tenders
FAQs
Buttermilk helps tenderize the meat by breaking down proteins, making chicken more soft and juicy while adding subtle tangy flavor that enhances overall taste.
Use a kitchen thermometer to check temperature at 180C/350F, or drop a small piece of bread into oil – if it sizzles and turns golden within 15 seconds, the oil is ready for frying.
Yes, you can bake them at 425F for 15-20 minutes, turning once halfway through, but they won’t be as crispy as the fried version. Spray with cooking oil to help achieve a crunchier texture.
The combination of buttermilk marinade and well-seasoned flour mixture creates a perfect coating. Pressing flour mixture firmly onto chicken and maintaining correct oil temperature ensures maximum crispiness.
Print
Crispy Chicken Tenders Recipe
- Total Time: 45 minutes
- Yield: 4 1x
Description
Crispy chicken tenders deliver golden, crunchy perfection with a delightful blend of seasoned breading and tender meat. Guaranteed to satisfy hunger, these crowd-pleasing morsels promise delicious comfort you’ll crave again and again.
Ingredients
Main Protein:
- 500 grams (1.1 pounds) chicken breast, cut into strips
Breading and Seasoning:
- 1 cup all-purpose flour
- 1 teaspoon garlic powder
- 1 teaspoon onion powder
- 1 teaspoon paprika
- 1/2 teaspoon salt
- 1/2 teaspoon black pepper
Liquid and Cooking:
- 1 cup buttermilk
- Oil for frying
Instructions
- Submerge chicken strips in buttermilk and refrigerate for 30-45 minutes to enhance tenderness and flavor absorption.
- Create a seasoned coating by combining flour with garlic powder, onion powder, paprika, salt, and black pepper in a wide, shallow container.
- Extract chicken strips from buttermilk, allowing excess liquid to drip away, then thoroughly coat each piece in the seasoned flour mixture, ensuring complete and even coverage.
- Prepare a large skillet with oil, heating to 180C/350F until the surface appears shimmery and rippling, indicating optimal frying temperature.
- Gently introduce chicken strips into the hot oil, maintaining space between pieces to prevent overcrowding and ensure consistent crispiness. Fry for approximately 4-5 minutes per side, rotating once to achieve a deep golden-brown exterior and fully cooked interior.
- Transfer fried chicken tenders to a paper towel-lined plate to absorb excess oil and maintain crispness. Allow brief resting period before serving with complementary dipping sauces like ranch, honey mustard, or tangy BBQ.
Notes
- Use buttermilk at room temperature to help chicken absorb more flavor and create a more tender texture.
- Experiment with different spice blends in the flour mixture for unique flavor profiles like adding cayenne for heat or dried herbs for complexity.
- Let chicken rest after coating to help breading adhere better and create a crunchier exterior during frying.
- For gluten-free option, replace wheat flour with cornstarch or gluten-free flour blend to maintain crispy coating.
- Prep Time: 30 minutes
- Cook Time: 15 minutes
- Category: Lunch, Dinner, Appetizer, Snacks
- Method: Frying
- Cuisine: American
Nutrition
- Serving Size: 4
- Calories: 350
- Sugar: 2 g
- Sodium: 400 mg
- Fat: 15 g
- Saturated Fat: 3 g
- Unsaturated Fat: 10 g
- Trans Fat: 0 g
- Carbohydrates: 35 g
- Fiber: 1 g
- Protein: 30 g
- Cholesterol: 80 mg
Clara Thompson
Recipe Developer & Culinary Educator
Expertise
Developing accessible single-serving recipes, Food writing and content creation, Plant-based and allergen-friendly cooking, Culinary education and workshop facilitation
Education
Oregon Culinary Institute (Portland, OR)
Diploma in Culinary Arts
Specialized in plant-based cooking and sustainable kitchen practices.
Portland Community College
Certificate in Food Writing and Media
Focused on recipe writing, food photography, and digital content creation.
Clara’s food journey began with a curiosity for color, texture, and ingredients pulled straight from the garden. Her background in plant-forward cooking and creative writing gives her a unique edge – she makes healthy, flavorful food feel inviting, not intimidating.
She specializes in meals that work for busy lives and different diets, all without sacrificing taste. Clara’s voice comes through in every recipe she writes – clear, kind, and encouraging.