
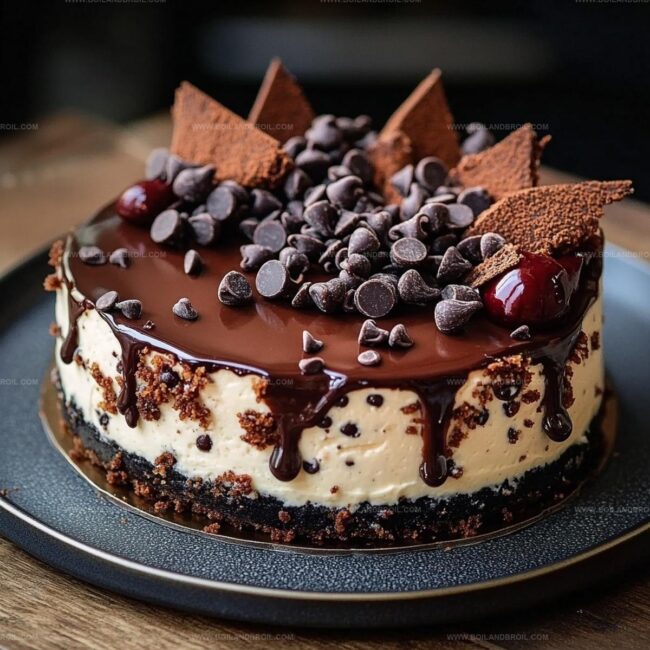
Irresistible Black-Bottom Cheesecake Recipe for Sweet Tooths
Craving a dessert that blends rich chocolate with creamy cheesecake magic?
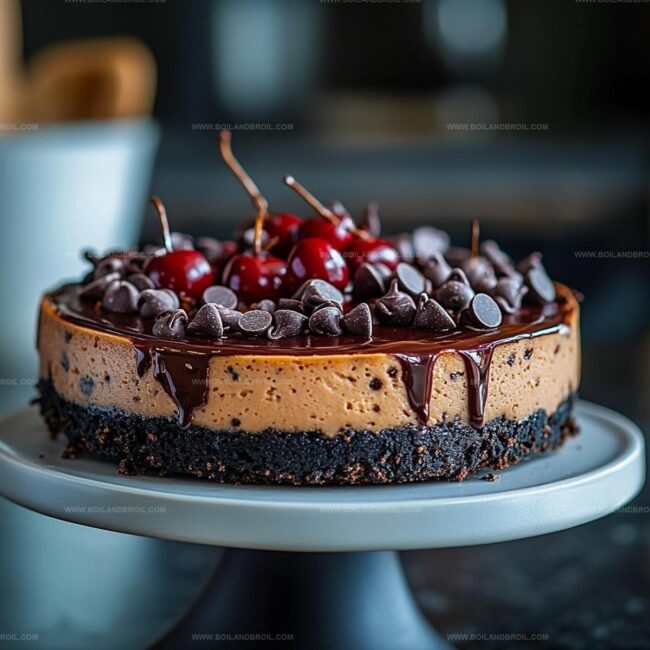
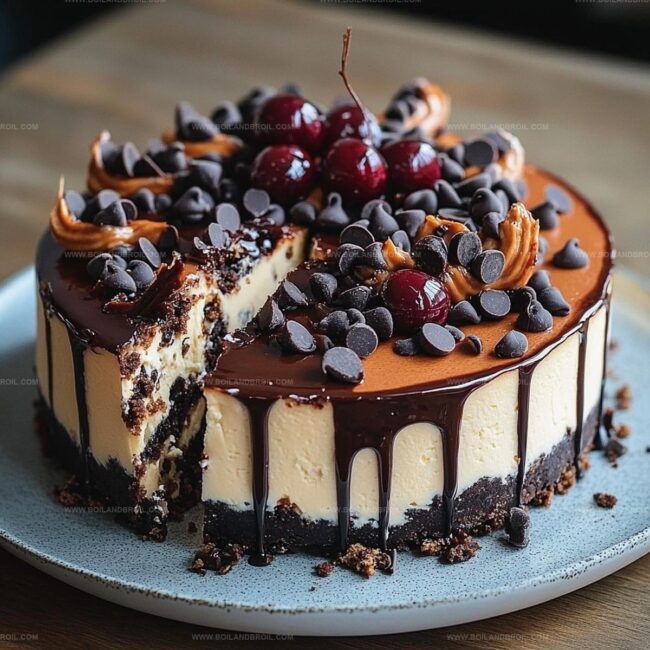
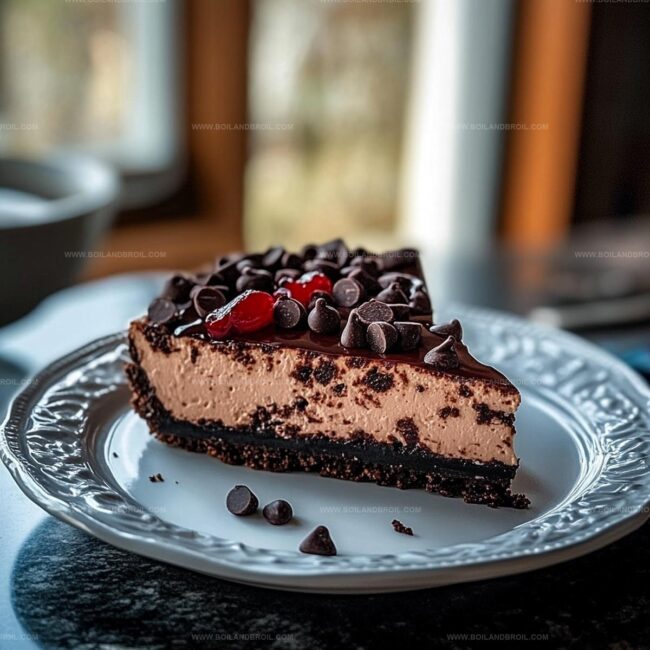
My decadent black-bottom cheesecake promises an unforgettable indulgence that melts hearts instantly.
Layers of smooth cream cheese dance atop a deep, dark chocolate base that whispers pure comfort.
Chocolate lovers will swoon over the intense contrast between velvety filling and cocoa-infused crust.
Each forkful delivers a symphony of textures that feels like a delicious secret.
Soft, luxurious, and impossibly smooth, this dessert breaks all the traditional rules of sweet satisfaction.
Prepare to experience a slice of pure bliss that will have everyone begging for seconds.
Black-Bottom Cheesecake with Bold Contrast
What You’ll Need for Black-Bottom Cheesecake
Crust Ingredients:Cheesecake Base:Chocolate Layer:Optional Garnish:How to Bake This Two-Layer Cheesecake
Step 1: Prepare Chocolate Cookie Base
Crush chocolate sandwich cookies into fine crumbs.
Mix the crumbs with melted butter until the mixture resembles wet sand.
Press the mixture evenly into the bottom of a springform pan, creating a smooth and compact layer.
Refrigerate while preparing the next components.
Step 2: Craft Chocolate Layer
Melt dark chocolate in a double boiler or microwave.
Whisk chocolate until smooth and glossy.
In a separate bowl, combine:Beat the mixture until completely smooth and free of lumps.
Gently fold in the melted chocolate, creating a rich and velvety chocolate base.
Step 3: Create Creamy Cheesecake Filling
In a clean mixing bowl, blend:Whip the ingredients until perfectly smooth and no cream cheese lumps remain.
Be careful not to overmeat the mixture.
Step 4: Layer and Swirl
Pour the chocolate layer into the chilled cookie crust.
Carefully spoon the classic cheesecake filling on top.
Use a knife or skewer to create elegant swirls and marbled patterns throughout the cheesecake.
Step 5: Bake to Perfection
Place the springform pan in a water bath to ensure even baking.
Bake in a preheated oven at 325°F (160°C) for approximately 55-65 minutes.
The cheesecake should have a slight jiggle in the center when gently shaken.
Step 6: Cool and Chill
Turn off the oven and crack the door open.
Allow the cheesecake to cool gradually for one hour.
Remove from the water bath and refrigerate for at least 4 hours or overnight to set completely.
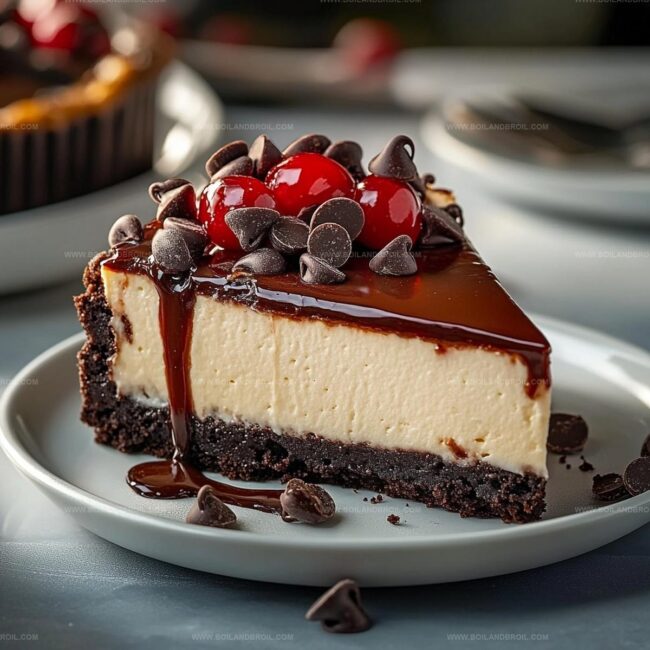
Step 7: Garnish and Serve
Before serving, run a knife around the edge of the pan to loosen the cheesecake.
Carefully release the springform ring.
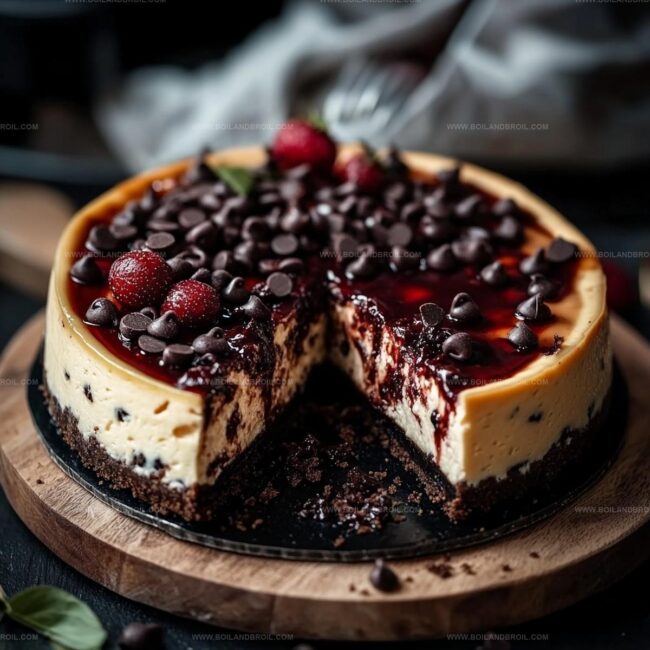
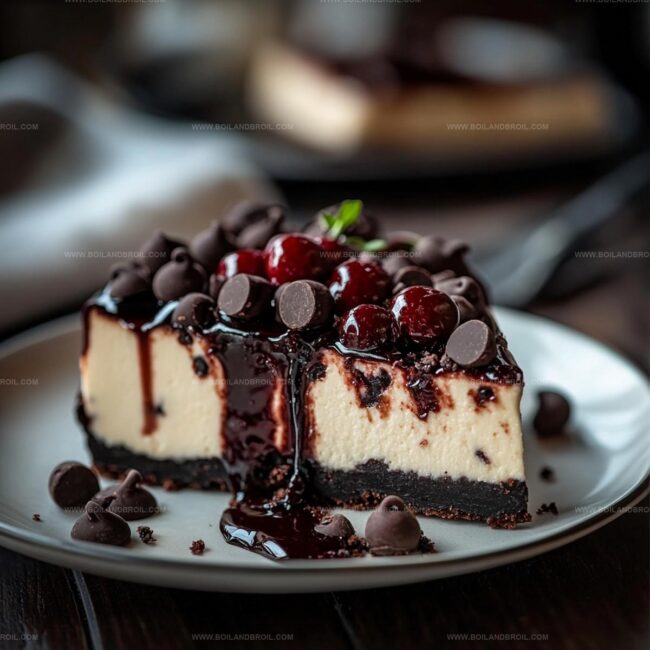
Optionally, dust with cocoa powder or drizzle with chocolate ganache.
Slice and serve chilled.
Tips for Sharp Chocolate and Creamy Finish
Keep Your Cheesecake Layers Fresh and Firm
Drinks and Desserts That Pair with This Cake
Flavor Twists for the Bottom Layer
FAQs
The black-bottom layer is created by mixing melted chocolate directly into part of the cheesecake batter, giving it a rich, dark chocolate flavor and creating a beautiful contrast with the classic cheesecake filling.
While graham crackers are traditional, you can substitute with chocolate cookie crumbs or digestive biscuits for a slightly different flavor profile that will still complement the cheesecake beautifully.
Avoid overmixing the batter, bake in a water bath, and let the cheesecake cool gradually by turning off the oven and leaving the door slightly open after baking to prevent sudden temperature changes that can cause cracking.
A springform pan is highly recommended as it allows you to remove the cheesecake easily without damaging its delicate structure, but in a pinch, you could use a deep cake pan with removable bottom.
Print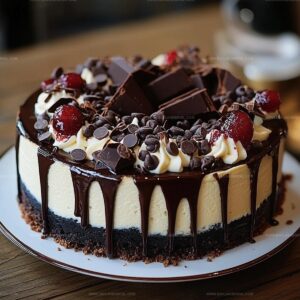
Decadent Black-Bottom Cheesecake Recipe
- Total Time: 25 minutes
- Yield: 12 1x
Description
Black-bottom cheesecake delivers a luxurious chocolate and cream cheese symphony that tantalizes dessert enthusiasts. Rich ganache-like chocolate base meets silky cheesecake, creating an irresistible indulgence you cannot resist savoring.
Ingredients
Main Ingredients:
- 24 ounces (680 grams) cream cheese, softened
- 1 cup (200 grams) granulated sugar
- 3 large eggs
- 1 cup (240 milliliters) sour cream
- 1 cup (170 grams) semi-sweet chocolate chips
Crust Ingredients:
- 1 1/2 cups (180 grams) graham cracker crumbs
- 1/4 cup (50 grams) granulated sugar
- 1/2 cup (113 grams) unsalted butter, melted
Liquid and Flavoring Ingredients:
- 1/2 cup (120 milliliters) heavy cream
- 1 teaspoon vanilla extract
Instructions
- Preheat the oven to 325°F (160°C) and prepare a 9-inch springform pan for the crust preparation.
- Thoroughly blend graham cracker crumbs, sugar, and melted butter until the mixture becomes a cohesive, sandy texture.
- Compact the crumb mixture evenly across the bottom of the springform pan, creating a uniform base layer.
- Bake the crust for 10 minutes until slightly golden and fragrant, then remove and allow to cool completely at room temperature.
- Ensure the crust is firm and stable before proceeding with the next layer of the cheesecake preparation.
- Carefully create a smooth, even surface by gently pressing down the crust with the back of a spoon or flat utensil.
- Allow the crust to set and cool, which helps prevent crumbling and provides a solid foundation for the subsequent cheesecake layers.
Notes
- Butter the springform pan’s sides to prevent the cheesecake from sticking and ensure easy removal.
- Use room temperature cream cheese and eggs for smoother, lump-free batter that blends seamlessly.
- Consider adding a water bath during baking to create gentle, even heat and prevent cracking on the surface.
- For gluten-free adaptation, substitute graham cracker crumbs with almond flour or gluten-free cookie crumbs to maintain the crust’s texture and flavor profile.
- Prep Time: 15 minutes
- Cook Time: 10 minutes
- Category: Desserts
- Method: Baking
- Cuisine: American
Nutrition
- Serving Size: 12
- Calories: 350
- Sugar: 25 g
- Sodium: 220 mg
- Fat: 22 g
- Saturated Fat: 12 g
- Unsaturated Fat: 10 g
- Trans Fat: 0 g
- Carbohydrates: 33 g
- Fiber: 1 g
- Protein: 6 g
- Cholesterol: 70 mg
Jack Sullivan
Founder & Culinary Storyteller
Expertise
Single-recipe development with a narrative approach, Culinary storytelling and food history, Seasonal and regional ingredient utilization, Home cooking techniques adapted for modern kitchens
Education
New England Culinary Institute (Montpelier, VT)
Certificate in Culinary Arts
Focused on farm-to-table cooking, sustainable practices, and modern plating techniques.
Asheville-Buncombe Technical Community College
Associate Degree in Culinary Arts
Emphasized Southern Appalachian cuisine and local ingredient sourcing.
Jack grew up surrounded by smoky skillets and handwritten recipes in the mountains of North Carolina. His roots in Appalachian cooking shaped the way he sees food – as something that connects people, tells a story, and holds meaning.
With hands-on training and a background in sustainable, regional cooking, Jack started Boil And Broil to make meaningful meals more accessible. He’s all about one-dish recipes that are simple to follow but rich with flavor and history.