
The Ultimate Decadent Chocolate Oreo Pie Recipe for Sweet Lovers
Whipping up a delectable chocolate Oreo pie can turn an ordinary dessert into a memorable masterpiece.
Creamy layers of rich chocolate merge seamlessly with crunchy cookie crumbles.
Smooth textures and intense flavors dance across your palate with each delightful bite.
Our simple recipe promises an indulgent experience that feels like pure culinary magic.
Deep cocoa notes blend perfectly with classic Oreo cookie fragments.
Each slice promises a moment of blissful satisfaction that will have everyone asking for seconds.
Let’s create something irresistibly delicious that celebrates pure chocolate joy.
Why Chocolate Oreo Pie Is the Ultimate Treat
What You Need for Chocolate Oreo Pie
Making Chocolate Oreo Pie from Start to Slice
Step 1: Create Oreo Cookie Base
Grab a mixing bowl and combine crushed Oreo cookies with melted butter.
Mix thoroughly until the crumbs stick together perfectly.
Press the mixture into a 9-inch pie dish, making sure to pack it down firmly and evenly across the bottom and sides.
Pop the crust into the refrigerator for 30 minutes to help it set and become nice and firm.
Step 2: Develop Rich Chocolate Filling
Pour heavy cream into a saucepan and heat until it begins to simmer gently.
Remove the pan from the heat source.
Add:Let the chocolate sit in the warm cream for one minute, then whisk everything together until the mixture becomes silky smooth and glossy.
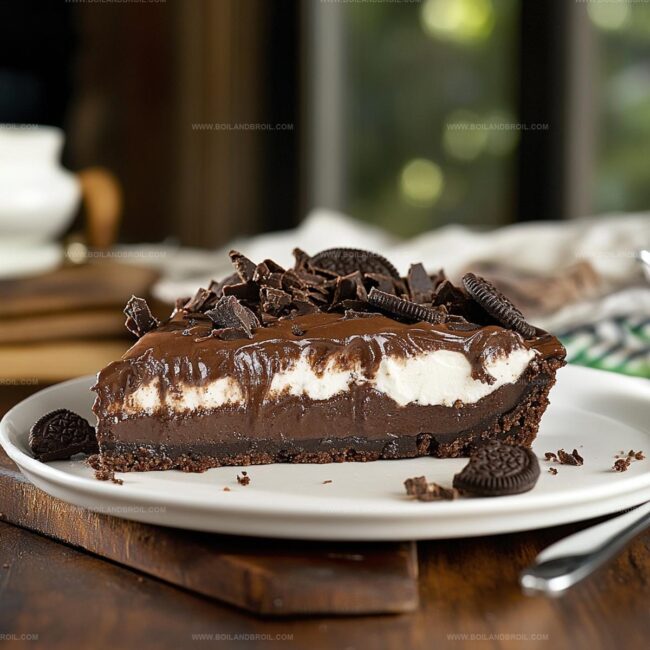
Step 3: Complete Pie Assembly
Carefully pour the luxurious chocolate filling into the chilled Oreo crust.
Use a spatula to spread the filling evenly, ensuring no gaps or uneven surfaces.
Cover the pie and refrigerate for a minimum of 4 hours, though overnight chilling will produce the most incredible texture.
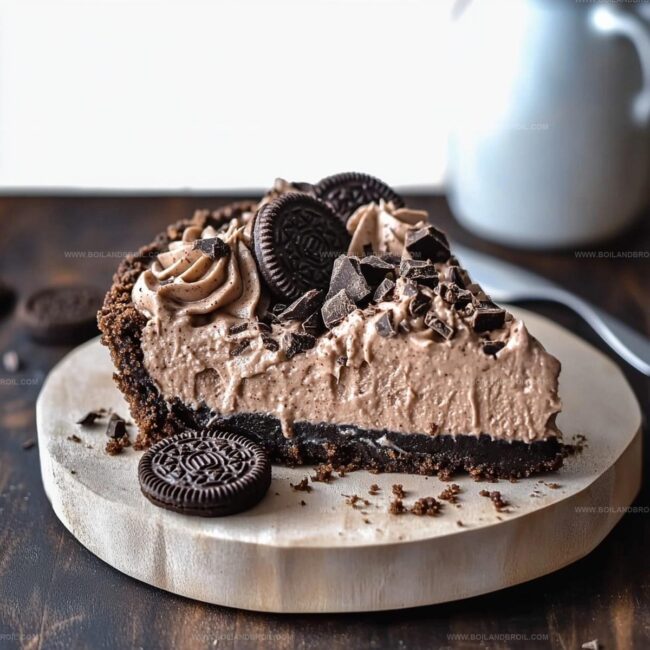
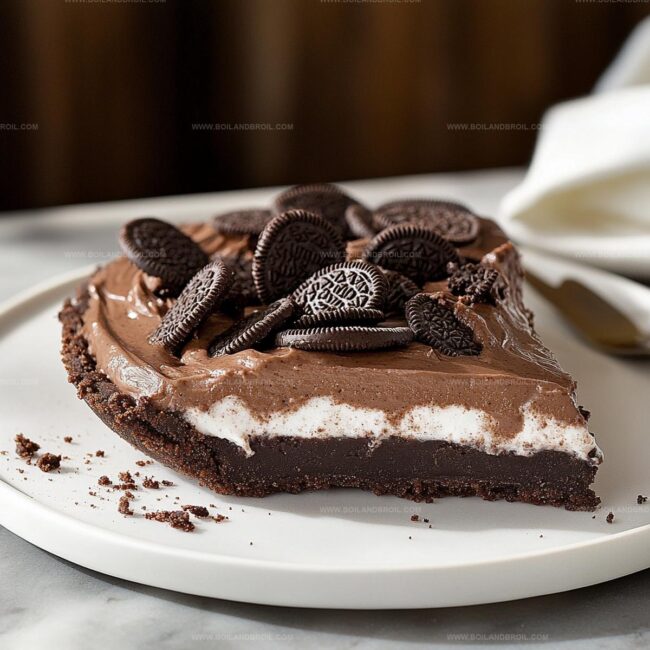
Step 4: Garnish and Serve
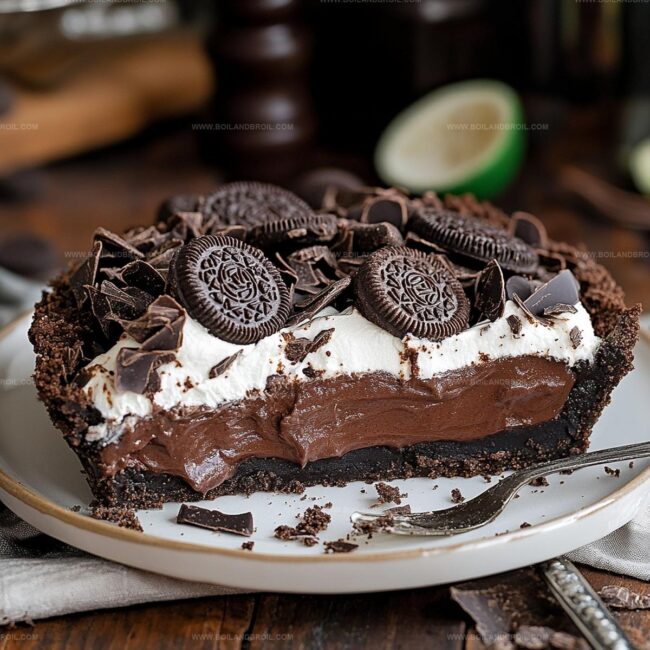
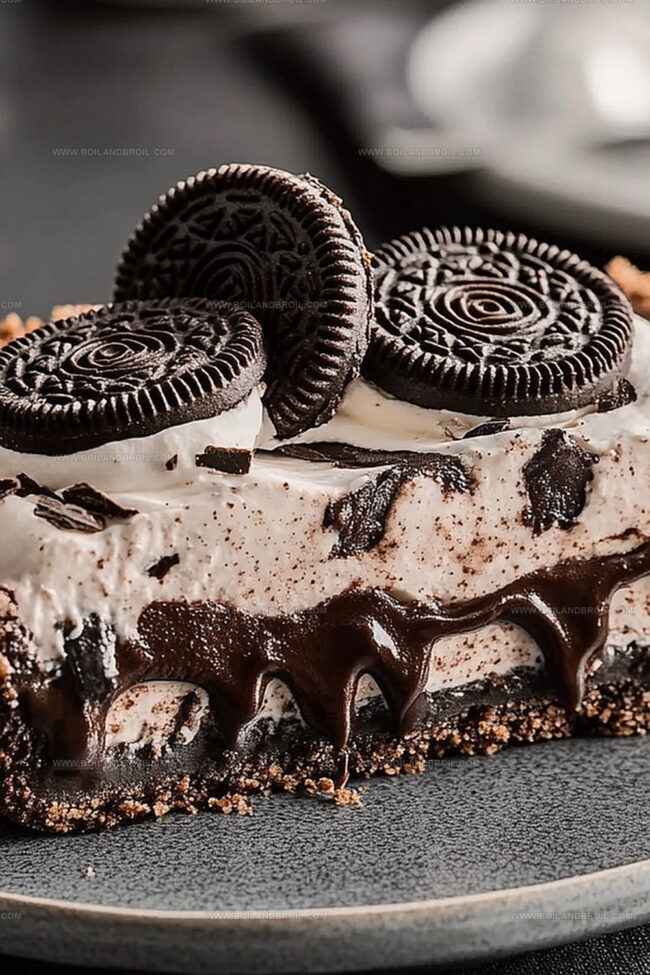
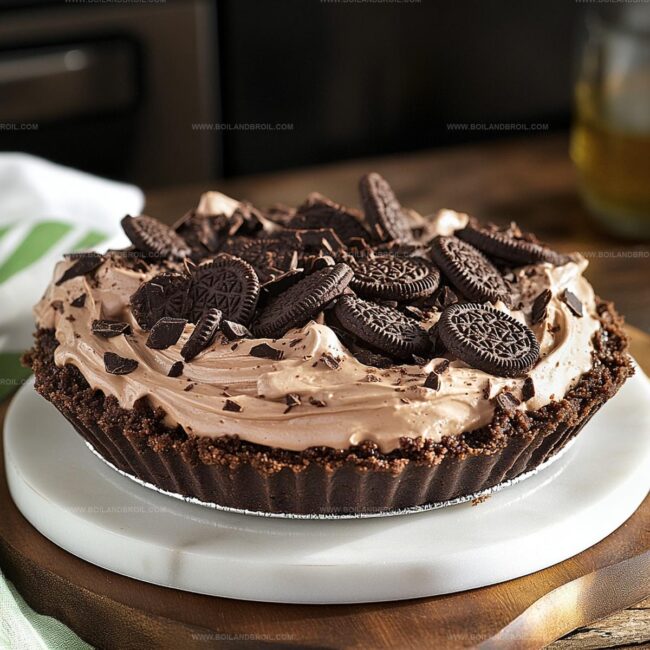
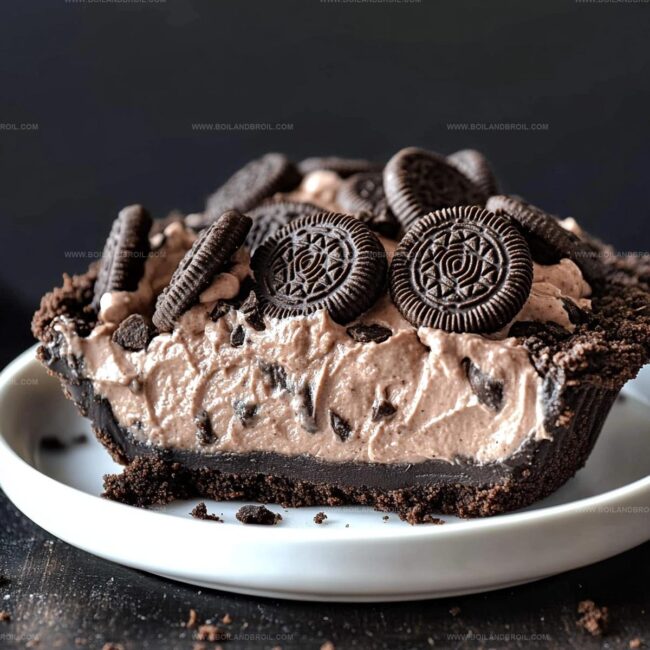
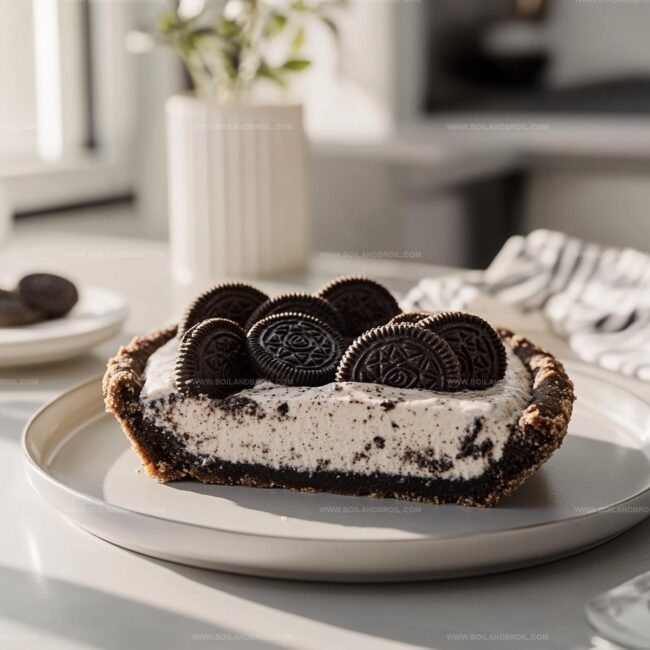
Just before serving, add delightful toppings to your pie.
Options include:Slice the pie into beautiful wedges and serve chilled for a truly indulgent dessert experience.
Tips for a Better Chocolate Oreo Pie
Storing and Serving Chocolate Oreo Pie Later
Best Matches for Chocolate Oreo Pie
Fun Ways to Remix Chocolate Oreo Pie
FAQs
Yes, graham crackers or chocolate wafer cookies work great as alternatives to Oreos for the pie crust.
This pie contains dairy and is not suitable for vegans or those with lactose intolerance. For a lighter version, you can use low-fat cream and dark chocolate with less sugar.
The pie can be stored in the refrigerator for up to 3-4 days when covered tightly with plastic wrap or aluminum foil. Keep it chilled to maintain its texture and flavor.
You’ll need a 9-inch pie dish, a saucepan, mixing bowls, and a whisk. A food processor can help crush the Oreo cookies, but a rolling pin or ziplock bag works just as well.
Print
Decadent Chocolate Oreo Pie Recipe
- Total Time: 40 minutes
- Yield: 8 1x
Description
Chocolate Oreo Pie emerges as a luscious dessert that marries rich cocoa with creamy indulgence. Chocolate lovers will savor each velvety slice, experiencing pure bliss with every decadent bite you enjoy.
Ingredients
Main Ingredients:
- 24 Oreo cookies, crushed
- 1/2 cup (113 grams) unsalted butter, melted
- 8 ounces (226 grams) semisweet chocolate, chopped
- 1 cup (240 milliliters) heavy cream
Sweeteners and Flavor Enhancers:
- 2 tablespoons sugar
- 1 teaspoon vanilla extract
- Pinch of salt
Garnish:
- Whipped cream
- Chocolate shavings or cocoa powder
- Crushed Oreos
Instructions
- Pulverize Oreo cookies into fine crumbs, blending thoroughly with melted butter to create a cohesive base mixture.
- Compress the cookie mixture firmly and uniformly into a 9-inch pie dish, ensuring an even layer across the bottom and sides.
- Chill the prepared crust in the refrigerator for approximately 30 minutes to solidify its structure and enhance stability.
- Warm heavy cream in a saucepan until tiny bubbles form around the edges, indicating it’s just reaching a gentle simmer.
- Remove cream from heat and immediately add chopped chocolate, allowing it to rest for 60 seconds to facilitate smooth melting.
- Whisk the chocolate and cream together until achieving a glossy, uniform consistency with no visible chocolate chunks.
- Incorporate sugar, vanilla extract, and a pinch of salt into the chocolate mixture, stirring until completely integrated.
- Carefully transfer the silky chocolate filling into the chilled Oreo crust, using a spatula to distribute evenly and eliminate air pockets.
- Refrigerate the pie for a minimum of 4 hours, preferably overnight, to allow complete setting and flavor development.
- Prior to serving, garnish with billowy whipped cream, delicate chocolate shavings, or crumbled Oreo cookies for added texture and visual appeal.
Notes
- Chill the crust thoroughly to prevent crumbling and ensure a solid base that holds together perfectly when slicing.
- Use high-quality dark chocolate for a richer, more intense flavor that elevates the entire dessert experience.
- Create a gluten-free version by substituting regular Oreos with gluten-free chocolate sandwich cookies and checking butter ingredients.
- Enhance the texture by adding a thin layer of chocolate ganache between the crust and filling for an extra luxurious touch.
- Prep Time: 30 minutes
- Cook Time: 10 minutes
- Category: Desserts
- Method: Chilling
- Cuisine: American
Nutrition
- Serving Size: 8
- Calories: 320
- Sugar: 7 g
- Sodium: 150 mg
- Fat: 20 g
- Saturated Fat: 10 g
- Unsaturated Fat: 8 g
- Trans Fat: 0 g
- Carbohydrates: 34 g
- Fiber: 2 g
- Protein: 3 g
- Cholesterol: 30 mg
Jack Sullivan
Founder & Culinary Storyteller
Expertise
Single-recipe development with a narrative approach, Culinary storytelling and food history, Seasonal and regional ingredient utilization, Home cooking techniques adapted for modern kitchens
Education
New England Culinary Institute (Montpelier, VT)
Certificate in Culinary Arts
Focused on farm-to-table cooking, sustainable practices, and modern plating techniques.
Asheville-Buncombe Technical Community College
Associate Degree in Culinary Arts
Emphasized Southern Appalachian cuisine and local ingredient sourcing.
Jack grew up surrounded by smoky skillets and handwritten recipes in the mountains of North Carolina. His roots in Appalachian cooking shaped the way he sees food – as something that connects people, tells a story, and holds meaning.
With hands-on training and a background in sustainable, regional cooking, Jack started Boil And Broil to make meaningful meals more accessible. He’s all about one-dish recipes that are simple to follow but rich with flavor and history.