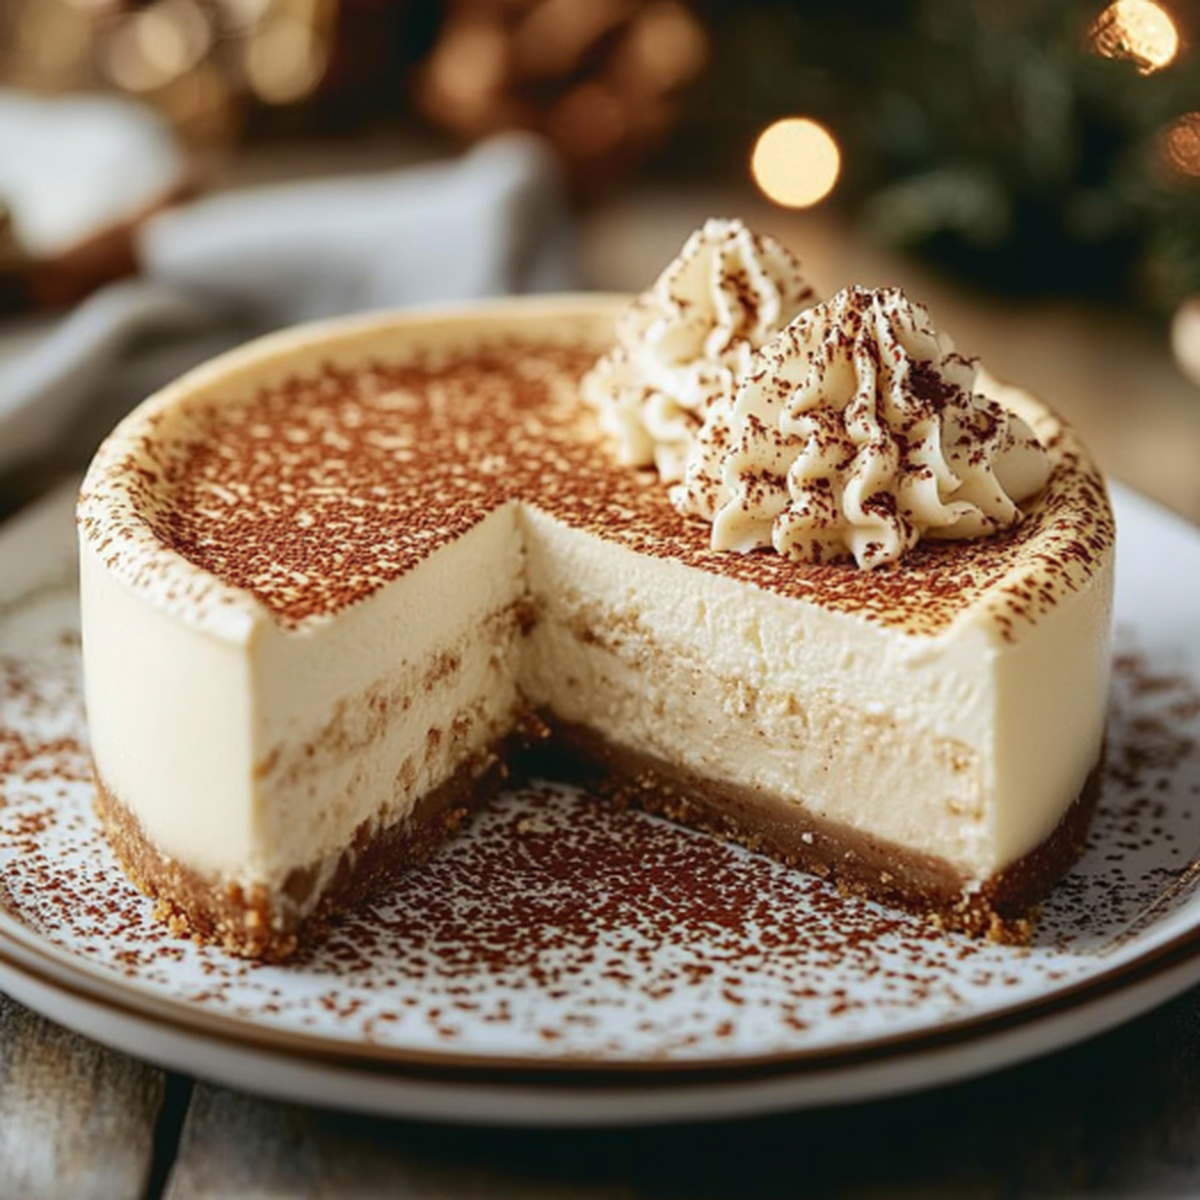
Decadent Eggnog Cheesecake Recipe: Holiday Magic in Every Bite
Creamy, rich eggnog cheesecake brings festive magic to your holiday dessert table.
Seasonal spices dance through each silky bite of this indulgent treat.
Winter celebrations feel incomplete without something spectacular and sweet.
Warm cinnamon and nutmeg whisper nostalgic memories of cozy gatherings.
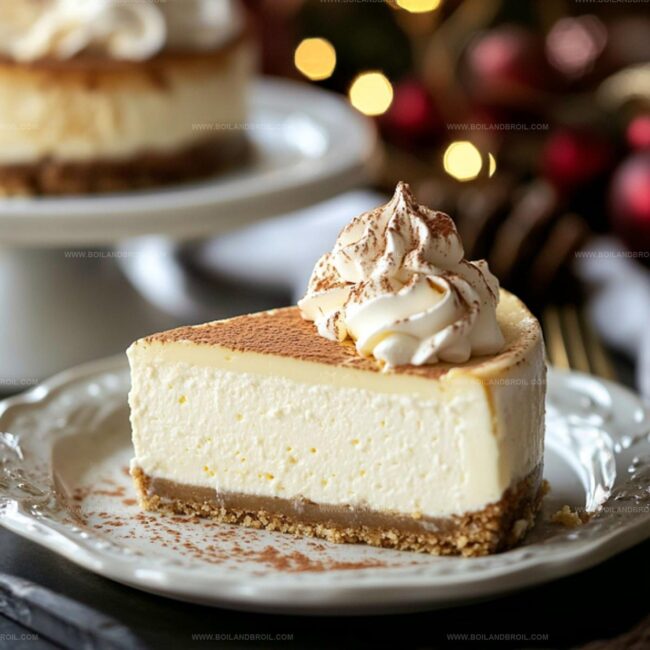
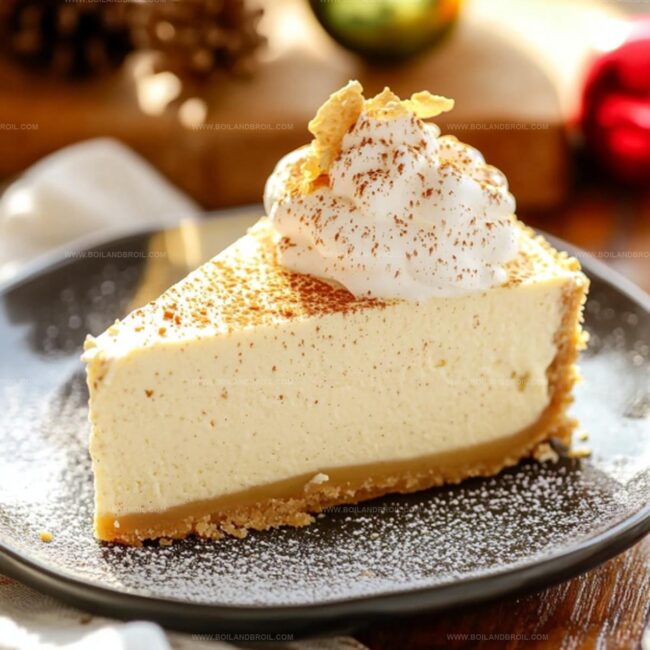
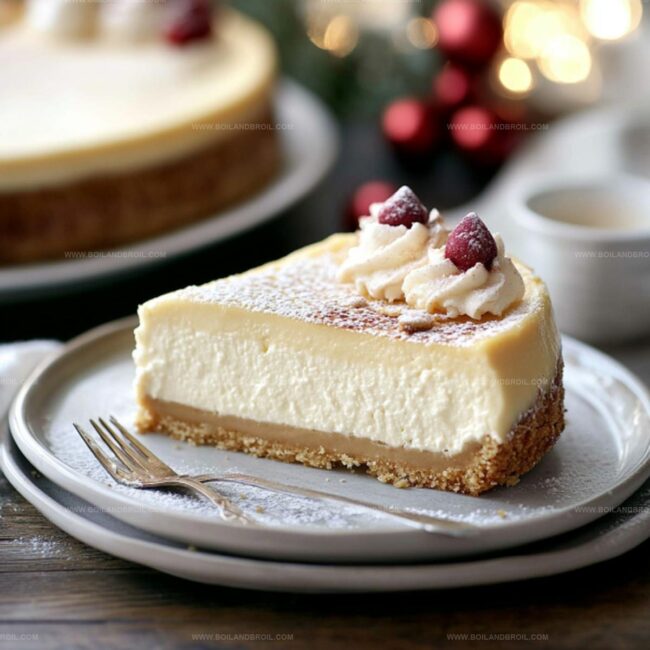
Delicate graham cracker crust provides perfect crumbly contrast to smooth filling.
Sophisticated yet simple, this dessert promises to impress even discerning palates.
You’ll want to savor every luxurious spoonful of this classic celebration centerpiece.
Eggnog Cheesecake Flavor Highlights
Eggnog Cheesecake Ingredients Overview
Crust Ingredients:Filling Ingredients:Topping and Garnish Ingredients:How to Make Eggnog Cheesecake
Step 1: Prepare The Oven And Pan
Get your oven ready by heating it to 325°F.
Grab a 9-inch springform pan and give it a light greasing, then line the bottom with parchment paper for easy removal.
Step 2: Create The Crumbly Crust
In a mixing bowl, combine the following ingredients:Press this mixture firmly into the bottom of the prepared pan.
Pop it in the oven for 10 minutes to set, then let it cool completely.
Step 3: Craft The Creamy Filling
Using an electric mixer, blend cream cheese and sugar until silky smooth.
Add eggs one at a time, mixing thoroughly after each addition.
Gently fold in:Whisk until the mixture is completely smooth and free of lumps.
Step 4: Bake To Perfection
Pour the luscious filling over the cooled crust.
Slide the pan into the preheated oven and bake for 40-50 minutes.
The cheesecake is done when the center is just set but still slightly jiggly.
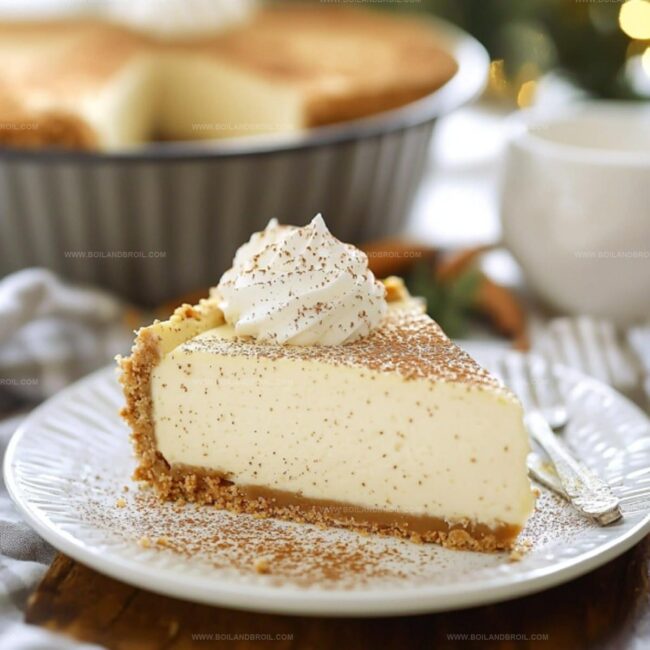
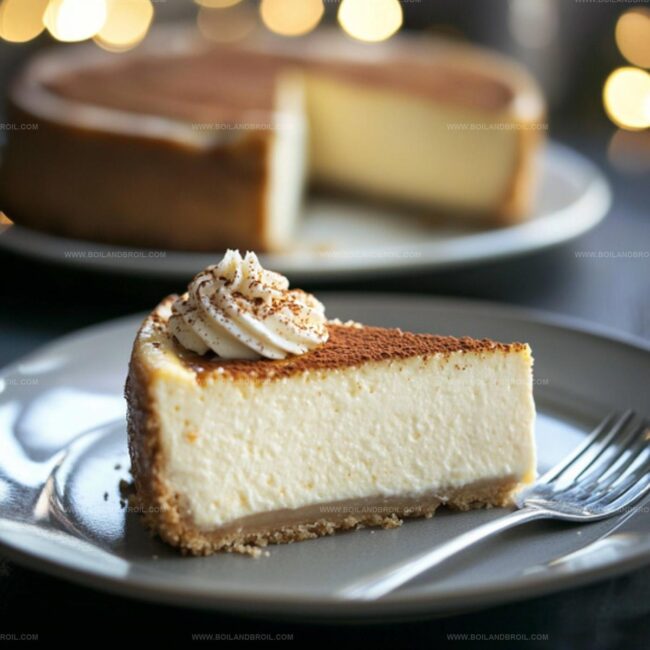
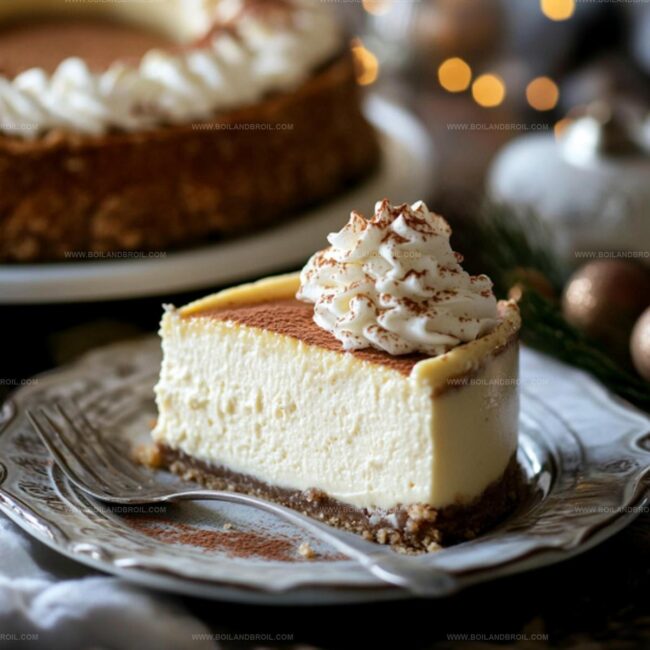
Step 5: Chill And Serve
Allow the cheesecake to cool completely at room temperature.
Refrigerate for at least 4 hours or overnight to help it set.
When ready, release from the springform pan, slice, and serve this holiday delight.
Tips for Decadent Eggnog Cheesecake
Storing and Reheating Eggnog Cheesecake
Pairing Ideas for Eggnog Cheesecake
Variations on Eggnog Cheesecake
FAQs
Yes, you can use store-bought eggnog. Choose a high-quality, thick eggnog for the best flavor and texture in your cheesecake.
To prevent cracks, avoid overmixing the batter, bake in a water bath, and let the cheesecake cool gradually at room temperature before refrigerating.
Absolutely! You can prepare the cheesecake up to 3 days in advance. Keep it covered in the refrigerator until you’re ready to serve.
Yes, you can freeze the cheesecake for up to 1 month. Wrap it tightly in plastic wrap and aluminum foil to prevent freezer burn.
Print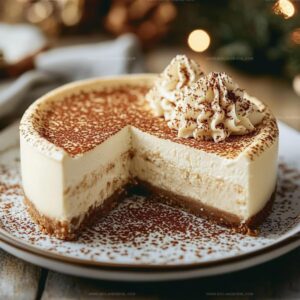
Decadent Eggnog Cheesecake Recipe
- Total Time: 1 hour 10 minutes
- Yield: 12 1x
Description
Creamy Eggnog Cheesecake blends holiday traditions with rich, velvety dessert magic. Festive spices and smooth cream cheese create a luxurious slice that celebrates winter’s warmest flavors in one delightful bite.
Ingredients
Crust Ingredients:
- 1.5 cups (360 ml) graham cracker crumbs
- 0.25 cup (60 ml) melted butter
- 2 tablespoons sugar
- 1 teaspoon ground cinnamon
Cheesecake Filling Ingredients:
- 3 (8 ounces/226 grams) packages cream cheese, softened
- 1 cup (200 grams) granulated sugar
- 3 large eggs
- 1 cup (240 ml) eggnog
- 2 teaspoons vanilla extract
- 1 teaspoon ground cinnamon
- 0.5 teaspoon ground nutmeg
- 2 tablespoons all-purpose flour
Instructions
- Preheat the oven to 325F (160C) and prepare a 9-inch springform pan by lightly greasing and lining the bottom with parchment paper.
- Create the graham cracker crust by blending crumbs with melted butter, cinnamon, and sugar until well combined. Press the mixture firmly into the pan’s base, creating an even layer.
- Bake the crust for 10 minutes at 325F, then remove and allow to cool completely while maintaining oven temperature.
- In a large mixing bowl, cream the cream cheese and sugar until completely smooth and free of lumps.
- Incorporate eggs individually, mixing thoroughly after each addition to ensure a silky texture.
- Gently fold in eggnog, vanilla extract, ground cinnamon, nutmeg, and flour, stirring until the mixture is uniform and velvety.
- Pour the cheesecake filling over the cooled crust, spreading evenly and eliminating any air pockets.
- Bake for 40-50 minutes, watching for a slight jiggle in the center while edges appear set and slightly golden.
- Remove from oven and let the cheesecake cool at room temperature for approximately 1 hour.
- Refrigerate for a minimum of 4 hours, preferably overnight, to achieve optimal flavor and texture before serving.
Notes
- Swap graham crackers with gluten-free alternatives like almond flour or gluten-free cookies for celiac or gluten-sensitive individuals.
- Use low-fat cream cheese and reduce sugar content to create a lighter, more diet-friendly version of this decadent dessert.
- Prevent cheesecake cracking by placing a water bath underneath while baking, which creates a more humid environment and helps distribute heat evenly.
- Create decorative toppings like whipped cream rosettes, caramel drizzle, or sprinkled nutmeg to enhance the festive holiday presentation.
- Prep Time: 20 minutes
- Cook Time: 50 minutes
- Category: Desserts
- Method: Baking
- Cuisine: American
Nutrition
- Serving Size: 12
- Calories: 430
- Sugar: 32 g
- Sodium: 320 mg
- Fat: 30 g
- Saturated Fat: 18 g
- Unsaturated Fat: 10 g
- Trans Fat: 1 g
- Carbohydrates: 36 g
- Fiber: 1 g
- Protein: 6 g
- Cholesterol: 90 mg
Jack Sullivan
Founder & Culinary Storyteller
Expertise
Single-recipe development with a narrative approach, Culinary storytelling and food history, Seasonal and regional ingredient utilization, Home cooking techniques adapted for modern kitchens
Education
New England Culinary Institute (Montpelier, VT)
Certificate in Culinary Arts
Focused on farm-to-table cooking, sustainable practices, and modern plating techniques.
Asheville-Buncombe Technical Community College
Associate Degree in Culinary Arts
Emphasized Southern Appalachian cuisine and local ingredient sourcing.
Jack grew up surrounded by smoky skillets and handwritten recipes in the mountains of North Carolina. His roots in Appalachian cooking shaped the way he sees food – as something that connects people, tells a story, and holds meaning.
With hands-on training and a background in sustainable, regional cooking, Jack started Boil And Broil to make meaningful meals more accessible. He’s all about one-dish recipes that are simple to follow but rich with flavor and history.