
The Dreamiest Oreo Cheesecake Brownies Recipe Ever
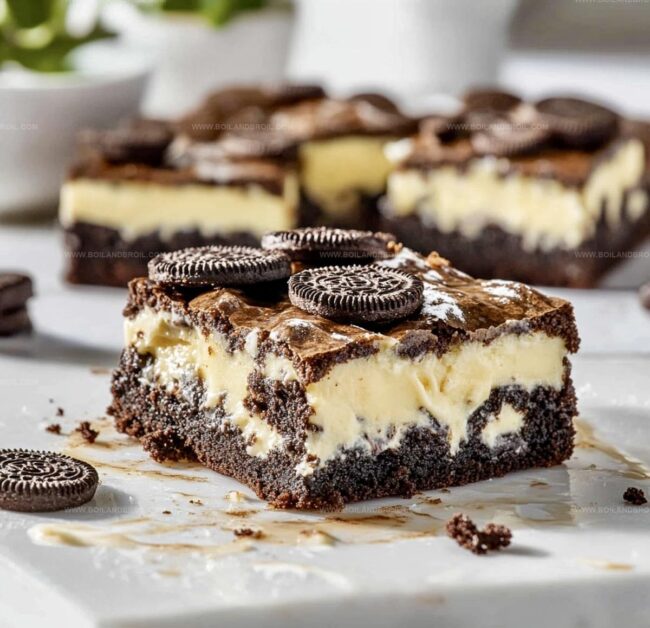
Creamy Oreo cheesecake brownies promise a delightful twist on classic dessert indulgence.
Chocolate lovers instantly fall for this rich, velvety combination.
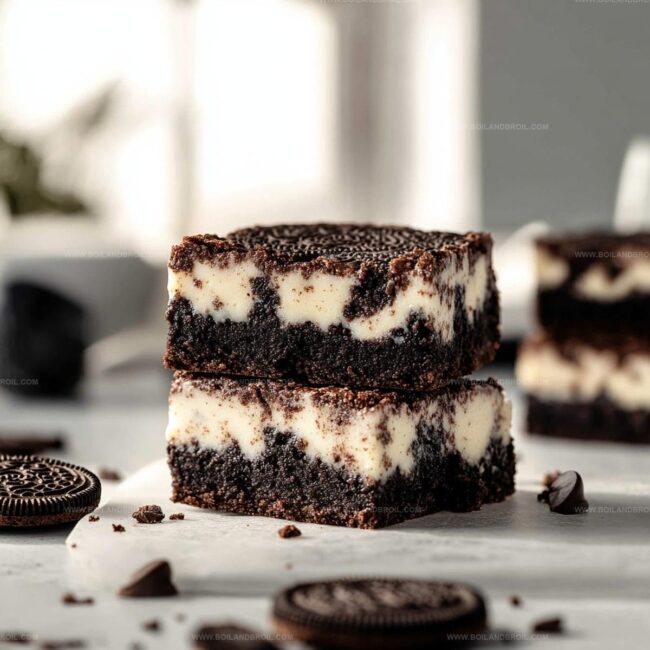
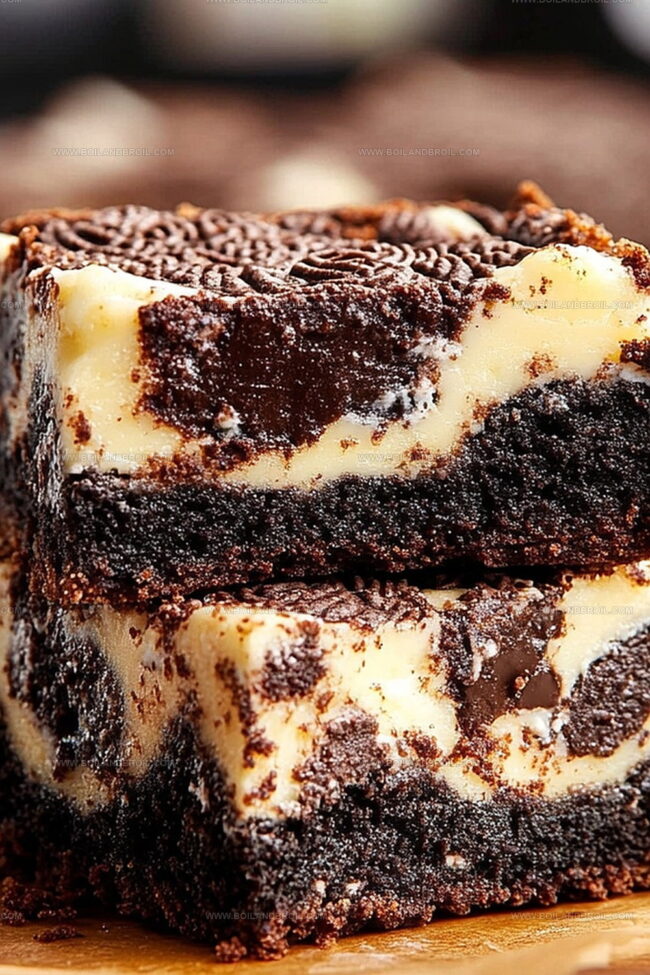
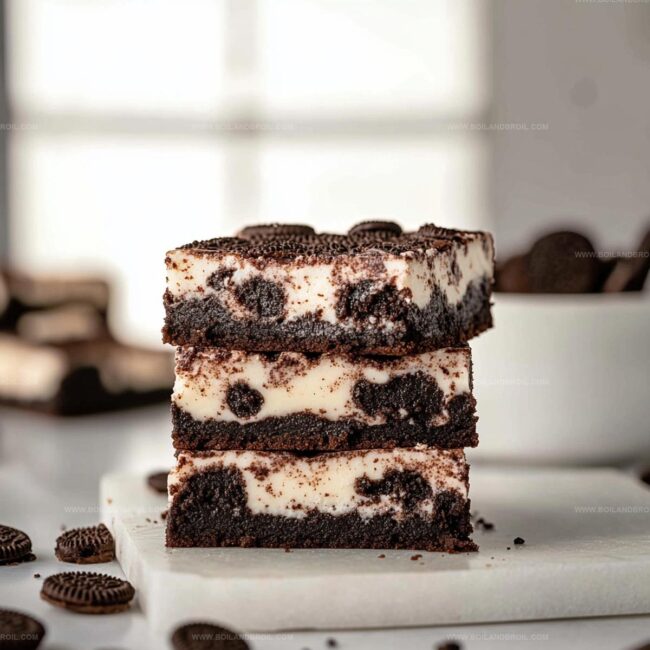
Crumbly cookie pieces dance through dense brownie layers, creating irresistible texture.
Sweet cream cheese swirls add luxurious depth to each decadent bite.
Smooth chocolate base provides a perfect canvas for Oreo crunch.
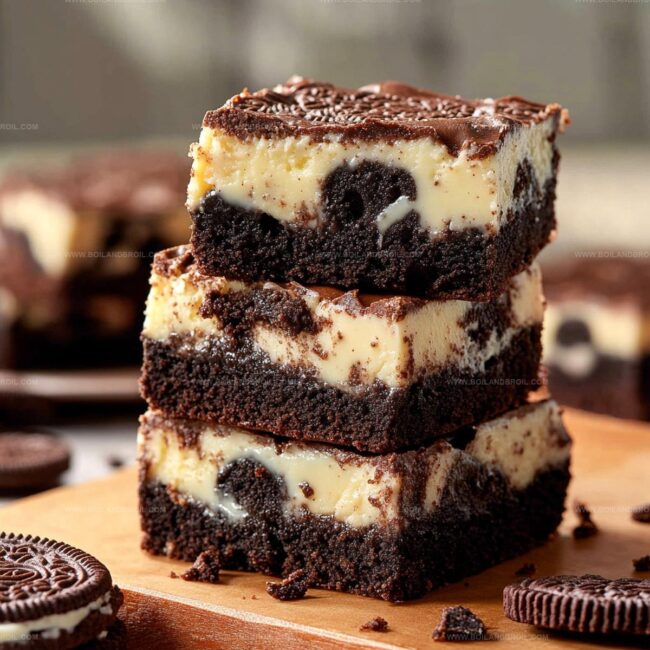
Delicate marbling makes these brownies a stunning centerpiece for any gathering.
You’ll want to savor every single morsel of this incredible treat.
Why Oreo Cheesecake Brownies Are a Dessert Dream
Ingredients for Oreo Cheesecake Brownies
How to Bake Oreo Cheesecake Brownies
Step 1: Fire Up the Oven
Crank your oven to a toasty 350F (175C).
Grab your 9×13-inch baking pan and give it a good grease-up to prevent any sticky situations.
Step 2: Craft the Brownie Base
In a saucepan, transform butter into a silky liquid.
Stir in sugar until it’s buddy-buddy.
Crack in eggs and splash of vanilla, then gently fold in:Smoothly pour this decadent mixture into your prepped pan, creating a rich chocolate foundation.
Step 3: Whip Up the Creamy Oreo Cheesecake Layer
Grab your mixer and beat cream cheese until it’s super smooth and dreamy.
Blend in:Crush Oreos into delightful crumbly bits and fold them into the cheesecake mixture.
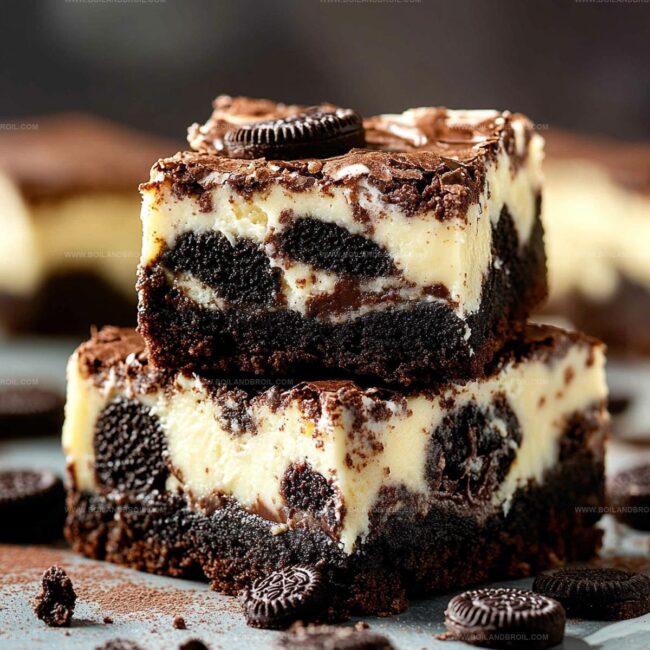
Step 4: Create Marbled Magic
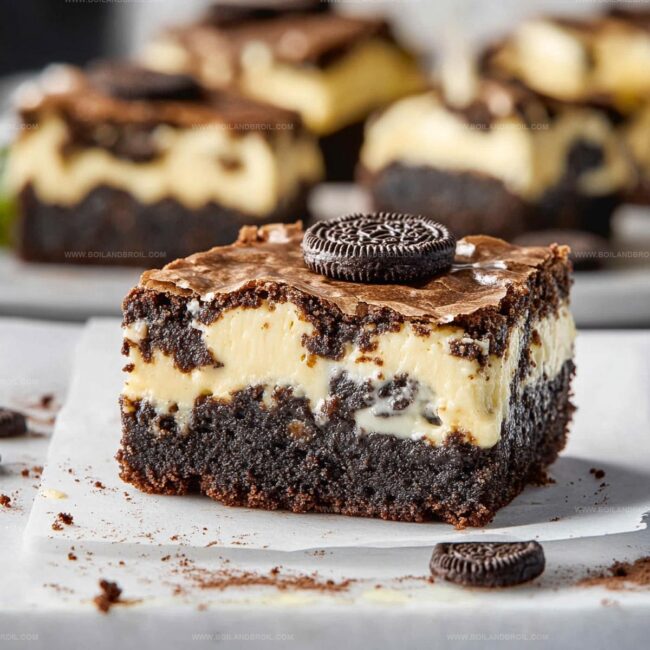
Generously spread the Oreo cheesecake layer over the brownie base.
Take a knife and create swirly patterns, mixing the two layers into a beautiful marbled masterpiece.
Step 5: Bake to Perfection
Slide the pan into the preheated oven.
Bake for 35-40 minutes until the center looks set and slightly firm.
Step 6: Chill and Slice
Let the brownies cool completely at room temperature.
Refrigerate for at least 2 hours to help them set.
Slice into squares and watch everyone’s eyes light up with delight.
Tips for Flawless Oreo Cheesecake Brownies
Best Way to Keep Oreo Cheesecake Brownies Fresh
What to Enjoy with Oreo Cheesecake Brownies
Oreo Cheesecake Brownie Recipe Twists
FAQs

Natural cocoa powder works best for this recipe because it provides more acidity and helps the brownies rise properly. Dutch-processed cocoa might make the brownies slightly less rich and may require adjusting the leavening agents.
Insert a toothpick near the center – it should come out with a few moist crumbs but not wet batter. The edges will look set and slightly pulled away from the pan sides. The center should look just barely set when you gently shake the pan.
Cold cream cheese can create lumps in your cheesecake layer. To quickly soften it, microwave in 10-second intervals, stirring between each, until soft but not melted. Alternatively, let it sit out for about 30 minutes before mixing.
Yes, these brownies actually taste better after chilling. You can prepare them up to 3 days in advance and store them covered in the refrigerator. The flavors will meld together, making them even more delicious.
Print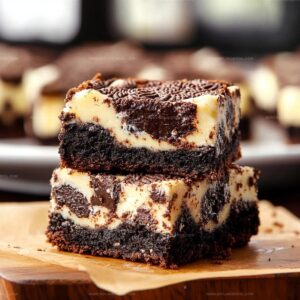
Decadent Oreo Cheesecake Brownies Recipe
- Total Time: 1 hour
- Yield: 16 1x
Description
Irresistible Oreo Cheesecake Brownies blend rich chocolate layers with creamy cheesecake swirls, creating a sinful dessert that melts in your mouth. These indulgent bars will satisfy chocolate cravings and leave you craving another delightful bite.
Ingredients
Main Ingredients:
- 1 cup unsalted butter
- 2 cups granulated sugar
- 4 large eggs
- 1 cup all-purpose flour
- 1 cup unsweetened cocoa powder
- 16 oz (454 grams) cream cheese, softened
- 1 cup granulated sugar
- 2 large eggs
Flavoring and Binding Ingredients:
- 1 teaspoon vanilla extract
- 1/2 teaspoon salt
Topping Ingredient:
- 1 1/2 cups crushed Oreos
Instructions
- Prepare the baking environment by lining a 9×13-inch pan with parchment paper and coating with non-stick spray. Set oven to 350F (175C).
- Create the rich brownie foundation by gently melting butter in a saucepan, then thoroughly incorporating sugar until smooth and glossy.
- Introduce eggs and vanilla to the butter mixture, whisking until fully integrated and developing a silky texture.
- Gradually fold in dry ingredients – flour, cocoa powder, and salt – ensuring no lumps remain and achieving a consistent chocolate batter.
- Transfer the brownie batter into the prepared pan, spreading evenly with a spatula to create a uniform base layer.
- Whip cream cheese in a separate bowl until completely smooth and free of any lumps, using an electric mixer at medium speed.
- Gradually blend sugar into the cream cheese, then carefully incorporate eggs and vanilla extract, maintaining a creamy consistency.
- Crush Oreo cookies into small, uneven pieces and gently fold them into the cheesecake mixture, distributing evenly.
- Delicately spread the Oreo-studded cheesecake layer over the brownie base, creating a marbled effect by running a knife through both layers.
- Bake in the preheated oven for 35-40 minutes, watching for a slightly firm center and golden edges.
- Remove from oven and allow to cool completely at room temperature for approximately 1 hour.
- Refrigerate for a minimum of 2 hours to set, then slice into square portions for serving.
Notes
- Crush Oreos finely to ensure a smooth, even texture throughout the cheesecake layer for maximum flavor distribution.
- Allow cream cheese to reach room temperature before mixing to prevent lumps and create a silky-smooth cheesecake layer.
- Swirl the layers gently with a knife for a beautiful marbled effect, being careful not to overmix and lose the distinct patterns.
- For gluten-free option, substitute regular flour with almond flour or gluten-free flour blend and use gluten-free Oreo-style cookies.
- Prep Time: 20 minutes
- Cook Time: 40 minutes
- Category: Desserts
- Method: Baking
- Cuisine: American
Nutrition
- Serving Size: 16
- Calories: 300
- Sugar: 22 g
- Sodium: 200 mg
- Fat: 18 g
- Saturated Fat: 10 g
- Unsaturated Fat: 8 g
- Trans Fat: 0 g
- Carbohydrates: 30 g
- Fiber: 1 g
- Protein: 4 g
- Cholesterol: 70 mg
Jack Sullivan
Founder & Culinary Storyteller
Expertise
Single-recipe development with a narrative approach, Culinary storytelling and food history, Seasonal and regional ingredient utilization, Home cooking techniques adapted for modern kitchens
Education
New England Culinary Institute (Montpelier, VT)
Certificate in Culinary Arts
Focused on farm-to-table cooking, sustainable practices, and modern plating techniques.
Asheville-Buncombe Technical Community College
Associate Degree in Culinary Arts
Emphasized Southern Appalachian cuisine and local ingredient sourcing.
Jack grew up surrounded by smoky skillets and handwritten recipes in the mountains of North Carolina. His roots in Appalachian cooking shaped the way he sees food – as something that connects people, tells a story, and holds meaning.
With hands-on training and a background in sustainable, regional cooking, Jack started Boil And Broil to make meaningful meals more accessible. He’s all about one-dish recipes that are simple to follow but rich with flavor and history.