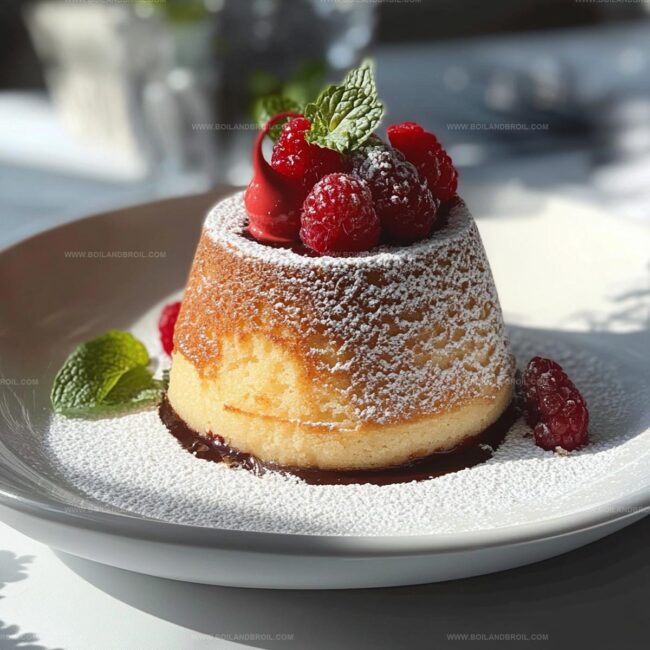
The Ultimate Decadent White Chocolate Lava Cake Recipe
Crafting a luxurious white chocolate lava cake might seem like a challenge reserved for professional pastry chefs.
My secret weapon involves simple ingredients and precise techniques that anyone can master.
Molten centers promise an incredible sensory experience that melts perfectly on your tongue.
Rich and creamy white chocolate creates a dreamy dessert guaranteed to impress dinner guests.
Elegant yet surprisingly straightforward, this recipe breaks down complex steps into manageable instructions.
Dessert enthusiasts will adore how quickly these individual cakes come together with minimal effort.
You’ll want to bookmark this decadent treat for your next special occasion.
White Chocolate Lava Cake with a Hidden Surprise
What Makes Up White Chocolate Lava Cake
Making White Chocolate Lava Cake the Right Way

Step 1: Warm Up The Oven
Crank your oven to a toasty 425F (220C).
Grab your ramekins and give them a light coating of butter or cooking spray to prevent any sticky situations.
Step 2: Create Chocolate Magic
Melt these ingredients together in a double boiler or microwave:Let the mixture cool down just a bit so it’s not scorching hot.
Step 3: Whip Up A Creamy Base
Grab a mixing bowl and whisk together:Keep whisking until the mixture turns pale and looks super fluffy.
Slowly pour in the melted chocolate mixture while continuing to whisk.
Step 4: Blend In Dry Ingredients
Sift flour into the bowl and add:Gently fold everything together until just combined.
Don’t overmix or you’ll lose that dreamy texture.
Step 5: Bake To Perfection
Pour the batter evenly into your prepared ramekins.
Slide them into the preheated oven and bake for 12-14 minutes.
You want the edges to look set but the center should still have a slight wiggle.
Step 6: Unveil And Devour
Wait one minute after removing from the oven.
Carefully flip the ramekins onto serving plates.
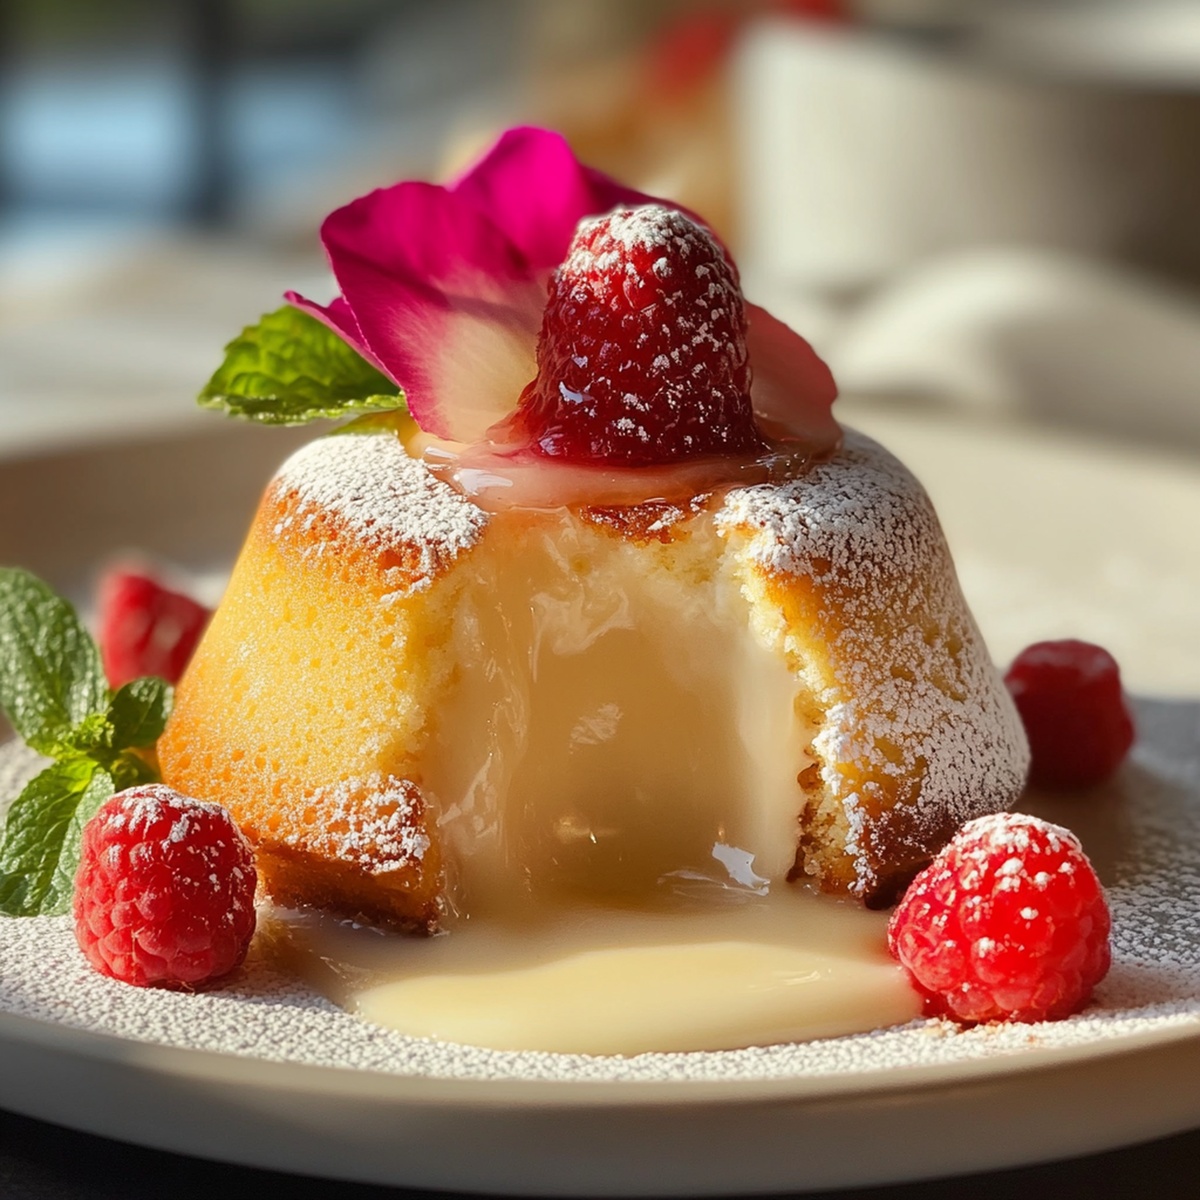
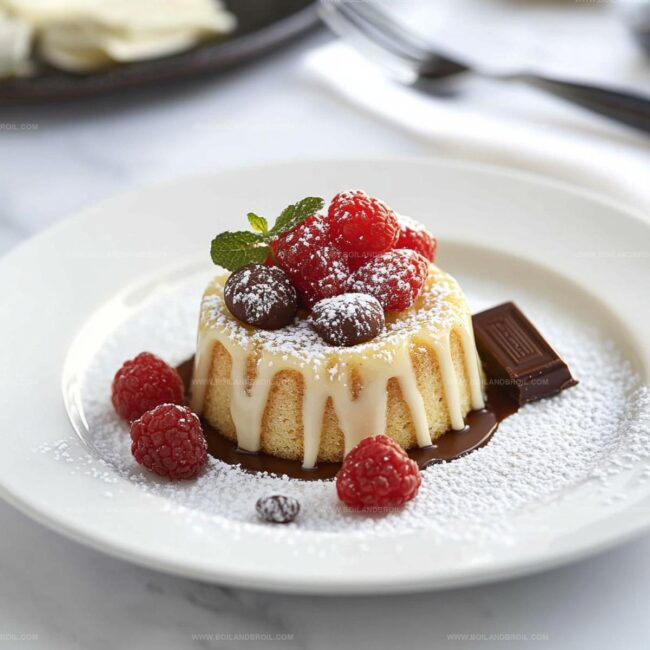
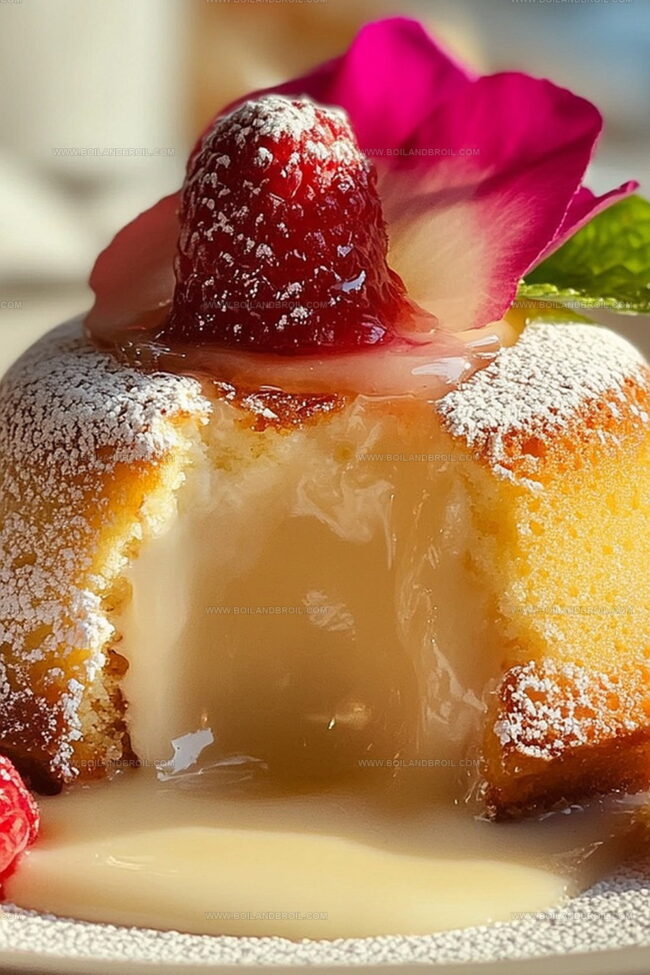
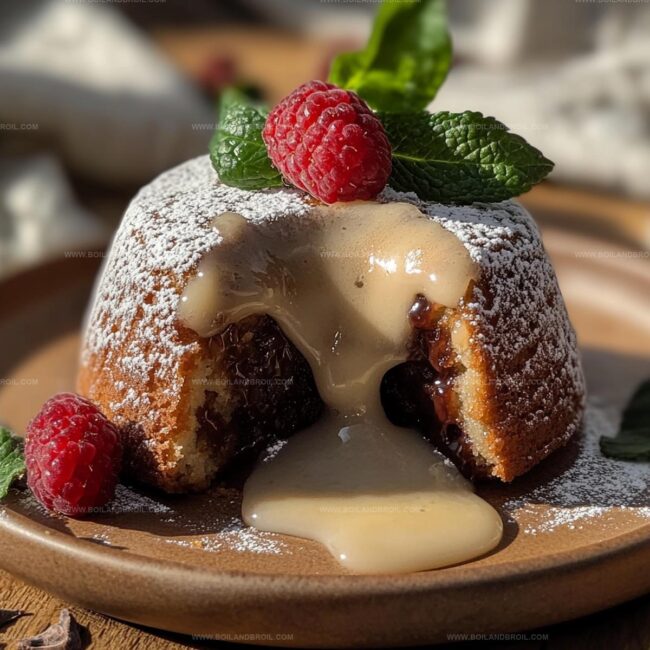
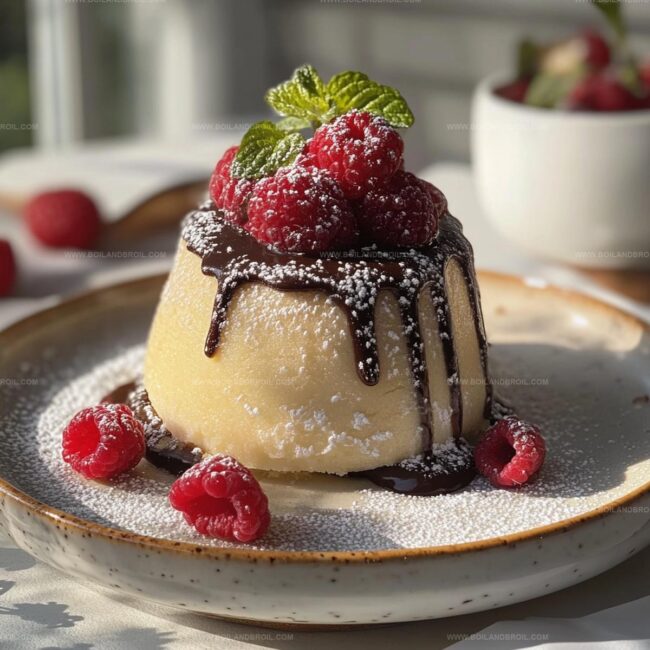
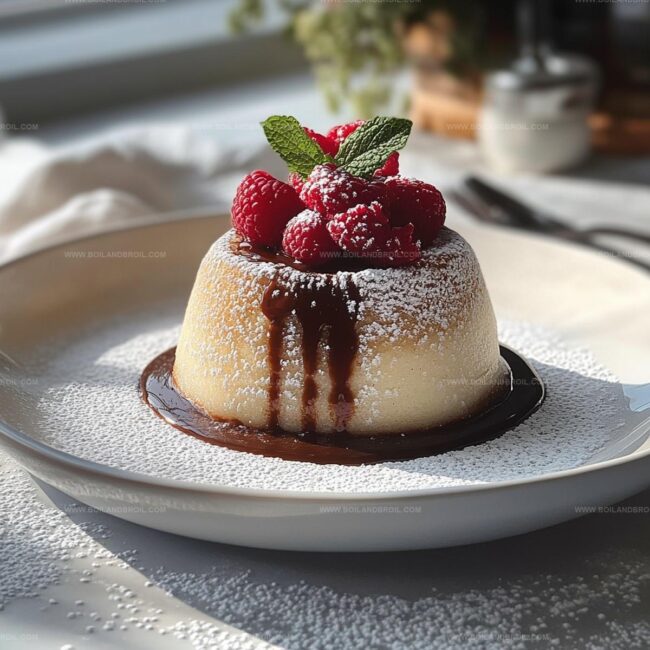
The white chocolate center should ooze out beautifully.
Serve immediately and enjoy your molten masterpiece.
Smart Moves for White Chocolate Lava Cake
White Chocolate Lava Cake Storage Tips
Flavors That Suit White Chocolate Lava Cake
White Chocolate Lava Cake in New Forms
FAQs
White chocolate provides a creamy, sweet flavor different from traditional chocolate lava cakes. The combination of whole eggs and egg yolks creates a rich, luxurious texture that sets this dessert apart.
Look for set edges and a slightly jiggly center. When you gently press the top, it should have a slight resistance but still seem soft. Overbaking will result in a dry cake without the signature molten center.
Yes, you can prepare the batter and refrigerate it in ramekins for up to 24 hours before baking. Just bring it to room temperature for about 15-20 minutes before putting it in the oven to ensure even baking.
Let the cake cool for one minute after baking, then carefully invert it onto a serving plate. The brief cooling helps the cake release smoothly without breaking.
Print
Decadent White Chocolate Lava Cake Recipe
- Total Time: 30 minutes
- Yield: 4 1x
Description
Indulgent white chocolate lava cake melts hearts with its rich, silky center and delicate crumb. Chocolate enthusiasts will savor each luxurious spoonful, experiencing pure culinary bliss that lingers long after the last delectable bite.
Ingredients
Main Ingredients:
- 8 ounces (226 grams) white chocolate, chopped
- 1/2 cup (113 grams) unsalted butter
- 2 large eggs
- 2 large egg yolks
Sweeteners:
- 1/2 cup (100 grams) granulated sugar
Dry Ingredients and Flavor Enhancers:
- 1/4 cup (30 grams) all-purpose flour
- 1 teaspoon vanilla extract
- Pinch of salt
Instructions
- Prepare the oven by heating to 425F (220C) and generously coating ceramic dishes with butter or cooking spray to prevent sticking.
- Create a smooth chocolate base by melting white chocolate and butter together using a double boiler, ensuring no lumps remain. Allow mixture to cool slightly to prevent egg scrambling.
- Whip eggs, additional egg yolks, and granulated sugar in a mixing bowl until the texture transforms into a light, airy, pale yellow mixture with soft peaks.
- Gently fold the cooled chocolate mixture into the egg mixture, maintaining the delicate volume and preventing deflation.
- Carefully sift flour into the liquid ingredients, adding vanilla extract and a pinch of salt. Fold ingredients together with minimal stirring to preserve the cake’s delicate structure.
- Distribute the silky batter evenly among prepared ceramic dishes, filling each approximately three-quarters full.
- Position dishes in the preheated oven and bake for 12-14 minutes, watching for slightly set edges while maintaining a soft, molten center.
- Remove from oven and let rest for 60 seconds to stabilize the delicate interior.
- Carefully invert each cake onto serving plates, ensuring the lava-like center remains intact. Serve immediately for optimal texture and temperature.
Notes
- Ensure ramekins are well-greased to prevent sticking and easy cake removal.
- Use high-quality white chocolate for a richer, more luxurious flavor profile.
- Watch baking time carefully to achieve the perfect molten center without overcooking.
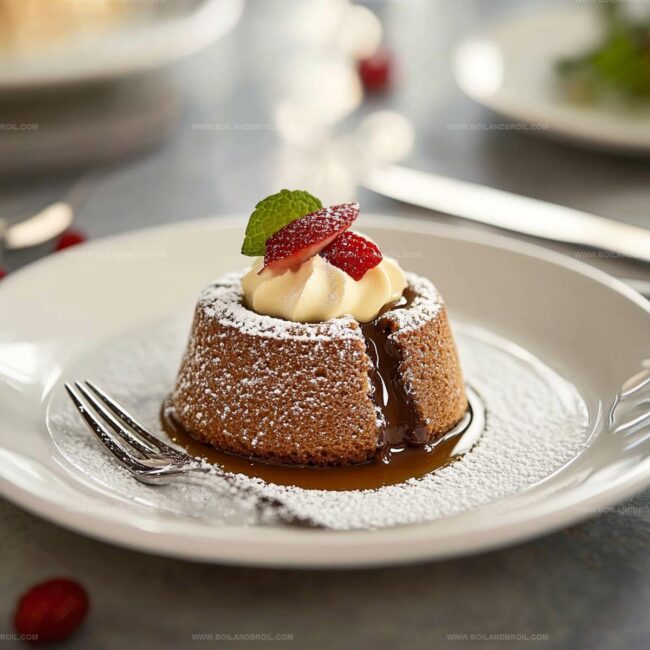
- Customize the dessert by adding a sprinkle of sea salt or fresh berries on top for extra complexity.
- Prep Time: 15 minutes
- Cook Time: 15 minutes
- Category: Desserts
- Method: Baking
- Cuisine: American
Nutrition
- Serving Size: 4
- Calories: 650
- Sugar: 36 g
- Sodium: 150 mg
- Fat: 40 g
- Saturated Fat: 24 g
- Unsaturated Fat: 12 g
- Trans Fat: 0 g
- Carbohydrates: 62 g
- Fiber: <1 g
- Protein: 8 g
- Cholesterol: 160 mg
Jack Sullivan
Founder & Culinary Storyteller
Expertise
Single-recipe development with a narrative approach, Culinary storytelling and food history, Seasonal and regional ingredient utilization, Home cooking techniques adapted for modern kitchens
Education
New England Culinary Institute (Montpelier, VT)
Certificate in Culinary Arts
Focused on farm-to-table cooking, sustainable practices, and modern plating techniques.
Asheville-Buncombe Technical Community College
Associate Degree in Culinary Arts
Emphasized Southern Appalachian cuisine and local ingredient sourcing.
Jack grew up surrounded by smoky skillets and handwritten recipes in the mountains of North Carolina. His roots in Appalachian cooking shaped the way he sees food – as something that connects people, tells a story, and holds meaning.
With hands-on training and a background in sustainable, regional cooking, Jack started Boil And Broil to make meaningful meals more accessible. He’s all about one-dish recipes that are simple to follow but rich with flavor and history.