
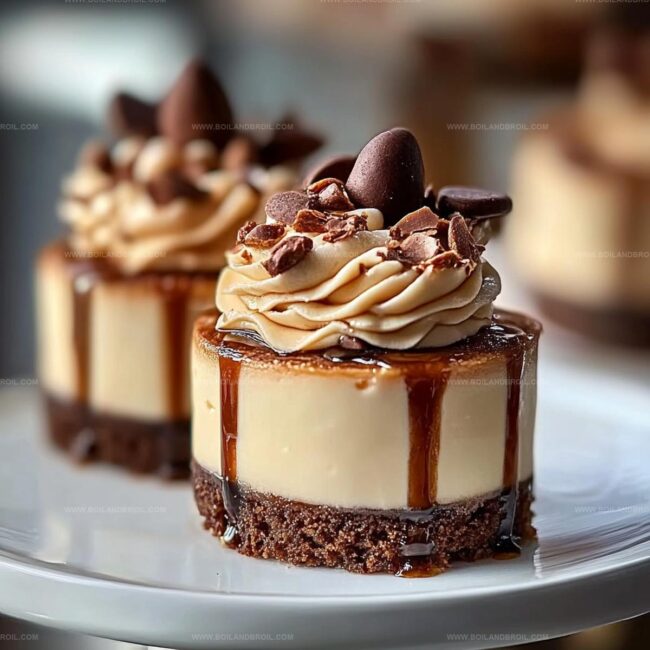
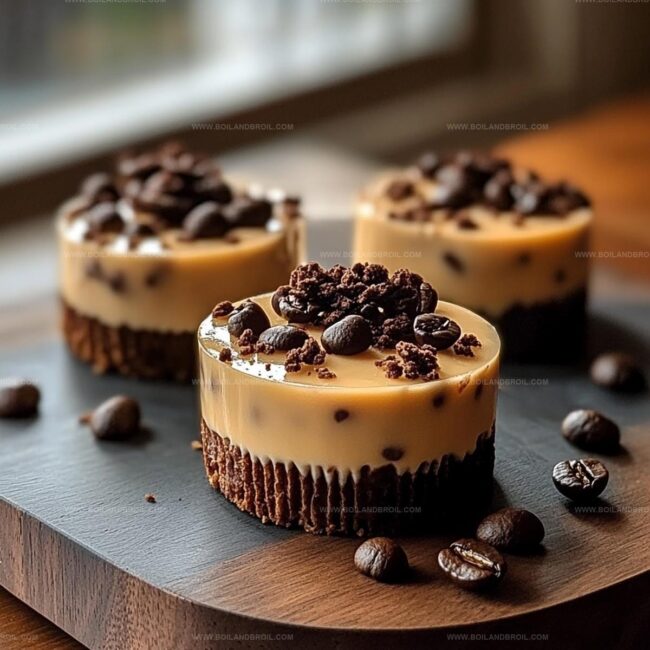
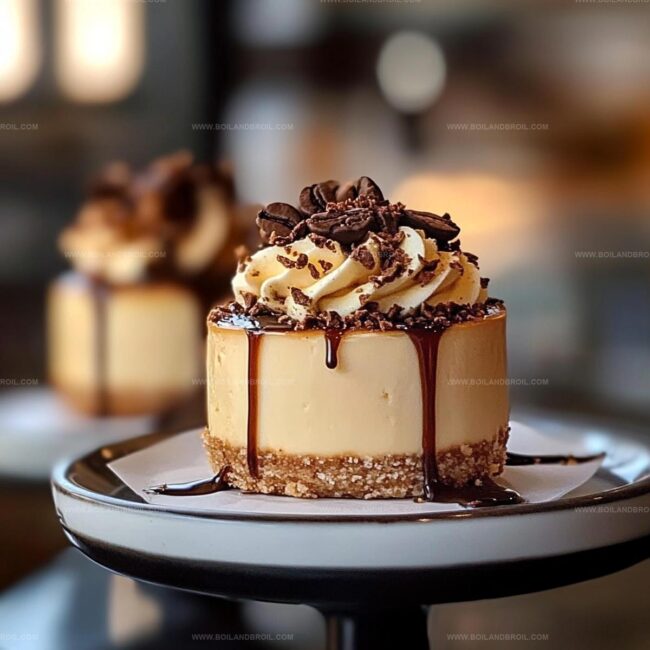
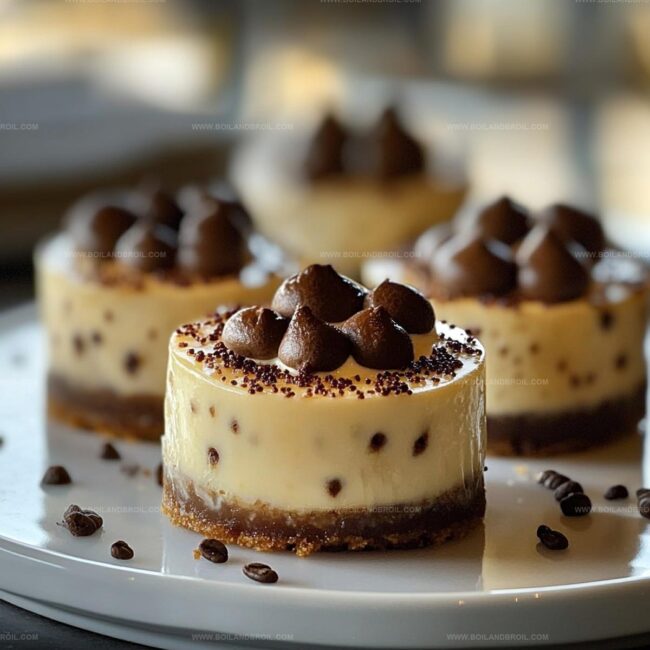
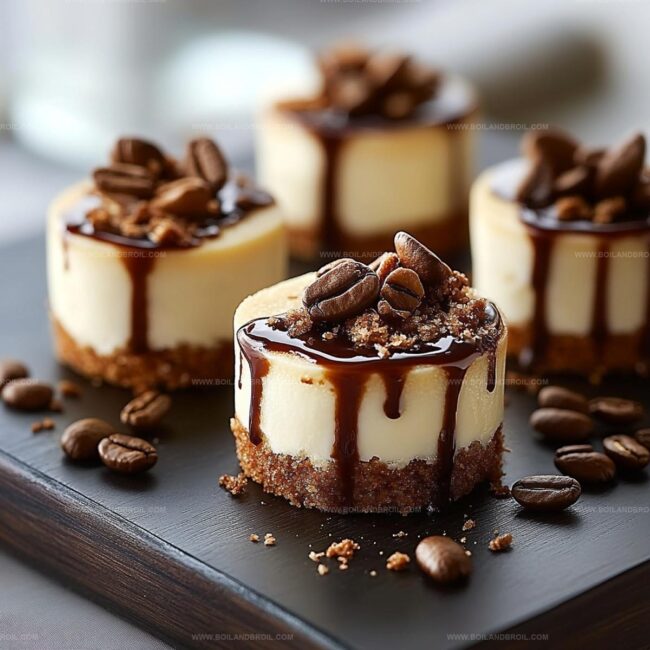
Irresistible Mini Coffee Cheesecakes Recipe for Sweet Cravings
Crafting these mini coffee cheesecakes will spark joy in your culinary adventures.
Creamy textures blend perfectly with rich espresso undertones.
Sweet bite-sized desserts promise an indulgent experience for every palate.
Small yet impressive, these miniature treats pack incredible flavor into each delicate morsel.
coffee lovers will adore the smooth, velvety consistency that melts effortlessly on your tongue.
Elegant and simple, these cheesecakes require minimal ingredients but deliver maximum satisfaction.
You’ll want to savor every single delectable moment of this delightful dessert journey.
FAQs
Use full-fat, room temperature cream cheese for the smoothest and richest texture. Avoid low-fat or reduced-fat varieties as they can make the cheesecake less creamy.
Yes, you can prepare these mini cheesecakes up to 3 days in advance. Store them in an airtight container in the refrigerator until you’re ready to serve.
Avoid overmixing the batter and don’t overbake. Remove the cheesecakes from the oven when the centers are still slightly jiggly. Letting them cool gradually helps prevent cracking.
An electric mixer is recommended to ensure a smooth, lump-free batter. If you don’t have one, you can use a whisk, but be sure to mix thoroughly and beat out any cream cheese lumps.
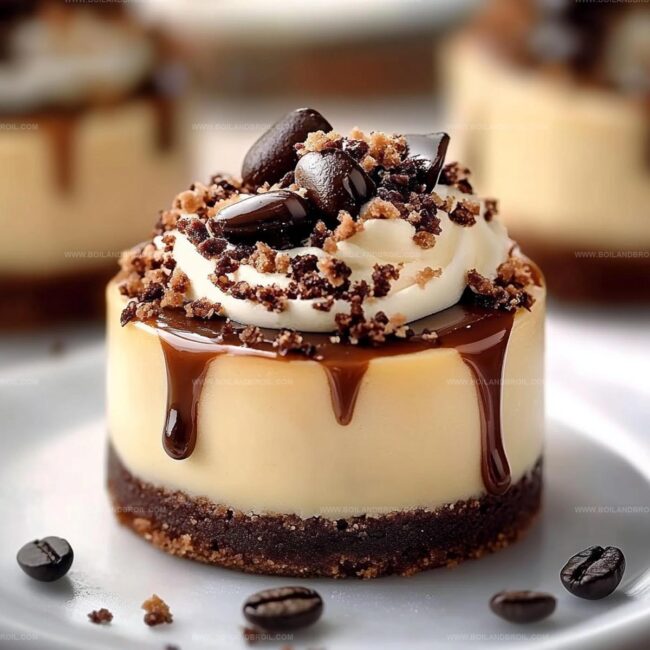
Mini Coffee Cheesecakes with Rich Espresso Flavor

Everything You Need for Mini Coffee Cheesecakes
Easy Instructions for Mini Coffee Cheesecakes
Step 1: Warm Up the Oven
Turn your oven to 325°F (163°C) and let it heat up while you prepare the other ingredients.
Step 2: Create Crumbly Crust Base
In a mixing bowl, combine:Stir everything together until the mixture looks like wet sand and holds together when pressed.
Step 3: Form Crust in Muffin Cups
Grab a muffin tin lined with paper liners.
Carefully press about one tablespoon of the graham cracker mixture into the bottom of each cup.
Use the back of a spoon or your fingers to create a smooth, even layer.
Step 4: Bake Crust Foundation
Slide the muffin tin into the preheated oven.
Bake the crust for 5-7 minutes until it looks slightly golden and set.
Remove from the oven and let it cool completely before adding the cheesecake filling.
The crust will become firm and provide a delicious base for your mini cheesecakes.
Smart Baking Tips for Mini Coffee Cheesecakes
Store and Reheat Mini Coffee Cheesecakes Properly
Sips and Bites That Pair with Mini Coffee Cheesecakes
Flavor Add-Ins for Mini Coffee Cheesecakes
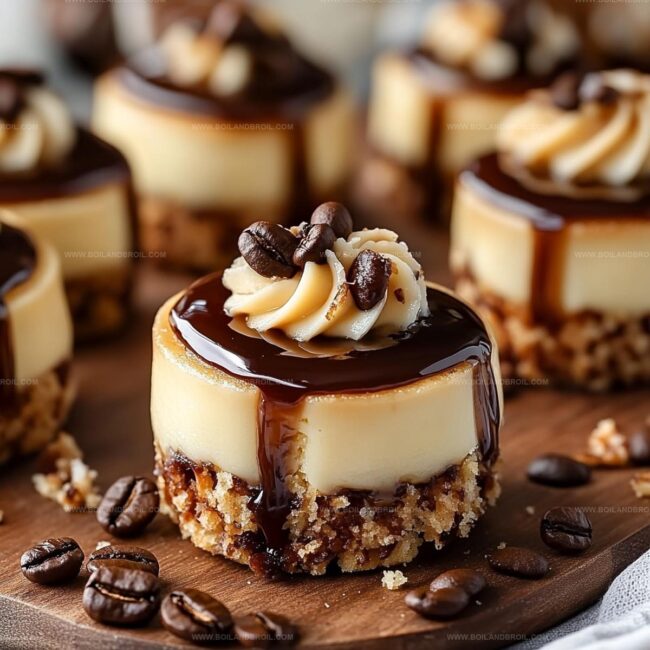
Delicious Mini Coffee Cheesecakes Recipe
- Total Time: 15 minutes
- Yield: 12 1x
Description
Indulgent mini coffee cheesecakes bring Italian espresso magic into creamy dessert perfection. Rich layers of mascarpone and espresso blend seamlessly, offering coffee lovers a compact sweet escape that promises pure culinary bliss.
Ingredients
Main Ingredients:
- 16 ounces (454 grams) cream cheese, softened
- 2 large eggs
- 1/4 cup (60 milliliters) sour cream
- 1/4 cup (60 milliliters) heavy whipping cream
Crust Ingredients:
- 1 1/2 cups (180 grams) graham cracker crumbs
- 1/4 cup (50 grams) granulated sugar
- 6 tablespoons (85 grams) unsalted butter, melted
Coffee and Flavor Enhancers:
- 2 tablespoons brewed coffee, cooled
- 1 tablespoon instant coffee granules
- 1 tablespoon all-purpose flour
- 1/3 cup (67 grams) granulated sugar
- 1 teaspoon vanilla extract
- 2 tablespoons powdered sugar
- 1 teaspoon vanilla extract
Instructions
- Warm the oven to 325F (163C) to prepare for baking the mini cheesecake bases.
- Combine graham cracker crumbs with sugar and melted butter, mixing thoroughly until the texture becomes uniform and slightly clumpy.
- Distribute the crumb mixture evenly into each paper-lined muffin cavity, pressing firmly to create a compact bottom crust.
- Bake the crusts for 6 minutes until edges are lightly golden, then remove and allow to cool completely at room temperature.
- In a large mixing bowl, blend cream cheese until smooth and creamy, ensuring no lumps remain.
- Gradually incorporate sugar, whisking until the mixture becomes light and fluffy.
- Add eggs one at a time, mixing gently after each addition to maintain a silky consistency.
- Dissolve instant coffee granules in a small amount of hot water, then fold into the cheesecake batter, creating a marbled coffee effect.
- Pour the coffee-infused batter carefully over the cooled graham cracker crusts, filling each cup about 3/4 full.
- Place the muffin tin in the preheated oven and bake for 18-20 minutes, watching for slight wobbling in the center.
- Remove from oven and let cool completely at room temperature before chilling in the refrigerator for at least 2 hours.
- Before serving, garnish with a light dusting of cocoa powder or coffee grounds for an elegant finish.
Notes
- Use high-quality espresso or strong coffee for deeper, richer flavor in your cheesecake filling.
- Gently tap the muffin tin after filling to release any air bubbles and ensure a smooth cheesecake texture.
- Chill cheesecakes completely before serving to help them set and develop a more intense coffee taste.
- For a gluten-free version, swap graham crackers with almond flour or gluten-free cookie crumbs to maintain the delicious crust.
- Prep Time: 10 minutes
- Cook Time: 5 minutes
- Category: Breakfast, Desserts
- Method: Baking
- Cuisine: American
Nutrition
- Serving Size: 12
- Calories: 224
- Sugar: 15 g
- Sodium: 180 mg
- Fat: 14 g
- Saturated Fat: 8 g
- Unsaturated Fat: 4 g
- Trans Fat: 0 g
- Carbohydrates: 22 g
- Fiber: 0 g
- Protein: 3 g
- Cholesterol: 53 mg
Jack Sullivan
Founder & Culinary Storyteller
Expertise
Single-recipe development with a narrative approach, Culinary storytelling and food history, Seasonal and regional ingredient utilization, Home cooking techniques adapted for modern kitchens
Education
New England Culinary Institute (Montpelier, VT)
Certificate in Culinary Arts
Focused on farm-to-table cooking, sustainable practices, and modern plating techniques.
Asheville-Buncombe Technical Community College
Associate Degree in Culinary Arts
Emphasized Southern Appalachian cuisine and local ingredient sourcing.
Jack grew up surrounded by smoky skillets and handwritten recipes in the mountains of North Carolina. His roots in Appalachian cooking shaped the way he sees food – as something that connects people, tells a story, and holds meaning.
With hands-on training and a background in sustainable, regional cooking, Jack started Boil And Broil to make meaningful meals more accessible. He’s all about one-dish recipes that are simple to follow but rich with flavor and history.