Luscious No Bake Berry Cheesecake Recipe for Sweet Summer Joy
Whipping up a sumptuous no bake berry cheesecake requires minimal effort and maximum flavor.
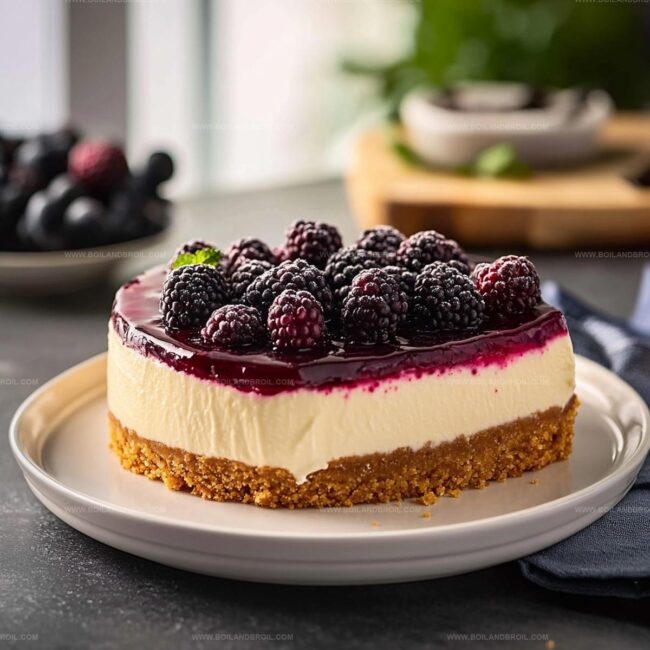
Creamy layers of sweet cheese blend beautifully with vibrant fruit toppings.
Cool kitchen techniques help you craft this elegant dessert without turning on the oven.
Smooth cream cheese mixed with tangy berries creates a luscious texture that melts in your mouth.
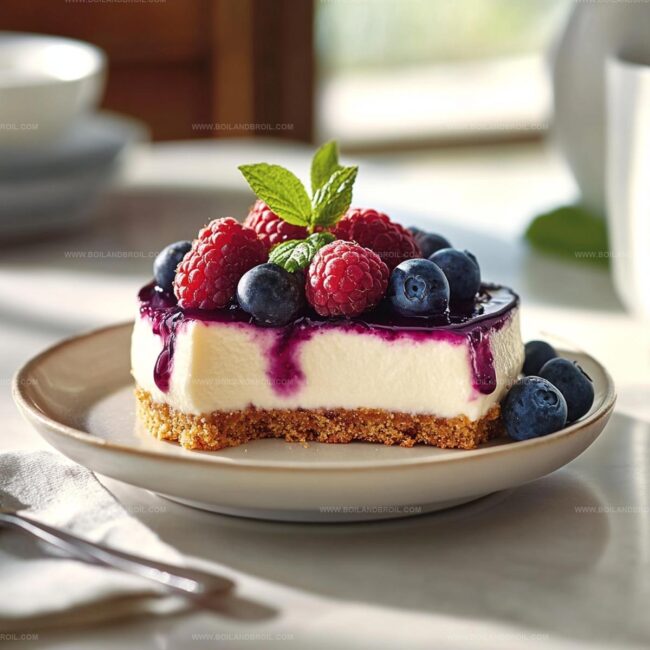
Fresh seasonal fruits add brilliant color and natural sweetness to every delectable slice.
Simple ingredients from your refrigerator transform into an impressive treat that looks professionally crafted.
You’ll love how quickly this dessert comes together, making it perfect for spontaneous gatherings or quiet weekend indulgences.
Prepare to impress everyone with this irresistible no-fuss cheesecake that promises pure deliciousness.
What Makes No Bake Berry Cheesecake a Winner
Ingredients in No Bake Berry Cheesecake
No Bake Berry Cheesecake How-To Guide
Step 1: Craft the Crunchy Crust
Grab a mixing bowl and combine graham cracker crumbs, sugar, and melted butter.
Stir everything until the crumbs get a buttery hug.
Press the mixture firmly into the bottom of a springform pan, creating a solid foundation.
Pop it in the refrigerator for a quick 15-minute chill to set the base.
Step 2: Create the Creamy Filling
Grab a large bowl and beat the cream cheese until it’s silky smooth.
Slowly add powdered sugar and vanilla, mixing until everything blends perfectly.
In another bowl, whip heavy cream until it forms beautiful peaks.
Gently fold the whipped cream into the cream cheese mixture, creating a cloud-like texture.
Sprinkle in mixed berries, letting them dance through the creamy mixture.
Step 3: Build Your Cheesecake Masterpiece
Pour the luscious filling over the chilled crust, spreading it evenly with a spatula.
Make sure the top looks smooth and inviting.
Cover the pan with plastic wrap and let it rest in the refrigerator for 4-6 hours, or ideally overnight, to let the flavors mingle and set.
Step 4: Serve and Celebrate
Carefully release the cheesecake from the springform pan.
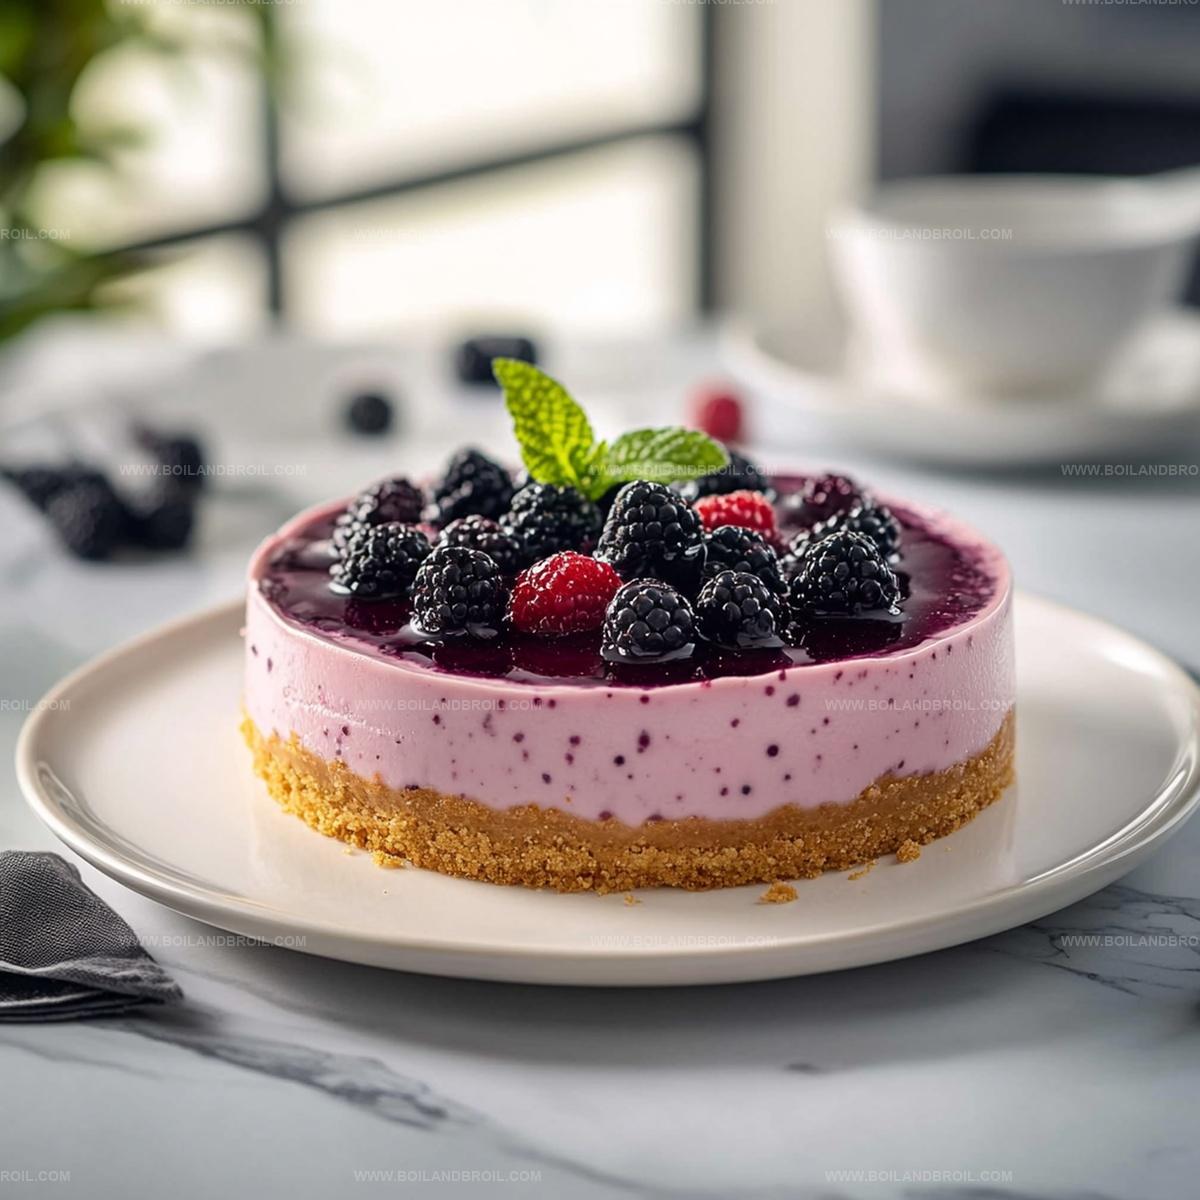
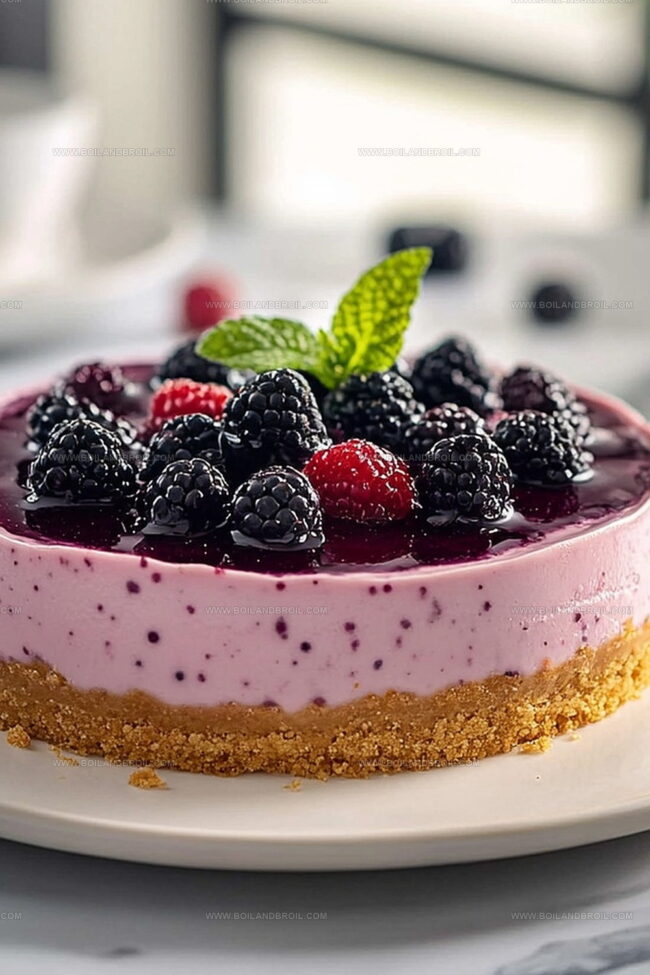
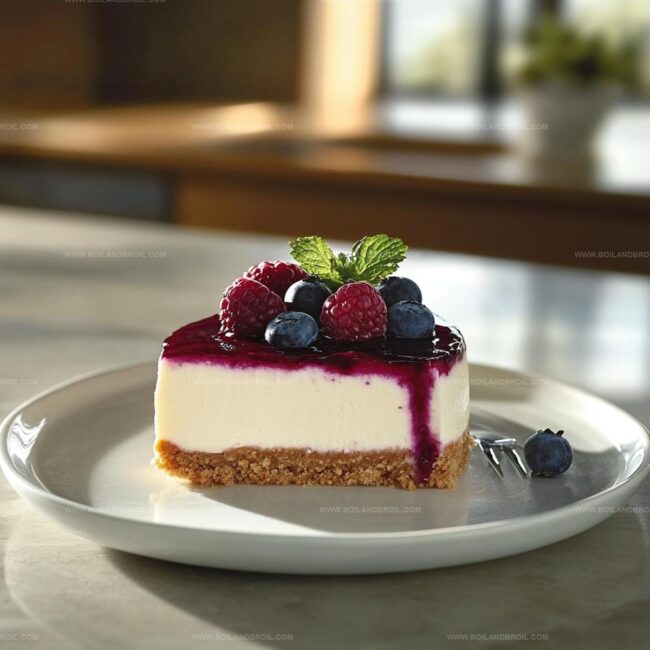
Decorate the top with fresh berries and delicate mint leaves.
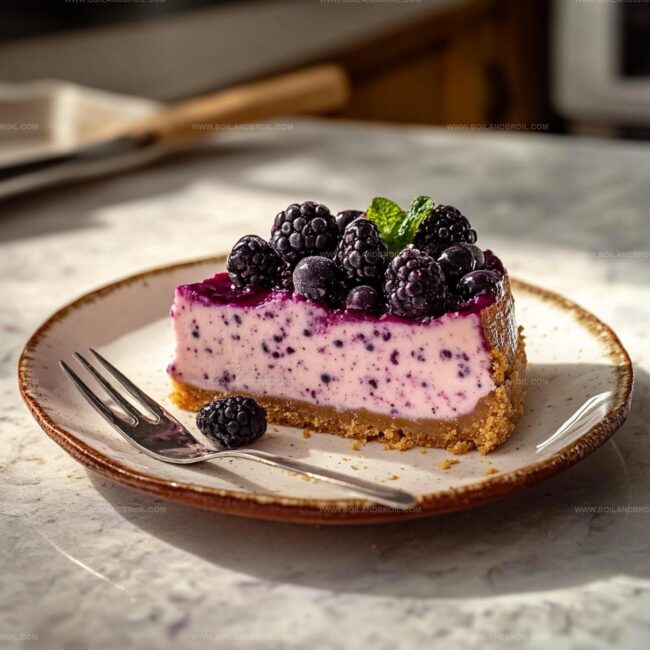
Slice into this heavenly dessert and watch everyone’s eyes light up with joy.
Berry Cheesecake Tips and Tricks

Storing No Bake Berry Cheesecake
Pairing Ideas for Berry Cheesecake
No Bake Berry Cheesecake More Variants
FAQs
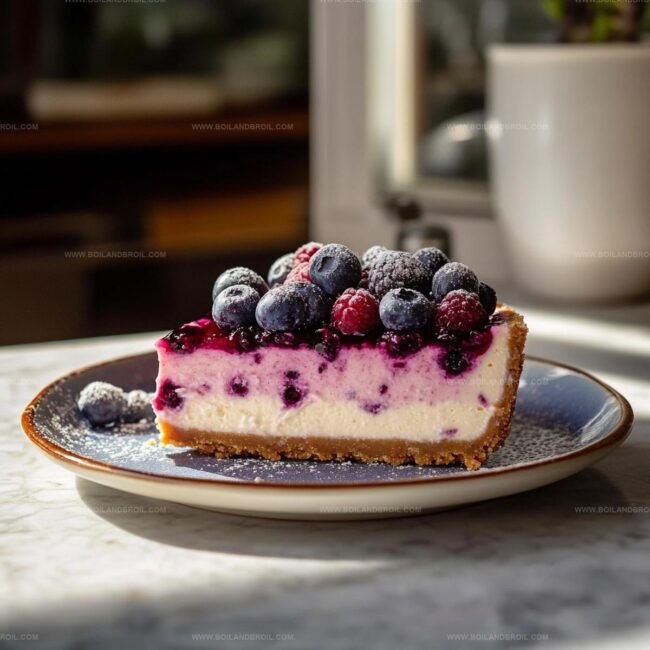
Yes, you can use frozen berries. Thaw and drain them completely before adding to the cheesecake mixture to prevent excess moisture.
A springform pan makes removing the cheesecake easier, but you can use a regular cake pan lined with parchment paper if needed. Just be extra careful when removing the cheesecake.
The cheesecake stays fresh for up to 5 days when stored in an airtight container in the refrigerator. Cover it tightly to prevent it from absorbing other food odors.
Absolutely! This no-bake cheesecake is perfect for making in advance. You can prepare it up to 2 days before serving, which makes it great for dinner parties or special occasions.
Print
Delicious No Bake Berry Cheesecake Recipe
- Total Time: 15 minutes
- Yield: 8 1x
Description
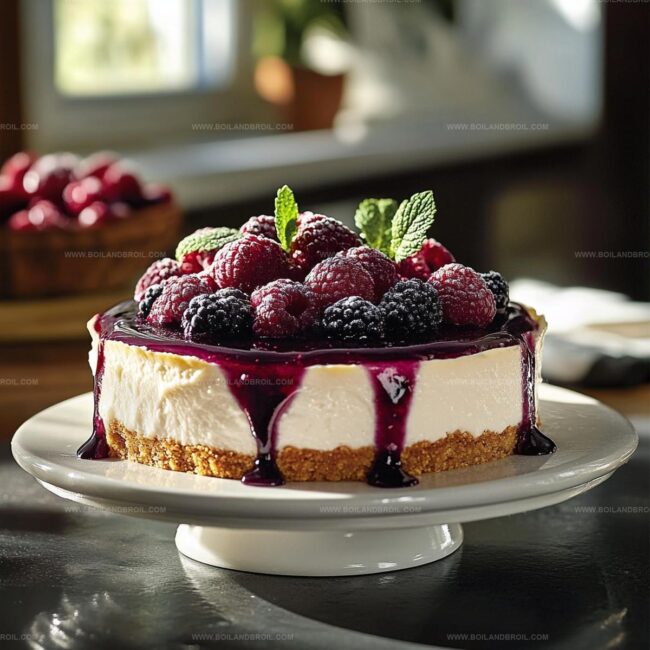
Creamy, dreamy No Bake Berry Cheesecake beckons with luscious layers of tangy cream cheese and sweet seasonal berries. Cool summer desserts never tasted so good, and you’ll savor each delightful spoonful of this effortless treat.
Ingredients
Main Ingredients:
- 16 ounces (454 grams) cream cheese, softened
- 2 cups mixed berries (strawberries, blueberries, raspberries)
- 1 cup heavy whipping cream
Crust Ingredients:
- 1 1/2 cups graham cracker crumbs
- 1/3 cup granulated sugar
- 1/2 cup unsalted butter, melted
Finishing Ingredients:
- 1 cup powdered sugar
- 1 teaspoon vanilla extract
- Additional fresh berries
- Mint leaves for garnish
Instructions
- Craft a robust foundation by blending graham cracker crumbs with sugar and melted butter until uniformly moistened.
- Press the crumbly mixture compactly into the base of a 9-inch springform pan, ensuring an even layer. Refrigerate for 15 minutes to solidify.
- Whip cream cheese in a large mixing bowl until silky and free of lumps, about 2-3 minutes.
- Gradually incorporate powdered sugar and vanilla extract, mixing until the texture becomes smooth and creamy.
- Whip heavy cream separately until it forms distinct, sturdy peaks that hold their shape.
- Delicately fold the whipped cream into the cream cheese mixture, maintaining a light, airy consistency.
- Gently integrate mixed berries throughout the filling, distributing them evenly without deflating the mixture.
- Transfer the luscious filling onto the chilled crust, spreading it uniformly with a spatula to create a level surface.
- Seal the cheesecake with plastic wrap and refrigerate for 4-6 hours, allowing it to set completely and develop rich flavors.
- When ready to serve, carefully release the springform pan’s mechanism and transfer the cheesecake to a serving plate.
- Garnish with fresh berries and delicate mint leaves for a vibrant, elegant presentation before slicing.
Notes
- Crust Tip: Use graham crackers or swap with gluten-free alternatives like almond flour or crushed digestive biscuits for dietary restrictions.
- Berry Balance: Choose fresh, ripe seasonal berries for maximum flavor and natural sweetness, mixing strawberries, raspberries, and blueberries for vibrant color and taste.
- Cream Technique: Ensure cream cheese is room temperature to prevent lumps and achieve a silky-smooth texture, beating until completely soft and creamy.
- Chilling Strategy: Allow cheesecake to set overnight for optimal firmness and flavor development, letting ingredients meld together perfectly in the refrigerator.
- Prep Time: 15 minutes
- Cook Time: 0 minutes
- Category: Desserts
- Method: Chilling
- Cuisine: American
Nutrition
- Serving Size: 8
- Calories: 320
- Sugar: 20 g
- Sodium: 160 mg
- Fat: 22 g
- Saturated Fat: 13 g
- Unsaturated Fat: 9 g
- Trans Fat: 0 g
- Carbohydrates: 30 g
- Fiber: 2 g
- Protein: 4 g
- Cholesterol: 60 mg
Jack Sullivan
Founder & Culinary Storyteller
Expertise
Single-recipe development with a narrative approach, Culinary storytelling and food history, Seasonal and regional ingredient utilization, Home cooking techniques adapted for modern kitchens
Education
New England Culinary Institute (Montpelier, VT)
Certificate in Culinary Arts
Focused on farm-to-table cooking, sustainable practices, and modern plating techniques.
Asheville-Buncombe Technical Community College
Associate Degree in Culinary Arts
Emphasized Southern Appalachian cuisine and local ingredient sourcing.
Jack grew up surrounded by smoky skillets and handwritten recipes in the mountains of North Carolina. His roots in Appalachian cooking shaped the way he sees food – as something that connects people, tells a story, and holds meaning.
With hands-on training and a background in sustainable, regional cooking, Jack started Boil And Broil to make meaningful meals more accessible. He’s all about one-dish recipes that are simple to follow but rich with flavor and history.