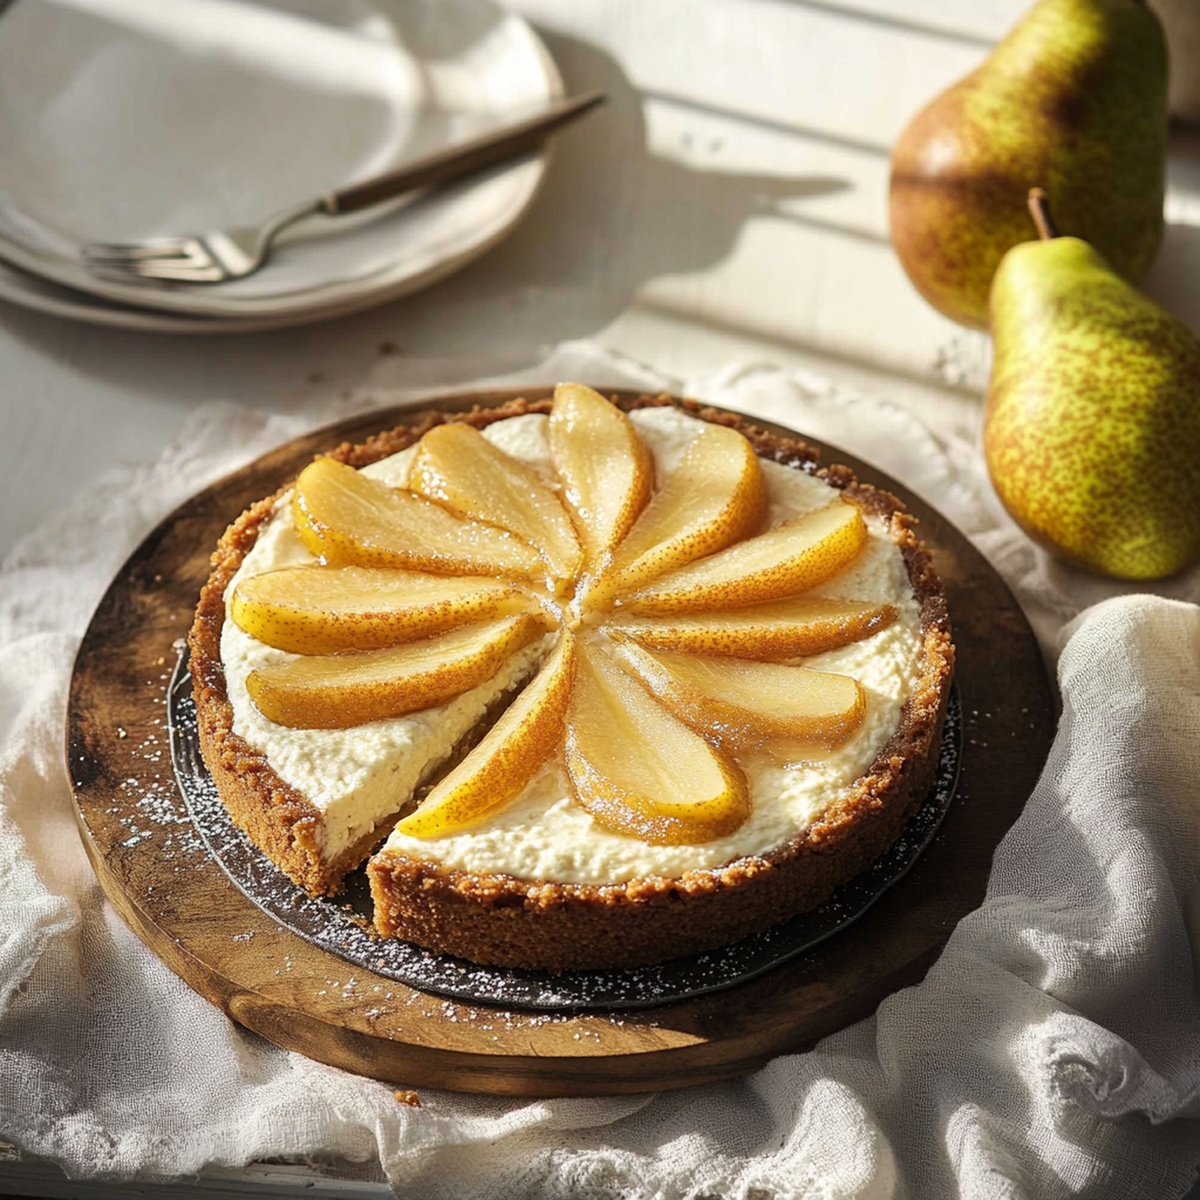
Easy & Dreamy Pear and Ricotta Cheesecake Recipe
Crafting a delectable pear and ricotta cheesecake brings pure culinary magic to your dessert table.
Sweet autumn fruits nestle perfectly into a creamy landscape of smooth ricotta.
Seasonal produce transforms ordinary baking into an extraordinary experience.
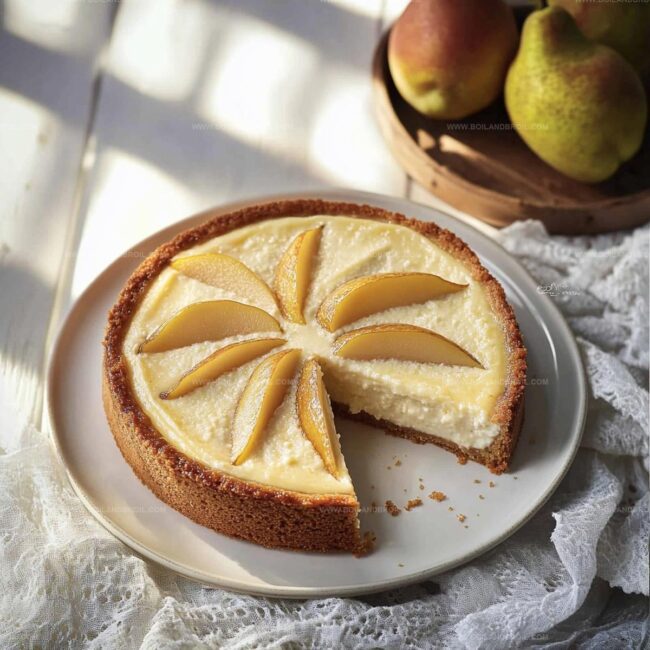
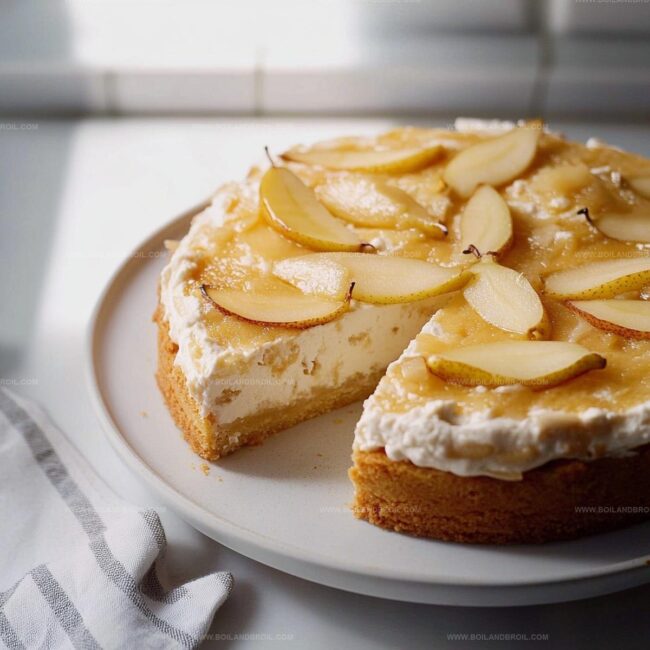
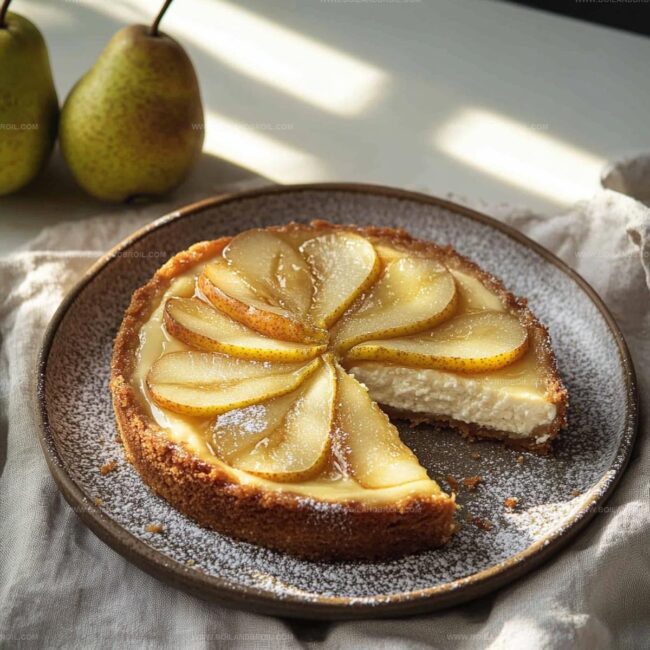
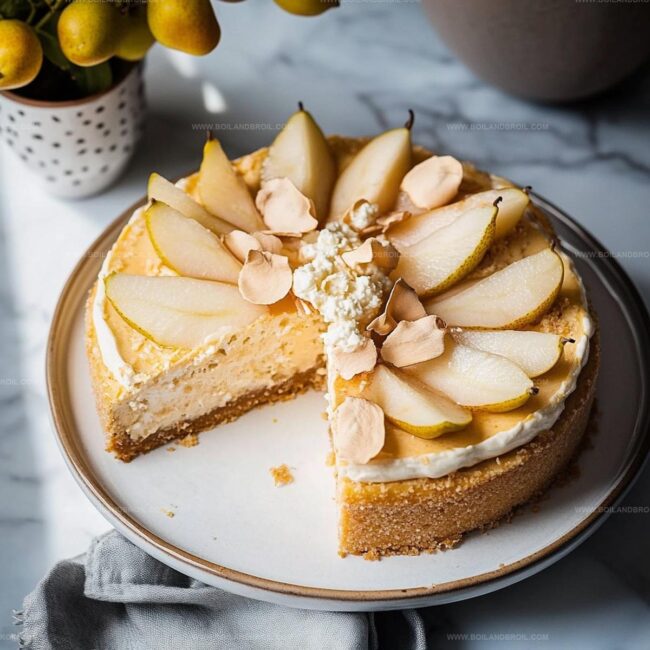
Delicate pear slices create stunning visual appeal across each slice.
Soft cheese and gentle fruit combine in surprisingly elegant ways.
Minimal ingredients guarantee maximum flavor without complicated techniques.
Seasonal inspiration awaits you in this simple yet sophisticated dessert adventure.
Pear and Ricotta Cheesecake That’s Smooth and Fruity
Ingredients for Pear and Ricotta Cheesecake
Base:Filling:Topping:Baking Instructions for Pear and Ricotta Cheesecake
Step 1: Crush Graham Crackers
Grab a food processor or rolling pin and pulverize graham crackers into fine crumbs.
Crush until the texture looks like delicate beach sand.
Step 2: Create Crust Mixture
Mix the graham cracker crumbs with sugar and cinnamon in a mixing bowl.
Pour melted butter over the dry ingredients and blend until the mixture clumps together like damp soil.
Step 3: Prepare Springform Pan
Transfer the crumbly mixture into a 9-inch springform pan.
Use your fingers or the back of a spoon to press the crust firmly and evenly across the bottom.
Make sure the surface is compact and smooth.
Step 4: Bake Crust
Slide the pan into a preheated oven at 325F (163C).
Bake for 10-12 minutes until the crust turns a warm golden brown.
Remove and let the crust cool completely at room temperature.
Step 5: Whip Cream Cheese
In a large mixing bowl, beat cream cheese until smooth and creamy.
Use an electric mixer on medium speed to eliminate any lumps.
Step 6: Add Wet Ingredients
Blend in:Mix until the batter becomes silky and well incorporated.
Step 7: Incorporate Pear Goodness
Gently fold diced fresh pears into the cheesecake mixture.
Distribute the fruit evenly throughout the batter.
Step 8: Pour and Smooth Batter
Carefully pour the cheesecake mixture over the cooled crust.
Use a spatula to spread the batter evenly and eliminate air bubbles.
Step 9: Bake Cheesecake
Return the pan to the oven and bake at 325F (163C) for about 50-60 minutes.
The center should have a slight jiggle but not be liquid.
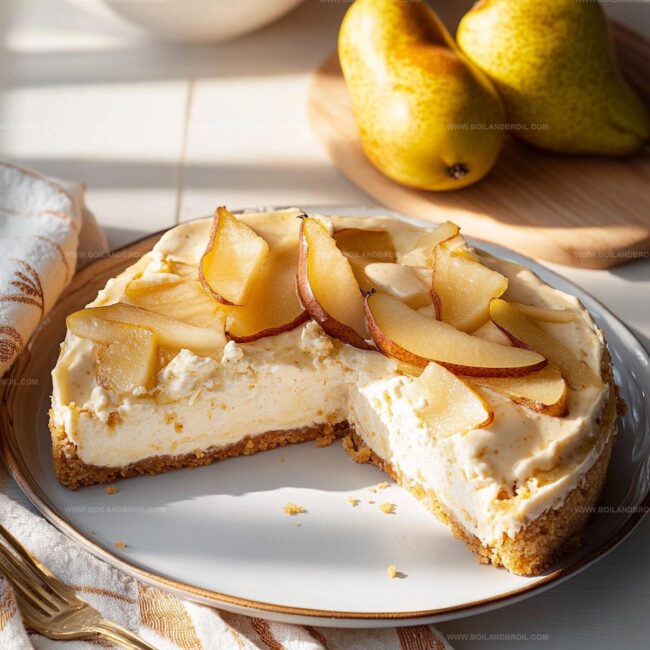
Step 10: Cool and Chill
Turn off the oven and crack the door open.
Let the cheesecake rest inside for 1 hour to prevent cracking.
Then remove and refrigerate for at least 4 hours before serving.
Tips for Perfect Pear and Ricotta Cheesecake
Storing Pear and Ricotta Cheesecake with Care
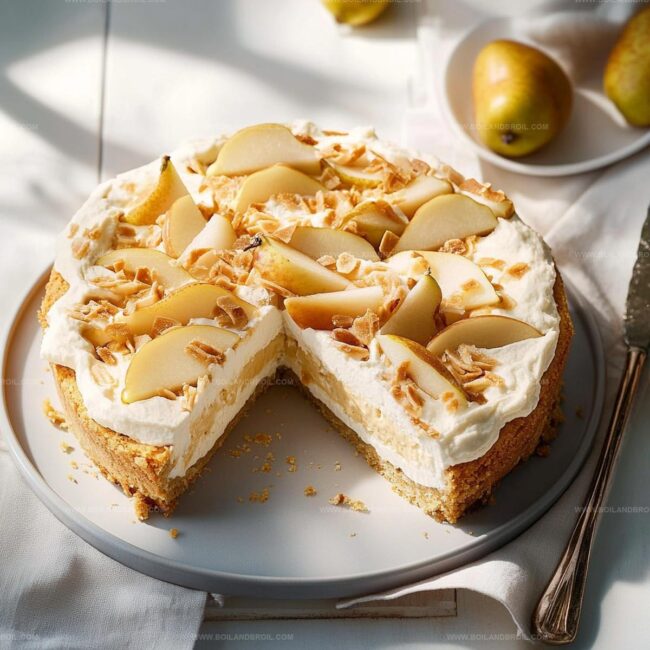
Best Pairings for Pear and Ricotta Cheesecake
Flavor Ideas for Pear and Ricotta Cheesecake
FAQs
While ricotta gives this cheesecake a light, creamy texture, you can substitute with mascarpone or cream cheese for a slightly different flavor profile.
Choose pears that are just slightly soft when gently pressed – not too hard and not overripe. Bartlett or Anjou pears work best for this cheesecake.
Yes, simply replace graham cracker crumbs with gluten-free graham crackers or use almond flour mixed with a bit of sugar as an alternative crust base.
The cheesecake can be made a day ahead and stored in the refrigerator. Just cover it loosely with plastic wrap to maintain its texture and prevent absorbing other refrigerator odors.
Print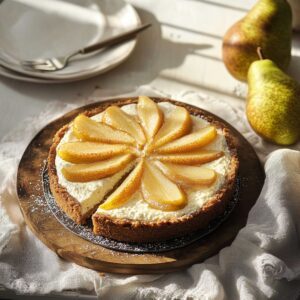
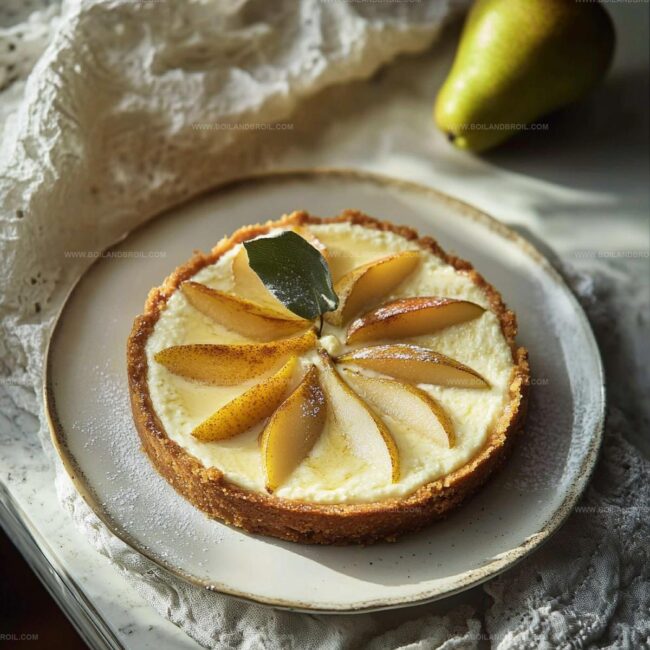
Delicious Pear and Ricotta Cheesecake Recipe
- Total Time: 25 minutes
- Yield: 8 1x
Description
Smooth Italian-inspired Pear and Ricotta Cheesecake showcases delicate fruit nestled in creamy ricotta perfection. Sweet Mediterranean flavors merge elegantly, offering you a slice of culinary romance that whispers comfort and refined indulgence.
Ingredients
Base:
- 1.5 cups graham cracker crumbs (or digestive biscuit crumbs)
- 1/3 cup granulated sugar
- 1/4 cup unsalted butter, melted
- 1/4 teaspoon ground cinnamon (optional)
Cheesecake Filling:
- 2 cups ricotta cheese, well-drained
- 1.5 cups cream cheese, softened
- 1 cup granulated sugar
- 3 large eggs
- 2 tablespoons all-purpose flour
- 2 teaspoons vanilla extract
- 1 pinch of salt
Pear Topping:
- 3 medium pears, peeled, cored, and sliced
- 1 tablespoon unsalted butter
- 2 tablespoons honey or maple syrup
- 1 teaspoon cinnamon (optional)
- 1 tablespoon fresh lemon juice
Instructions
- Preheat the oven to 325°F (163°C) and prepare a 9-inch springform pan for the crust.
- Mix graham cracker crumbs with sugar and cinnamon, creating a fragrant dry base.
- Pour melted butter into the crumb mixture, stirring until the texture becomes like damp, compact sand.
- Gently press the crumb mixture evenly across the bottom of the springform pan, creating a firm, uniform crust.
- Bake the crust for 11-12 minutes until it achieves a light golden color and develops a subtle, toasty aroma.
- Remove from oven and allow the crust to cool completely at room temperature, ensuring a stable foundation for the cheesecake.
- Whip ricotta and cream cheese together until smooth and creamy, eliminating any potential lumps.
- Gradually incorporate sugar, eggs, and vanilla, mixing until the filling becomes silky and well-integrated.
- Carefully slice pears into thin, elegant wedges, arranging them artfully across the cooled crust.
- Pour the luxurious cheese mixture over the pear arrangement, ensuring even coverage.
- Bake for 45-50 minutes until the center is just slightly wobbly but set around the edges.
- Cool the cheesecake at room temperature, then refrigerate for minimum 4 hours before serving.
Notes
- Choose ripe, firm pears for the best texture and sweetness in your cheesecake.
- Drain ricotta cheese thoroughly to prevent excess moisture in the filling.
- Use room temperature ingredients to ensure a smooth, creamy cheesecake batter without lumps.
- Consider toasting graham cracker crumbs briefly before mixing with butter for a deeper, nuttier crust flavor.
- Prep Time: 15 minutes
- Cook Time: 10 minutes
- Category: Desserts
- Method: Baking
- Cuisine: Italian
Nutrition
- Serving Size: 8
- Calories: 392
- Sugar: 27 g
- Sodium: 180 mg
- Fat: 23 g
- Saturated Fat: 13 g
- Unsaturated Fat: 10 g
- Trans Fat: 0 g
- Carbohydrates: 40 g
- Fiber: 1 g
- Protein: 7 g
- Cholesterol: 95 mg
Jack Sullivan
Founder & Culinary Storyteller
Expertise
Single-recipe development with a narrative approach, Culinary storytelling and food history, Seasonal and regional ingredient utilization, Home cooking techniques adapted for modern kitchens
Education
New England Culinary Institute (Montpelier, VT)
Certificate in Culinary Arts
Focused on farm-to-table cooking, sustainable practices, and modern plating techniques.
Asheville-Buncombe Technical Community College
Associate Degree in Culinary Arts
Emphasized Southern Appalachian cuisine and local ingredient sourcing.
Jack grew up surrounded by smoky skillets and handwritten recipes in the mountains of North Carolina. His roots in Appalachian cooking shaped the way he sees food – as something that connects people, tells a story, and holds meaning.
With hands-on training and a background in sustainable, regional cooking, Jack started Boil And Broil to make meaningful meals more accessible. He’s all about one-dish recipes that are simple to follow but rich with flavor and history.