The Perfect Easter Cookie Bars Recipe for Sweet Spring Treats
Easter cookie bars bring a burst of springtime joy to your dessert table, blending nostalgia with sweet creativity.
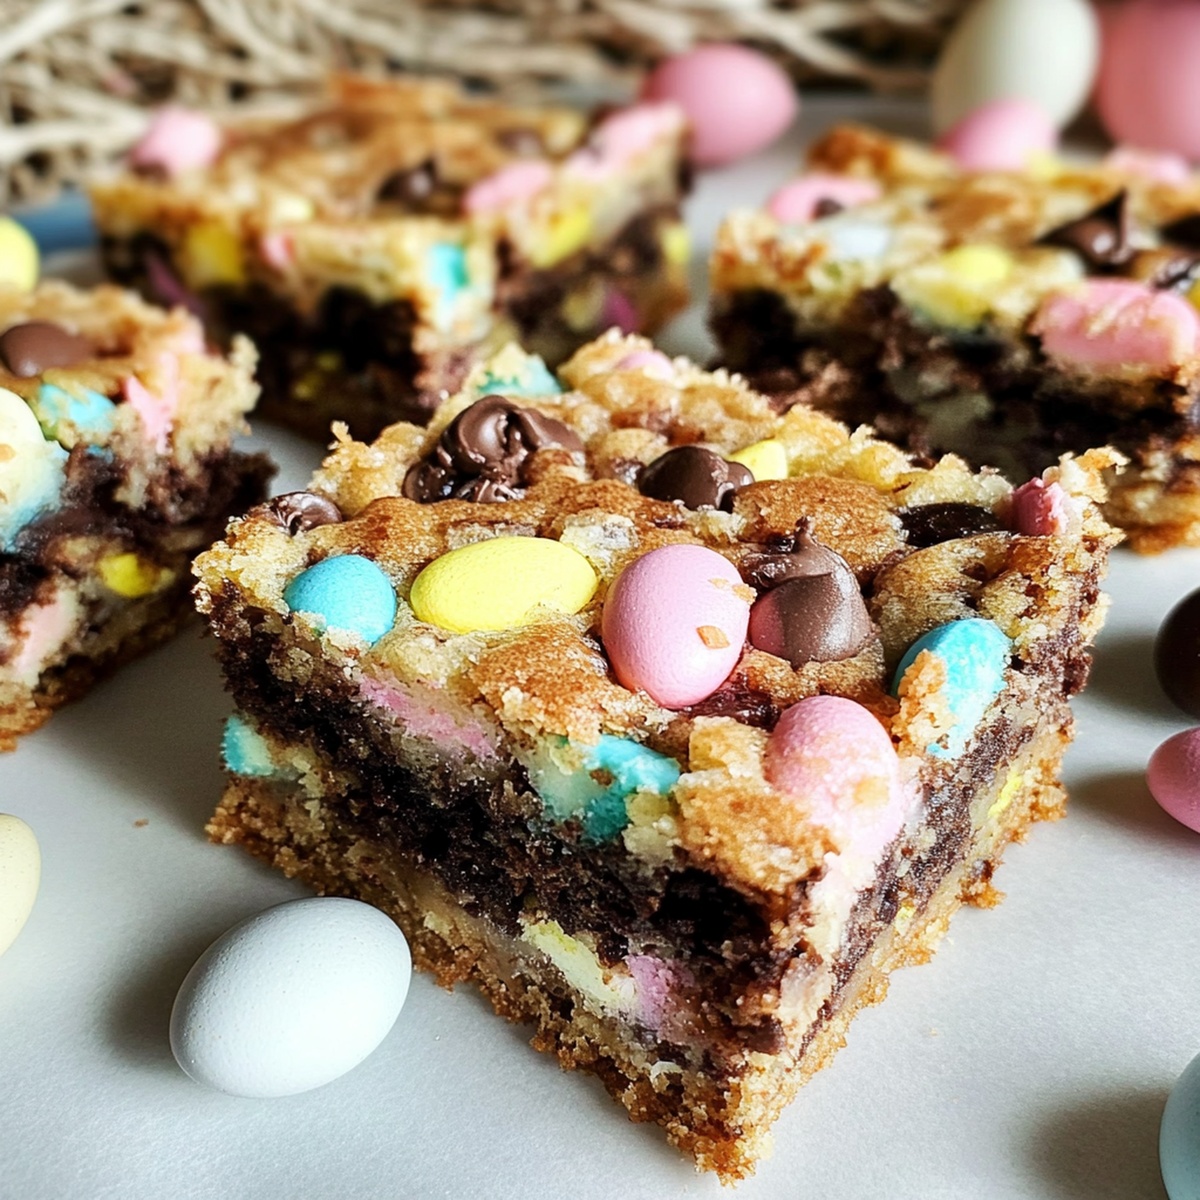
Pastel sprinkles and vibrant colors make these treats impossible to resist.
Childhood memories flood back with each delectable bite of buttery, soft goodness.
Homemade comfort shines through in every carefully crafted square.
Kids and adults alike will fall in love with these delightful confections.
Delicate crumbs and rich flavors promise a memorable celebration of the season.
Bake these magical bars and watch smiles bloom around your kitchen.
Easter Cookie Bars Festive Slice Experience
Easter Cookie Bars Ingredient List
Base Ingredients:Flavor Enhancers:Dry Ingredients:Easter Cookie Bars Assembly Instructions
Step 1: Warm Up The Oven
Crank your oven to a toasty 350°F (175°C).
Grab a baking dish and line it completely with parchment paper, ensuring the entire surface is covered for easy removal later.
Step 2: Create A Dreamy Base
In a large mixing bowl, whip together softened butter and sugar until the mixture transforms into a cloud-like, fluffy texture.
Gently introduce eggs one by one, stirring thoroughly after each addition.
Pour in vanilla extract and blend until everything looks smooth and harmonious.
Step 3: Mix Dry Ingredients
Grab another bowl and whisk together:Slowly incorporate these dry ingredients into your buttery mixture, stirring carefully until just combined.
Avoid overmixing to keep the bars tender.
Step 4: Add Colorful Excitement
Softly fold in half of the festive candy sprinkles, distributing them evenly throughout the batter.
This will create delightful bursts of color in every bite.
Step 5: Prepare For Baking
Transfer the batter into your prepared baking dish, using a spatula to spread it evenly across the surface.
Sprinkle the remaining candy bits on top for extra visual appeal and flavor.
Step 6: Bake To Perfection
Slide the dish into the preheated oven and bake for 20-25 minutes.
Look for a golden-brown surface and a slightly firm center as your baking cue.
Step 7: Cool And Slice
Remove from the oven and let the bars cool completely.
Once cooled, use the parchment paper to lift the entire batch out, then slice into delectable squares ready for enjoying.
Top Tips for Perfect Easter Cookie Bars
Storing and Reheating Easter Cookie Bars
Pairing Ideas for Easter Cookie Bars
Flavorful Easter Cookie Bars Variations
FAQs
Yes, you can omit sprinkles or substitute with chocolate chips, mini marshmallows, or pastel-colored candies to match the Easter theme.
Absolutely! These bars are kid-friendly, easy to make, and fun with colorful sprinkles. Children can help mix ingredients or decorate the top.
Look for golden brown edges and a slightly firm center. A toothpick inserted in the middle should come out with a few moist crumbs, indicating they’re done.
Yes, but reduce or eliminate the added salt in the recipe to prevent the bars from becoming too salty. Unsalted butter gives you more control over the final seasoning.
Print
Easter Cookie Bars Recipe
- Total Time: 40 minutes
- Yield: 12 1x
Description
Sweet Easter cookie bars bring festive cheer to springtime celebrations with layers of buttery goodness and pastel sprinkles. Delightful treats welcome family gatherings, promising smiles and memories you’ll cherish.
Ingredients
Main Ingredients:
- 2 cups all-purpose flour
- 1 cup granulated sugar
- 2 large eggs
- 1/2 cup unsalted butter
Binding and Leavening Agents:
- 1 teaspoon baking powder
- 1/4 teaspoon salt
Flavoring and Decoration:
- 1 teaspoon vanilla extract
- 1/4 cup candy sprinkles
Instructions
- Warm the oven to 350F (175C) and prepare a baking dish with parchment paper, ensuring complete coverage for easy removal.
- Blend softened butter and sugar using an electric mixer until the mixture becomes airy and pale, creating a smooth base for the cookie bars.
- Incorporate eggs individually into the butter mixture, beating thoroughly after each addition to create a uniform texture and prevent curdling.
- Mix in vanilla extract, which will enhance the overall flavor profile of the bars.
- Separately combine flour, baking powder, and salt, whisking to distribute ingredients evenly and eliminate potential lumps.
- Gradually integrate the dry ingredients into the wet mixture, stirring gently to maintain the batter’s delicate structure and prevent overmixing.
- Delicately fold half of the colorful candy sprinkles into the batter, ensuring even distribution throughout the mixture.
- Transfer the batter to the lined baking dish, using a spatula to spread it uniformly and create an even surface.
- Scatter the remaining sprinkles across the top of the batter, creating a festive and decorative appearance.
- Bake for 20-25 minutes, watching for a golden-brown color and firm edges as indicators of doneness.
- Remove from the oven and allow the bars to cool completely in the pan before slicing into square servings.
Notes
- Customize sprinkle colors to match seasonal themes or holiday celebrations for a festive touch.
- Swap traditional rainbow sprinkles with pastel-colored Easter-specific sprinkles for a more thematic dessert.
- Reduce baking time by 2-3 minutes for softer, gooier cookie bars that maintain a delicate texture.
- Make the recipe gluten-free by substituting all-purpose flour with a 1:1 gluten-free baking blend to accommodate dietary restrictions.
- Prep Time: 15 minutes
- Cook Time: 25 minutes
- Category: Desserts, Snacks
- Method: Baking
- Cuisine: American
Nutrition
- Serving Size: 12
- Calories: 150
- Sugar: 10 g
- Sodium: 100 mg
- Fat: 6 g
- Saturated Fat: 4 g
- Unsaturated Fat: 2 g
- Trans Fat: 0 g
- Carbohydrates: 22 g
- Fiber: 1 g
- Protein: 2 g
- Cholesterol: 30 mg
Jack Sullivan
Founder & Culinary Storyteller
Expertise
Single-recipe development with a narrative approach, Culinary storytelling and food history, Seasonal and regional ingredient utilization, Home cooking techniques adapted for modern kitchens
Education
New England Culinary Institute (Montpelier, VT)
Certificate in Culinary Arts
Focused on farm-to-table cooking, sustainable practices, and modern plating techniques.
Asheville-Buncombe Technical Community College
Associate Degree in Culinary Arts
Emphasized Southern Appalachian cuisine and local ingredient sourcing.
Jack grew up surrounded by smoky skillets and handwritten recipes in the mountains of North Carolina. His roots in Appalachian cooking shaped the way he sees food – as something that connects people, tells a story, and holds meaning.
With hands-on training and a background in sustainable, regional cooking, Jack started Boil And Broil to make meaningful meals more accessible. He’s all about one-dish recipes that are simple to follow but rich with flavor and history.