Easy Easter Egg Oreo Cookie Balls Recipe: Fun Family Treats
Chocolate lovers know the pure magic of combining classic flavors with a playful twist in this Easter egg Oreo cookie balls recipe.
Creamy, smooth, and delightfully indulgent, these bite-sized treats capture the essence of holiday joy.
Each ball delivers a perfect blend of crushed Oreo cookies and rich cream cheese.
You’ll adore how simple the preparation becomes with just a few ingredients.
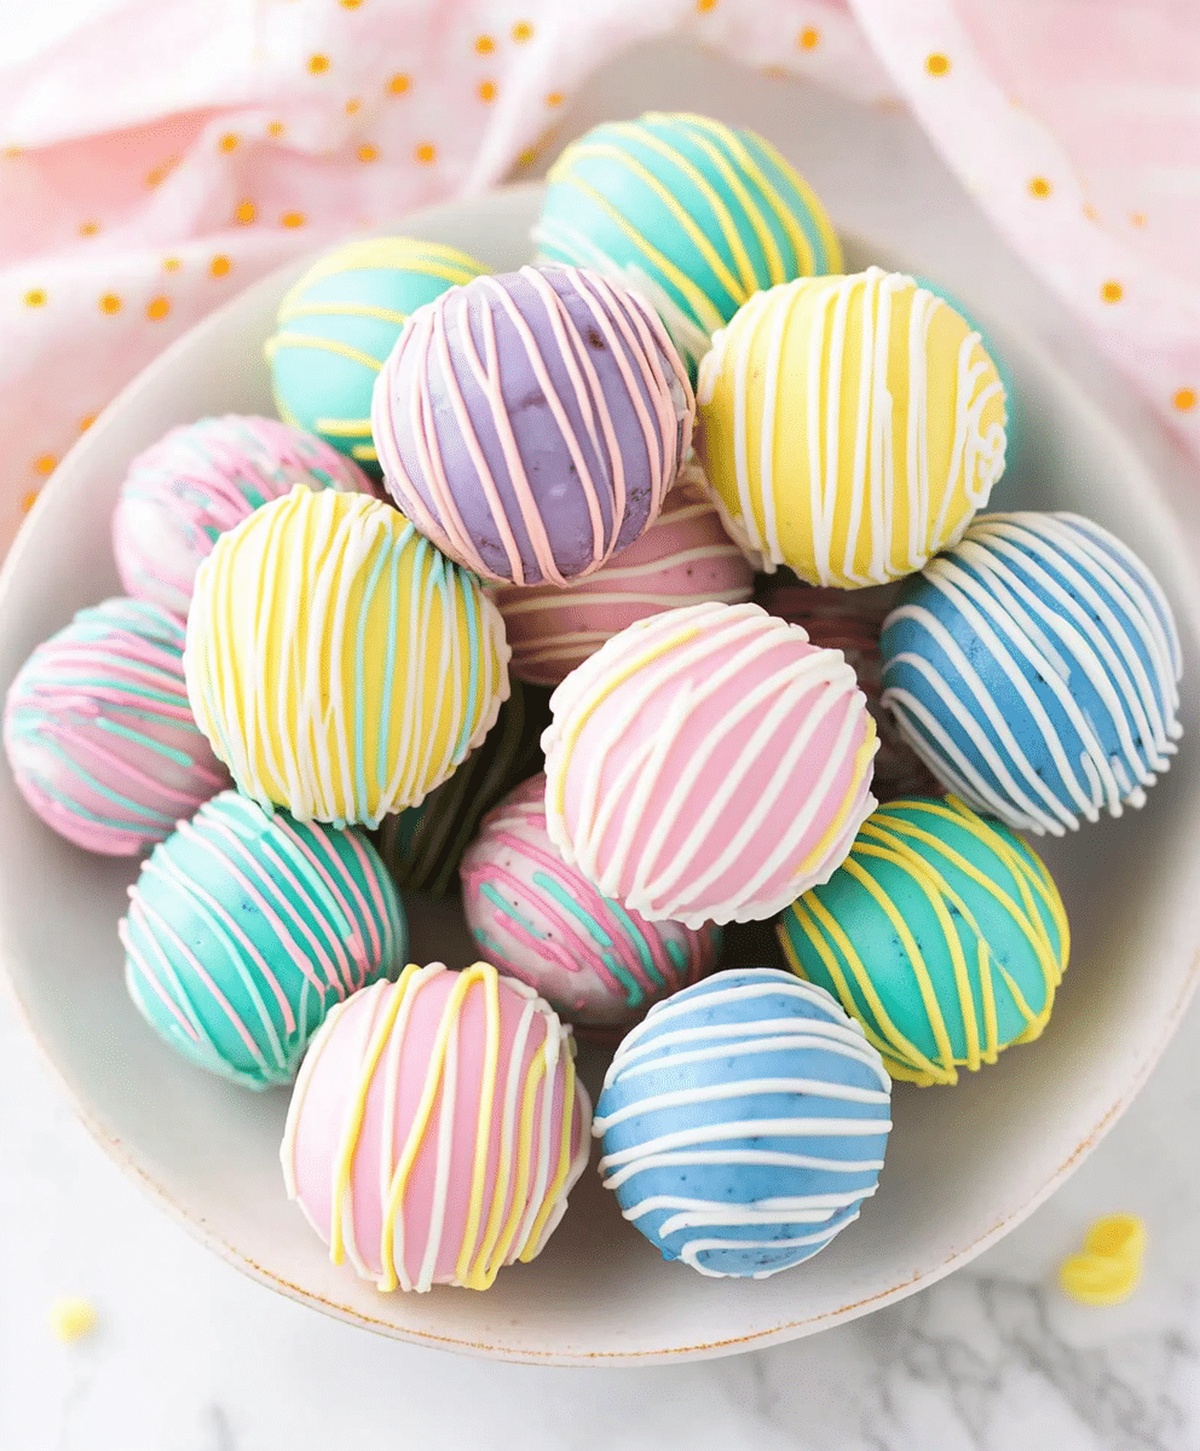
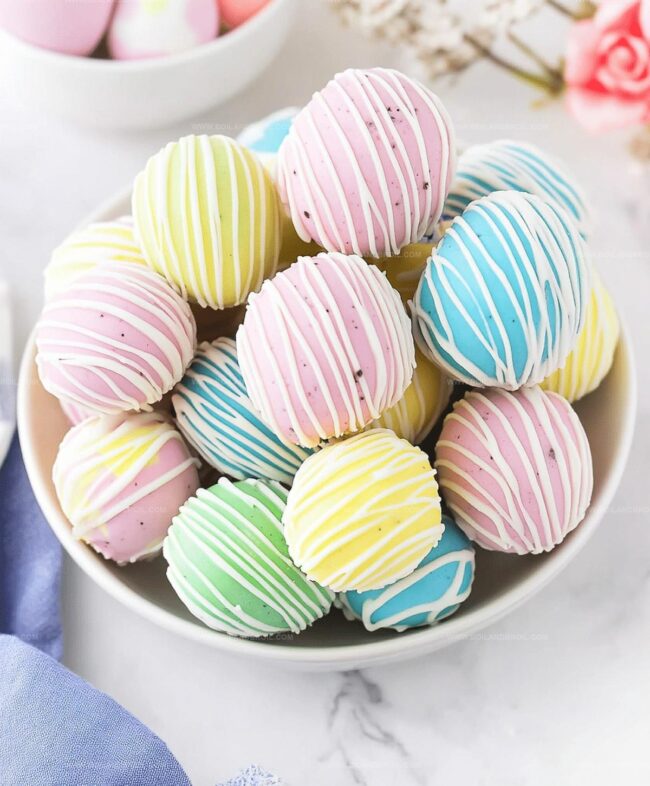
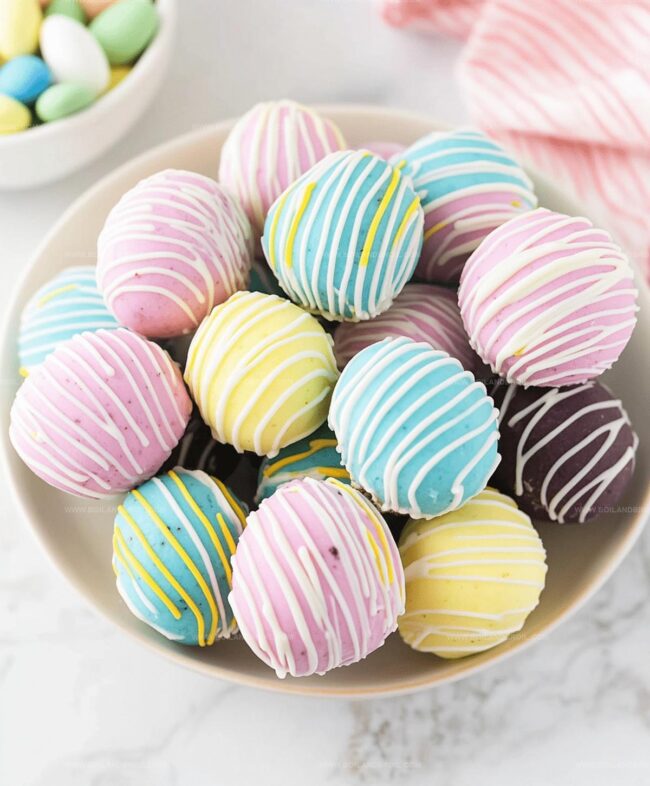
Decorating these egg-shaped delights lets you unleash your creative side with colorful sprinkles and melted chocolate.
The result?
A delectable dessert that sparkles with festive charm and irresistible flavor.
Prepare to be the star of any spring gathering with these crowd-pleasing sweet bites.
Ingredients for Easter Egg Oreo Balls
Main Ingredients:Coating and Decoration:Preparation Accessories:How to Form and Dip Oreo Eggs
Step 1: Crush Golden Oreos
Grab your food processor and pulse Golden Oreos until they transform into fine, sandy crumbs.
If using manual methods, get ready for a delightful arm workout while breaking cookies into tiny pieces.
Step 2: Create Creamy Mixture
In a mixing bowl, combine:Mix thoroughly using a spatula or hands until the dough becomes smooth and holds together perfectly.
Step 3: Shape Egg Forms
Scoop approximately 1.5 tablespoons of mixture and roll into egg-like shapes.
Embrace the charming imperfections as you place each egg on a parchment-lined baking sheet.
Step 4: Refrigerate
Transfer eggs to refrigerator and chill for one hour.
This crucial cooling period helps firm the treats, preventing potential crumbling during coating.
Step 5: Coat with Candy Melts
Melt white candy coating following package instructions.
Use a toothpick to dip each egg, allowing excess coating to drip off.
Place dipped eggs back on parchment paper.
Pro technique: Cover toothpick hole with a small dab of melted coating.
Step 6: Design and Decorate
Melt white candy coating for each desired color.
Add gel icing color to achieve vibrant shades.
Transfer colored coating to piping bag or sandwich bag with snipped corner.
Unleash creativity with drizzles, stripes, dots, or zigzag patterns across egg surfaces.
Tips for Neater Oreo Egg Finishes

Oreo Egg Storage and Reheat Guide
Sweet Pairings for Oreo Cookie Balls
Fun Flavors to Add to Oreo Eggs
FAQs
The main ingredients are Golden Oreo cookies, cream cheese, white candy coating, and gel icing colors for decorating.
You’ll need a food processor or a rolling pin to crush the cookies, a mixing bowl, parchment paper, and toothpicks for dipping. A piping bag or sandwich bag helps with decorating.
This recipe is beginner-friendly. The steps are simple: crush cookies, mix with cream cheese, shape, chill, dip, and decorate. No advanced baking skills are required.
Total time is about 2 hours, including 1 hour of chilling time. Active preparation takes around 45-60 minutes, depending on your decorating skills.
What Makes Oreo Cookie Eggs So Fun

Easter Egg Oreo Cookie Balls Recipe
- Total Time: 1 hour 45 minutes
- Yield: 12 1x
Description
Indulgent Easter Egg Oreo Cookie Balls bring festive sweetness to springtime celebrations, combining creamy chocolate and classic cookie flavors. Chocolate lovers will delight in these simple, no-bake treats that sparkle with pastel sprinkles and promise quick holiday happiness.
Ingredients
Primary Ingredients:
- 14.3 ounces (36 cookies) golden oreos, crushed into crumbs
- 8 ounces cream cheese, room temperature
- 10 ounces white candy coating
Decorative Ingredients:
- 1 ounce white candy coating per color
- Gel icing colors
Instructions
- Transform Golden Oreos into fine, sandy crumbs using a food processor, ensuring no large pieces remain.
- Blend cookie crumbs thoroughly with softened cream cheese in a mixing bowl, kneading until a cohesive dough forms.
- Carefully mold the mixture into egg-like shapes, using approximately 1½ tablespoons per piece, embracing their rustic appearance.
- Refrigerate the egg-shaped treats for 60 minutes at 40°F to solidify their structure and prevent disintegration during coating.
- Gently melt white candy coating at low heat, following package instructions. Delicately submerge each egg using a toothpick, allowing excess coating to drip off, then place on parchment paper.
- Seal toothpick entry points with a small dollop of melted coating to create a smooth surface.
- Prepare colored coatings by melting additional white candy coating and incorporating gel icing colors to achieve desired shades.
- Transfer colored coatings to piping bags, then artfully drizzle or pipe decorative patterns across the white-coated eggs, experimenting with various designs like stripes, dots, or playful zigzags.
- Allow decorated eggs to set completely at room temperature until coating hardens.
Notes
- Ensure cookie crumbs are ultra-fine for smooth, consistent cookie balls that hold together perfectly without crumbling.
- Use room temperature cream cheese to blend seamlessly with cookie crumbs, creating a uniform dough that’s easy to shape.
- Refrigerating the egg shapes helps them maintain structure during coating and prevents falling apart when dipping.
- Experiment with different candy coating colors and design techniques to personalize your Easter egg cookie balls for various celebrations or dietary preferences.
- Prep Time: 15 minutes
- Cook Time: 1 hour 30 minutes
- Category: Desserts, Snacks
- Method: Chilling
- Cuisine: American
Nutrition
- Serving Size: 12
- Calories: 170
- Sugar: 14g
- Sodium: 90mg
- Fat: 8g
- Saturated Fat: 4g
- Unsaturated Fat: 2g
- Trans Fat: 0g
- Carbohydrates: 23g
- Fiber: 0g
- Protein: 1g
- Cholesterol: 10mg
Clara Thompson
Recipe Developer & Culinary Educator
Expertise
Developing accessible single-serving recipes, Food writing and content creation, Plant-based and allergen-friendly cooking, Culinary education and workshop facilitation
Education
Oregon Culinary Institute (Portland, OR)
Diploma in Culinary Arts
Specialized in plant-based cooking and sustainable kitchen practices.
Portland Community College
Certificate in Food Writing and Media
Focused on recipe writing, food photography, and digital content creation.
Clara’s food journey began with a curiosity for color, texture, and ingredients pulled straight from the garden. Her background in plant-forward cooking and creative writing gives her a unique edge – she makes healthy, flavorful food feel inviting, not intimidating.
She specializes in meals that work for busy lives and different diets, all without sacrificing taste. Clara’s voice comes through in every recipe she writes – clear, kind, and encouraging.