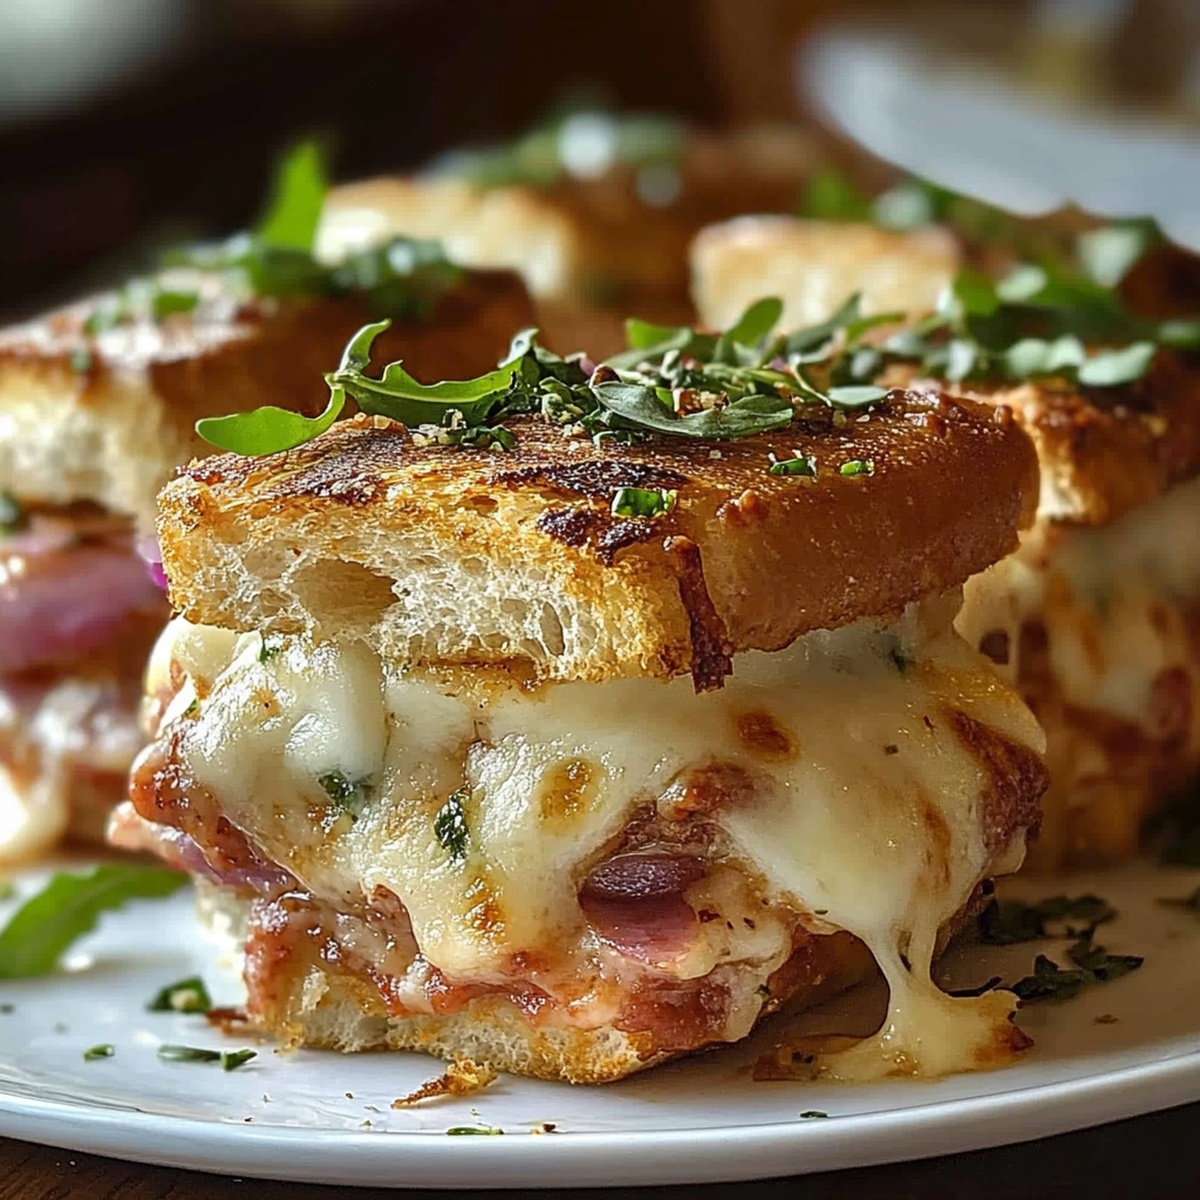
The Best Easy & Cheesy Pizza Sliders Recipe for Any Occasion
Sliders might just be the ultimate bite-sized pizza delight that transforms your snack game.
Small yet mighty, these miniature marvels pack incredible flavor into every compact package.
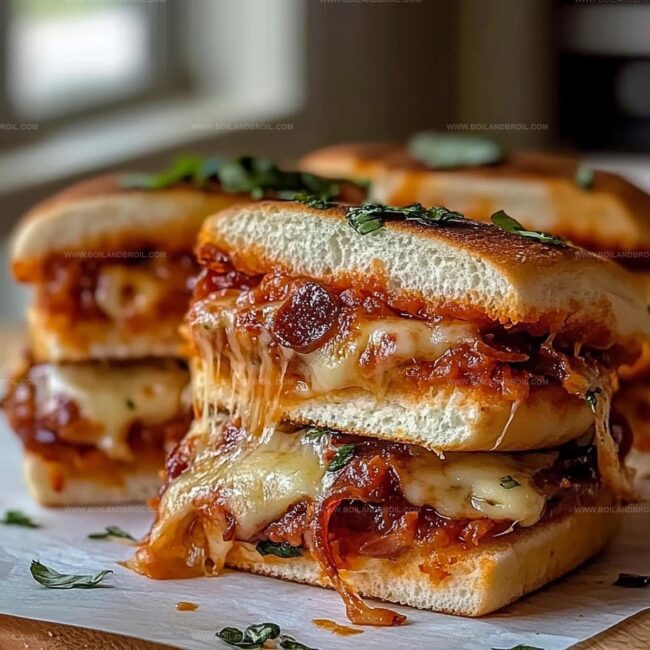
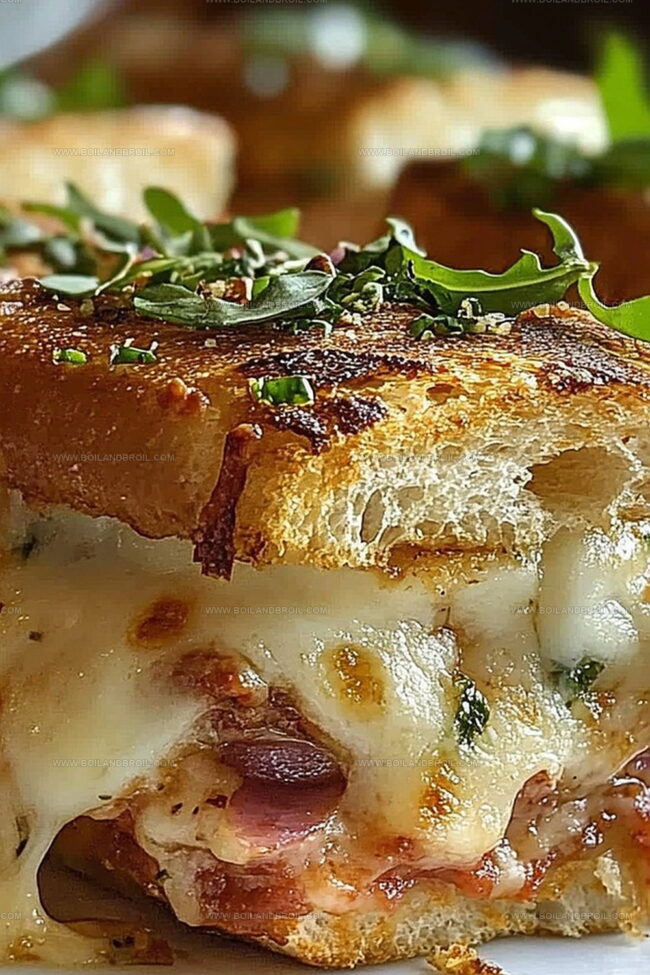
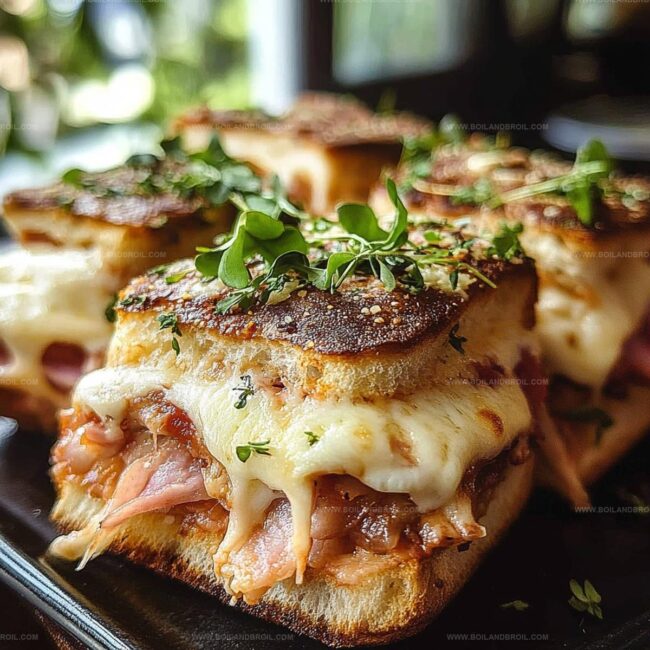
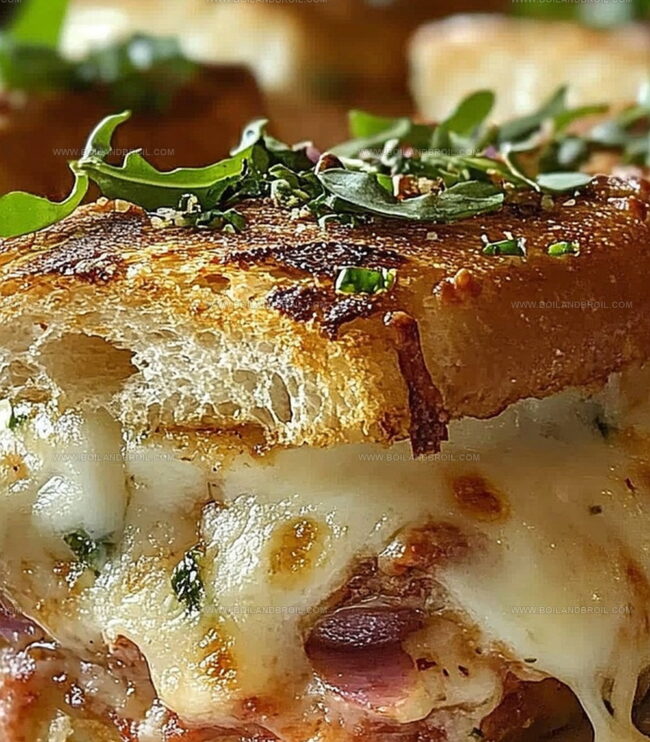
Crispy edges and melted cheese create an irresistible combination you’ll devour in seconds.
Homemade dough becomes the perfect canvas for your favorite toppings and seasonings.
Quick assembly means minimal kitchen time and maximum enjoyment for everyone around the table.
Weekend gatherings or casual movie nights demand these irresistible little treasures that disappear faster than you can say “more, please!” Savor each cheesy, saucy morsel and watch everyone’s eyes light up with pure culinary excitement.
Easy Cheesy Pizza Sliders: Crowd-Pleasing Snack
Ingredients for Cheesy Pizza Sliders
Main Ingredients:Seasoning Ingredients:Preparation Ingredients:How to Assemble and Bake Pizza Sliders
Step 1: Warm Up the Oven
Crank the oven to a cozy 350F (175C).
This will get everything toasty and delicious.
Grab your baking sheet and set it nearby.
Step 2: Split the Slider Rolls
Take your soft slider rolls and slice them horizontally, keeping them connected as one big bread family.
Be gentle but confident with your knife.
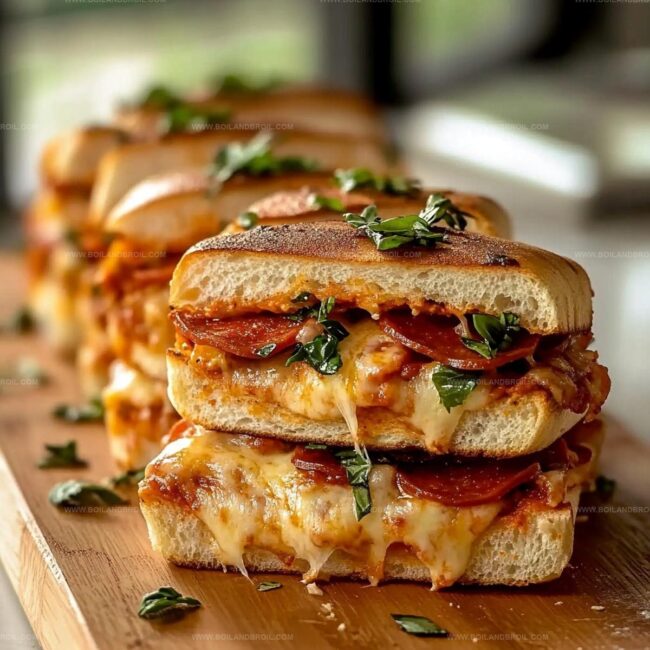
Step 3: Layer the Flavor Goodness
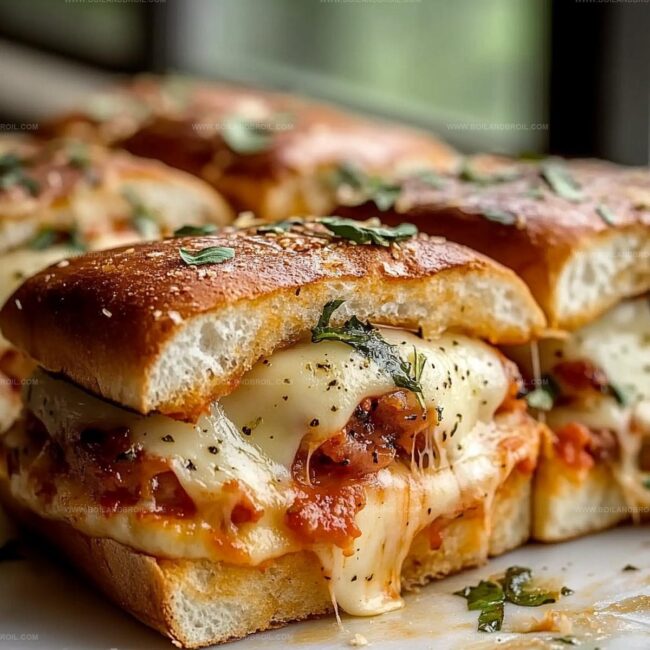
Start building your mini pizza masterpiece with these tasty ingredients:Spread the sauce across the bottom bread layer, then create a beautiful landscape of cheese and pepperoni.
Top it with the other half of the rolls.
Step 4: Create a Flavor Boost
Whip up a magical butter blend with:Brush this flavor-packed mixture all over the top of the rolls, making sure every inch gets some love.
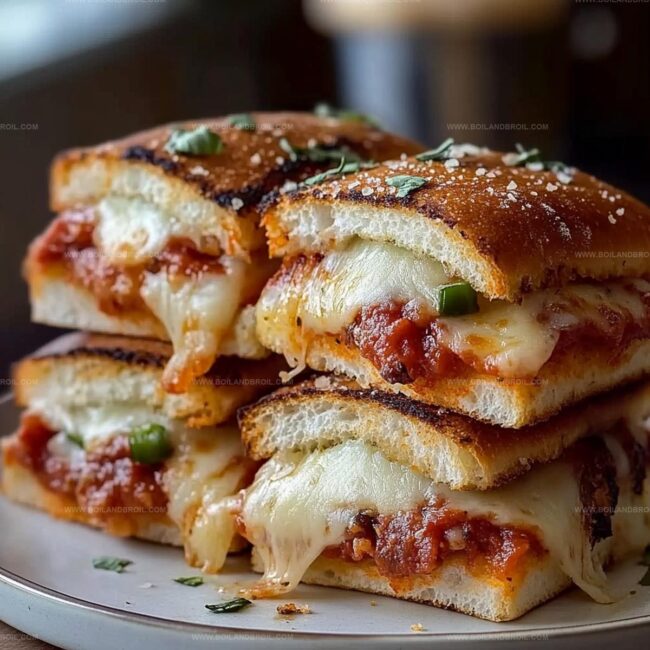
Step 5: Bake to Perfection
Slide your slider creation into the preheated oven.
Let them bake for 12-15 minutes until the cheese transforms into a bubbly, golden wonderland.
The rolls will turn golden and crispy around the edges.
Step 6: Serve and Enjoy
Pull out your sizzling hot sliders and let them rest for a moment.
Slice them apart and serve immediately while they’re warm and irresistible.
Watch them disappear in minutes!
Tips for Melty, Golden Pizza Sliders
Storing and Reheating Pizza Sliders
Fun Dips to Serve with Pizza Sliders
Flavor Twists on Pizza Slider Fillings
FAQs
Yes, you can swap mozzarella with provolone, cheddar, or a blend of cheeses for varied flavor profiles.
Absolutely! Replace pepperoni with veggie alternatives like bell peppers, mushrooms, or vegetarian pepperoni substitutes.
Use slightly toasted rolls before adding sauce, and don’t overload with sauce to maintain a crisp texture.
You can assemble the sliders ahead of time and refrigerate, covered, for up to 24 hours before baking. Just add a few extra minutes to baking time if cooking directly from the refrigerator.
Print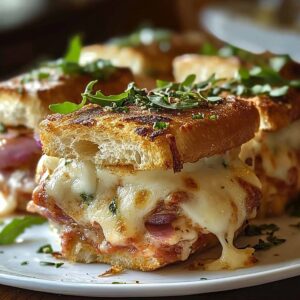
Easy and Cheesy Pizza Sliders Recipe
- Total Time: 25 minutes
- Yield: 12 1x
Description
Delightful Pizza Sliders blend miniature bread rolls with classic Italian flavors, creating irresistible bite-sized comfort. Melted cheese, zesty marinara, and crispy edges make these sliders perfect for game day or casual gatherings you’ll want to devour.
Ingredients
Main Ingredients:
- 12 slider rolls or Hawaiian rolls
- 1 1/2 cups (360 ml) shredded mozzarella cheese
- 12 slices of pepperoni (or any non-pork topping)
Sauce and Seasoning:
- 1 cup (240 ml) pizza sauce
- 1/2 teaspoon garlic powder
- 1/2 teaspoon dried Italian seasoning
Finishing Ingredients:
- 2 tablespoons (30 ml) melted butter
Instructions
- Warm the oven to 350F (175C) and prepare a baking sheet with parchment paper.
- Carefully slice the connected rolls horizontally, maintaining their structural integrity, creating a top and bottom layer.
- Generously spread pizza sauce across the bottom layer of rolls, ensuring even coverage.
- Distribute a uniform layer of shredded cheese over the sauce, creating a smooth foundation.
- Arrange pepperoni slices strategically across the cheese layer for maximum flavor distribution.
- Sprinkle an additional layer of cheese over the pepperoni to enhance melting potential.
- Gently place the top half of the rolls back onto the prepared base.
- Melt butter and combine with garlic powder and Italian seasoning in a small bowl.
- Brush the seasoned butter mixture evenly across the roll tops, ensuring complete coverage.
- Transfer the prepared sliders to the preheated oven and bake for 12-15 minutes.
- Remove when cheese is fully melted, edges are golden brown, and tops appear slightly crispy.
- Allow sliders to rest for 2-3 minutes before cutting and serving while warm.
Notes
- Enhance flavor by using freshly grated mozzarella instead of pre-shredded cheese for better melting and richer taste.
- Make gluten-free by substituting regular rolls with gluten-free slider buns or cauliflower rolls.
- Create vegetarian version by replacing pepperoni with roasted bell peppers, mushrooms, or plant-based pepperoni alternatives.
- Prep ahead by assembling sliders up to 24 hours in advance and storing covered in the refrigerator before baking for convenient meal planning.
- Prep Time: 10 minutes
- Cook Time: 15 minutes
- Category: Lunch, Snacks, Appetizer
- Method: Baking
- Cuisine: Italian
Nutrition
- Serving Size: 12
- Calories: 200
- Sugar: 2 g
- Sodium: 450 mg
- Fat: 8 g
- Saturated Fat: 4 g
- Unsaturated Fat: 3 g
- Trans Fat: 0 g
- Carbohydrates: 24 g
- Fiber: 1 g
- Protein: 8 g
- Cholesterol: 15 mg
Jack Sullivan
Founder & Culinary Storyteller
Expertise
Single-recipe development with a narrative approach, Culinary storytelling and food history, Seasonal and regional ingredient utilization, Home cooking techniques adapted for modern kitchens
Education
New England Culinary Institute (Montpelier, VT)
Certificate in Culinary Arts
Focused on farm-to-table cooking, sustainable practices, and modern plating techniques.
Asheville-Buncombe Technical Community College
Associate Degree in Culinary Arts
Emphasized Southern Appalachian cuisine and local ingredient sourcing.
Jack grew up surrounded by smoky skillets and handwritten recipes in the mountains of North Carolina. His roots in Appalachian cooking shaped the way he sees food – as something that connects people, tells a story, and holds meaning.
With hands-on training and a background in sustainable, regional cooking, Jack started Boil And Broil to make meaningful meals more accessible. He’s all about one-dish recipes that are simple to follow but rich with flavor and history.