Easy and Delicious Cake Pops Recipe: Sweet Party Treats
Sweet memories often spark when you whip up these irresistible cake pops that blend playful texture with pure deliciousness.
Baking becomes an adventure of creativity and joy.
Soft crumbles mixed with creamy frosting create perfect bite-sized treats everyone adores.
Kids and adults alike fall in love with these adorable desserts.
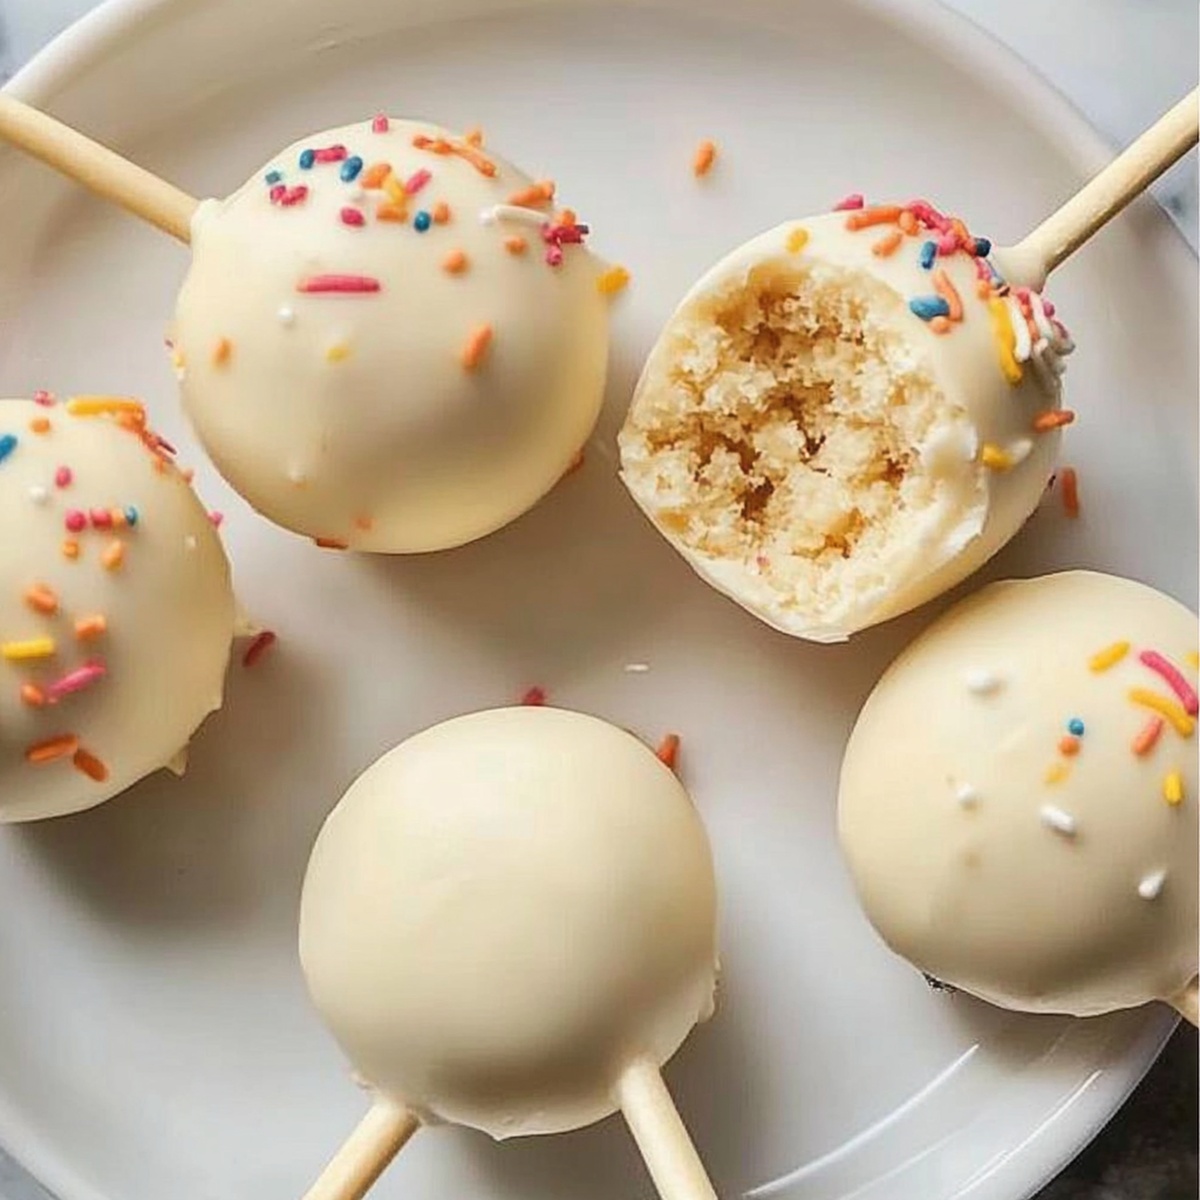
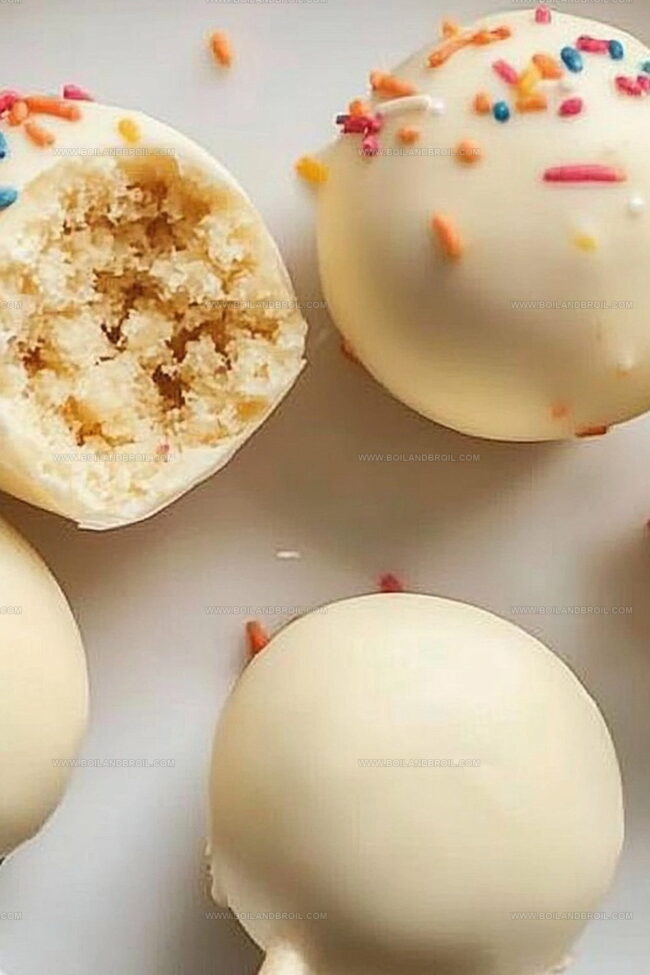
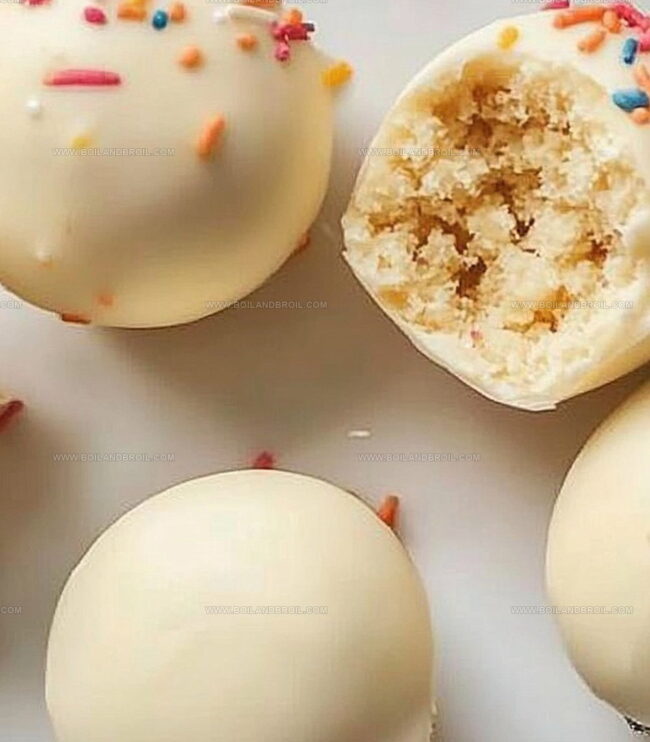
Colorful sprinkles add a magical touch to each tiny sphere of happiness.
Your kitchen will feel like a delightful celebration center while crafting these charming confections.
Grab your mixing bowl and let the delectable journey begin!
Cake Pops – Why They Make Everyone Smile
Ingredients for Easy Cake Pops
Cake Base:Binding and Flavor:Coating and Decoration:Building Cake Pops Step by Step
Step 1: Prepare Cake Base
Whip up your favorite cake mix according to the package directions.
Once baked, allow the cake to cool down completely on a wire rack.
The cake needs to be at room temperature to ensure easy crumbling.
Step 2: Create Cake Pop Mixture
Grab a large mixing bowl and gently break the cooled cake into fine crumbs using your hands or a fork.
You want the texture to be soft and uniform.
Add frosting to the crumbled cake:Mix thoroughly until the mixture becomes moldable and holds together easily.
Step 3: Form Cake Balls
Roll the mixture into small, uniform balls using your palms.
Each ball should be about the size of a golf ball.
Place the formed balls on a parchment-lined baking sheet and refrigerate for 15-20 minutes to firm up.
Step 4: Prepare Candy Coating
Melt candy melts in a microwave-safe bowl, stirring every 30 seconds to prevent burning.
Choose your favorite color or flavor of candy melts.
Step 5: Insert Lollipop Sticks
Dip the tip of each lollipop stick into the melted candy coating.
Carefully insert the stick into the chilled cake ball, about halfway through.
This helps secure the stick and prevents falling.
Step 6: Decorate and Coat
Dip each cake pop into the melted candy coating, ensuring complete coverage.
Gently tap off excess coating.
Optional: Sprinkle with decorative sprinkles or drizzle with contrasting candy melts while still wet.
Step 7: Let Harden
Place the coated cake pops upright in a styrofoam block or cake pop stand.
Allow them to set at room temperature until the coating hardens completely, about 15-20 minutes.
Step 8: Serve and Enjoy
Once set, your cake pops are ready to delight!
Store in an airtight container at room temperature for up to 3 days.
Handy Tips for Perfect Cake Pops
Store Cake Pops for Later Snacking
What to Serve with Cake Pops
Creative Ways to Switch Up Cake Pops
FAQs
You’ll need a boxed cake mix, frosting, candy melts, lollipop sticks, and optional sprinkles or decorations.
Dip the tip of the lollipop stick into melted candy melts before inserting into the cake ball. This creates a secure bond and helps the cake pop stay in place.
Yes! You can prepare cake pops 2-3 days in advance. Store them in an airtight container in the refrigerator until ready to serve.
This usually happens when the candy melts are too thick or the cake balls are too cold. Let cake balls sit at room temperature for a few minutes and thin your candy melts with a bit of vegetable oil for a smoother coating.
Print
Easy and Delicious Cake Pops Recipe
- Total Time: 50 minutes
- Yield: 24 1x
Description
Chocolate-drenched cake pops dance with irresistible charm, bringing sweet Italian-inspired magic to dessert tables. Creamy centers wrapped in smooth chocolate coating promise delightful moments you’ll savor with pure indulgence.
Ingredients
Main Ingredients:
- 1 box cake mix (any flavor)
- 1/2 cup (120 milliliters) frosting (store-bought or homemade)
Coating Ingredients:
- 1 bag candy melts (various colors)
Decorative and Serving Accessories:
- Lollipop sticks
- Optional: sprinkles for decoration
Instructions
- Prepare cake according to package directions, ensuring even baking and allowing complete cooling to room temperature.
- Thoroughly crumble the cooled cake into fine, uniform crumbs within a spacious mixing bowl.
- Incorporate frosting into cake crumbs, blending until the mixture reaches a cohesive, moldable consistency that holds together easily.
- Craft uniform spherical shapes approximately one inch in diameter, carefully positioning each on a parchment-lined baking sheet.
- Gently warm candy melts using recommended melting technique, maintaining smooth liquid texture.
- Dip the tip of each lollipop stick into melted candy coating, then carefully insert halfway through the cake balls, ensuring stable placement.
- Submerge each cake ball completely in melted candy coating, rotating gently to achieve full, even coverage and allowing excess to drip off.
- Position coated cake pops upright in a styrofoam block or specialized cake pop stand to set and solidify at room temperature.
- Allow coating to harden completely, which typically takes 15-20 minutes, before serving or decorating with additional sprinkles or drizzles.
Notes
- Use room temperature cake for easier crumbling and smoother texture.
- Experiment with different cake flavors and frosting combinations for unique taste profiles.
- Add sprinkles or crushed nuts immediately after coating for extra crunch and visual appeal.
- Store cake pops in an airtight container in the refrigerator for up to a week to maintain freshness.
- Prep Time: 20 minutes
- Cook Time: 30 minutes
- Category: Desserts, Snacks
- Method: Baking
- Cuisine: American
Nutrition
- Serving Size: 24
- Calories: 150
- Sugar: 12 g
- Sodium: 180 mg
- Fat: 6 g
- Saturated Fat: 3 g
- Unsaturated Fat: 2 g
- Trans Fat: 0 g
- Carbohydrates: 22 g
- Fiber: 0 g
- Protein: 1 g
- Cholesterol: 15 mg
Jack Sullivan
Founder & Culinary Storyteller
Expertise
Single-recipe development with a narrative approach, Culinary storytelling and food history, Seasonal and regional ingredient utilization, Home cooking techniques adapted for modern kitchens
Education
New England Culinary Institute (Montpelier, VT)
Certificate in Culinary Arts
Focused on farm-to-table cooking, sustainable practices, and modern plating techniques.
Asheville-Buncombe Technical Community College
Associate Degree in Culinary Arts
Emphasized Southern Appalachian cuisine and local ingredient sourcing.
Jack grew up surrounded by smoky skillets and handwritten recipes in the mountains of North Carolina. His roots in Appalachian cooking shaped the way he sees food – as something that connects people, tells a story, and holds meaning.
With hands-on training and a background in sustainable, regional cooking, Jack started Boil And Broil to make meaningful meals more accessible. He’s all about one-dish recipes that are simple to follow but rich with flavor and history.