
The Juiciest Easy Beef ‘N Cheddar Sliders Recipe for Game Day
Crafting mouthwatering beef n cheddar sliders isn’t just about assembling ingredients – it’s an art form waiting to be mastered.
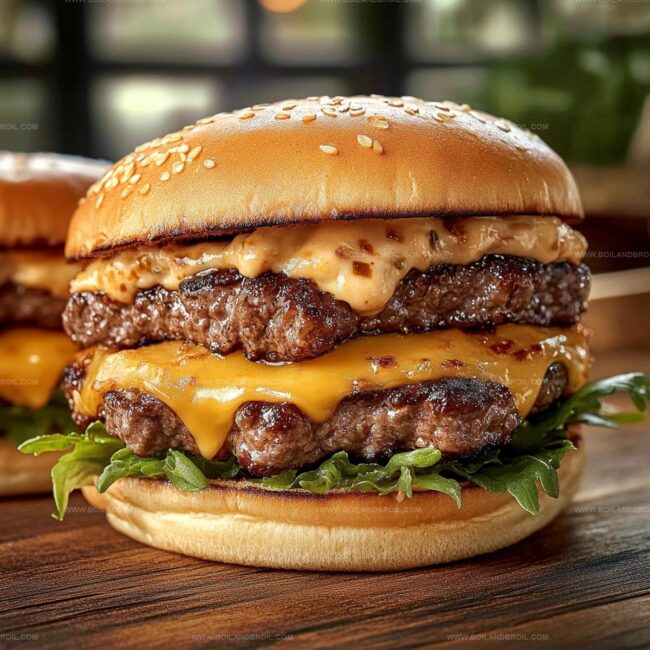
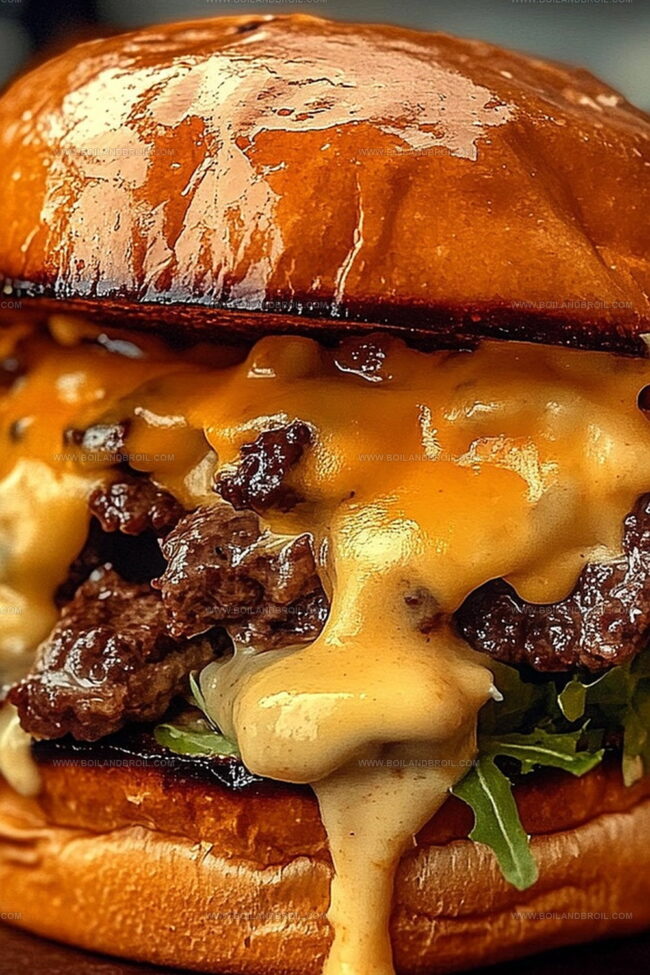
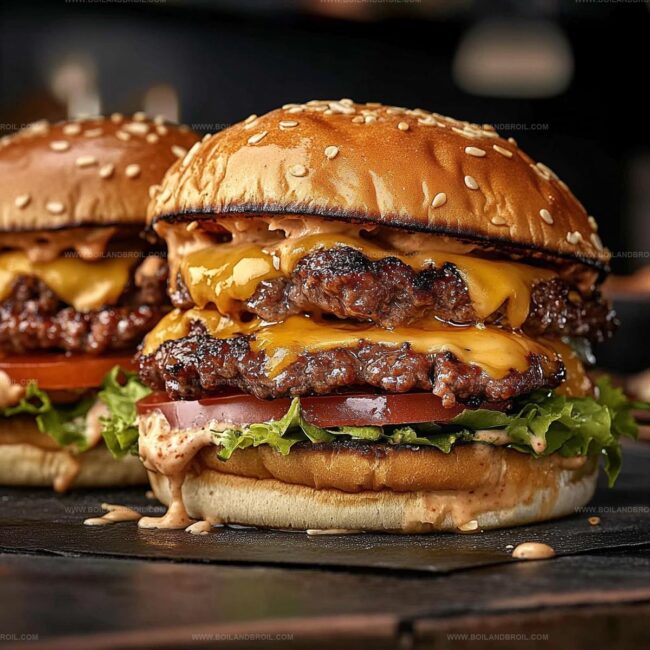
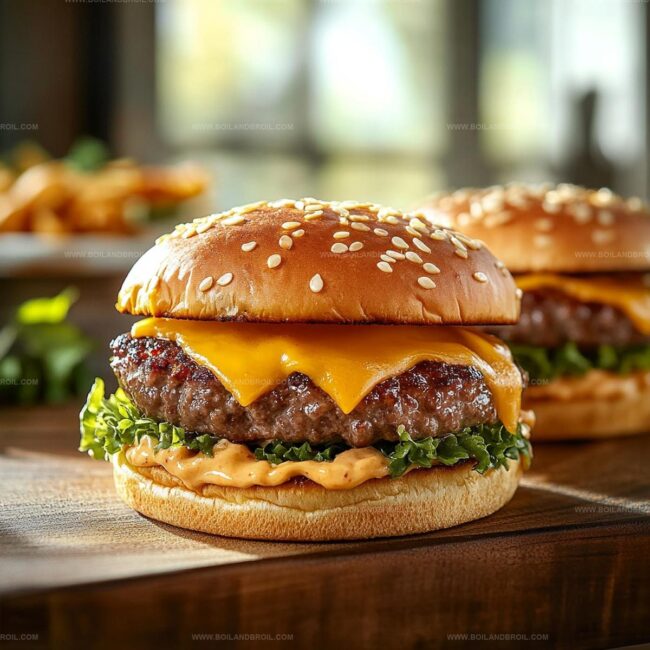
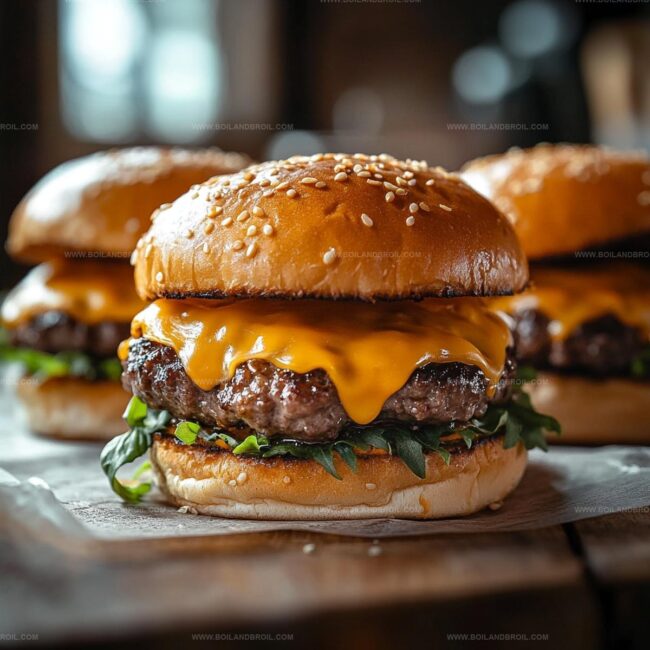
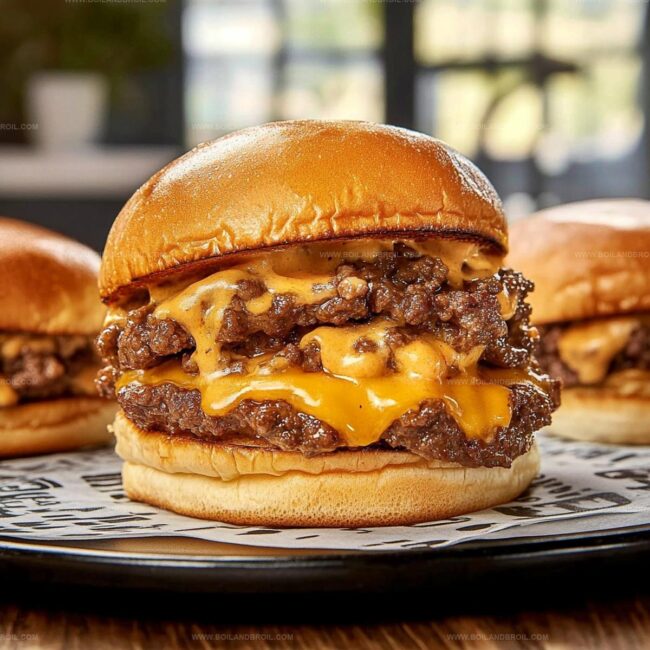
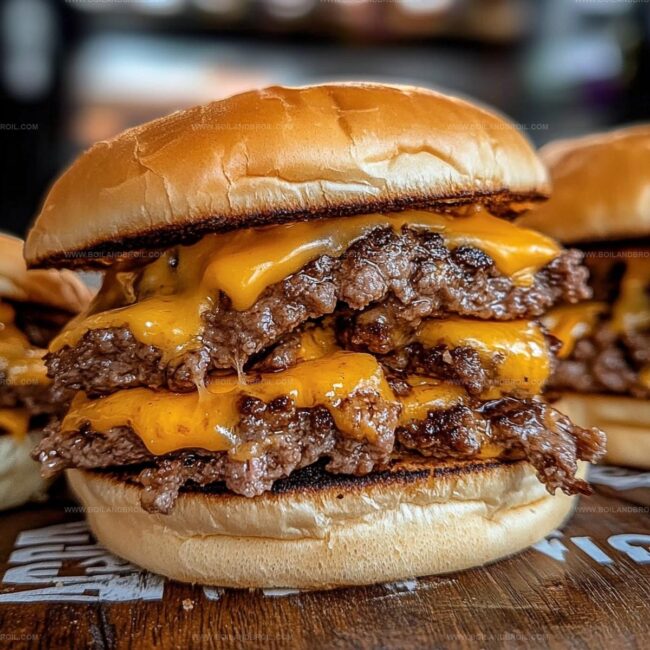
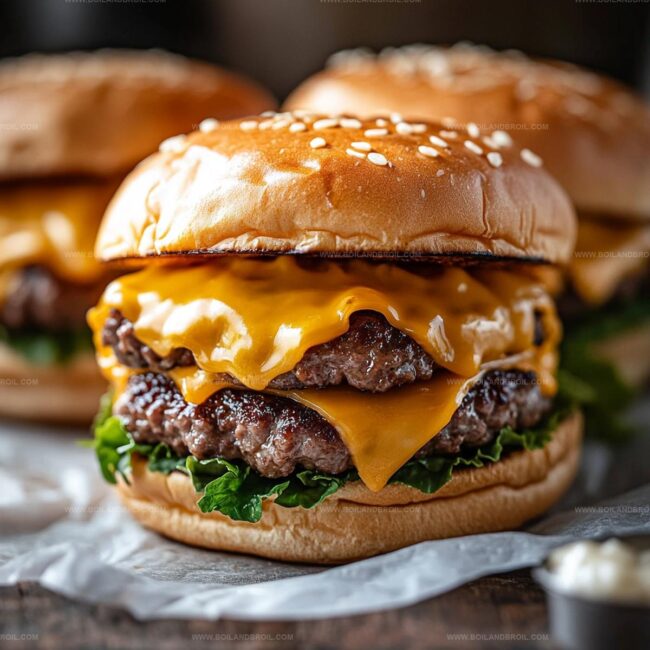
Soft dinner rolls cradle juicy seasoned beef and melted sharp cheddar in a compact, irresistible package.
Miniature sandwiches pack maximum flavor into every delectable bite.
These sliders promise to become your go-to party favorite, delivering comfort and satisfaction in one small bundle.
Casual gatherings or game day celebrations deserve something special that looks impressive yet comes together quickly.
Busy home cooks can whip up this crowd-pleasing recipe with minimal effort and maximum deliciousness.
Prepare to wow everyone around the table with these irresistible mini masterpieces.
Beef & Cheddar Sliders: Bite-Sized Bliss
Beef & Cheddar Slider Ingredient Rundown
How to Build Juicy Beef & Cheddar Sliders
Step 1: Brown the Meat
Heat a skillet over medium-high heat.
Add ground beef and diced onions, breaking the meat into small crumbles.
Sprinkle in:Cook until the beef is fully browned and develops a rich, savory aroma.
Remove from heat and set aside.
Step 2: Prep the Slider Base
Gently slice the slider buns horizontally.
Spread a zesty blend of:on the bottom halves of the buns, creating a creamy foundation.
Step 3: Layer the Deliciousness
Construct your sliders by carefully arranging:Top with the remaining bun halves.
Generously brush the top of each slider with melted butter for a golden, glossy finish.
Step 4: Bake to Perfection
Cover the sliders with aluminum foil.
Slide into a preheated oven at 350°F.
Bake for 15 minutes, then remove the foil.
Continue baking for an additional 5-7 minutes until the cheese melts and the tops turn a beautiful golden brown.
Step 5: Serve and Savor
Allow the sliders to cool briefly.
Slice into individual portions.
Serve hot and watch them disappear in moments!
Pro Tips for Melty Cheddar and Savory Beef
Keeping Beef & Cheddar Sliders Fresh
Best Sides for Slider Night
Flavor Twists on Beef & Cheddar Sliders
FAQs
These sliders are super easy to make, can be prepared ahead of time, and are crowd-pleasing with their cheesy, savory flavors that everyone loves.
Yes, you can substitute cheddar with Swiss, provolone, or American cheese based on your preference or what you have in your refrigerator.
Absolutely! Kids typically enjoy these mini burgers because they’re small, cheesy, and have simple flavors that are not too complex or spicy.
Use less expensive ground beef cuts, watch for cheese sales, and buy buns in bulk to reduce overall recipe costs while maintaining great taste.
Print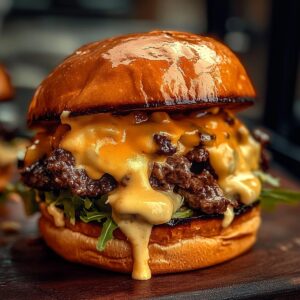
Easy Beef N Cheddar Sliders Recipe
- Total Time: 40 minutes
- Yield: 12 1x
Description
Mouthwatering beef n cheddar sliders deliver pure comfort on a plate, blending savory beef with melted cheese. Crispy buns and rich flavors promise a crowd-pleasing meal you’ll crave again and again.
Ingredients
Main Proteins:
- 1 pound (1 lb) ground beef
- 2 cups shredded sharp cheddar cheese
Aromatic Ingredients:
- 1 medium onion, finely diced
- 1 teaspoon (1 tsp) garlic powder
- 1 tablespoon (1 tbsp) Worcestershire sauce
Bread and Seasoning:
- 12 slider buns or Hawaiian rolls
- Salt and pepper to taste
Instructions
- Preheat the oven to 350°F and prepare a baking dish for the sliders.
- In a skillet over medium-high heat, sauté ground beef with diced onions until meat browns and develops a rich, caramelized exterior.
- Season the beef mixture with garlic powder, Worcestershire sauce, salt, and pepper, stirring to distribute flavors evenly.
- Slice the buns horizontally, creating top and bottom halves for the sliders.
- Spread a creamy blend of mayonnaise and Dijon mustard across the bottom bun surfaces to create a tangy base.
- Distribute the seasoned beef mixture evenly across the prepared bun bottoms.
- Layer generous portions of cheddar cheese over the warm beef to ensure melting.
- Crown each slider with the corresponding top bun half.
- Generously brush melted butter across the exterior of the bun tops to promote golden browning.
- Wrap the assembled sliders loosely with aluminum foil to prevent excessive browning.
- Bake for 15 minutes, then remove the foil and continue baking for an additional 5-7 minutes until cheese melts and buns turn golden.
- Allow sliders to rest for 2-3 minutes before serving to let flavors meld and cheese set.
- Slice into individual portions and serve immediately while warm and aromatic.
Notes
- Toast buns lightly before spreading mayo mixture to enhance crispiness and prevent soggy bottoms.
- Use lean ground beef to reduce excess grease and create a cleaner slider texture.
- Experiment with different cheese varieties like pepper jack or Swiss for unique flavor profiles.
- Prepare sliders ahead of time and refrigerate before baking, which helps ingredients meld together and intensifies overall taste.
- Prep Time: 10 minutes
- Cook Time: 30 minutes
- Category: Lunch, Dinner, Appetizer, Snacks
- Method: Baking
- Cuisine: American
Nutrition
- Serving Size: 12
- Calories: 250
- Sugar: 3 g
- Sodium: 450 mg
- Fat: 12 g
- Saturated Fat: 6 g
- Unsaturated Fat: 4 g
- Trans Fat: 0 g
- Carbohydrates: 25 g
- Fiber: 1 g
- Protein: 14 g
- Cholesterol: 50 mg
Jack Sullivan
Founder & Culinary Storyteller
Expertise
Single-recipe development with a narrative approach, Culinary storytelling and food history, Seasonal and regional ingredient utilization, Home cooking techniques adapted for modern kitchens
Education
New England Culinary Institute (Montpelier, VT)
Certificate in Culinary Arts
Focused on farm-to-table cooking, sustainable practices, and modern plating techniques.
Asheville-Buncombe Technical Community College
Associate Degree in Culinary Arts
Emphasized Southern Appalachian cuisine and local ingredient sourcing.
Jack grew up surrounded by smoky skillets and handwritten recipes in the mountains of North Carolina. His roots in Appalachian cooking shaped the way he sees food – as something that connects people, tells a story, and holds meaning.
With hands-on training and a background in sustainable, regional cooking, Jack started Boil And Broil to make meaningful meals more accessible. He’s all about one-dish recipes that are simple to follow but rich with flavor and history.