
The Ultimate Easy Cheesy Bean Dip Recipe for Irresistible Snacking
Crafting a deliciously easy cheesy bean dip can turn any casual gathering into a memorable feast.
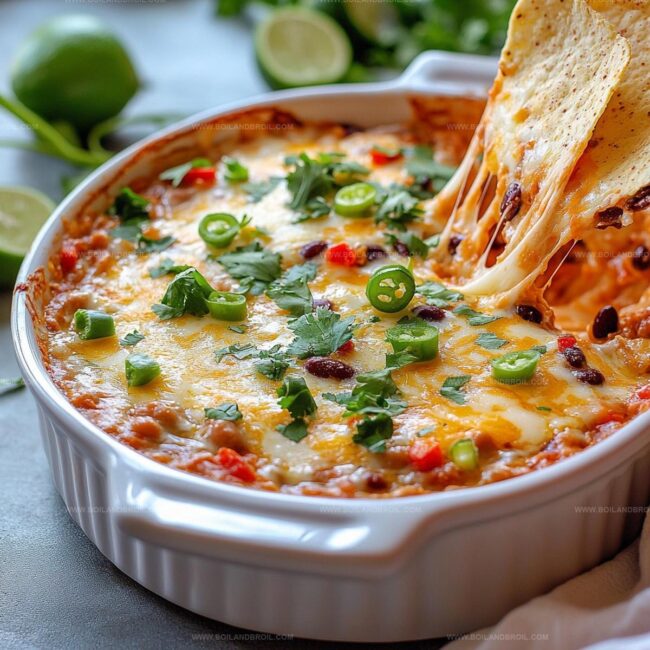
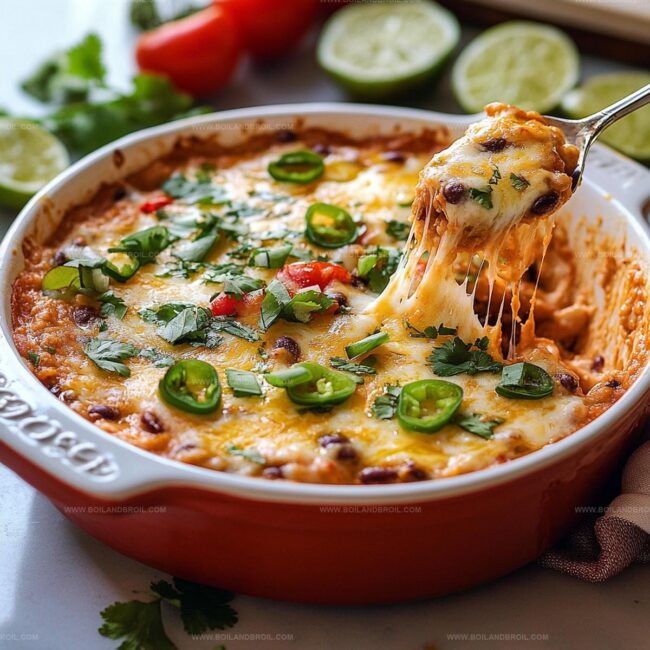
Creamy textures and bold flavors combine in this crowd-pleasing appetizer that sparks instant conversation.
Beans provide a hearty base while melted cheese creates irresistible richness.
Minimal ingredients and quick preparation make this recipe a go-to solution for spontaneous snacking moments.
Spices like cumin and chili powder add unexpected depth to the classic comfort food.
Simple techniques ensure you can whip up this dip faster than ordering takeout.
Scoop up some tortilla chips and get ready to become the ultimate party hero with this mouthwatering creation.
Easy Cheesy Bean Dip Crowd-Pleasing Appetizer
Ingredients for Cheesy Bean Dip
Base Ingredients:Cheese Ingredients:Seasoning and Flavor Enhancers:How to Make Easy Cheesy Bean Dip
Step 1: Warm Up the Oven
Fire up your oven to a cozy 350F (175C).
Get ready for some cheesy magic!
Step 2: Create the Creamy Bean Mixture
Grab a mixing bowl and dive into creating the most delicious base.
Blend together:Whip these ingredients until they’re smooth as silk.
Fold in half of your cheese varieties and those zesty green chilies if you’re feeling adventurous.
Step 3: Spread the Goodness
Take your creamy mixture and spread it evenly into an oven-safe dish.
Make sure it’s smooth and inviting.
Step 4: Cheese Shower
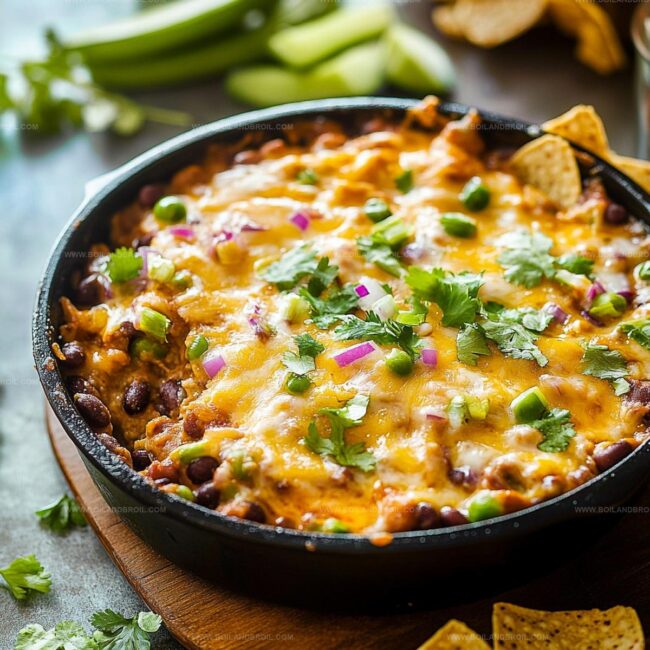
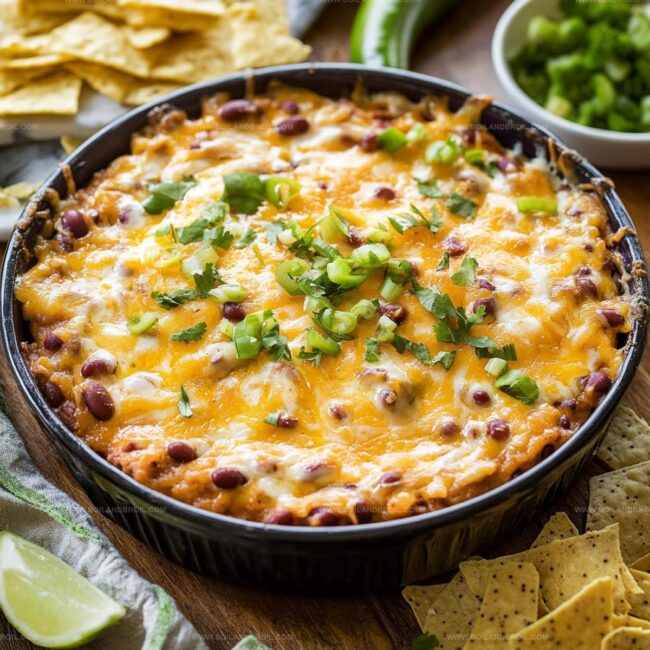
Sprinkle the remaining cheddar and Monterey Jack cheese over the top like you’re creating a delicious blanket of cheesy goodness.
Step 5: Bake to Perfection
Slide the dish into the preheated oven and let it bake for about 20 minutes.
Watch for the cheese to become bubbly and turn a gorgeous golden color.
Step 6: Dive In and Enjoy
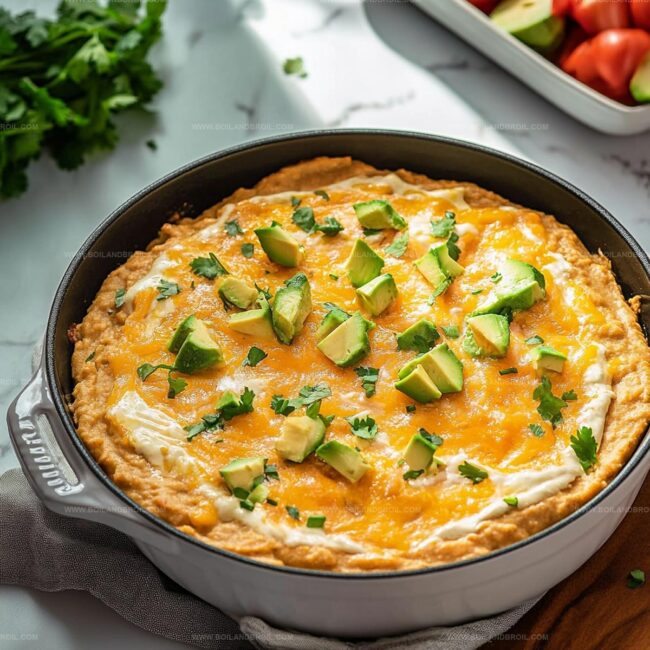
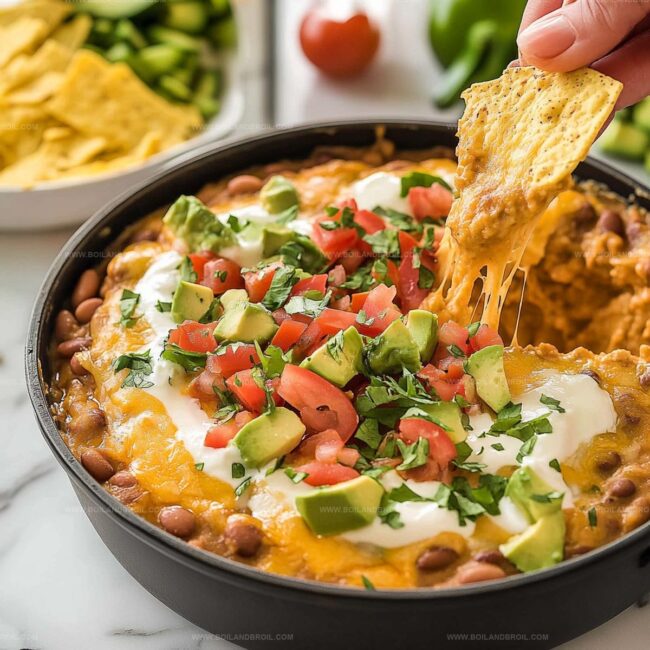
Pull out your masterpiece and serve it warm.
Grab some tortilla chips, crackers, or fresh veggies for dipping.
Get ready for a flavor explosion!
Tips for Melty, Cheesy Bean Dip
Storing and Reheating Cheesy Bean Dip
Best Chips and Veggies for Cheesy Bean Dip
Creative Flavors for Cheesy Bean Dip
FAQs
The key ingredients are refried beans, sour cream, cream cheese, taco seasoning, cheddar cheese, Monterey Jack cheese, and optional green chilies.
Yes, you can prepare the bean dip mixture in advance and refrigerate it. When ready to serve, add the remaining cheese on top and bake for 20 minutes.
The dip has a mild flavor from taco seasoning. Adding green chilies can increase the heat level, but you can control the spiciness by adjusting or omitting them.
It pairs perfectly with tortilla chips, but you can also serve it with crackers or fresh vegetable sticks for a healthier option.
Print
Easy Cheesy Bean Dip Recipe
- Total Time: 30 minutes
- Yield: 8 1x
Description
Creamy easy cheesy bean dip delivers a flavor fiesta that sparks instant party excitement. Packed with zesty spices and melted cheese, this crowd-pleasing appetizer will have guests reaching for more chips and asking for your secret recipe.
Ingredients
Main Protein and Cheese:
- 1 can (16 ounces/454 grams) refried beans
- 1 cup shredded cheddar cheese
- 1 cup shredded Monterey Jack cheese
Creamy Components:
- 1/2 cup sour cream
- 1/2 cup cream cheese, softened
Flavor Enhancers:
- 1 packet taco seasoning
- 1/4 cup diced green chilies (optional)
Instructions
- Prepare the oven by heating to 350°F (175°C), ensuring optimal temperature for melting and blending flavors.
- In a large mixing bowl, whisk together refried beans, sour cream, cream cheese, and taco seasoning until the mixture achieves a silky, uniform consistency.
- Gently fold in half of the shredded cheddar and Monterey Jack cheeses, along with chopped green chilies to distribute ingredients evenly.
- Transfer the creamy bean mixture into a clean oven-safe ceramic or glass dish, smoothing the surface with a spatula for an even layer.
- Generously top the dip with remaining cheese, creating a complete coverage that will melt into a golden, appetizing surface.
- Place the dish in the preheated oven and bake for 20 minutes, watching for the cheese to become bubbly and develop a light golden-brown color.
- Remove from oven and let rest for 3-5 minutes to allow the dip to set slightly and prevent burning.
- Serve immediately alongside crisp tortilla chips, assorted crackers, or fresh vegetable sticks for dipping.
Notes
- Ensure cream cheese is softened at room temperature for smoother mixing and better texture.
- Swap sour cream with Greek yogurt for a healthier, protein-packed alternative that maintains creamy consistency.
- Customize heat levels by adjusting taco seasoning or adding diced jalapeños for extra kick.
- For gluten-free option, verify taco seasoning ingredients and serve with gluten-free tortilla chips or fresh vegetable sticks.
- Prep Time: 10 minutes
- Cook Time: 20 minutes
- Category: Appetizer, Snacks
- Method: Baking
- Cuisine: Mexican
Nutrition
- Serving Size: 8
- Calories: 220
- Sugar: 2 g
- Sodium: 480 mg
- Fat: 14 g
- Saturated Fat: 8 g
- Unsaturated Fat: 6 g
- Trans Fat: 0 g
- Carbohydrates: 18 g
- Fiber: 5 g
- Protein: 10 g
- Cholesterol: 40 mg
Jack Sullivan
Founder & Culinary Storyteller
Expertise
Single-recipe development with a narrative approach, Culinary storytelling and food history, Seasonal and regional ingredient utilization, Home cooking techniques adapted for modern kitchens
Education
New England Culinary Institute (Montpelier, VT)
Certificate in Culinary Arts
Focused on farm-to-table cooking, sustainable practices, and modern plating techniques.
Asheville-Buncombe Technical Community College
Associate Degree in Culinary Arts
Emphasized Southern Appalachian cuisine and local ingredient sourcing.
Jack grew up surrounded by smoky skillets and handwritten recipes in the mountains of North Carolina. His roots in Appalachian cooking shaped the way he sees food – as something that connects people, tells a story, and holds meaning.
With hands-on training and a background in sustainable, regional cooking, Jack started Boil And Broil to make meaningful meals more accessible. He’s all about one-dish recipes that are simple to follow but rich with flavor and history.