The Ultimate Homemade Pizza Roll-Ups Recipe for Family Fun
Crafting a delightful homemade pizza roll-ups can turn an ordinary meal into a culinary adventure.
Cheesy goodness meets creative cooking with this simple yet irresistible dish.
Soft tortillas become the perfect canvas for your favorite pizza-inspired ingredients.
Kids and adults alike will love rolling up these tasty treats in minutes.
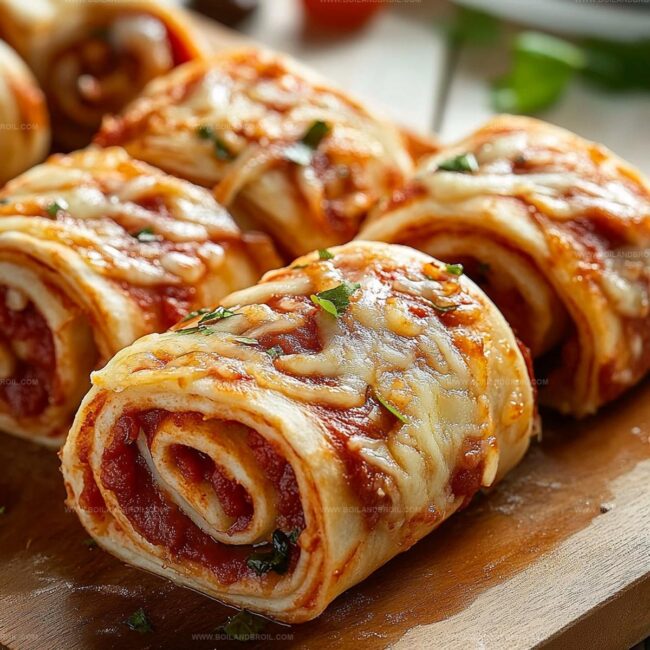
Crispy edges and melted cheese create a mouthwatering combination that screams comfort food.
Minimal effort guarantees maximum satisfaction when you serve these crowd-pleasing snacks.
Dive right in and watch these pizza roll-ups become your new go-to recipe for instant smiles.
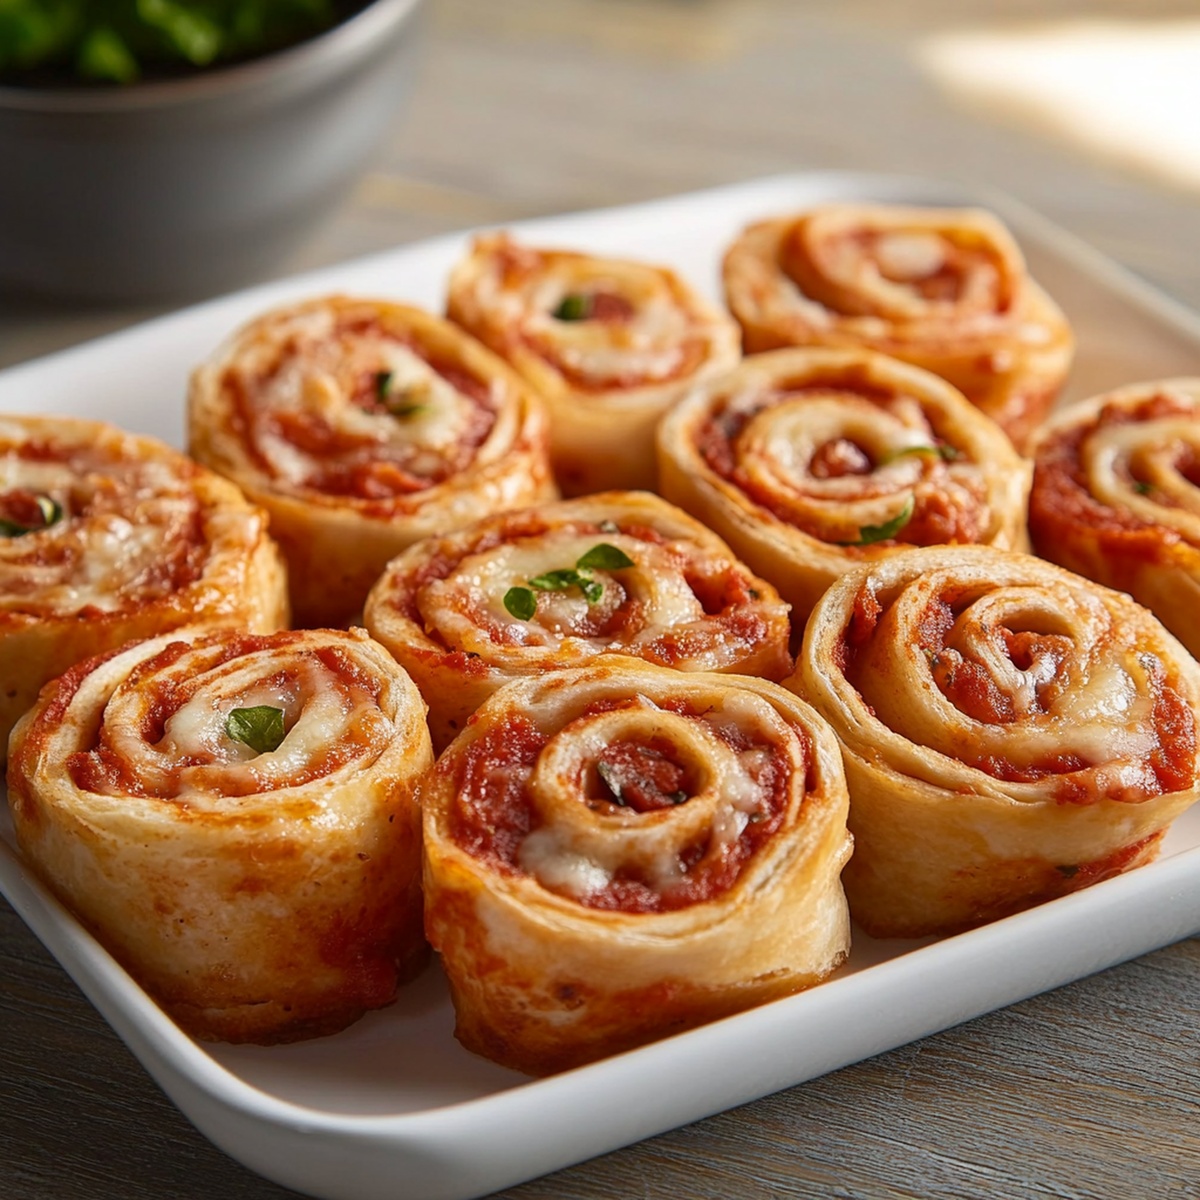
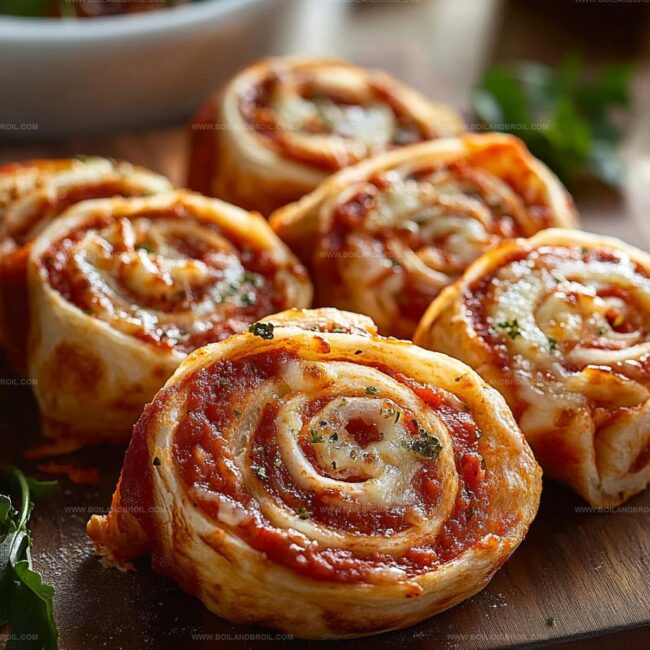
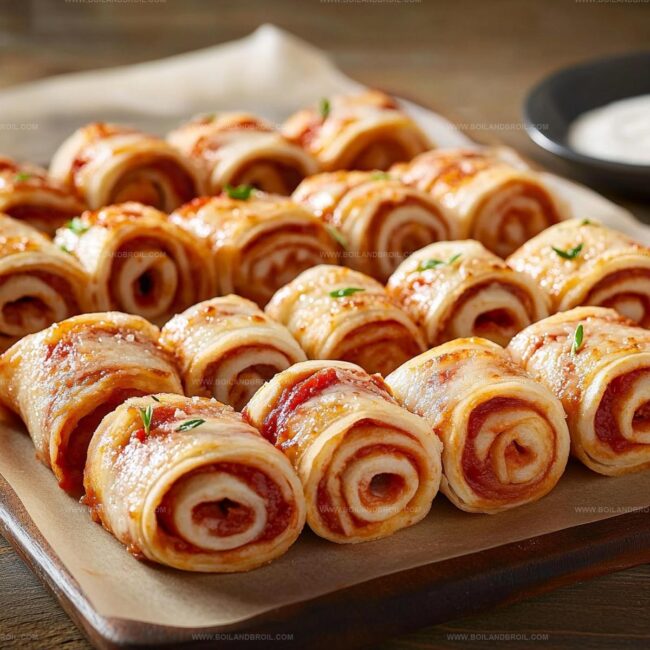
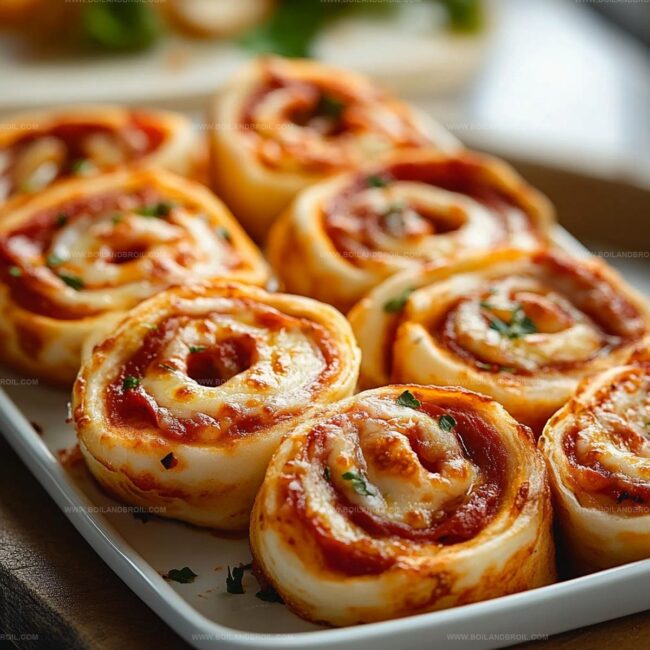
Homemade Pizza Roll Ups Inspiration

Ingredients for Homemade Pizza Roll Ups
How to Prepare Homemade Pizza Roll Ups
Step 1: Warm Up the Oven
Fire up your oven to a toasty 375°F (190°C) so it’s perfectly ready for our delicious pizza roll-ups.
Step 2: Stretch the Dough
Gently roll out your pizza dough into a beautiful rectangular shape on a clean, lightly floured surface.
Make sure it’s smooth and even.
Step 3: Sauce It Up
Spread a generous layer of marinara sauce across the entire surface of the dough, covering every inch with tangy goodness.
Step 4: Add Delicious Toppings
Sprinkle your favorite toppings over the saucy dough.
Consider adding:Step 5: Roll and Slice
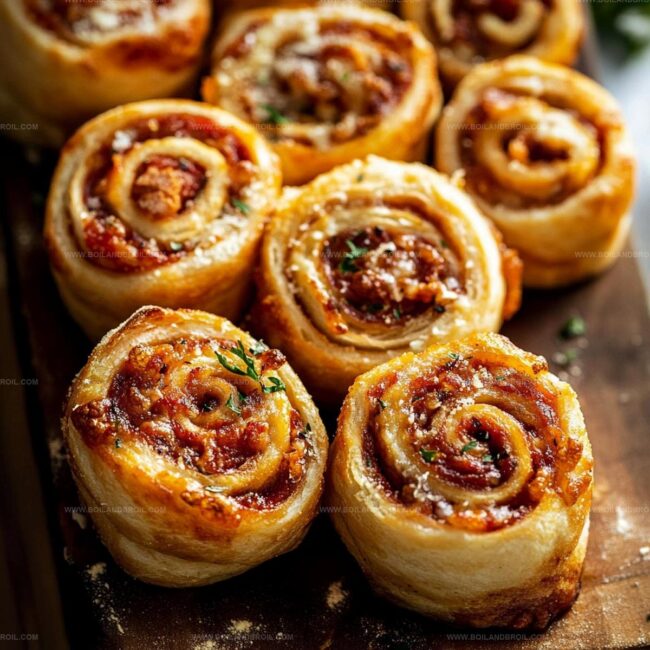
Carefully roll the dough into a tight log, making sure all the toppings stay tucked inside.
Using a sharp knife, slice the log into bite-sized pieces about 1 inch thick.
Step 6: Prepare for Baking
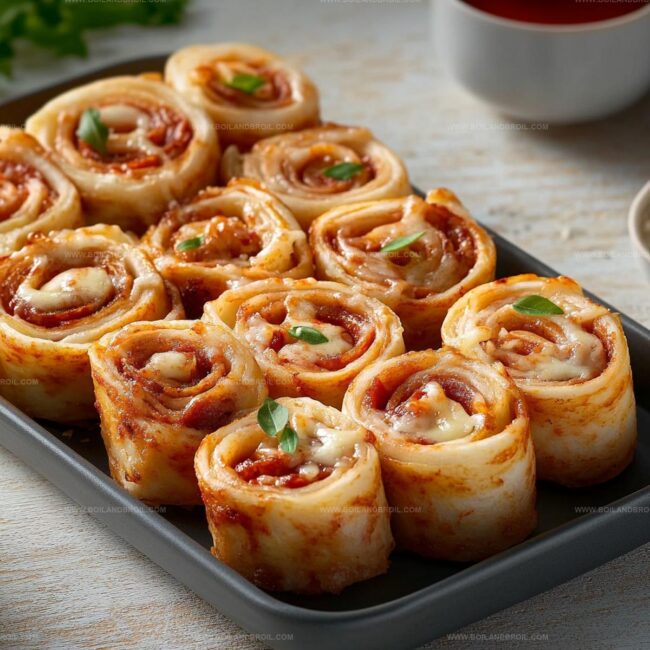
Place the roll-ups cut side up on a greased baking tray.
Brush the tops with olive oil and sprinkle with Italian seasoning for extra flavor.
Step 7: Bake to Perfection
Pop the tray into the preheated oven and bake for 15-18 minutes.
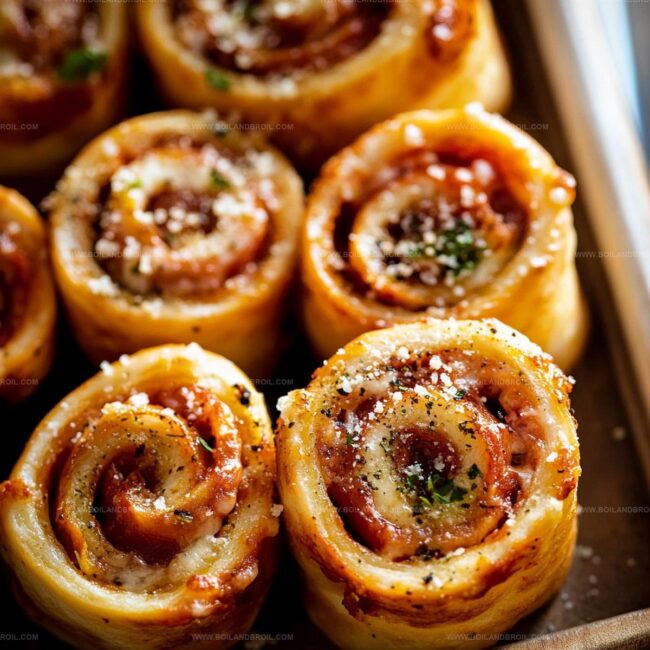
Watch for a golden, bubbly exterior that signals they’re ready to devour.
Remove from the oven and let cool for a few minutes before serving.
Tips for Crispy Homemade Pizza Roll Ups
Storing and Reheating Homemade Pizza Roll Ups
Pairing Suggestions for Homemade Pizza Roll Ups
Variations on Homemade Pizza Roll Ups
FAQs
Yes, pre-made pizza dough works perfectly and saves time. You can find it in most grocery store refrigerated sections.
Pepperoni, ham, cooked sausage, and diced bell peppers are excellent choices. Choose toppings that are pre-cooked and not too watery.
Roll the dough tightly and place the slices cut-side up on the baking tray. The cheese and filling will help seal the edges during baking.
You can prepare the roll-ups and refrigerate them before baking. When ready to serve, bake them directly from the refrigerator, adding a few extra minutes to the cooking time.
Print
Easy Homemade Pizza Roll-Ups Recipe
- Total Time: 33 minutes
- Yield: 4 1x
Description
Delightful pizza roll-ups bring Italian-inspired comfort straight to your kitchen table. Crispy edges, melted cheese, and savory fillings create a perfect handheld meal you’ll crave again and again.
Ingredients
Main Ingredients:
- 1 pre-made pizza dough
- 1 1/2 cups (360 ml) shredded mozzarella cheese
- 1 cup (240 ml) marinara sauce
Toppings and Seasonings:
- 1/2 cup (120 ml) sliced bell peppers or other preferred toppings
- 1 teaspoon Italian seasoning
Oil and Finishing:
- 1 tablespoon olive oil (for brushing)
Instructions
- Prepare a baking sheet by lightly greasing its surface to prevent sticking.
- Transform the pizza dough into a thin, uniform rectangular shape using a rolling pin, ensuring an even thickness.
- Generously coat the dough’s surface with a smooth layer of marinara sauce, leaving a small border around the edges.
- Evenly distribute shredded mozzarella cheese across the sauced surface, followed by your preferred pizza toppings.
- Carefully roll the dough into a compact cylindrical log, applying gentle pressure to create a tight, secure roll.
- Using a sharp knife, slice the log into uniform 1-inch thick rounds, creating individual pizza roll-ups.
- Arrange the sliced rolls on the prepared baking sheet with the cut side facing upward.
- Delicately brush the tops with olive oil and sprinkle a generous pinch of Italian seasoning for enhanced flavor.
- Bake in a preheated oven at 375°F (190°C) for 15-18 minutes, monitoring until the rolls achieve a golden-brown, crispy exterior and the cheese melts completely.
- Remove from the oven and allow to cool for a few minutes before serving warm, ensuring maximum enjoyment of the freshly baked pizza roll-ups.
Notes
- Customize toppings by mixing different cheeses like cheddar or parmesan for added flavor complexity.
- Ensure dough is rolled evenly to create uniform roll-ups that cook consistently and look professional.
- For gluten-free option, substitute regular pizza dough with cauliflower or almond flour-based alternatives to accommodate dietary restrictions.
- Prep roll-ups ahead of time and refrigerate before baking, allowing for convenient meal planning and quick weeknight dinners.
- Prep Time: 15 minutes
- Cook Time: 18 minutes
- Category: Lunch, Snacks, Appetizer
- Method: Baking
- Cuisine: Italian
Nutrition
- Serving Size: 4
- Calories: 320
- Sugar: 2 g
- Sodium: 600 mg
- Fat: 12 g
- Saturated Fat: 5 g
- Unsaturated Fat: 7 g
- Trans Fat: 0 g
- Carbohydrates: 36 g
- Fiber: 2 g
- Protein: 14 g
- Cholesterol: 25 mg
Jack Sullivan
Founder & Culinary Storyteller
Expertise
Single-recipe development with a narrative approach, Culinary storytelling and food history, Seasonal and regional ingredient utilization, Home cooking techniques adapted for modern kitchens
Education
New England Culinary Institute (Montpelier, VT)
Certificate in Culinary Arts
Focused on farm-to-table cooking, sustainable practices, and modern plating techniques.
Asheville-Buncombe Technical Community College
Associate Degree in Culinary Arts
Emphasized Southern Appalachian cuisine and local ingredient sourcing.
Jack grew up surrounded by smoky skillets and handwritten recipes in the mountains of North Carolina. His roots in Appalachian cooking shaped the way he sees food – as something that connects people, tells a story, and holds meaning.
With hands-on training and a background in sustainable, regional cooking, Jack started Boil And Broil to make meaningful meals more accessible. He’s all about one-dish recipes that are simple to follow but rich with flavor and history.