Heavenly Easy No Bake Eggnog Pie Recipe for Holiday Magic
Creamy holiday eggnog pie brings magic to your dessert table without turning on the oven.
Seasonal celebrations demand sweet treats that dazzle guests effortlessly.
Cold and silky, this simple recipe captures winter’s most beloved flavors in minutes.
Festive gatherings welcome such delightful confections that require minimal kitchen effort.
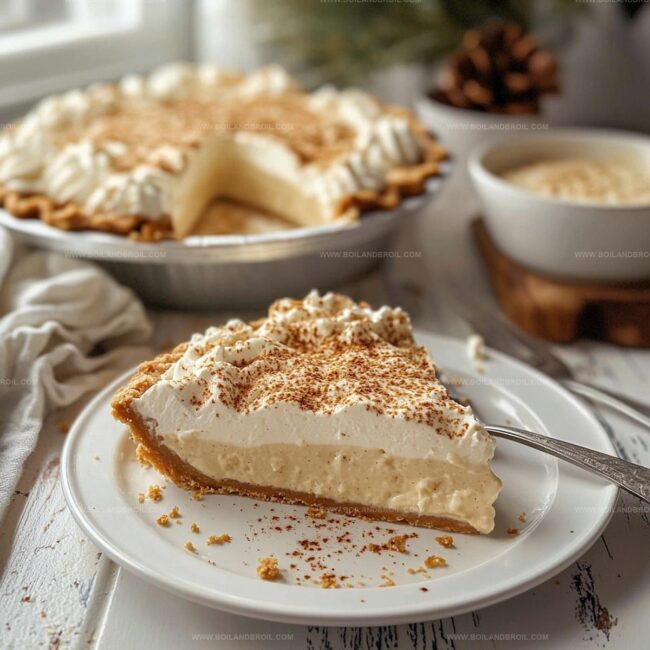
Layers of rich custard and smooth filling promise delectable moments of pure indulgence.
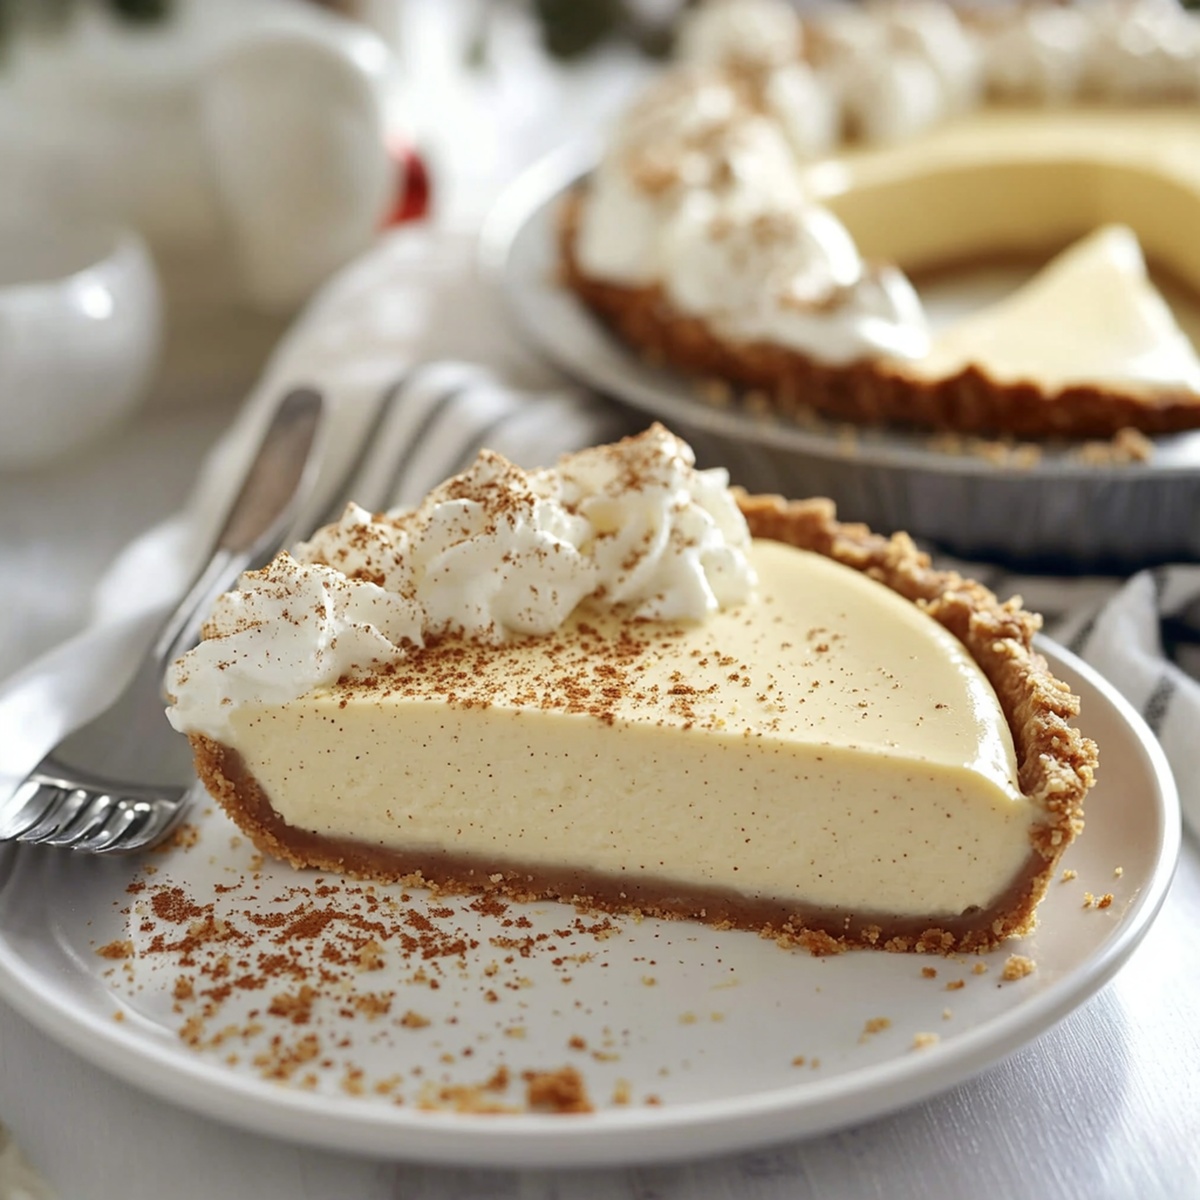
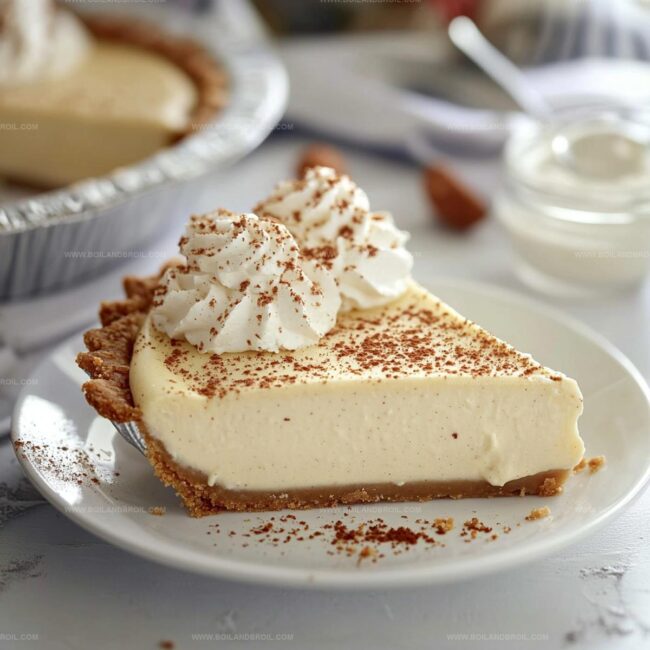
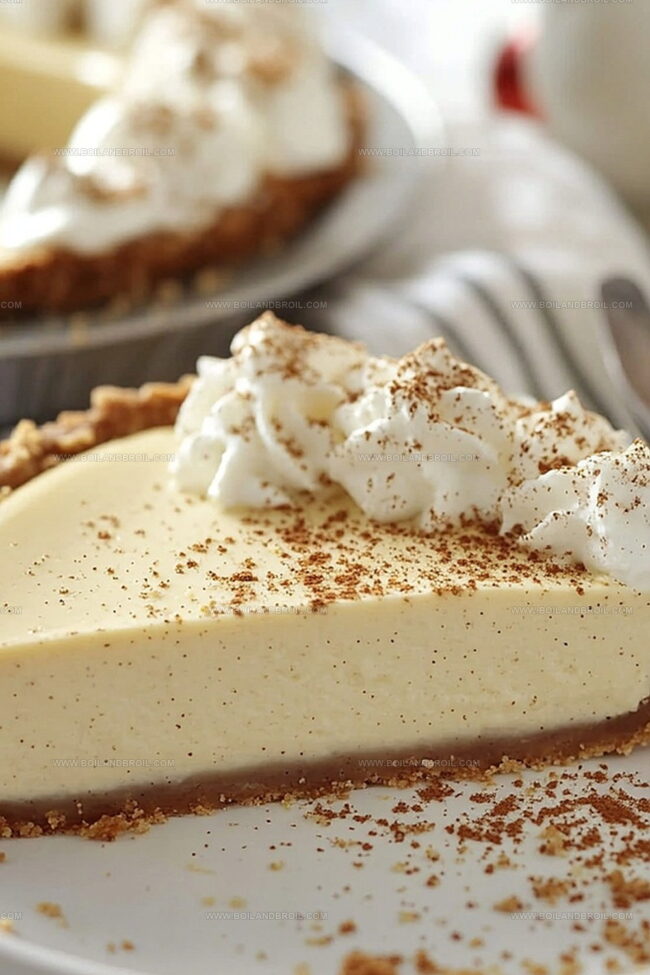
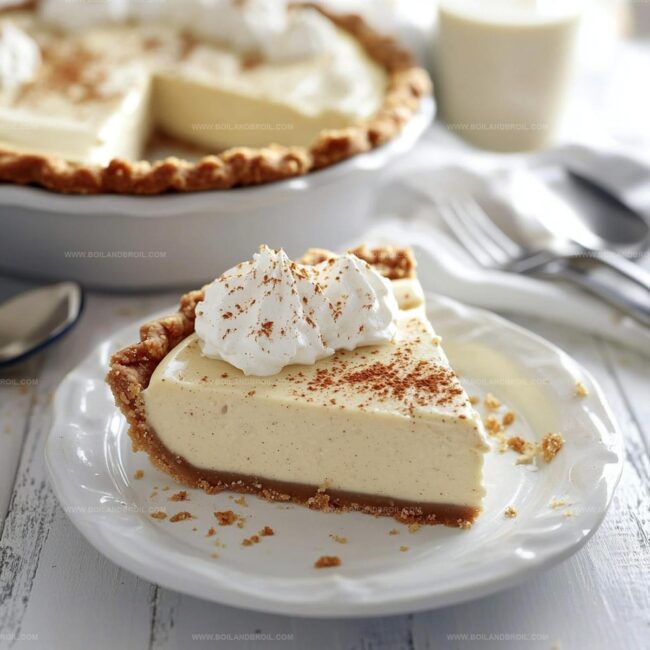
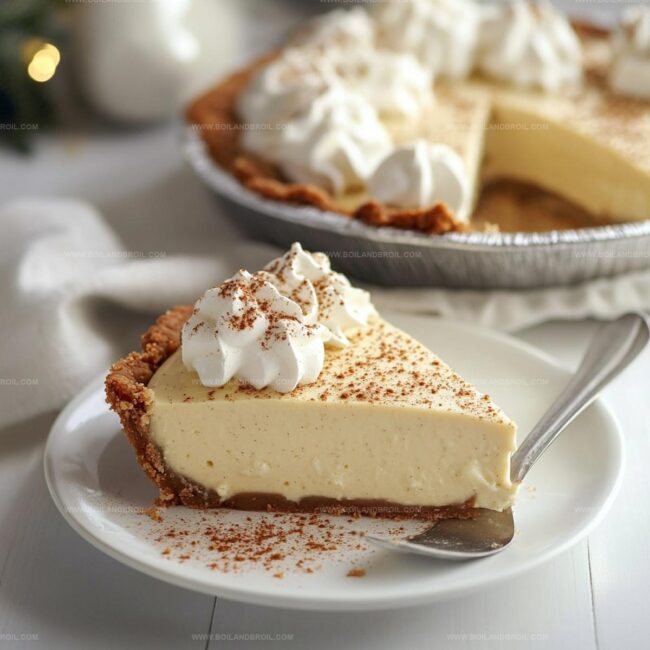
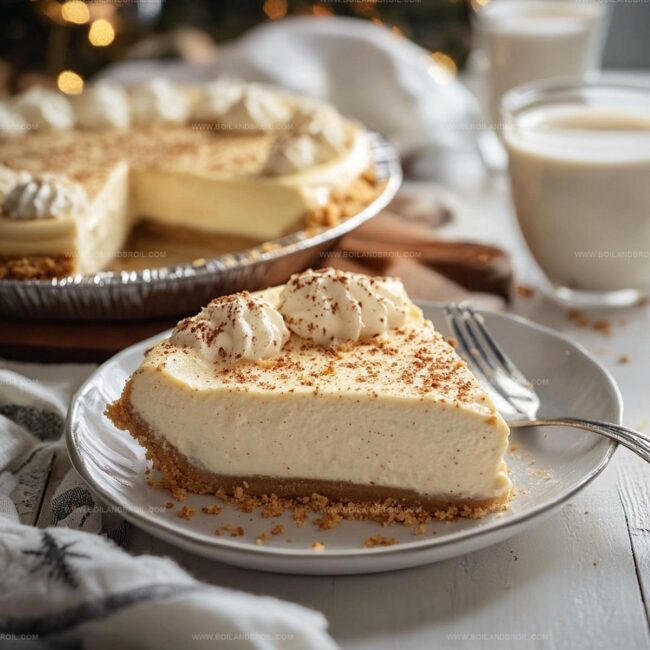
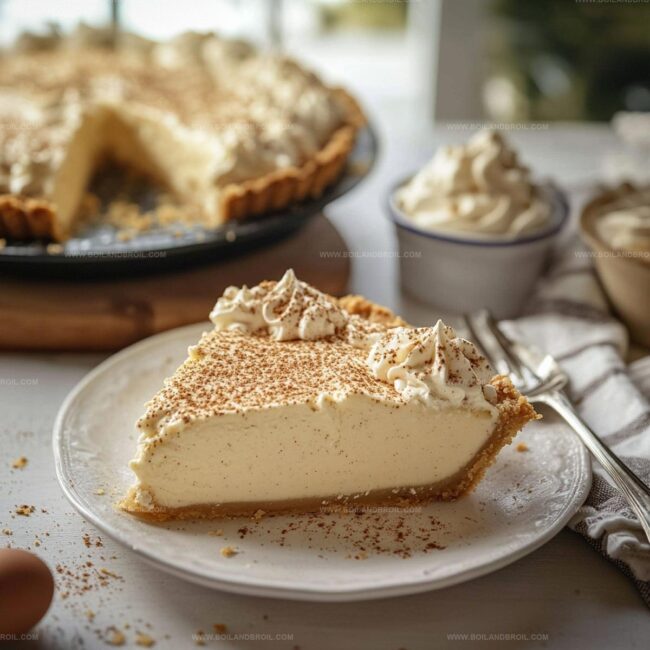
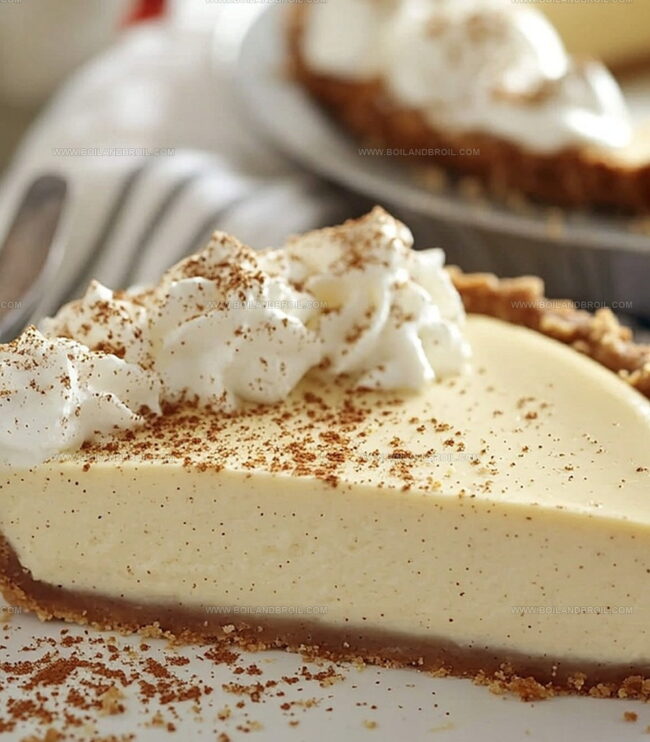
Whipped cream and nutmeg sprinkles complete this elegant dessert that feels like a culinary hug.
Impress everyone with this delightful no-fuss pie that delivers maximum enjoyment with minimal preparation.
Easy No Bake Eggnog Pie Guide
Ingredients for No Bake Eggnog Pie
How to Make No Bake Eggnog Pie
Step 1: Crush Graham Crackers
Pulverize graham crackers into fine crumbs using a food processor or rolling pin.
Crumble them until they resemble sandy texture.
Step 2: Create Crust Foundation
Combine graham cracker crumbs with:Mix ingredients thoroughly until they stick together.
Press mixture firmly into a pie dish, covering bottom and sides evenly.
Compact the crust using the back of a spoon or measuring cup.
Chill in refrigerator for 30 minutes to set.
Step 3: Whip Heavy Cream
Using an electric mixer, beat heavy cream until stiff peaks form.
Set aside in a separate bowl.
Step 4: Blend Creamy Filling
In a large mixing bowl, combine:Blend ingredients until smooth and completely incorporated.
Step 5: Fold and Combine
Gently fold whipped cream into the eggnog mixture.
Stir carefully to maintain cream’s airy texture.
Step 6: Fill and Chill
Pour filling into chilled graham cracker crust.
Spread evenly using a spatula.
Refrigerate pie for 4-6 hours or overnight.
Step 7: Garnish and Serve
Before serving, top pie with additional whipped cream.
Sprinkle ground nutmeg on top for extra festive touch.
Slice and enjoy chilled.
Tips for No Bake Eggnog Pie Success
Storing and Reheating No Bake Eggnog Pie
Pairing Ideas for No Bake Eggnog Pie
Variations for No Bake Eggnog Pie
FAQs
Yes, this pie is perfect for preparing in advance. You can make it up to 2 days before serving and keep it refrigerated until ready to enjoy.
The cream cheese is mixed with eggnog and whipped cream, which helps create a safe and creamy texture. If you’re concerned, use pasteurized cream cheese for added safety.
The pie is set when it’s firm to the touch and doesn’t wiggle when you gently shake the pan. It typically takes about 4 hours of chilling to reach the right consistency.
Absolutely! Homemade eggnog works great and can add a more personalized flavor to your pie. Just ensure it’s well-chilled before mixing into the filling.
Print
Easy No Bake Eggnog Pie Recipe
- Total Time: 30 minutes
- Yield: 8 1x
Description
Creamy, festive eggnog pie brings holiday cheer with minimal effort. Sweet, spiced filling nestled in a crisp graham cracker crust delivers classic Christmas comfort you’ll savor with each delightful bite.
Ingredients
Crust Ingredients:
- 1 1/2 cups graham cracker crumbs
- 1/3 cup granulated sugar
- 1/2 cup melted butter (113 grams)
Filling Ingredients:
- 1 1/2 cups eggnog
- 1 cup heavy whipping cream
- 1 package (8 ounces / 226 grams) cream cheese, softened
- 1 cup powdered sugar
- 1 teaspoon vanilla extract
Spice Ingredients:
- 1/2 teaspoon ground nutmeg
- 1/4 teaspoon ground cinnamon
Instructions
- Create a delectable graham cracker foundation by mixing crumbs with sugar and melted butter, pressing firmly into a 9-inch pie dish. Chill in refrigerator for 30 minutes to solidify the base.
- Whip heavy cream until stiff peaks form, creating a light and airy texture. Set aside.
- In a separate mixing bowl, blend cream cheese with eggnog, powdered sugar, vanilla extract, nutmeg, and cinnamon until achieving a silky, uniform consistency.
- Gently fold the whipped cream into the eggnog mixture, ensuring a soft, integrated filling without deflating the cream’s volume.
- Carefully transfer the creamy filling into the chilled graham cracker crust, spreading evenly with a spatula to create a smooth surface.
- Refrigerate the pie for a minimum of 4 hours, preferably overnight, allowing the filling to set and flavors to meld together.
- Before serving, garnish the pie with a delicate layer of whipped cream and a light dusting of ground nutmeg for an elegant finishing touch.
Notes
- Enhance crust texture by using a measuring cup or flat-bottomed glass to press graham cracker mixture evenly and firmly into the pie pan.
- Achieve a lighter, fluffier filling by ensuring cream cheese is at room temperature before mixing to prevent lumps and create a smoother consistency.
- Customize the pie for dietary needs by using gluten-free graham crackers or a nut-based crust, and substitute dairy-free alternatives like coconut cream and vegan cream cheese for a lactose-free version.
- Elevate presentation by creating decorative whipped cream swirls or using a stencil to dust nutmeg in an artistic pattern on top of the pie.
- Prep Time: 30 minutes
- Cook Time: 0 minutes
- Category: Desserts
- Method: Chilling
- Cuisine: American
Nutrition
- Serving Size: 8
- Calories: 400
- Sugar: 30 g
- Sodium: 150 mg
- Fat: 28 g
- Saturated Fat: 17 g
- Unsaturated Fat: 10 g
- Trans Fat: 0 g
- Carbohydrates: 36 g
- Fiber: 1 g
- Protein: 4 g
- Cholesterol: 90 mg
Jack Sullivan
Founder & Culinary Storyteller
Expertise
Single-recipe development with a narrative approach, Culinary storytelling and food history, Seasonal and regional ingredient utilization, Home cooking techniques adapted for modern kitchens
Education
New England Culinary Institute (Montpelier, VT)
Certificate in Culinary Arts
Focused on farm-to-table cooking, sustainable practices, and modern plating techniques.
Asheville-Buncombe Technical Community College
Associate Degree in Culinary Arts
Emphasized Southern Appalachian cuisine and local ingredient sourcing.
Jack grew up surrounded by smoky skillets and handwritten recipes in the mountains of North Carolina. His roots in Appalachian cooking shaped the way he sees food – as something that connects people, tells a story, and holds meaning.
With hands-on training and a background in sustainable, regional cooking, Jack started Boil And Broil to make meaningful meals more accessible. He’s all about one-dish recipes that are simple to follow but rich with flavor and history.