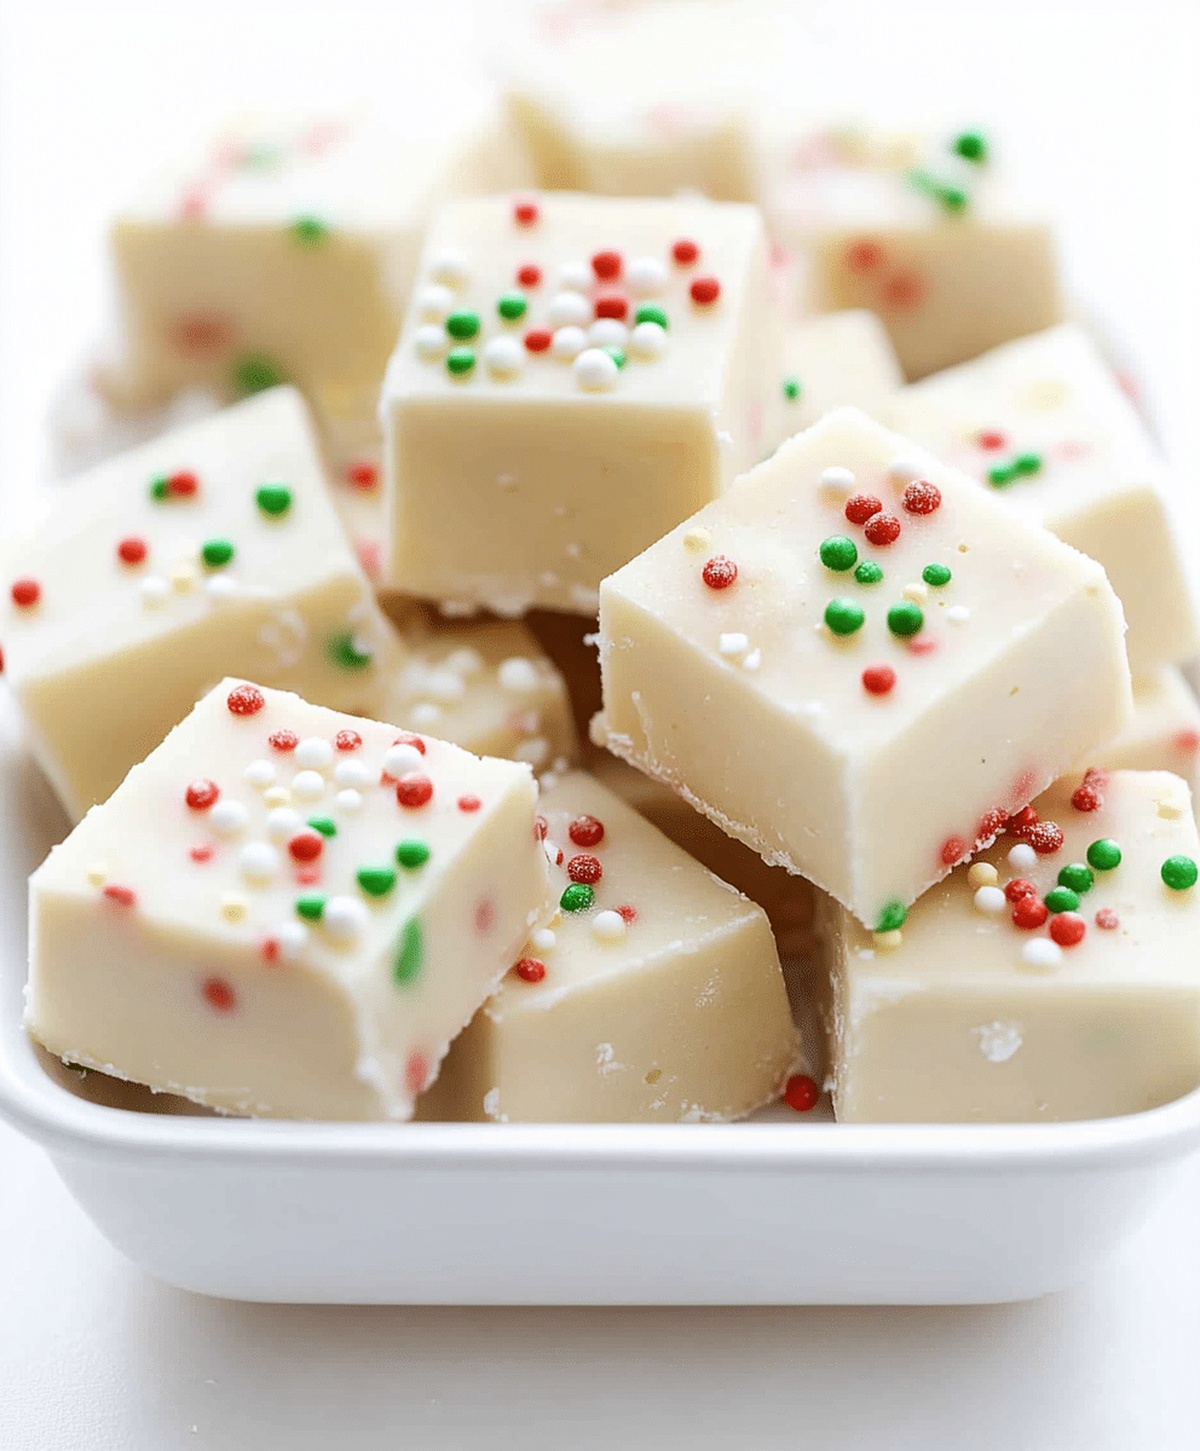
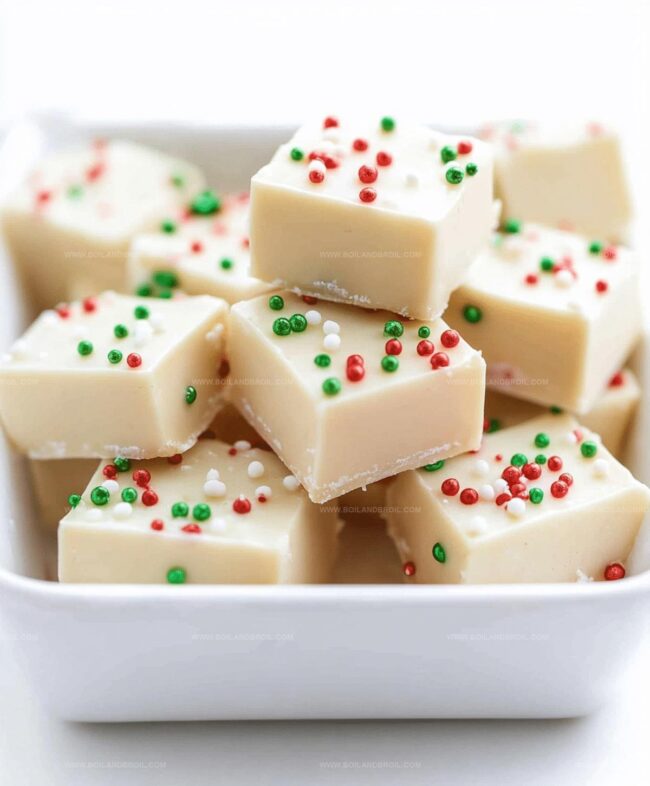
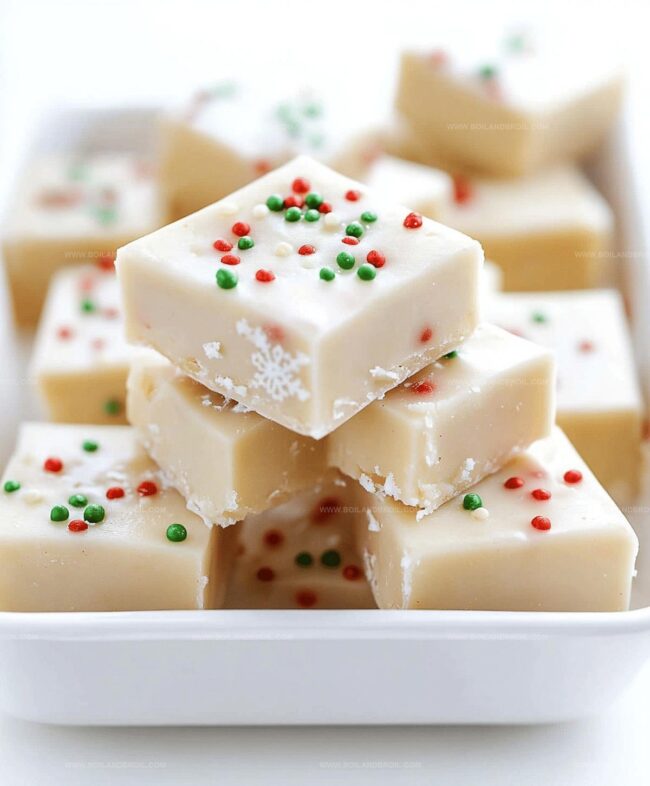
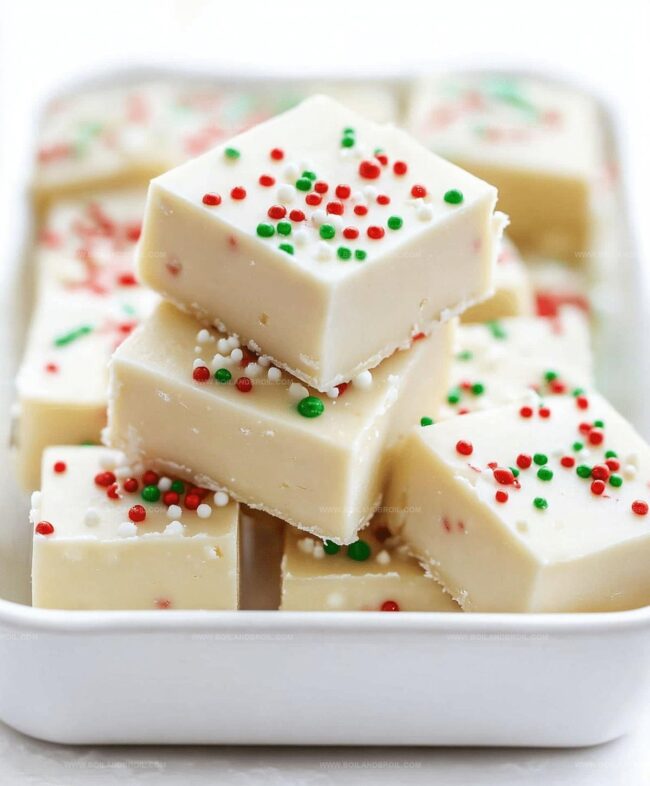
Easy Holiday Magic: Sugar Cookie Christmas Fudge Recipe
Christmas gatherings sparkle with this delightful sugar cookie Christmas fudge recipe that blends festive sweetness and creamy texture.
Crisp winter days call for indulgent treats that warm the heart and delight the senses.
Rich layers of buttery sugar cookies meld perfectly with smooth, decadent fudge.
Every bite brings memories of holiday cheer and cozy moments around the kitchen counter.
The combination creates a dessert that looks stunning and tastes even better.
Simple ingredients transform into a magical confection that will have everyone asking for seconds.
Serve this irresistible treat and watch smiles spread faster than melting chocolate.
FAQs
Yes, you can substitute the sugar cookie mix with other flavors like vanilla or funfetti mix. Just ensure it’s a dry mix that will blend well with the fudge base.
Absolutely! Kids can help with stirring, adding sprinkles, and pouring the mixture. Just supervise them around the hot stovetop and ensure adult handling of heating steps.
The fudge will keep in an airtight container in the refrigerator for up to 7 days. For best texture and taste, store it between layers of parchment paper to prevent sticking.
You can use an 8×8 or 9×13 pan. Just adjust the thickness of the fudge and keep an eye on setting time. A larger pan will result in thinner fudge squares.
Why Sugar Cookie Fudge Is a Sweet Surprise
Ingredients for Christmas Sugar Cookie Fudge
Base Ingredients:Decorative Ingredients:Optional Ingredients:Making Sugar Cookie Fudge Made Simple
Step 1: Prepare Baking Dish
Line a 9×9 inch baking dish with parchment paper, allowing extra paper to hang over the sides for easy removal.
Lightly spray the parchment with non-stick cooking spray to prevent sticking.
Step 2: Create Fudge Base
In a large pot over medium heat, warm sweetened condensed milk.
Gently stir to prevent scorching.
Add ingredients:Continue stirring until everything melts into a smooth, glossy mixture.
This process takes about 5-7 minutes, so maintain patience and keep the heat steady.
Step 3: Incorporate Festive Sprinkles
Remove the pot from heat.
Carefully fold in Christmas sprinkles, being gentle to prevent color bleeding.
Mix just enough to distribute sprinkles evenly throughout the fudge.
Step 4: Pour and Decorate
Transfer the fudge mixture into the prepared baking dish.
Use a spatula to spread it evenly across the surface.
Sprinkle additional colorful Christmas sprinkles on top for extra visual appeal.
Step 5: Chill and Set
Place the dish in the refrigerator.
Allow the fudge to set for at least 2 hours, though overnight chilling produces the best results.
The fudge should become firm and solid.
Step 6: Slice and Serve
Once completely set, lift the fudge out of the dish using the parchment paper edges.
Cut into small, bite-sized squares.
Serve and enjoy your festive sweet treat!
Helpful Tips for Fudgy Perfection
Storing and Warming Sugar Cookie Fudge
Pairing This Fudge with Other Holiday Treats
Creative Sugar Cookie Fudge Ideas
Print
Easy Sugar Cookie Christmas Fudge Recipe
- Total Time: 2 hours 15 minutes
- Yield: 16 1x
Description
Festive holiday magic comes alive with Sugar Cookie Christmas Fudge, blending sweet nostalgia and creamy indulgence. Crumbly cookie pieces nestled in silky white chocolate create a delightful seasonal treat you’ll savor with pure Christmas cheer.
Ingredients
Main Ingredients:
- 2 1/2 cups (340 grams) white chocolate chips
- 1 14-ounce (397 grams) can sweetened condensed milk
- 1 1/4 cups (150 grams) sugar cookie mix
Binding/Flavoring Ingredients:
- 2 tablespoons (30 grams) butter
Decorative Ingredients:
- Christmas sprinkles
Instructions
- Prepare a 9×9 inch baking dish by lining it with parchment paper, ensuring the edges extend over the sides for easy removal. Lightly spray the parchment with non-stick cooking spray.
- In a large pot over medium heat, warm the sweetened condensed milk, stirring continuously to prevent scorching. Maintain a gentle heat to avoid burning.
- Add white chocolate chips, sugar cookie mix, and butter to the warm milk. Stir consistently until the ingredients melt and create a smooth, glossy mixture. This process typically takes 5-7 minutes.
- Carefully fold in Christmas sprinkles, gently mixing to prevent color bleeding. Avoid overstirring to maintain the sprinkles’ vibrant appearance.
- Transfer the fudge mixture to the prepared baking dish, using a spatula to spread it evenly across the surface. Scatter additional sprinkles on top for decorative flair.
- Refrigerate the fudge for a minimum of 2 hours, or preferably overnight, until completely set and firm. Once chilled, lift the fudge out using the parchment paper edges.
- Slice the fudge into bite-sized squares, creating uniform pieces for serving. Store in an airtight container in the refrigerator for optimal texture and freshness.
Notes
- Gentle heating prevents chocolate from seizing, ensuring a smooth, creamy fudge texture that melts in your mouth.
- Use room temperature ingredients to help them blend more evenly and create a consistent fudge base.
- Christmas sprinkles can be swapped with seasonal or themed options to match different celebrations or personal preferences.
- Store fudge in an airtight container in the refrigerator for up to a week, making it perfect for make-ahead holiday treats.
- Prep Time: 15 minutes
- Cook Time: 2 hours
- Category: Desserts, Snacks
- Method: Simmering
- Cuisine: American
Nutrition
- Serving Size: 16
- Calories: 139
- Sugar: 10 g
- Sodium: 50 mg
- Fat: 7 g
- Saturated Fat: 4 g
- Unsaturated Fat: 2 g
- Trans Fat: 0 g
- Carbohydrates: 19 g
- Fiber: 0 g
- Protein: 1 g
- Cholesterol: 15 mg
Clara Thompson
Recipe Developer & Culinary Educator
Expertise
Developing accessible single-serving recipes, Food writing and content creation, Plant-based and allergen-friendly cooking, Culinary education and workshop facilitation
Education
Oregon Culinary Institute (Portland, OR)
Diploma in Culinary Arts
Specialized in plant-based cooking and sustainable kitchen practices.
Portland Community College
Certificate in Food Writing and Media
Focused on recipe writing, food photography, and digital content creation.
Clara’s food journey began with a curiosity for color, texture, and ingredients pulled straight from the garden. Her background in plant-forward cooking and creative writing gives her a unique edge – she makes healthy, flavorful food feel inviting, not intimidating.
She specializes in meals that work for busy lives and different diets, all without sacrificing taste. Clara’s voice comes through in every recipe she writes – clear, kind, and encouraging.