
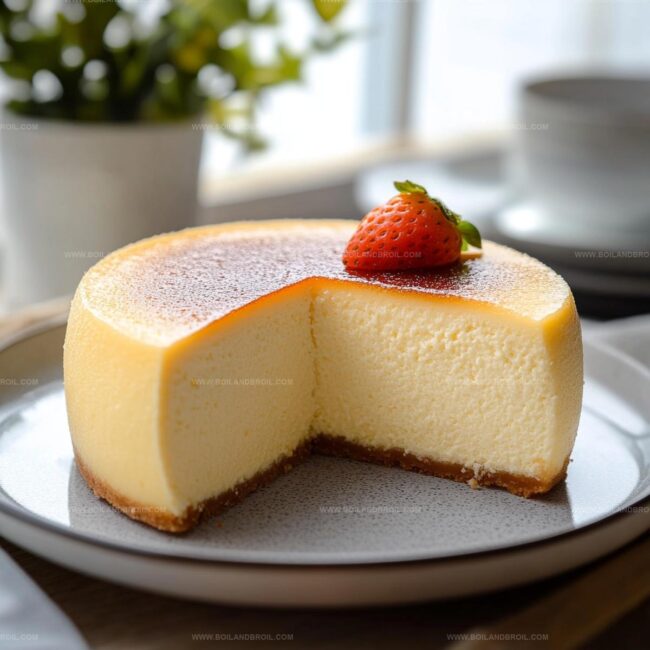
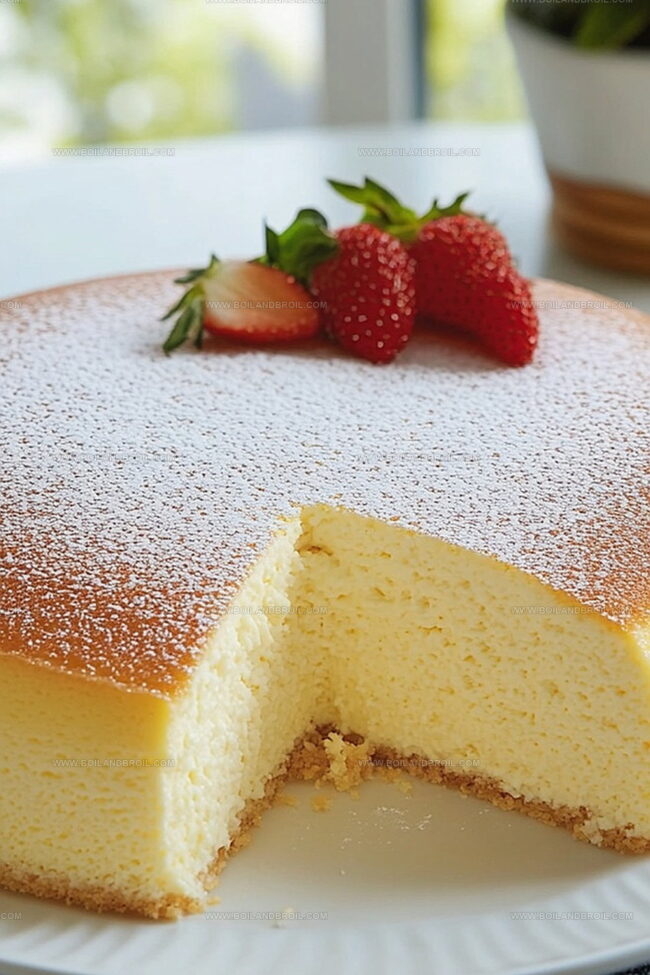
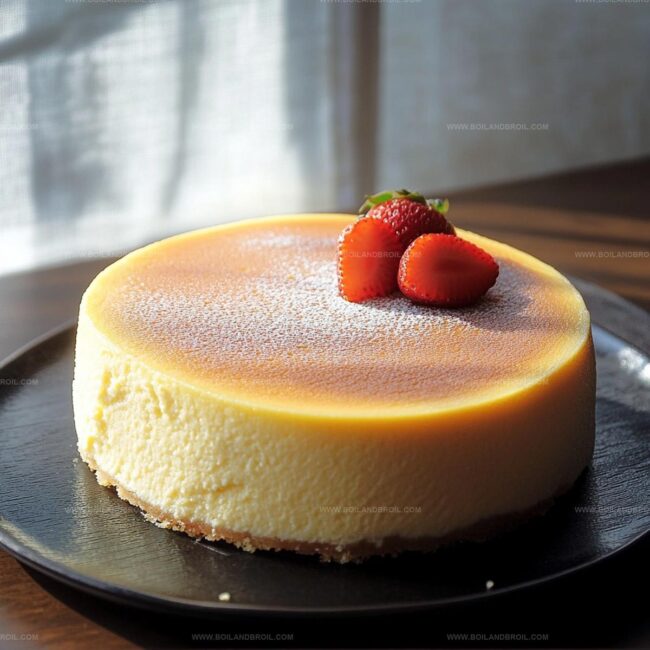
Fluffy, Dreamy Japanese Cheesecake Recipe That Jiggles
Crafting a dreamy jiggly Japanese cheesecake requires precision and passion that will delight your senses.
Soft clouds of baked goodness emerge from careful mixing techniques passed down through generations.
Whisked egg whites create an incredible texture unlike traditional dense desserts.
Light as air and melting smoothly, this treat surprises everyone who tastes it.
Precise temperature control matters more than complicated ingredients in achieving perfect wobble.
Professional bakers know subtle techniques make extraordinary differences in texture and taste.
You might fall in love with how easily this delicate dessert comes together.
One bite promises to transport you straight to a charming tokyo bakery.
Fluffy Jiggly Japanese Cheesecake That’s Light as Air
Ingredients for Fluffy Jiggly Japanese Cheesecake
Make a Fluffy Jiggly Japanese Cheesecake at Home

Step 1: Prepare Baking Setup
Warm up your oven to 320F.
Grab an 8-inch springform pan and coat it with a light butter layer.
Spread parchment paper across the bottom for easy cake removal.
Step 2: Create Creamy Base Mixture
Set up a double boiler with simmering water.
Gently melt:Stir in milk and remove from heat once everything transforms into a smooth liquid.
Step 3: Whip Gorgeous Egg Yolk Blend
Combine in a mixing bowl:Whisk until the mixture becomes thick and turns a pale yellow.
Pour in the melted cream cheese mixture and blend until silky smooth.
Step 4: Incorporate Dry Ingredients
Sift together:Fold these powdery ingredients into the batter, ensuring no lumps remain.
Step 5: Whip Magical Egg White Clouds
Beat egg whites until soft peaks form.
Gradually sprinkle remaining sugar while continuing to whip until stiff, glossy peaks develop.
Step 6: Fold Delicate Mixture
Gently fold egg white clouds into the yolk mixture.
Use a careful lifting motion to maintain airiness, adding in three separate additions.
Step 7: Prepare Water Bath Technique
Pour batter into prepared pan.
Tap pan gently to release any hidden air bubbles.
Place pan inside a larger roasting dish.
Fill surrounding area with hot water to create a steamy bath.
Step 8: Bake to Perfection
Slide into preheated oven.
Bake for 60-70 minutes until the top turns golden brown.
The center should have a gentle jiggle when lightly shaken.
Step 9: Cool and Rest
Turn off oven.
Crack the door open and let cake rest inside for one hour.
Remove and cool completely at room temperature.
Refrigerate for minimum 4 hours before serving.
Helpful Tips for Japanese Cheesecake Texture
Storing and Reheating Japanese Cheesecake Gently
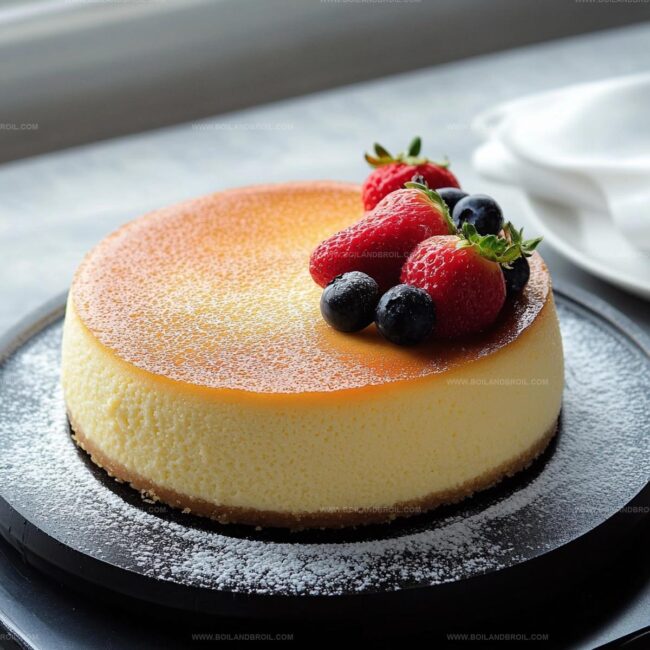
Serving Fluffy Japanese Cheesecake with Style
Flavor Variations for Japanese Cheesecake Fans
FAQs
The water bath helps create a gentle, even heat that prevents cracking and ensures the cake bakes uniformly, resulting in a super smooth and tender texture.
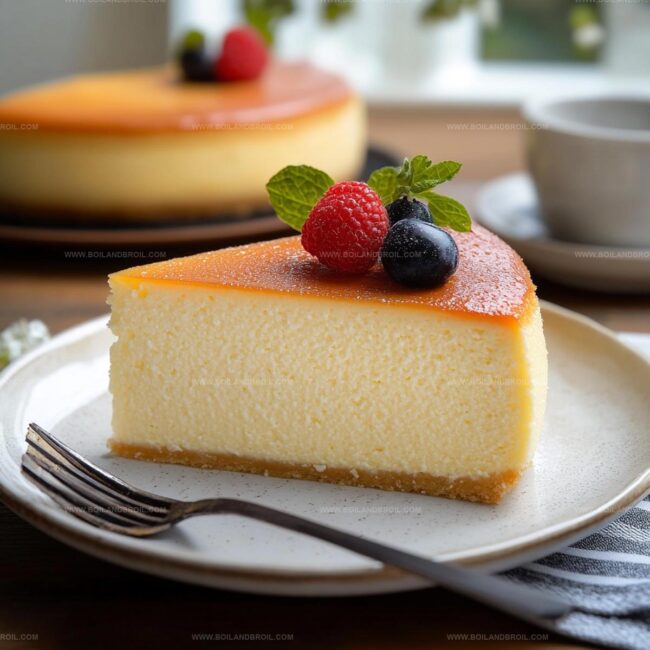
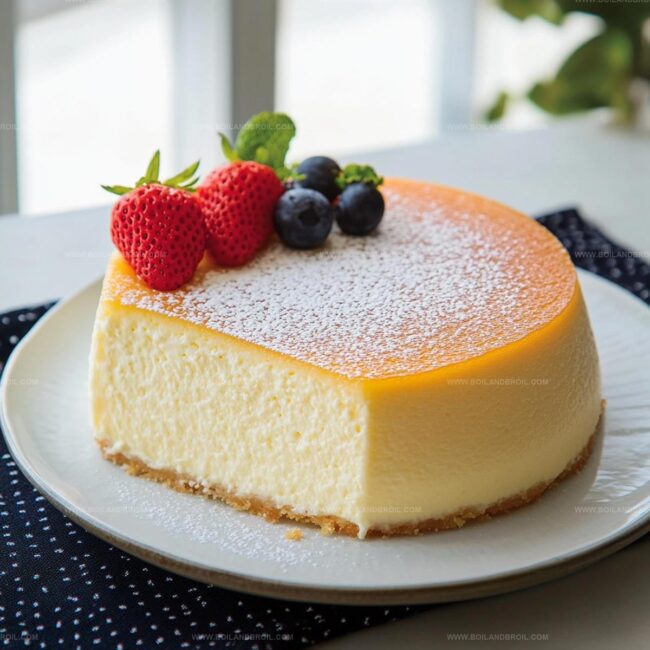
This Japanese-style cheesecake is lighter, fluffier, and less dense, with a souffle-like texture that’s achieved by whipping egg whites and carefully folding them into the batter.
It’s best to use full-fat cream cheese and whole milk to ensure the rich, creamy texture that’s characteristic of Japanese cheesecake. Low-fat alternatives might compromise the cake’s signature softness.
Gentle folding preserves the air bubbles in the whipped egg whites, which gives the cheesecake its signature light, airy, and jiggly texture. Overmixing can deflate these crucial air pockets.
Print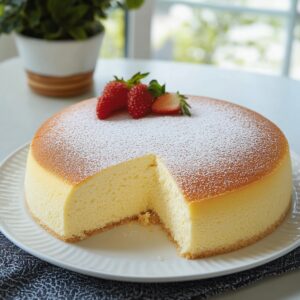
Fluffy Jiggly Japanese Cheesecake Recipe
- Total Time: 6 hours 50 minutes
- Yield: 8 1x
Description
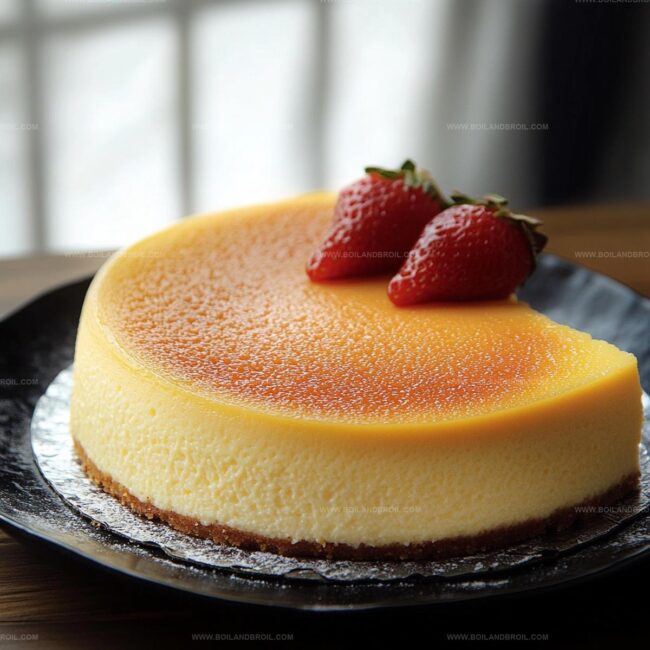
Japanese cheesecake delights with its cloud-like texture and delicate flavor profile. Silky smooth yet light as air, this heavenly dessert promises a melt-in-your-mouth experience that transports you straight to Tokyo’s finest bakeries.
Ingredients
Main Ingredients:
- 4 large eggs, separated
- 8 ounces (226 grams) cream cheese, softened
- 1/2 cup (113 grams) unsalted butter
- 3/4 cup (150 grams) granulated sugar
- 1/2 cup (120 milliliters) whole milk (or any milk of choice)
Baking Ingredients:
- 1/4 cup (30 grams) all-purpose flour
- 2 tablespoons (16 grams) cornstarch
Flavor Enhancers:
- 1 tablespoon lemon juice
- 1 teaspoon vanilla extract
Instructions
- Prepare a water bath setup by selecting an 8-inch springform pan and a larger roasting pan. Line the springform pan’s bottom with parchment paper and lightly grease the sides.
- Create a double boiler to gently melt cream cheese and butter until smooth and combined. Incorporate milk into the melted mixture and remove from heat.
- Whisk egg yolks with sugar until the mixture transforms into a thick, pale cream. Add lemon juice and vanilla extract, blending thoroughly.
- Gradually fold the warm cream cheese mixture into the egg yolk blend, ensuring a silky, uniform texture.
- Sift flour and cornstarch directly into the batter, stirring carefully to prevent lumps and achieve a smooth consistency.
- Separate egg whites into a clean bowl and whip until soft, cloud-like peaks emerge. Gradually introduce remaining sugar while continuing to beat.
- Elevate the egg whites to stiff, glossy peaks that hold their shape when the whisk is lifted.
- Gently incorporate egg whites into the batter using a delicate folding technique, preserving the airiness in three careful additions.
- Transfer the aerated batter to the prepared pan, tapping gently to eliminate potential air pockets.
- Position the springform pan inside the larger roasting pan and carefully pour hot water around the sides, creating a precise water bath.
- Bake at 320°F (160°C) for 60-70 minutes until the surface achieves a golden-brown hue and the center maintains a subtle, elegant jiggle.
- Turn off the oven and leave the cake inside with the door slightly ajar for one hour, allowing gradual cooling and preventing sudden temperature shifts.
- Remove from the oven and cool completely at room temperature before refrigerating for a minimum of 4 hours to set the delicate structure.
Notes
- Opt for room temperature ingredients to ensure smooth blending and prevent lumps in the batter.
- Use a clean, dry whisk and bowl when beating egg whites to achieve maximum volume and stability.
- Gently fold egg whites to maintain the cake’s signature light and airy texture, avoiding deflating the mixture.
- Create a foolproof water bath by wrapping the springform pan’s exterior with aluminum foil to prevent water seepage.
- Prep Time: 5 hours 45 minutes
- Cook Time: 65 minutes
- Category: Desserts
- Method: Baking
- Cuisine: Japanese
Nutrition
- Serving Size: 8
- Calories: 211
- Sugar: 14 g
- Sodium: 150 mg
- Fat: 15 g
- Saturated Fat: 9 g
- Unsaturated Fat: 4 g
- Trans Fat: 0 g
- Carbohydrates: 18 g
- Fiber: 0 g
- Protein: 4 g
- Cholesterol: 70 mg
Jack Sullivan
Founder & Culinary Storyteller
Expertise
Single-recipe development with a narrative approach, Culinary storytelling and food history, Seasonal and regional ingredient utilization, Home cooking techniques adapted for modern kitchens
Education
New England Culinary Institute (Montpelier, VT)
Certificate in Culinary Arts
Focused on farm-to-table cooking, sustainable practices, and modern plating techniques.
Asheville-Buncombe Technical Community College
Associate Degree in Culinary Arts
Emphasized Southern Appalachian cuisine and local ingredient sourcing.
Jack grew up surrounded by smoky skillets and handwritten recipes in the mountains of North Carolina. His roots in Appalachian cooking shaped the way he sees food – as something that connects people, tells a story, and holds meaning.
With hands-on training and a background in sustainable, regional cooking, Jack started Boil And Broil to make meaningful meals more accessible. He’s all about one-dish recipes that are simple to follow but rich with flavor and history.