
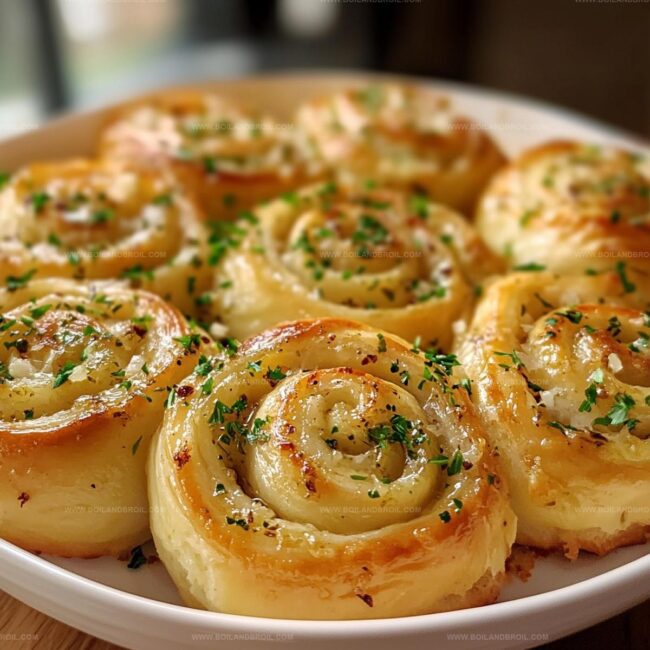
Garlic Swirl Rolls: The Homemade Buttery Bliss Recipe
Warm, pillowy garlic swirl rolls have become my ultimate comfort food obsession.
Soft dough spirals infused with aromatic herbs promise a mouthwatering experience.
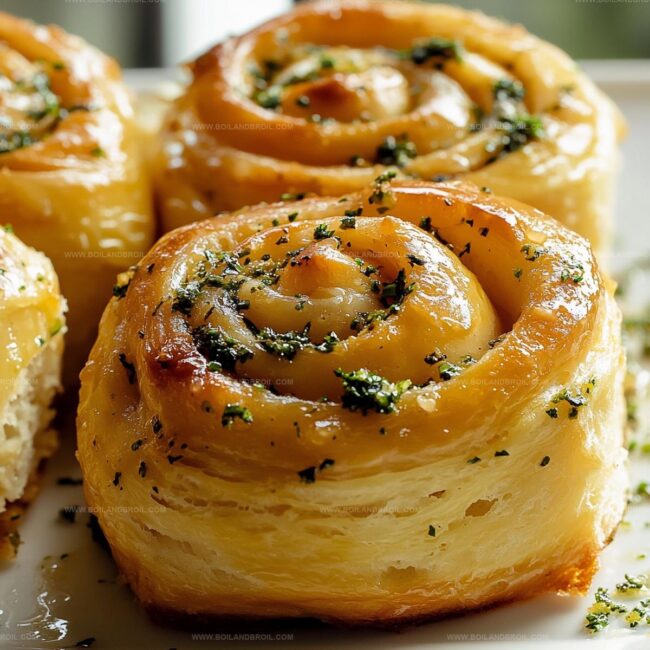
Butter melts into every delicate crevice, creating irresistible layers of flavor.
Fragrant garlic mingles with delicate herbs, tempting your senses from the moment they emerge from the oven.
Kitchen counters will soon be dusted with flour as you craft these delectable treats.
Each twist and fold builds anticipation for the golden, crispy exterior waiting to be devoured.
Come explore this simple yet magical recipe that turns ordinary ingredients into an extraordinary culinary adventure.
Garlic Swirl Rolls with Savory Swirls
What Goes Into Garlic Swirl Rolls
Bread Base:Garlic Filling:Finishing Touch:Garlic Swirl Rolls from Dough to Bake
Step 1: Awaken the Dough
Grab a spacious mixing bowl and pour in warm milk with sugar.
Sprinkle yeast across the surface and wait 5-10 minutes until it becomes frothy and alive.
Add melted butter, eggs, and salt into the mix.
Slowly incorporate flour, stirring until a soft, pillowy dough emerges.
Transfer the dough to a floured countertop and knead with loving hands for 5-7 minutes until it becomes silky smooth.
Place the dough in a greased bowl, cover tenderly, and let it rest in a cozy warm spot for 1-1.5 hours, watching it beautifully double in size.
Step 2: Create Magical Garlic Butter
Grab a small bowl and blend together:Stir until the ingredients dance together seamlessly.
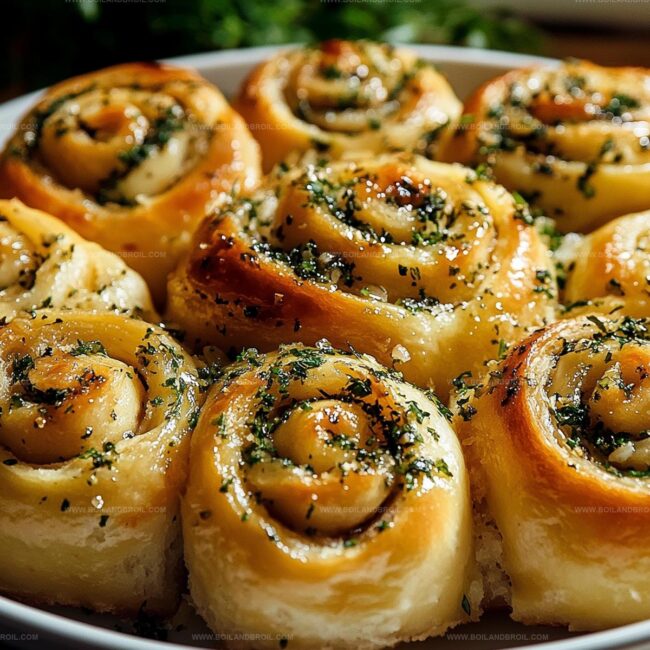
Step 3: Roll and Shape with Love
Gently deflate the risen dough and roll it into a rectangle.
Lovingly spread the garlic butter across every inch of the dough.
Roll tightly from the long edge, creating a beautiful spiral.
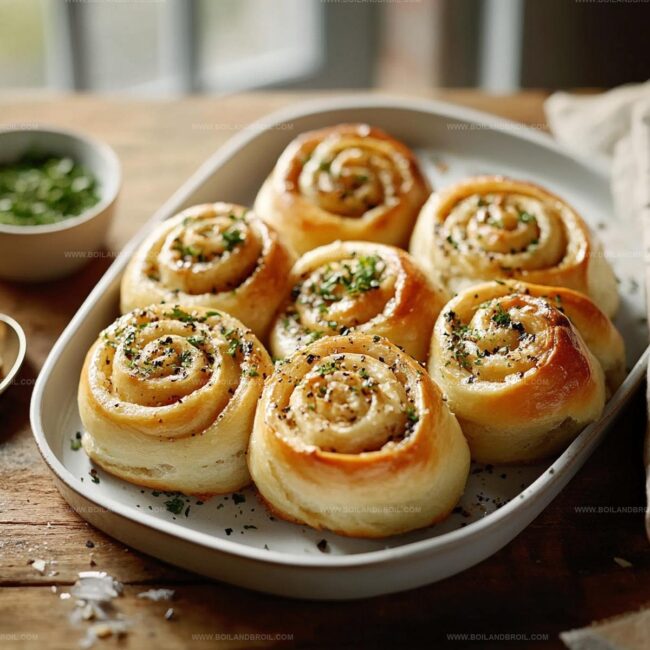
Slice into 12 equal, mouth-watering pieces.
Step 4: Prepare for Baking Bliss
Nestle the rolls cut-side up in a greased baking dish.
Cover and let them rise again for 30-45 minutes until delightfully puffy.
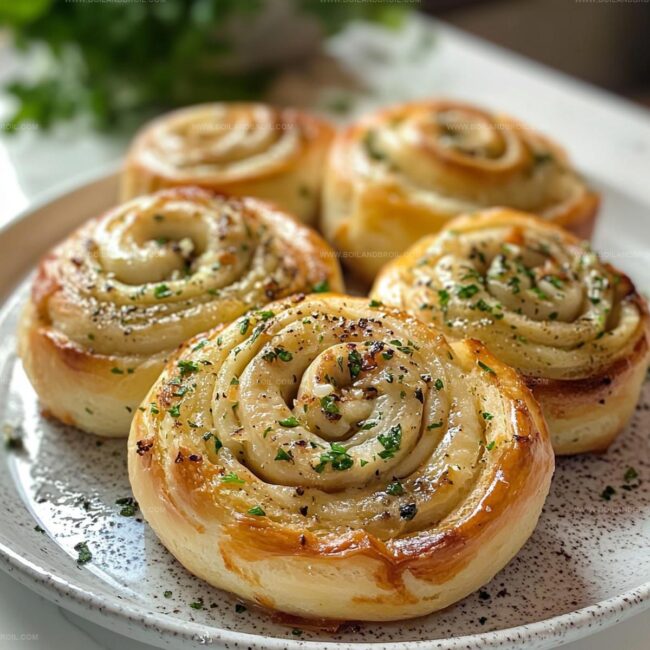
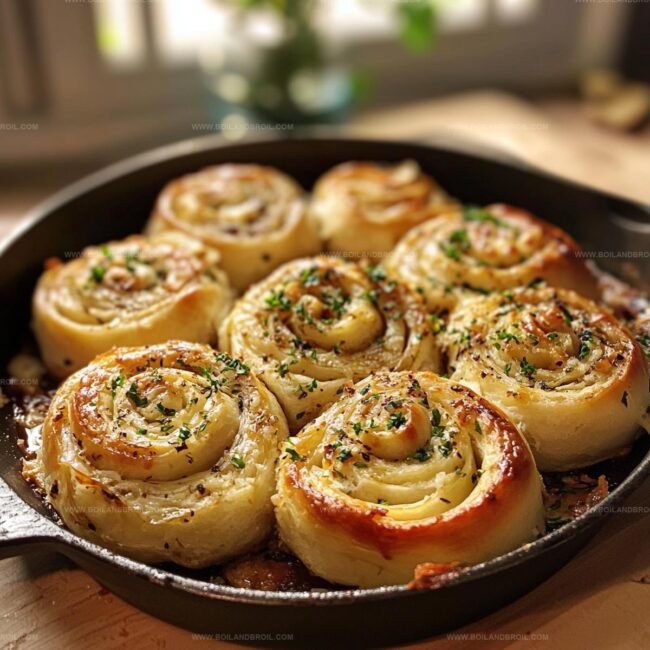
Step 5: Bake to Golden Perfection
Heat the oven to 350°F (175°C).
Slide the rolls inside and bake for 20-25 minutes until they turn a gorgeous golden brown.
Allow a brief cooling moment before diving in and enjoying their irresistible aroma.
Tips That Make Garlic Swirl Rolls Irresistible
Storing Garlic Swirl Rolls for Max Flavor
Simple Pairings for Garlic Swirl Rolls
Spin-Offs of Garlic Swirl Rolls to Try
FAQs
These rolls are beginner-friendly and easy to prepare. Even novice bakers can successfully make them with basic baking skills and following the step-by-step instructions carefully.
Active dry yeast or instant yeast are perfect for these garlic rolls. Make sure the yeast is fresh and not expired to ensure proper rising of the dough.
Yes, you can prepare the dough in advance. After the first rise, cover and refrigerate the dough overnight. Remove from the refrigerator 30 minutes before shaping and let it come to room temperature.
The dough should double in size and feel soft and puffy when gently pressed. In a warm environment, this typically takes about 1-1.5 hours during the first rise.
Print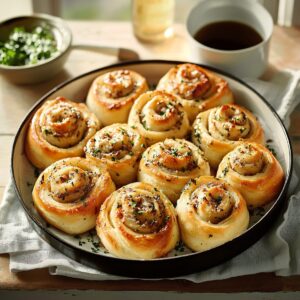
Garlic Swirl Rolls Recipe
- Total Time: 1 hour 25 minutes
- Yield: 12 1x
Description
Homemade garlic swirl rolls bring Mediterranean bakery magic straight to kitchen counters. Warm, buttery spirals packed with aromatic garlic promise comfort that draws eager hands and delighted smiles from anyone who tastes them.
Ingredients
Dough Ingredients:
- 45 cups (540 grams) all-purpose flour
- 2 cups (480 milliliters) warm milk (110°F / 43°C)
- 2 large eggs
- 1/2 cup (113 grams) unsalted butter, melted
- 2 1/4 teaspoons (7 grams) active dry yeast (1 packet)
- 2 tablespoons (25 grams) sugar
- 1 teaspoon salt
Filling Ingredients:
- 1/2 cup (113 grams) unsalted butter, softened
- 4 cloves garlic, minced
- 1/4 cup (15 grams) fresh parsley, chopped
- Salt, to taste
- Black pepper, to taste
Liquid Ingredients:
- 2 cups (480 milliliters) warm milk (110°F / 43°C)
Instructions
- Activate the yeast by dissolving it in lukewarm milk mixed with sugar. Allow the mixture to bloom for 7-10 minutes until it develops a frothy texture and becomes aromatic.
- Incorporate melted butter, eggs, and salt into the yeast mixture. Gradually fold in flour, mixing until a cohesive, soft dough emerges that pulls away from the bowl’s sides.
- Transfer the dough to a lightly floured surface. Knead thoroughly for 6-8 minutes, developing gluten and creating a smooth, elastic consistency. Place in a greased container, cover, and let rise in a draft-free environment for approximately 90 minutes until volume doubles.
- Create the garlic infusion by blending softened butter with finely minced garlic, freshly chopped parsley, and a sprinkle of salt and pepper. Ensure the mixture is uniformly combined and spreadable.
- Deflate the risen dough by gently pressing down. Roll out into a rectangular shape approximately 12×18 inches, maintaining an even thickness.
- Generously spread the garlic butter mixture across the entire dough surface, leaving a small margin around the edges.
- Tightly roll the dough from the longer side, creating a compact cylindrical shape. Slice into 12 equal segments using a sharp knife or unflavored dental floss.
- Arrange the rolls cut-side upward in a buttered baking dish, allowing slight spacing between each piece. Cover and permit a second proofing for 40-50 minutes until they appear puffy and interconnected.
- Preheat the oven to 350°F (175°C). Bake the rolls for 22-26 minutes until they achieve a rich golden-brown color and sound hollow when tapped.
- Remove from the oven and let cool for 10 minutes before serving to allow the internal temperature to stabilize and flavors to settle.
Notes
- Soft, Fresh Dough Matters: Use room temperature ingredients to help yeast activate perfectly and create a more elastic, tender dough texture.
- Garlic Intensity Control: Roast garlic beforehand for a mellower, sweeter flavor or use fresh minced garlic for a sharper, more pungent taste depending on preference.
- Precise Rolling Technique: Roll dough evenly to ensure consistent thickness, which helps create uniform rolls with balanced filling in every bite.
- Gluten-Free Adaptation: Substitute all-purpose flour with a gluten-free blend and add xanthan gum to maintain the rolls’ structure and softness.
- Prep Time: 1 hour
- Cook Time: 25 minutes
- Category: Snacks, Appetizer, Dinner
- Method: Baking
- Cuisine: American
Nutrition
- Serving Size: 12
- Calories: 250
- Sugar: 5g
- Sodium: 150mg
- Fat: 10g
- Saturated Fat: 6g
- Unsaturated Fat: 3g
- Trans Fat: 0g
- Carbohydrates: 35g
- Fiber: 1g
- Protein: 5g
- Cholesterol: 50mg
Jack Sullivan
Founder & Culinary Storyteller
Expertise
Single-recipe development with a narrative approach, Culinary storytelling and food history, Seasonal and regional ingredient utilization, Home cooking techniques adapted for modern kitchens
Education
New England Culinary Institute (Montpelier, VT)
Certificate in Culinary Arts
Focused on farm-to-table cooking, sustainable practices, and modern plating techniques.
Asheville-Buncombe Technical Community College
Associate Degree in Culinary Arts
Emphasized Southern Appalachian cuisine and local ingredient sourcing.
Jack grew up surrounded by smoky skillets and handwritten recipes in the mountains of North Carolina. His roots in Appalachian cooking shaped the way he sees food – as something that connects people, tells a story, and holds meaning.
With hands-on training and a background in sustainable, regional cooking, Jack started Boil And Broil to make meaningful meals more accessible. He’s all about one-dish recipes that are simple to follow but rich with flavor and history.