Weekends call for indulgent breakfast magic with this mouthwatering Hawaiian roll French toast that combines sweet island flavors and classic breakfast comfort.
Soft, pillowy Hawaiian rolls become the perfect canvas for a rich, custardy coating.
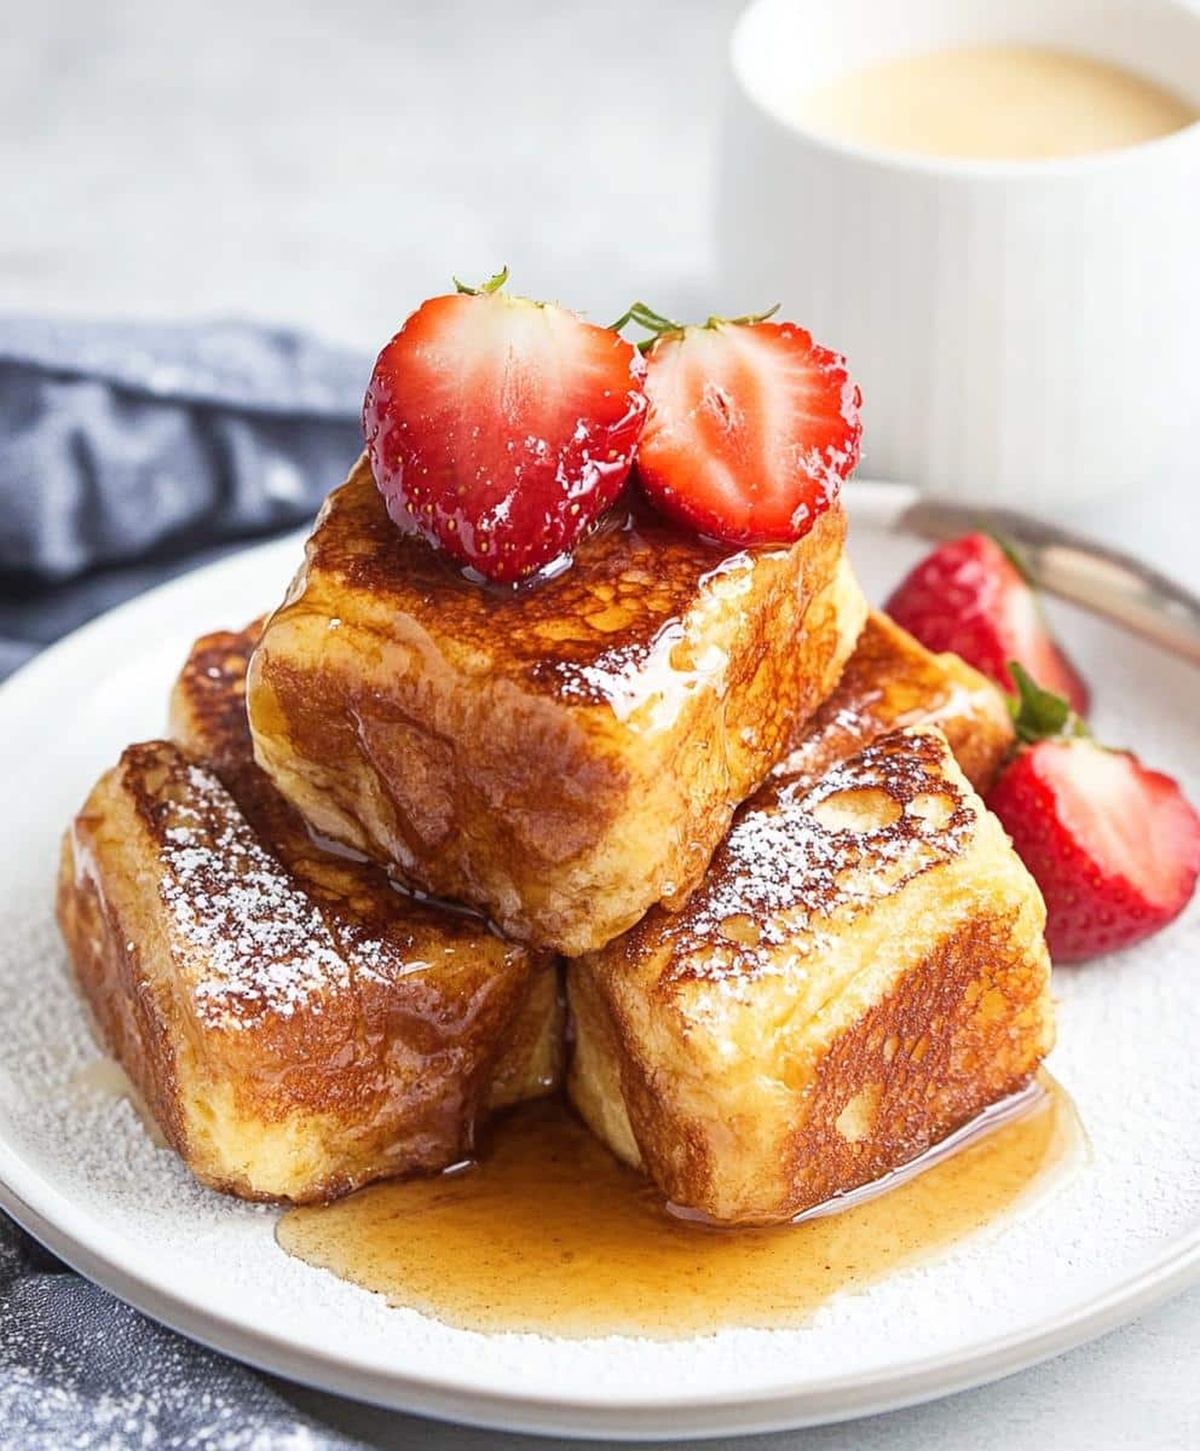
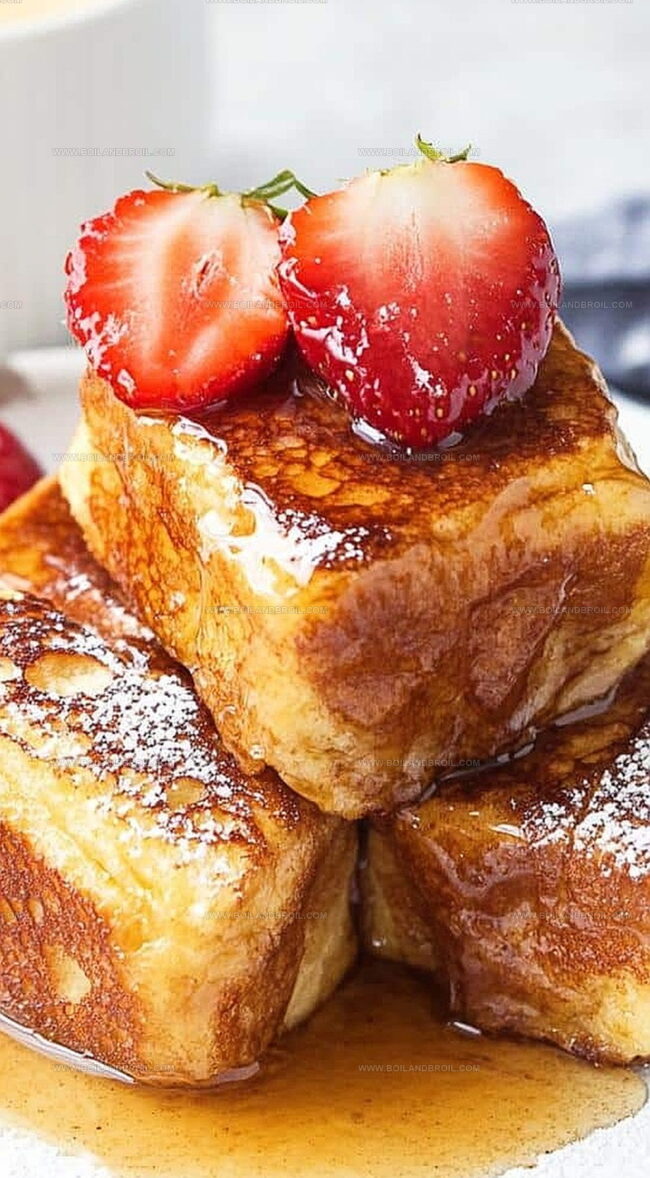
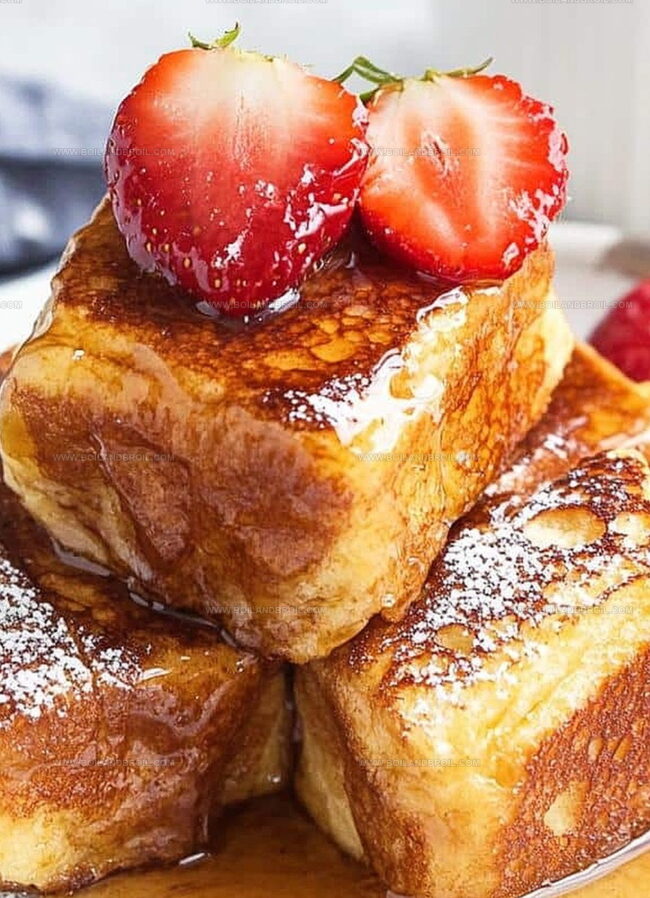
Each roll transforms into a golden, crispy delight when dipped and gently fried to perfection.
The subtle sweetness of these rolls creates an irresistible breakfast experience that goes beyond ordinary French toast.
Sprinkle with powdered sugar, drizzle with maple syrup, or top with fresh berries for an extra layer of deliciousness.
This recipe promises to turn a simple morning into a delectable celebration of flavor.
Prepare to wow your taste buds with every decadent bite.
Hawaiian Rolls Turned Into French Toast Magic
Transform ordinary Hawaiian rolls into a delightful morning treat without complicated steps or professional cooking skills.
Kids and adults will love this sweet, crispy breakfast that’s both fun to make and irresistibly tasty, perfect for lazy weekend mornings or spontaneous breakfast celebrations.
Easily adaptable recipe that works for casual family breakfasts, brunch gatherings, or a quick sweet treat when you’re craving something comforting and delicious.
Ingredients for Hawaiian Roll French Toast
Main Ingredients:
Hawaiian Rolls: Sweet and soft rolls that serve as the base for this delightful French toast dish.
Eggs: The primary binding agent that creates the rich, custardy coating for the rolls.
Milk: Helps create a smooth and creamy egg mixture for soaking the rolls.
Flavor Enhancers:
Vanilla Extract: Adds a warm, sweet depth of flavor to the egg mixture.
Cinnamon: Provides a subtle, warming spice that complements the sweet rolls.
Salt: Balances and enhances the overall flavor profile of the dish.
Cooking Ingredients:
Butter: Creates a golden, crispy exterior and prevents the rolls from sticking to the skillet.
Maple Syrup: Serves as the classic sweet topping that adds moisture and additional sweetness to the French toast.
How to Cook This Sweet, Buttery Breakfast
Step 1: Slice Rolls
Gently cut King’s Hawaiian rolls in half horizontally.
Work carefully to create even halves that will perfectly absorb the egg mixture.
Take your time to ensure clean, neat cuts that will help the rolls cook evenly.
Step 2: Create Egg Mixture
Grab a medium bowl and whisk eggs until completely smooth.
Add these ingredients:
Milk
Vanilla extract
Cinnamon
Salt
Whisk everything together until the mixture is perfectly blended.
Don’t worry if the cinnamon looks a bit clumpy – keep whisking until it’s well incorporated.
Step 3: Soak Bread
Dunk each roll half into the egg mixture.
Ensure complete coverage but avoid soaking too long.
The goal is a light, even coating that helps the rolls absorb flavor without falling apart.
Let the rolls sit in the mixture for just a moment to soak up all the delicious goodness.
Step 4: Prepare Skillet
Melt butter in a skillet over medium heat.
Watch for gentle bubbling – this signals the pan is ready for cooking.
If the butter starts browning too quickly, lower the heat to prevent burning.
The pan should be hot but not scorching.
Step 5: Cook French Toast
Place soaked roll halves into the heated skillet.
Cook for 2-3 minutes on each side, aiming for a beautiful golden-brown color.
Keep an eye on the heat, adjusting as needed to prevent burning.
You want a crispy exterior and soft interior.
Step 6: Serve Deliciously
Transfer cooked rolls to a serving plate.
Drizzle generously with maple syrup.
Consider adding extra syrup on the side for those with a serious sweet tooth.
Serve immediately while warm and enjoy the delightful fusion of Hawaiian rolls and classic French toast.
Tips for Perfectly Crisp and Soft French Toast
Dip rolls quickly in the egg mixture to prevent them from becoming too soggy or falling apart during cooking.
Use medium heat when melting butter in the skillet to create an even, golden-brown crust without burning.
Whisk the cinnamon thoroughly to break up any clumps and ensure a smooth, evenly distributed flavor throughout the egg mixture.
Cook the rolls in small batches to maintain consistent heat and prevent overcrowding, which can lead to uneven cooking.
Choose pure maple syrup for an authentic, rich sweetness that complements the Hawaiian rolls’ slightly sweet flavor.
Storing and Heating Hawaiian Roll Toast
Store leftover French toast in an airtight container for up to 3 days. Place wax paper between layers to prevent sticking and maintain texture.
Wrap individual rolls in plastic wrap, then place in a freezer-safe bag. Freeze for up to 1 month to preserve flavor and quality.
Warm each roll for 15-20 seconds on a microwave-safe plate. Check temperature and add extra seconds if needed to restore warmth without drying out.
Preheat oven to 350°F. Arrange rolls on a baking sheet, cover with foil to prevent moisture loss. Warm for 5-7 minutes until heated through, then serve immediately with fresh syrup.
Toppings That Go with Sweet French Toast
Pair with Tropical Fruit Medley: Complement the sweet Hawaiian roll French toast with a vibrant mix of fresh pineapple, mango, and passion fruit chunks for a burst of tropical flavors that echo the Hawaiian-inspired dish.
Sip Coconut Latte: Create a creamy coconut latte using espresso, steamed milk, and a splash of coconut syrup to match the rich, sweet profile of the French toast while adding a complementary tropical twist.
Garnish with Toasted Macadamia Nuts: Sprinkle chopped, lightly toasted macadamia nuts over the French toast to introduce a delightful crunch and nutty flavor that connects to the Hawaiian theme and adds textural contrast.
Serve with Whipped Coconut Cream: Top the French toast with a dollop of homemade whipped coconut cream, providing a light, airy accompaniment that enhances the dish’s tropical essence and adds a luxurious finishing touch.
New Takes on Hawaiian French Toast
Gluten-Free Hawaiian French Toast: Swap regular Hawaiian rolls with gluten-free bread or rolls made from almond or coconut flour. Use a gluten-free milk alternative like almond or oat milk to keep the recipe safe for those with wheat sensitivities.
Vegan Hawaiian French Toast: Replace eggs with mashed banana or flax eggs, using plant-based milk and dairy-free butter for cooking. Add extra vanilla and cinnamon to enhance flavor profile and compensate for missing egg richness.
Low-Carb Hawaiian French Toast: Use low-carb bread alternatives like cloud bread or cauliflower-based bread. Substitute regular milk with unsweetened almond milk and sweeten with monk fruit or stevia instead of maple syrup.
Protein-Packed Hawaiian French Toast: Mix protein powder into the egg mixture for added nutrition. Top with Greek yogurt, nuts, or protein-rich nut butter to increase protein content and create a more substantial breakfast option.
FAQs
What makes Hawaiian rolls different from regular bread for French toast?
Hawaiian rolls are softer, sweeter, and have a slightly richer texture compared to traditional bread. Their unique flavor and pillowy softness create a more indulgent French toast experience.
Can I use frozen Hawaiian rolls for this recipe?
Yes, you can use frozen Hawaiian rolls. Just make sure to thaw them completely and pat them dry before dipping in the egg mixture to prevent excess moisture.
Do I need any special equipment to make this recipe?
No special equipment is needed. You’ll just require a standard skillet or non-stick pan, a whisk, and a mixing bowl. A spatula helps for flipping the rolls during cooking.
How do I know when the rolls are perfectly cooked?
Look for a golden-brown color on both sides and a slightly crispy exterior. The rolls should be warm throughout and have a soft, custardy interior when you bite into them.
Developing accessible single-serving recipes, Food writing and content creation, Plant-based and allergen-friendly cooking, Culinary education and workshop facilitation
Education
Oregon Culinary Institute (Portland, OR) Diploma in Culinary Arts
Specialized in plant-based cooking and sustainable kitchen practices.
Portland Community College Certificate in Food Writing and Media
Focused on recipe writing, food photography, and digital content creation.
Clara’s food journey began with a curiosity for color, texture, and ingredients pulled straight from the garden. Her background in plant-forward cooking and creative writing gives her a unique edge – she makes healthy, flavorful food feel inviting, not intimidating.
She specializes in meals that work for busy lives and different diets, all without sacrificing taste. Clara’s voice comes through in every recipe she writes – clear, kind, and encouraging.
Clara Thompson
Recipe Developer & Culinary Educator
Expertise
Developing accessible single-serving recipes, Food writing and content creation, Plant-based and allergen-friendly cooking, Culinary education and workshop facilitation
Education
Oregon Culinary Institute (Portland, OR)
Diploma in Culinary Arts
Specialized in plant-based cooking and sustainable kitchen practices.
Portland Community College
Certificate in Food Writing and Media
Focused on recipe writing, food photography, and digital content creation.
Clara’s food journey began with a curiosity for color, texture, and ingredients pulled straight from the garden. Her background in plant-forward cooking and creative writing gives her a unique edge – she makes healthy, flavorful food feel inviting, not intimidating.
She specializes in meals that work for busy lives and different diets, all without sacrificing taste. Clara’s voice comes through in every recipe she writes – clear, kind, and encouraging.