
Crispy, Golden Homemade Taquitos Recipe Everyone Will Love
Crispy, golden taquitos bring a burst of Mexican street food magic right into your kitchen.
Packed with savory fillings and a satisfying crunch, these handheld delights promise an exciting culinary adventure.
Every bite tells a story of rich flavors and traditional cooking techniques.
Authentic ingredients make all the difference in creating these irresistible rolls of pure deliciousness.
Simple yet impressive, the recipe requires minimal skills but delivers maximum satisfaction.
Home cooks can easily master this crowd-pleasing dish that sparks joy around the dinner table.
You’ll want to roll up your sleeves and start cooking these mouthwatering taquitos immediately.
What Makes 10-Minute Taquitos a Quick Winner
Must-Haves for Making Crispy Taquitos Fast
Protein Base:Wrapper and Melting Components:Seasoning and Cooking Ingredients:Serving Accompaniments:Rolling Up Crispy Taquitos: How-To Guide

Step 1: Prepare Baking Setup
Grab a baking sheet and line it with parchment paper.
Warm up your oven to a toasty 400F (200C) to get ready for some serious crunch.
Step 2: Create Flavor-Packed Filling
In a mixing bowl, combine ingredients for a mouthwatering chicken mixture:Mix everything thoroughly until the ingredients are evenly distributed and create a tantalizing blend.
Step 3: Roll Perfect Taquitos
Grab your tortillas and start the rolling process.
Spread a generous scoop of the chicken mixture near one edge of each tortilla.
Carefully roll the tortilla tightly, tucking in the sides to keep the filling secure.
Continue until you’ve used all the filling.
Step 4: Fry to Golden Perfection
Heat vegetable oil in a skillet over medium heat.
Carefully place the rolled taquitos seam-side down into the hot oil.
Fry each side until they turn a beautiful golden brown, which typically takes about three minutes per side.
The goal is a crispy, crunchy exterior.
Step 5: Bake and Cheese It Up
Transfer the fried taquitos to the prepared baking sheet.
Sprinkle the remaining cheese over the top.
Pop them into the preheated oven and bake for about five minutes, or until the cheese melts into gooey deliciousness.
Step 6: Serve and Enjoy
Pull out your crispy taquitos and serve immediately.
Pair with cool sour cream and zesty salsa for an extra flavor explosion.
Get ready for a crowd-pleasing snack that disappears in minutes!
Taquito Tips for Crunch and Flavor Every Time
Storing and Reheating Taquitos with Ease
Great Dips and Pairings for 10-Minute Taquitos
Spice Up Your Plate: Perfect Pairings for Crunchy Taquitos
Flavor Options for Next-Level Taquitos
FAQs
You’ll need shredded chicken, tortillas, cheese, spices (like cumin, chili powder, salt), vegetable oil, sour cream, and salsa.
Corn tortillas work best for authentic flavor and crispiness, but flour tortillas are an acceptable alternative if corn tortillas aren’t available.
Roll them tightly and seal the edges by tucking in the sides while rolling. When frying, place them seam-side down first to help seal the edge.
Yes, you can bake the taquitos. After rolling, brush them with a little oil and bake at 400F for about 15-20 minutes until crispy and golden brown.
Print
Homemade Taquitos Recipe
- Total Time: 21 minutes
- Yield: 5 1x
Description
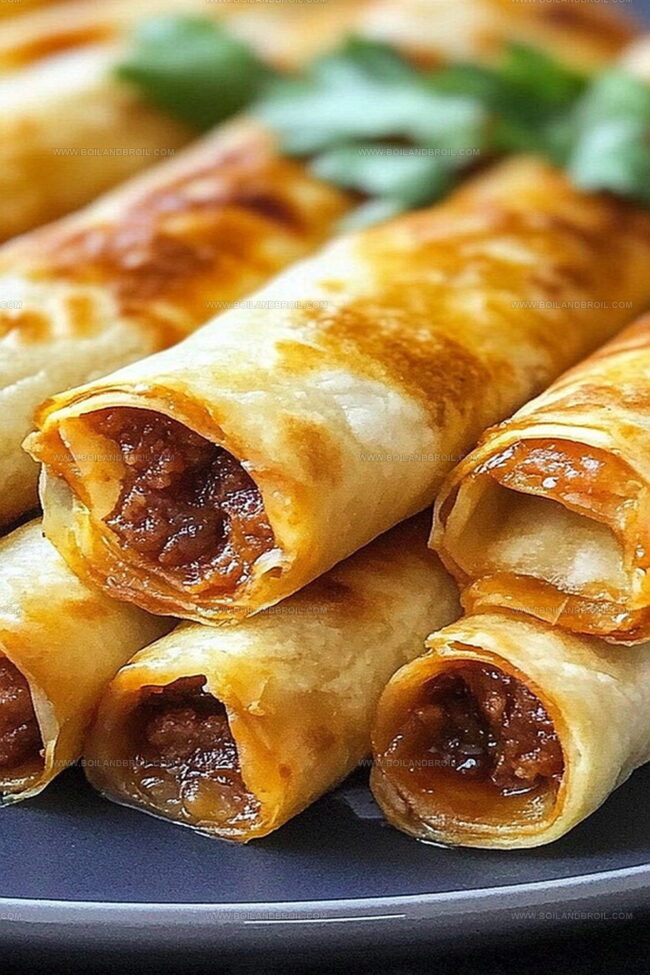
Crispy Mexican Golden Roll taquitos pack serious flavor into each hand-rolled bite of cheesy chicken goodness. Crunchy corn tortillas cradle savory fillings, promising a delightful appetizer you’ll crave again and again.
Ingredients
Main Ingredients:
- 2 cups shredded rotisserie chicken
- 10 small corn tortillas
- 1 cup Mexican cheese blend
Spices and Seasonings:
- 1 teaspoon cumin
- 1 teaspoon chili powder
- 1 teaspoon garlic powder
Cooking and Serving Ingredients:
- 1/2 cup (120 milliliters) vegetable oil (for frying)
- 1/2 cup (120 milliliters) sour cream (for serving)
- 1/2 cup (120 milliliters) salsa (for serving)
Instructions
- Warm the oven to 400F and prepare a parchment-lined baking sheet for crispy taquitos.
- Combine shredded chicken with aromatic spices and half the cheese, mixing thoroughly to create a flavorful filling.
- Lay out tortillas and distribute the chicken mixture near one edge, carefully rolling each tortilla tightly and securing the edges to prevent filling from escaping.
- Pour vegetable oil into a skillet, heating to medium temperature for even frying.
- Carefully place rolled taquitos seam-side down into the hot oil, rotating to achieve a uniform golden-brown exterior, approximately 3 minutes per side.
- Transfer crispy taquitos onto the prepared baking sheet, generously sprinkle remaining cheese across the surface.
- Slide the baking sheet into the preheated oven, allowing cheese to melt and taquitos to achieve maximum crispiness for 5 minutes.
- Remove from oven and plate immediately, accompanying with fresh salsa and cool sour cream for a delightful dipping experience.
Notes
- Prevent tortilla cracking by warming them slightly in the microwave or on a skillet before rolling, which makes them more pliable and less likely to break.
- Opt for corn tortillas for a more authentic flavor and crispier texture compared to flour tortillas, ensuring a traditional Mexican street food experience.
- Experiment with protein variations like shredded beef, pulled pork, or black beans to accommodate different dietary preferences and keep the recipe versatile.
- Control oil temperature when frying by using a kitchen thermometer, maintaining around 350-375°F to achieve perfectly golden, crispy taquitos without absorbing excess oil.
- Prep Time: 10 minutes
- Cook Time: 11 minutes
- Category: Lunch, Dinner, Appetizer, Snacks
- Method: Baking
- Cuisine: Mexican
Nutrition
- Serving Size: 5
- Calories: 450
- Sugar: 2g
- Sodium: 600mg
- Fat: 30g
- Saturated Fat: 10g
- Unsaturated Fat: 15g
- Trans Fat: 0g
- Carbohydrates: 35g
- Fiber: 3g
- Protein: 18g
- Cholesterol: 70mg
Jack Sullivan
Founder & Culinary Storyteller
Expertise
Single-recipe development with a narrative approach, Culinary storytelling and food history, Seasonal and regional ingredient utilization, Home cooking techniques adapted for modern kitchens
Education
New England Culinary Institute (Montpelier, VT)
Certificate in Culinary Arts
Focused on farm-to-table cooking, sustainable practices, and modern plating techniques.
Asheville-Buncombe Technical Community College
Associate Degree in Culinary Arts
Emphasized Southern Appalachian cuisine and local ingredient sourcing.
Jack grew up surrounded by smoky skillets and handwritten recipes in the mountains of North Carolina. His roots in Appalachian cooking shaped the way he sees food – as something that connects people, tells a story, and holds meaning.
With hands-on training and a background in sustainable, regional cooking, Jack started Boil And Broil to make meaningful meals more accessible. He’s all about one-dish recipes that are simple to follow but rich with flavor and history.