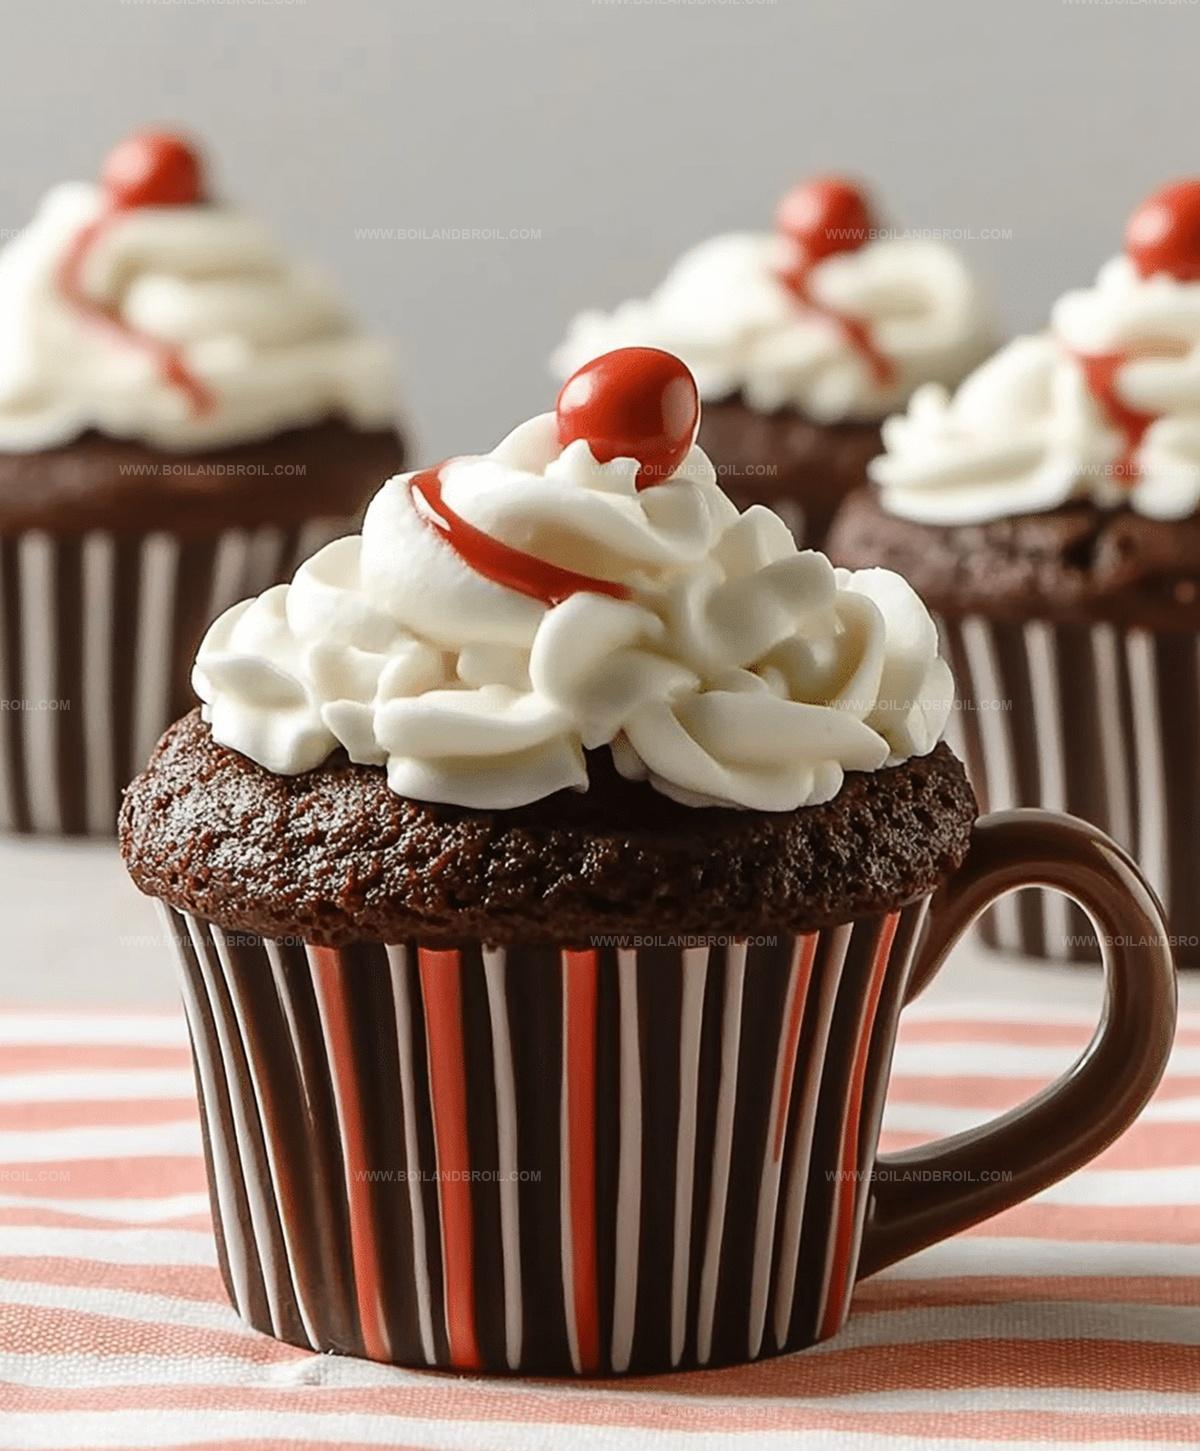
Cozy Hot Cocoa Cupcake Mugs Recipe: Sip & Savor Sweetness
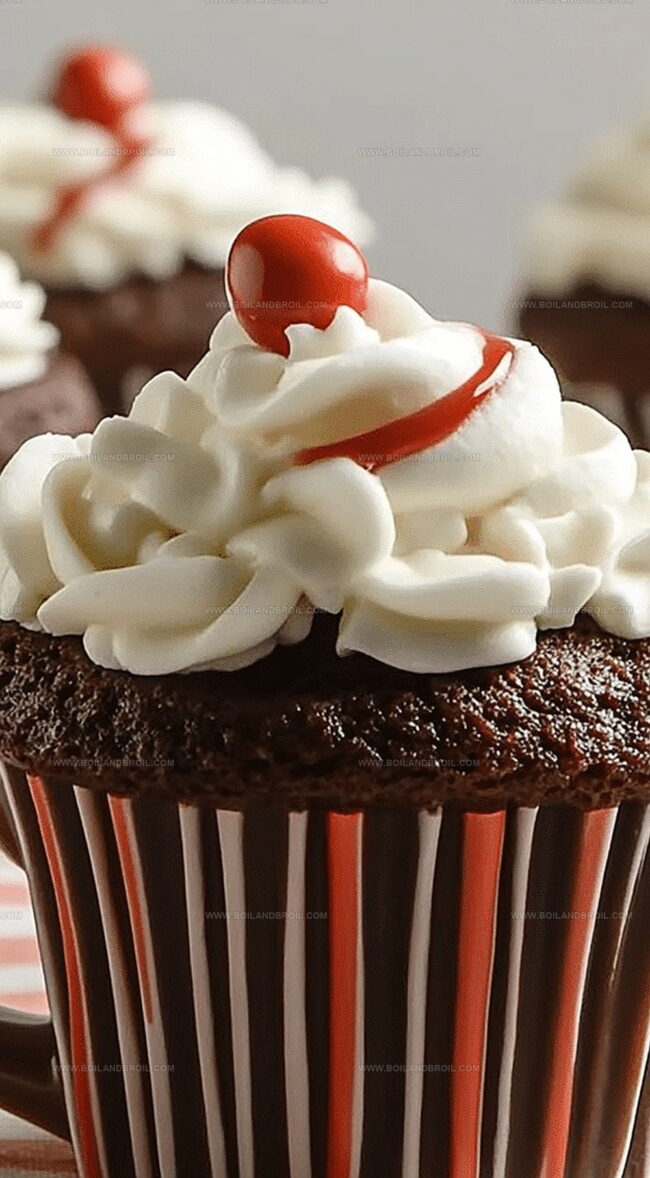
Cozy winter afternoons call for sweet, comforting hot cocoa cupcake mugs that blend nostalgia with delightful baking creativity.
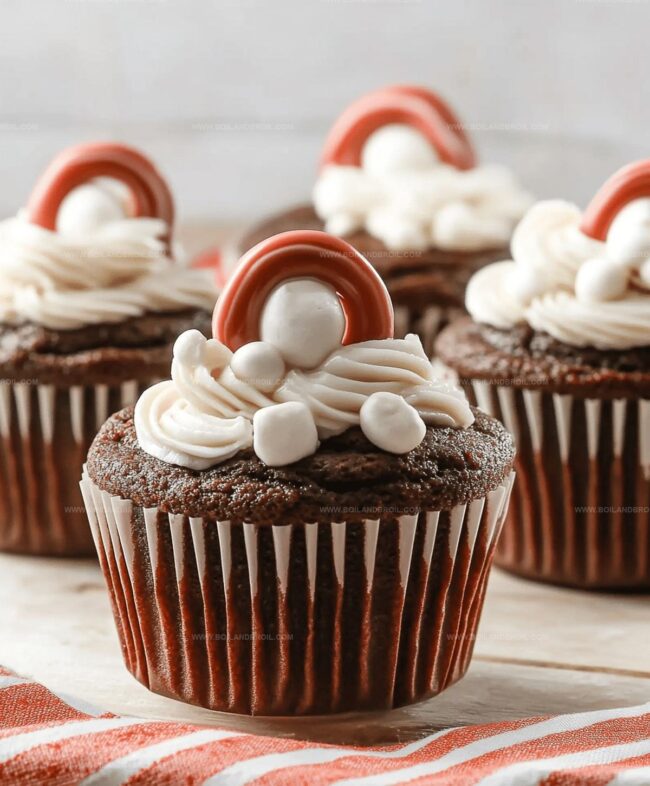
These charming desserts capture the essence of a warm chocolate drink in a delectable cupcake form.
Chocolate lovers will adore how soft, moist cake layers meld with rich cocoa flavors.
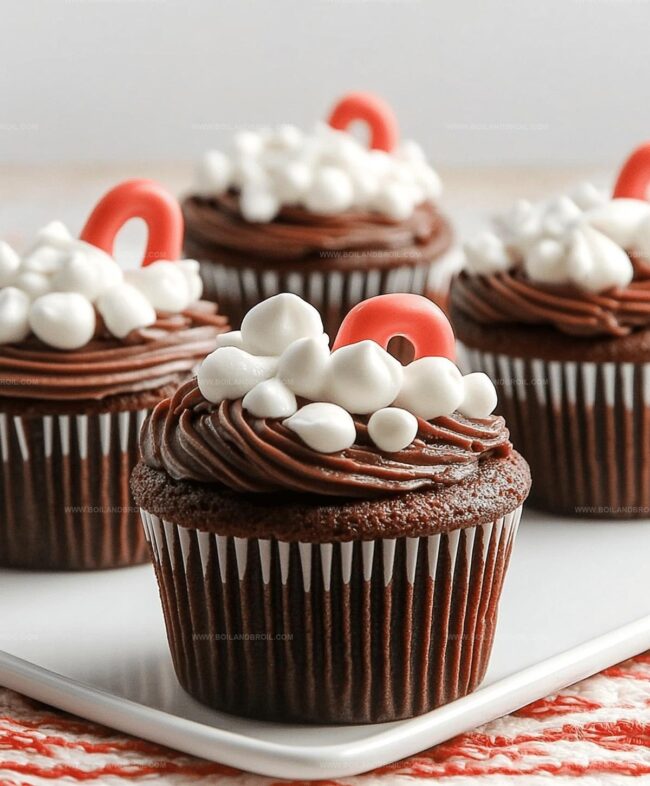
Each bite brings a delightful surprise of marshmallow and chocolate chip accents.
The recipe combines classic comfort with modern baking techniques that make these treats irresistible.
Simple ingredients and straightforward steps ensure anyone can create these delicious cupcake mugs.
Indulge in this delightful dessert that promises to warm hearts and satisfy sweet cravings.
What Makes Hot Cocoa Cupcake Mugs So Fun
Ingredients for Hot Cocoa Cupcake Mugs
Main Ingredients:
Cake Mix Ingredients:Frosting and Topping Ingredients:Baking Preparation Ingredients:How to Put Together Hot Cocoa Cupcake Mugs
Step 1: Prepare Baking Station
Preheat the oven to 350°F.
Line a muffin pan with festive cupcake liners that capture the holiday spirit.
Select liners with wintery designs like snowflakes or candy cane patterns for extra cheer.
Step 2: Create Batter Magic
In a large mixing bowl, combine ingredients:Blend ingredients on low speed for 30 seconds to incorporate.
Increase mixer speed to medium and mix for 2 minutes until batter becomes glossy and smooth.
The mixture should look silky and well-combined.
Step 3: Bake Cupcake Delights
Carefully distribute batter into muffin cups, filling each about two-thirds full.
This ensures perfect rising and even baking.
Place in preheated oven and bake for 16-19 minutes.
Check doneness by inserting a toothpick into the center – it should come out clean.
Allow cupcakes to rest in the pan for 5 minutes, then transfer to a wire cooling rack.
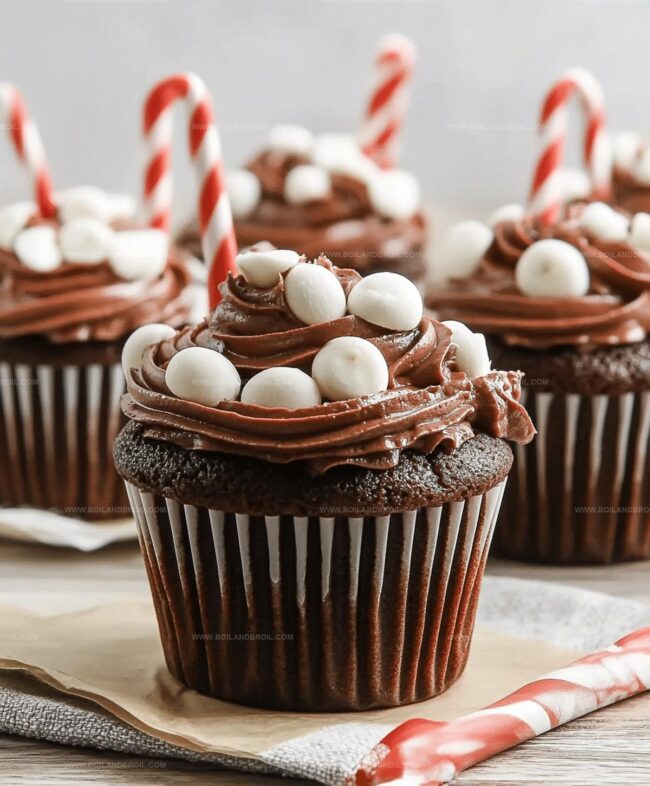
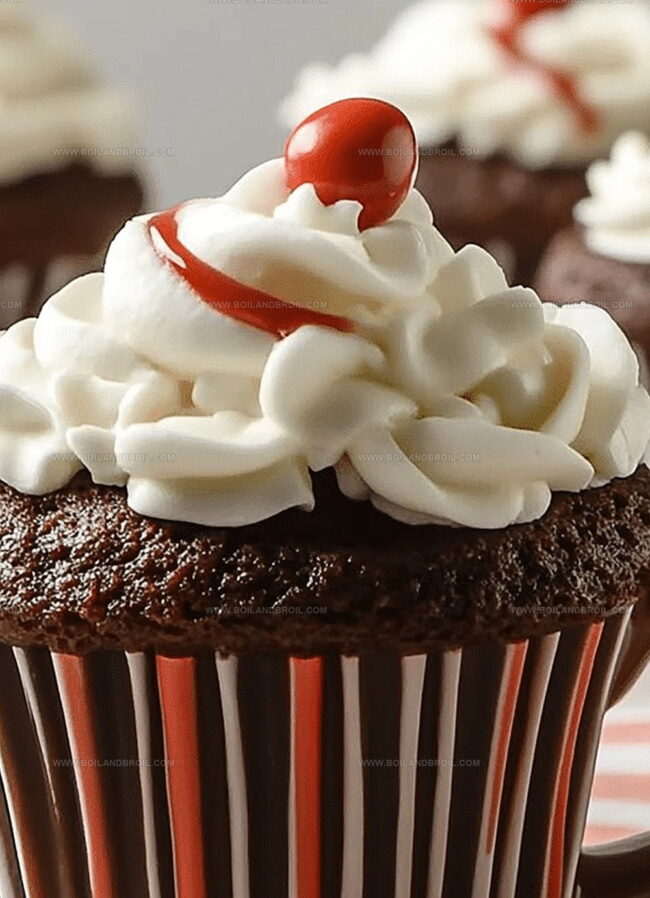
Step 4: Decorate Mug-Style Cupcakes
Once cupcakes are completely cooled, frost with creamy milk chocolate frosting.
Break candy canes, removing bottom inch to create handles.
Gently press curved candy cane end into cupcake side.
Embellish with:For an elegant touch, use a star piping tip to create swirled frosting design.
Hot Cocoa Cupcake Mugs Baking Tips to Know
Storing and Reheating Hot Cocoa Cupcake Mugs
Perfect Matches for Hot Cocoa Cupcake Mugs
Delectable Drink Companions: Hot Cocoa Cupcake Mug Pairings
Hot Cocoa Cupcake Mugs Twists You’ll Enjoy
FAQs
Yes, you can substitute with vanilla or chocolate cake mix, but the hot cocoa mix adds a unique flavor that works best with the original recipe.
Use a light coating of non-stick spray on the liners before adding batter, or choose high-quality, grease-resistant cupcake liners.
No worries! You can use a zip-lock bag with a corner snipped off, or simply spread frosting with a knife for a rustic look.
Absolutely! Kids love the festive mug design, and the candy cane handle makes them fun and interactive for children.
Print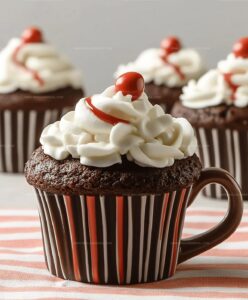
Hot Cocoa Cupcake Mugs Recipe
- Total Time: 29 minutes
- Yield: 12 1x
Description
Creamy hot cocoa cupcake mugs blend winter comfort with delightful sweetness, bringing warm memories to life. Chocolate lovers will savor each spoonful of this charming dessert that promises pure indulgence.
Ingredients
Main Ingredients:
- 1 package (15.25 ounces / 432 grams) Duncan Hines Classic Devils Food Cake Mix
- 3 eggs
- 2/3 cup vegetable oil
- 1 cup water
Flavoring Ingredients:
- 2 envelopes (1.38 ounces / 39 grams each) Swiss Miss Milk Chocolate Hot Cocoa Mix
- 1/2 cup milk chocolate chips
Decoration Ingredients:
- 1 container (16 ounces / 454 grams) Duncan Hines Creamy Milk Chocolate Frosting
- 24 mini candy canes
- 1/2 cup miniature marshmallows
Instructions
- Preheat oven to 350°F and prepare muffin pan with festive cupcake liners to prevent sticking.
- In a large mixing bowl, combine cake mix, hot cocoa mix, water, eggs, and oil. Mix on low speed for 30 seconds, then increase to medium speed for 2 minutes until batter becomes glossy and smooth.
- Carefully distribute batter evenly into muffin cups, filling each approximately two-thirds full.
- Bake for 16-19 minutes, checking doneness by inserting a toothpick into the center of a cupcake. If it comes out clean, cupcakes are ready.
- Allow cupcakes to rest in the pan for 5 minutes, then transfer to a wire rack for complete cooling.
- Once cooled, generously frost cupcakes with milk chocolate frosting using a star-tipped piping bag for elegant swirls.
- Prepare candy cane handles by breaking off the bottom inch of each candy cane.
- Gently insert curved end of candy cane into the side of each frosted cupcake.
- Embellish cupcakes with chocolate chips, mini marshmallows, and a sprinkle of crushed candy cane for a festive finish.
Notes
- Replace regular oil with coconut oil for added richness and subtle tropical undertones in your cupcake base.
- Create gluten-free versions by selecting a compatible gluten-free cake mix and verifying all ingredients are certified gluten-free.
- Stabilize frosting by chilling cupcakes for 15 minutes before decorating, ensuring clean and precise piped designs that hold their shape perfectly.
- Prep Time: 10 minutes
- Cook Time: 19 minutes
- Category: Desserts, Snacks
- Method: Baking
- Cuisine: American
Nutrition
- Serving Size: 12
- Calories: 360
- Sugar: 28 g
- Sodium: 420 mg
- Fat: 18 g
- Saturated Fat: 3.5 g
- Unsaturated Fat: 14 g
- Trans Fat: 0 g
- Carbohydrates: 48 g
- Fiber: 1 g
- Protein: 4 g
- Cholesterol: 50 mg
Clara Thompson
Recipe Developer & Culinary Educator
Expertise
Developing accessible single-serving recipes, Food writing and content creation, Plant-based and allergen-friendly cooking, Culinary education and workshop facilitation
Education
Oregon Culinary Institute (Portland, OR)
Diploma in Culinary Arts
Specialized in plant-based cooking and sustainable kitchen practices.
Portland Community College
Certificate in Food Writing and Media
Focused on recipe writing, food photography, and digital content creation.
Clara’s food journey began with a curiosity for color, texture, and ingredients pulled straight from the garden. Her background in plant-forward cooking and creative writing gives her a unique edge – she makes healthy, flavorful food feel inviting, not intimidating.
She specializes in meals that work for busy lives and different diets, all without sacrificing taste. Clara’s voice comes through in every recipe she writes – clear, kind, and encouraging.