Irresistible Deep Fried Oreos: A Homemade Carnival Recipe
Crafting delectable deep fried Oreos at home sounds like a nostalgic carnival treat waiting to happen.
Sweet memories of fairground indulgences dance through my mind whenever I think about this crispy dessert.
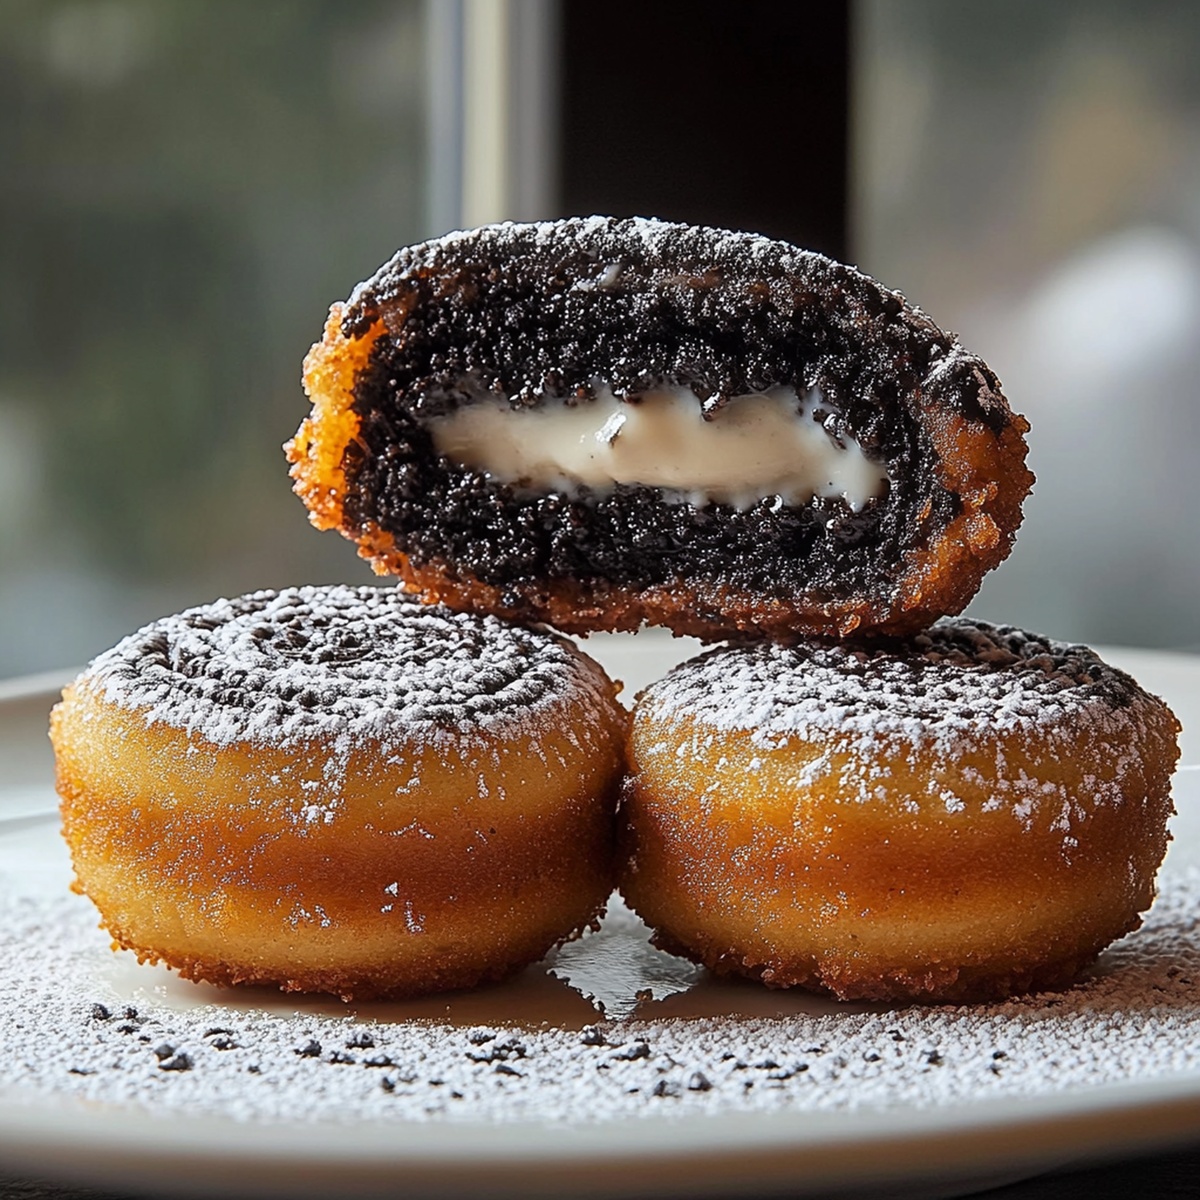
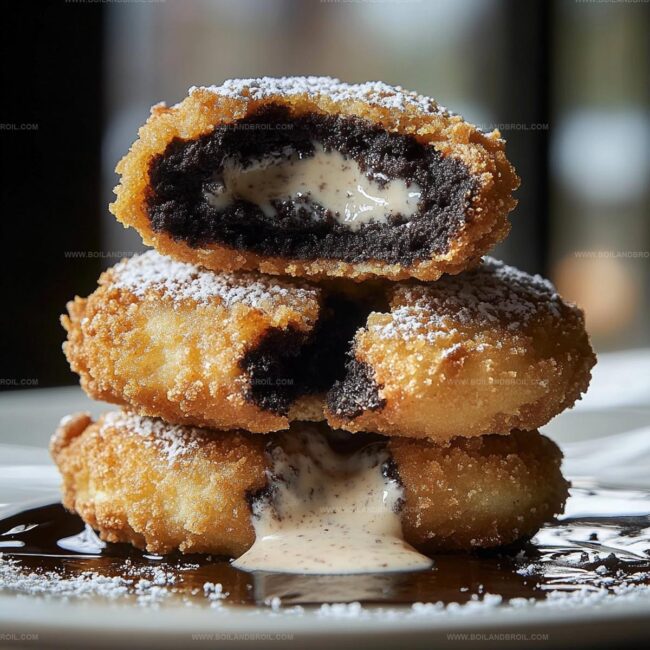
Crisp golden batter envelops each classic cookie, creating a magical transformation from simple snack to irresistible delicacy.
Achieving that perfect crunch requires just a few simple ingredients and some clever cooking techniques.
Warm, gooey centers nestled within a crunchy exterior promise pure comfort in every single bite.
Chocolate lovers and dessert enthusiasts will find this recipe both surprisingly easy and wonderfully decadent.
Let’s unlock the secret to making these irresistible treats that’ll have everyone begging for seconds.
Deep Fried Oreos That Bring Carnival Flavor Home
Ingredients for Homemade Deep Fried Oreos
How to Make Deep Fried Oreos at Home

Step 1: Whip Up The Batter
Grab a spacious mixing bowl and toss in flour, sugar, baking powder, salt, and a dash of cinnamon.
In another bowl, crack an egg and give it a good beat.
Pour in milk and vanilla extract, then combine wet and dry ingredients.
Whisk until the mixture looks smooth and has a thick, clingy consistency that will hug those Oreos perfectly.
Ingredients:Step 2: Fire Up The Oil
Warm up a deep pot or fryer with cooking oil until it reaches a sizzling 375 degrees Fahrenheit.
Test the temperature by dropping a tiny batter dollop – if it bubbles and floats immediately, you’re ready to rock.
Step 3: Coat Those Cookies
Grab your Oreos and dunk each one fully into the batter using tongs or a fork.
Let excess batter drip off gently before introducing them to the hot oil.
Step 4: Crisp Them Up
Carefully lower 2-3 Oreos into the oil at a time.
Keep them from getting too cozy with each other.
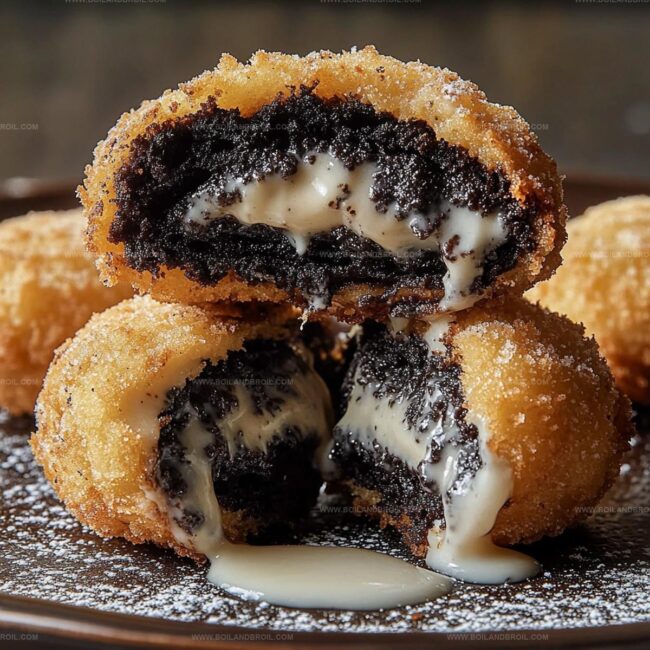
Fry for 2-3 minutes until they turn a gorgeous golden brown and develop a crispy exterior.
Step 5: Drain And Dust
Rescue the fried Oreos with a slotted spoon and place them on a paper towel-lined plate.
While they’re still warm, sprinkle powdered sugar over the top for that classic carnival vibe.
Step 6: Serve With Flair
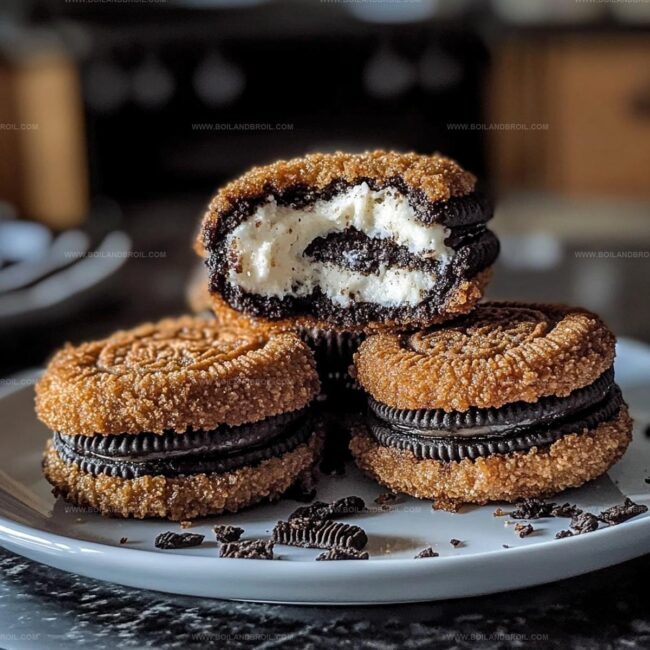
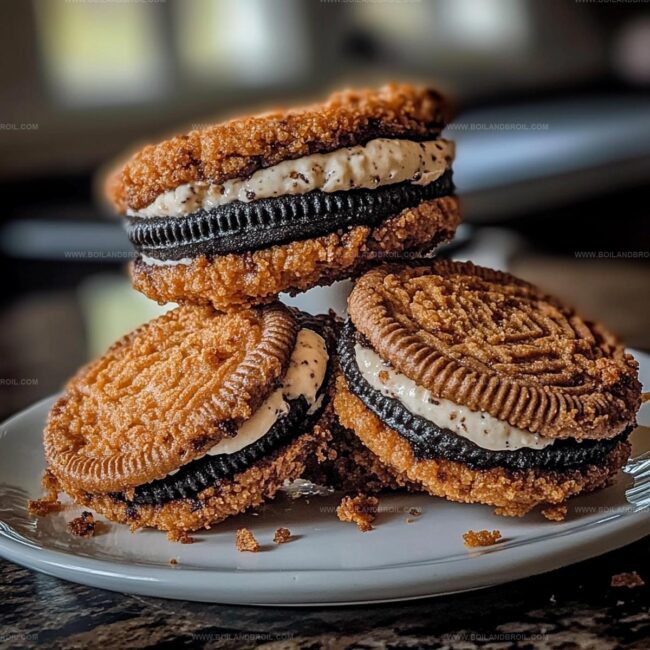
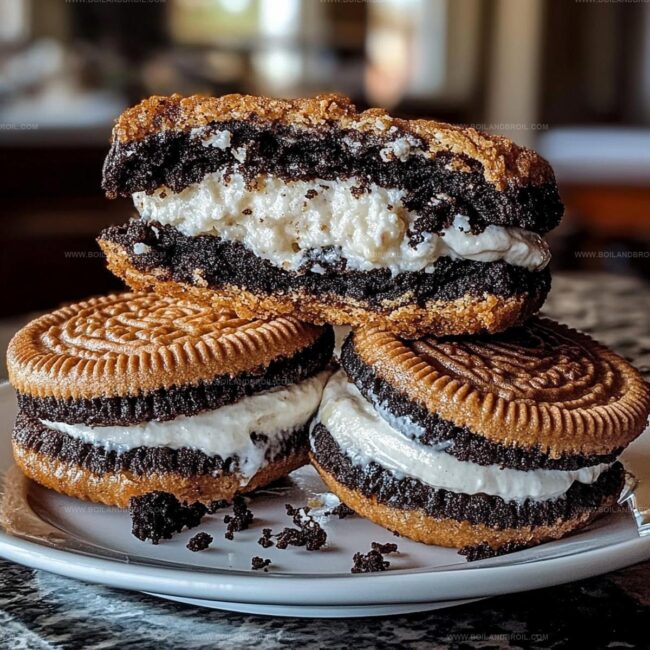
Plate these delectable treats immediately.
Offer chocolate sauce, caramel sauce, or whipped cream on the side for extra indulgence.
Tips for Crispy and Gooey Fried Oreos
How to Store Fried Oreos for Later
Fun Pairings with Deep Fried Oreos
Flavor Ideas for Fried Oreo Fans
FAQs
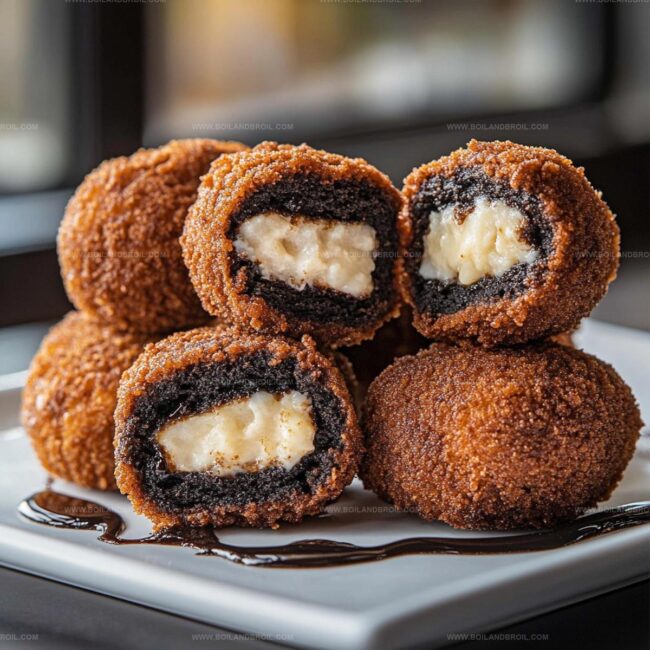
Yes, you can experiment with other sandwich cookies like Nutter Butters or chocolate-filled cookies. The batter works well with various types of cookies.
No, you can use a large, deep pot with a heavy bottom. Just ensure you have a thermometer to monitor oil temperature and maintain safe frying conditions.
Ensure the batter completely covers the cookie and use a gentle touch when placing them in the oil. Use tongs or a fork to carefully lower the battered Oreo into the hot oil.
Deep fried Oreos are best served immediately after frying. They tend to lose crispiness if left sitting for too long, so prepare them just before serving for the best texture and taste.
Print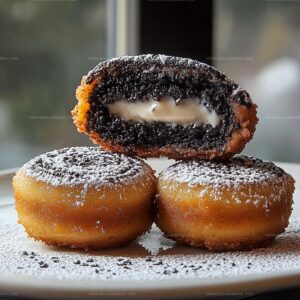
How to Make Perfect Deep Fried Oreos at Home Recipe
- Total Time: 25 minutes
- Yield: 12 1x
Description
Deep-fried Oreos bring carnival magic straight to home kitchens with crispy golden exteriors and molten chocolate centers. Sweet indulgence awaits when you master this simple yet irresistible dessert that delights all ages with its nostalgic charm.
Ingredients
Main Ingredients:
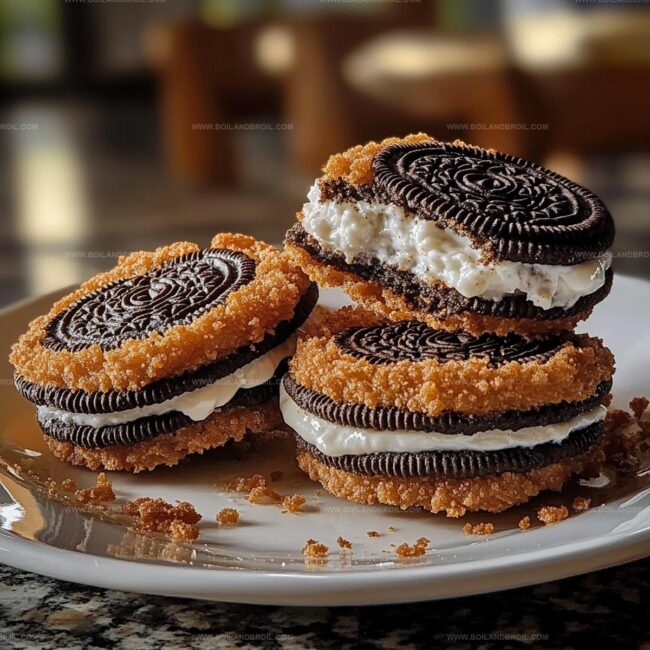
- 1 pack Oreos (regular or golden)
- 1 cup all-purpose flour
- 1 cup milk (whole milk or almond milk)
- 1 large egg
Dry Ingredients:
- 2 tablespoons granulated sugar
- 1 teaspoon baking powder
- 1/4 teaspoon salt
- 1/4 teaspoon cinnamon (optional for flavor)
Additional Ingredients:
- 1 teaspoon vanilla extract
- Oil for frying (vegetable or canola oil works best)
- Powdered sugar, for dusting
Instructions
- Craft a silky batter by blending dry ingredients in a spacious mixing bowl, combining flour, sugar, baking powder, salt, and optional cinnamon for depth of flavor.
- Whisk eggs separately, then incorporate milk and vanilla extract, creating a smooth liquid mixture that will bind the dry components into a cohesive coating.
- Merge wet and dry ingredients, stirring until the batter achieves a consistent, velvety texture capable of thoroughly enveloping each Oreo cookie.
- Prepare a deep pot or fryer, heating oil to precisely 375°F, verifying temperature by dropping a small batter dollop that instantly sizzles and rises to the surface.
- Grasp each Oreo with tongs, delicately submerging it into the batter, allowing excess to cascade off before carefully lowering into the scalding oil.
- Fry cookies in small batches of 2-3, preventing overcrowding and ensuring even golden-brown transformation, typically requiring 2-3 minutes of immersion.
- Extract fried Oreos using a slotted spoon, transferring to a paper towel-lined surface to absorb residual oil and maintain optimal crispness.
- While still piping hot, dust with powdered sugar for a classic fairground aesthetic and enhanced sweetness.
- Serve immediately alongside complementary dipping sauces like rich chocolate, buttery caramel, or fluffy whipped cream to elevate the indulgent experience.
Notes
- Maintain consistent oil temperature to ensure even cooking and prevent burning or undercooking of the Oreos.
- Use a candy thermometer for precise oil temperature control, which guarantees perfectly crispy exteriors.
- For a lighter batter, substitute half the all-purpose flour with pancake mix to create an airier texture.
- Experiment with gluten-free flour blends to make the recipe suitable for those with wheat sensitivities.
- Prep Time: 15 minutes
- Cook Time: 10 minutes
- Category: Snacks, Desserts
- Method: Frying
- Cuisine: American
Nutrition
- Serving Size: 12
- Calories: 150
- Sugar: 6 g
- Sodium: 120 mg
- Fat: 7 g
- Saturated Fat: 1 g
- Unsaturated Fat: 5 g
- Trans Fat: 0 g
- Carbohydrates: 20 g
- Fiber: 1 g
- Protein: 2 g
- Cholesterol: 15 mg
Jack Sullivan
Founder & Culinary Storyteller
Expertise
Single-recipe development with a narrative approach, Culinary storytelling and food history, Seasonal and regional ingredient utilization, Home cooking techniques adapted for modern kitchens
Education
New England Culinary Institute (Montpelier, VT)
Certificate in Culinary Arts
Focused on farm-to-table cooking, sustainable practices, and modern plating techniques.
Asheville-Buncombe Technical Community College
Associate Degree in Culinary Arts
Emphasized Southern Appalachian cuisine and local ingredient sourcing.
Jack grew up surrounded by smoky skillets and handwritten recipes in the mountains of North Carolina. His roots in Appalachian cooking shaped the way he sees food – as something that connects people, tells a story, and holds meaning.
With hands-on training and a background in sustainable, regional cooking, Jack started Boil And Broil to make meaningful meals more accessible. He’s all about one-dish recipes that are simple to follow but rich with flavor and history.