Simple Magic: Dried Orange Slices Recipe for Cozy Charm
Crafting delightful dried orange slices can transform your kitchen into a fragrant sanctuary of culinary creativity.
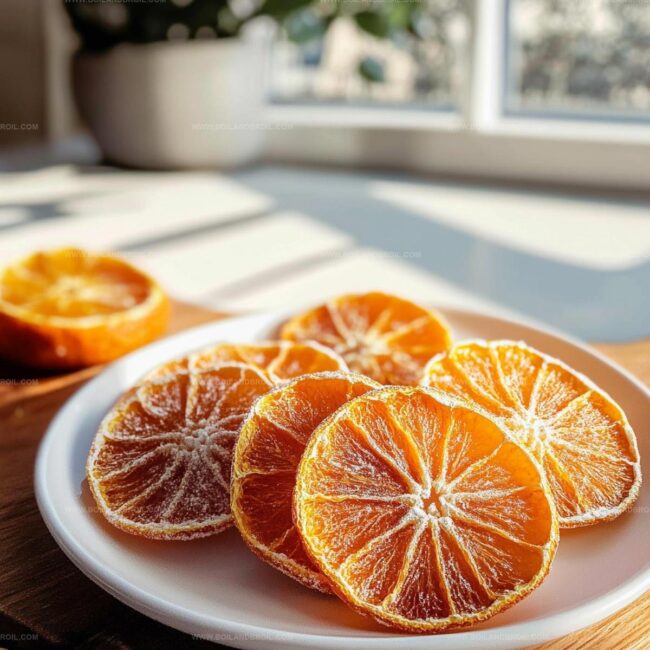
Oranges hanging in sunlight inspire magical preservation techniques that delight sensory experiences.
Mediterranean traditions inspire these simple yet elegant treats perfect for garnishing desserts or creating decorative displays.
Dehydrating citrus requires minimal equipment and maximum patience.
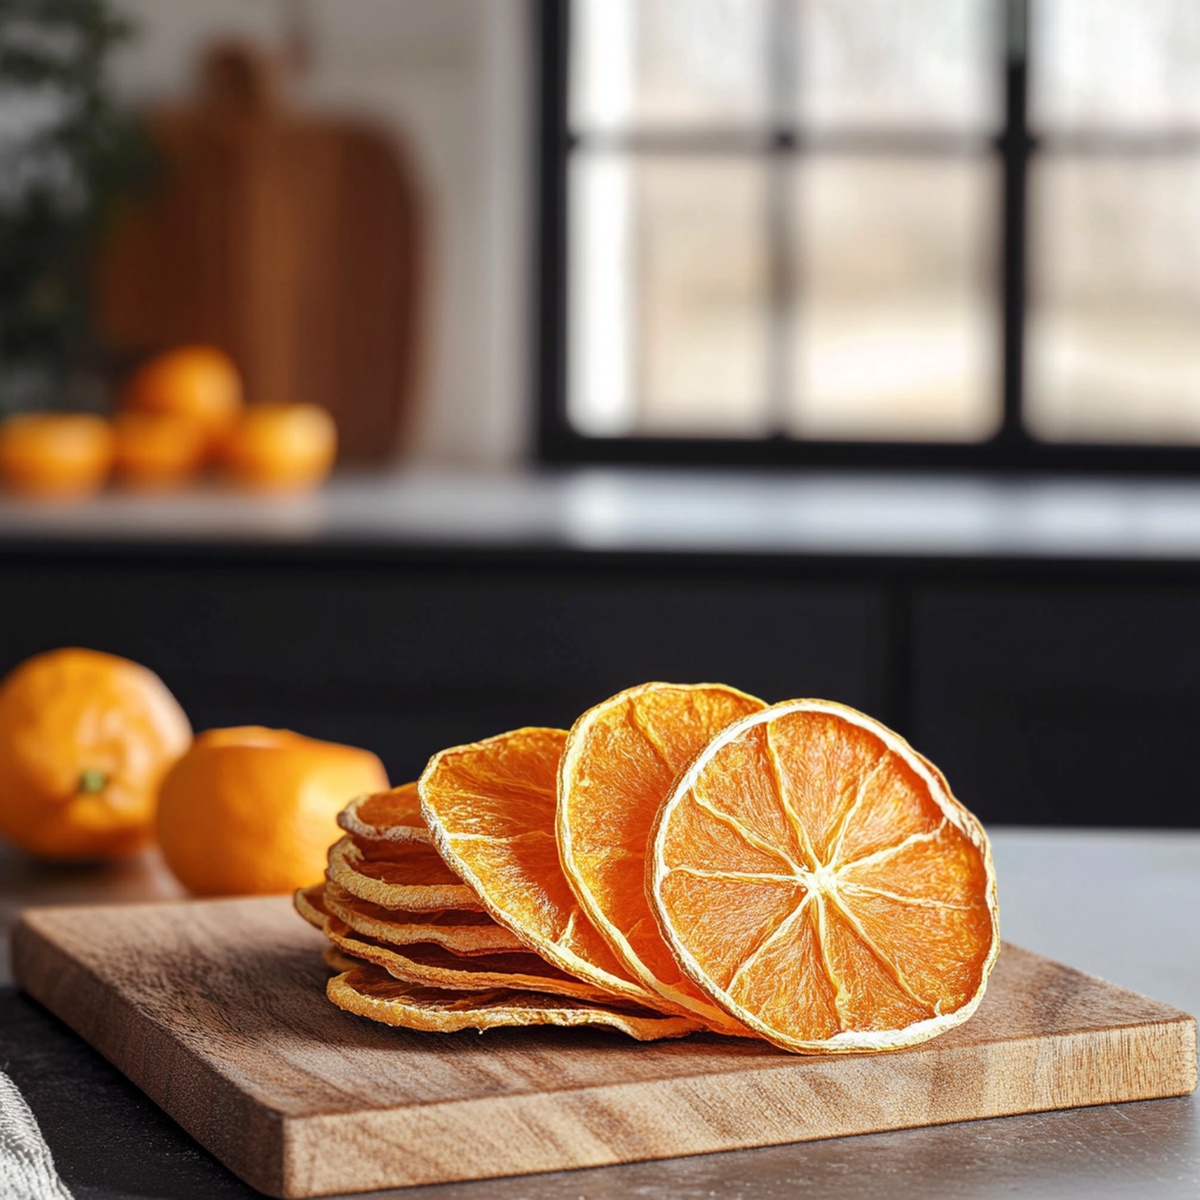
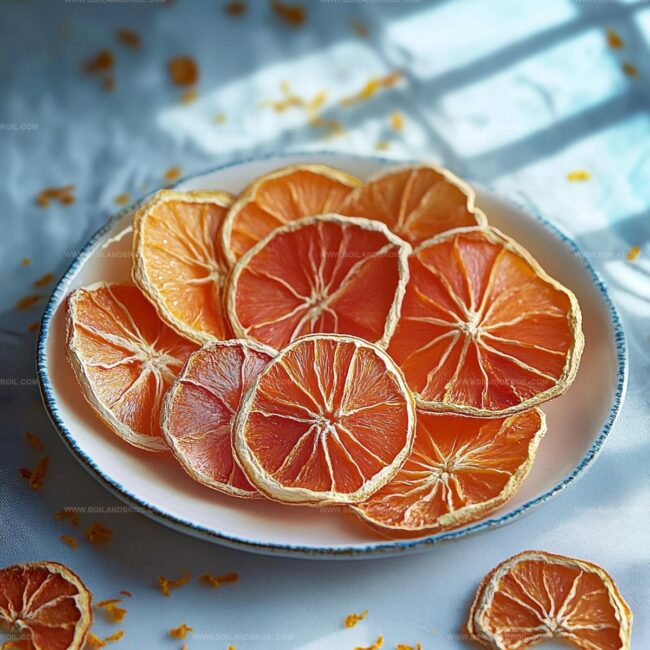
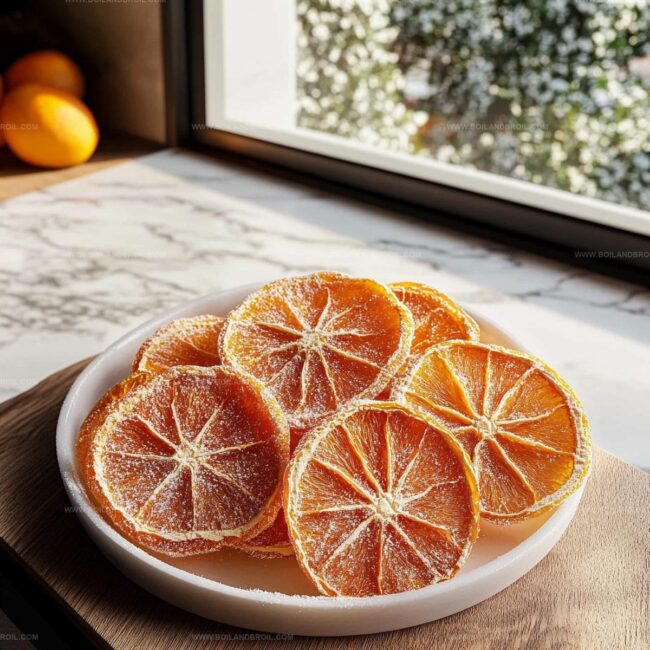
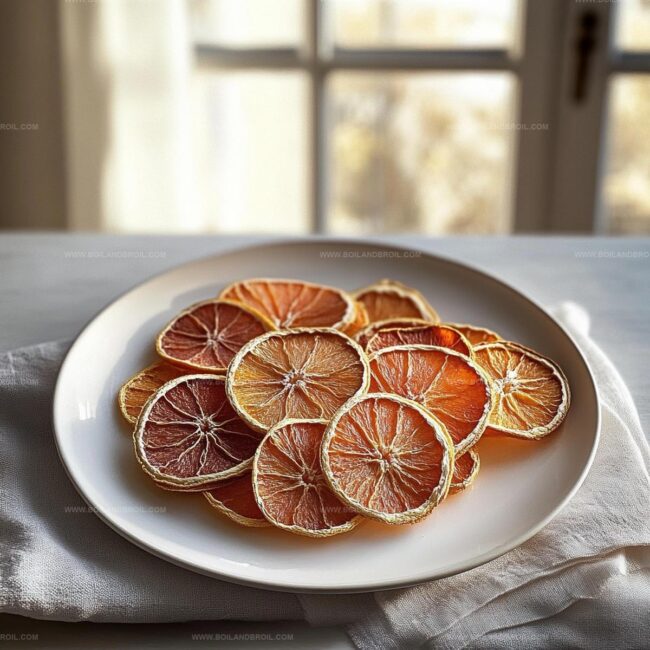
Crisp, translucent slices emerge like delicate stained glass when prepared with careful attention.
Natural sugars caramelize beautifully during the slow drying process, intensifying sweet citrus notes.
You’ll adore how these elegant orange slices can elevate both sweet and savory dishes with minimal effort.
Discover the art of transforming fresh oranges into stunning culinary treasures.
Ingredients for Dried Orange Slices
How to Make Dried Orange Slices
Step 1: Set Up Your Baking Space
Warm up your oven to a low and gentle 200°F (95°C).
Grab a baking sheet and line it with parchment paper to create a perfect drying surface.
This will help your orange slices dry evenly without sticking.
Step 2: Slice With Precision
Take your oranges and grab a sharp knife or mandoline slicer.
Cut the oranges into thin, uniform rounds that are about 1/8 inch thick.
Consistency is key to ensuring even drying and beautiful results.
Step 3: Arrange Orange Treasures
Carefully place your orange slices on the prepared baking sheet.
Spread them out in a single layer, making sure no slices are touching or overlapping.
This allows air to circulate and dry each slice perfectly.
Step 4: Slow and Steady Drying
Slide the baking sheet into the preheated oven.
Let the oranges dry slowly for 2-3 hours.
Halfway through the process, gently flip each slice to ensure even drying.
Keep an eye on them – you want them dry and slightly crisp, but not browned or burnt.
Step 5: Cool and Preserve
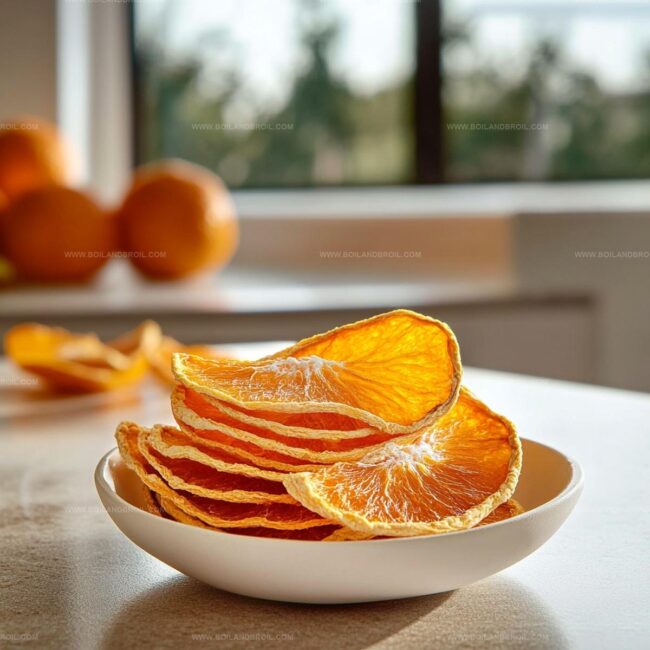
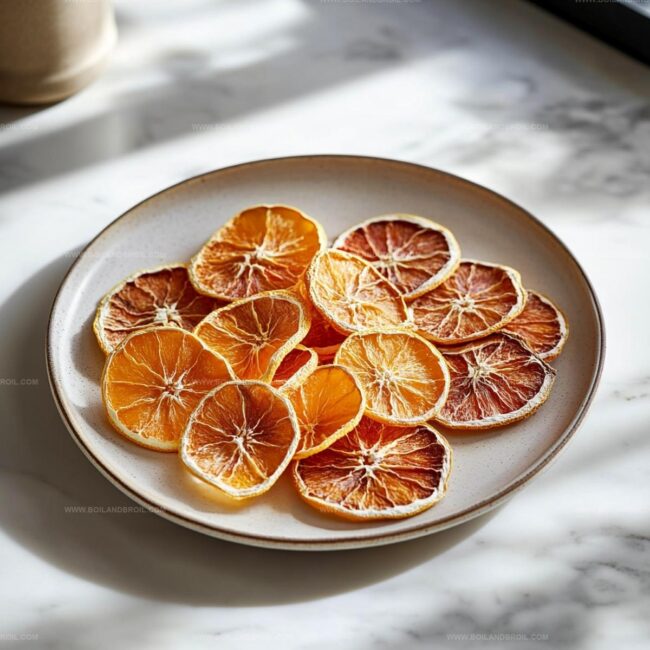
Once the orange slices look beautifully dried and feel crisp to the touch, remove them from the oven.
Let them cool completely at room temperature.
Transfer the cooled slices to an airtight container where they’ll stay fresh for up to a month, ready to decorate or use in crafts and recipes.
Tips for Perfect Dried Orange Slices
Storing Dried Orange Slices
Best Pairings for Dried Orange Slices
Creative Uses for Dried Orange Slices
FAQs
Choose firm, ripe oranges with smooth, unblemished skin. Navel or Valencia oranges work best because they have fewer seeds and slice evenly.
Yes, you can use a food dehydrator or air-dry them in a well-ventilated area. Air-drying takes longer (2-3 days) and requires consistent warm, dry conditions.
Aim for uniform 1/8 inch thick slices. Consistent thickness ensures even drying and prevents some pieces from burning while others remain moist.
Use parchment paper or a silicone baking mat. These prevent sticking and make removal easier without damaging the delicate dried orange slices.
Dried Orange Slices Recipe Overview

How to Make Perfect Dried Orange Slices Recipe
- Total Time: 3 hours 15 minutes
- Yield: 23 1x
Description
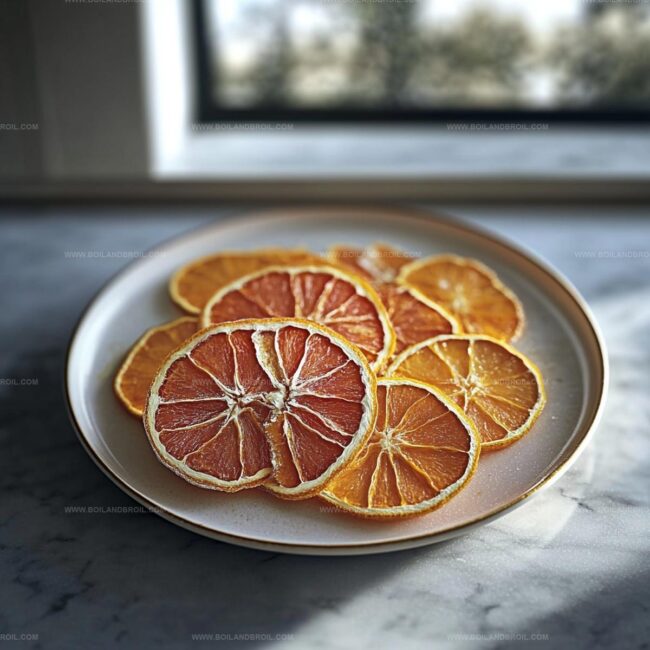
Homemade dried orange slices elevate winter citrus into an elegant garnish for cocktails, desserts, and tea. Crisp, sweet-tart rounds preserve seasonal brightness while adding sophisticated flair to your culinary creations you can enjoy all year long.
Ingredients
Main Ingredients:
- 23 oranges (seedless)
Preparation Tools:
- 1 sharp knife
- 1 cutting board
- 1 baking sheet
- Parchment paper
- Paper towels
Optional Accessories:
- 1 wire rack
- 1 dehydrator (optional)
- 1 oven (if not using dehydrator)
Instructions
- Clean oranges thoroughly under cool running water, patting dry with clean kitchen towel to remove any surface residue.
- Position sharp knife or mandoline at precise angle to create translucent, uniform circular slices approximately 1/8 inch thick, maintaining consistent width throughout.
- Arrange citrus rounds on parchment-lined baking sheet with minimal overlap, ensuring each slice has adequate breathing space for dehydration process.
- Position sheet in preheated oven at 200°F (95°C), allowing low, steady heat to gently extract moisture without caramelizing fruit surfaces.
- Monitor transformation every 45 minutes, delicately rotating sheet and flipping slices to promote even desiccation, preventing potential burning or uneven texture.
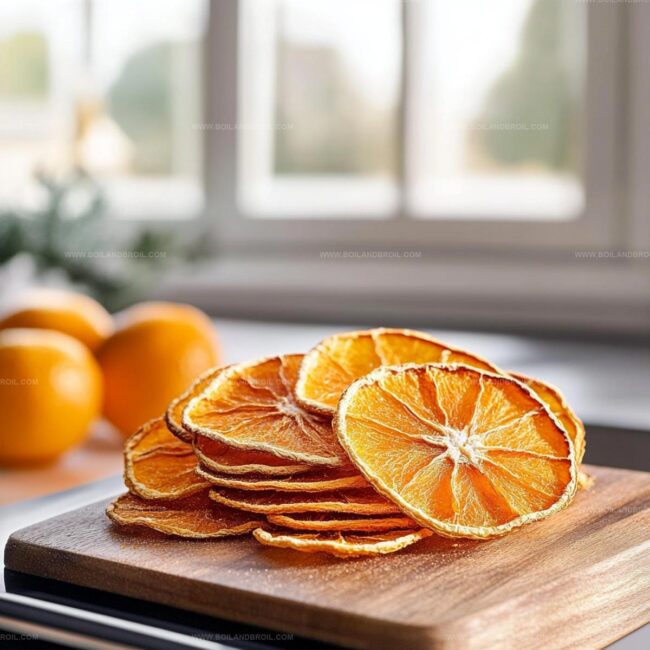
- Continue dehydrating approximately 2-3 hours until orange rounds become translucent, crisp, and possess leathery texture without any moisture residue.
- Remove sheet from oven, transferring dried orange slices onto cooling rack, allowing complete temperature equilibration and final moisture evaporation.
- Once completely cooled and rigidly structured, transfer delicate rounds into hermetically sealed glass container, preserving their crystalline appearance for future decorative or culinary applications.
Notes
- Pat oranges dry thoroughly before slicing to prevent excess moisture during dehydration.
- Use firm, fresh oranges with minimal blemishes for the most attractive and uniform dried slices.
- Select navel or Valencia oranges for best results, as they have thinner rinds and more consistent texture.
- Adjust baking time based on slice thickness and desired crispness – thinner slices will dry faster.
- Prep Time: 15 minutes
- Cook Time: 3 hours
- Category: Snacks, Desserts
- Method: Baking
- Cuisine: American
Nutrition
- Serving Size: 23
- Calories: 62
- Sugar: 12.2 g
- Sodium: 1 mg
- Fat: 0.2 g
- Saturated Fat: 0 g
- Unsaturated Fat: 0.1 g
- Trans Fat: 0 g
- Carbohydrates: 15.4 g
- Fiber: 3.1 g
- Protein: 1.2 g
- Cholesterol: 0 mg
Jack Sullivan
Founder & Culinary Storyteller
Expertise
Single-recipe development with a narrative approach, Culinary storytelling and food history, Seasonal and regional ingredient utilization, Home cooking techniques adapted for modern kitchens
Education
New England Culinary Institute (Montpelier, VT)
Certificate in Culinary Arts
Focused on farm-to-table cooking, sustainable practices, and modern plating techniques.
Asheville-Buncombe Technical Community College
Associate Degree in Culinary Arts
Emphasized Southern Appalachian cuisine and local ingredient sourcing.
Jack grew up surrounded by smoky skillets and handwritten recipes in the mountains of North Carolina. His roots in Appalachian cooking shaped the way he sees food – as something that connects people, tells a story, and holds meaning.
With hands-on training and a background in sustainable, regional cooking, Jack started Boil And Broil to make meaningful meals more accessible. He’s all about one-dish recipes that are simple to follow but rich with flavor and history.